










DIY Garden Watering System: A Complete Guide to Keeping Your Plants Thriving
Why Every Garden Needs a Smart Watering System
Watering your garden by hand might feel satisfying at first, but anyone who has maintained a garden through a hot summer knows how quickly it becomes a chore. A well-designed DIY watering system transforms your garden from a daily obligation into something nearly self-sustaining, freeing up your time while actually delivering better results for your plants. The difference between a thriving garden and a struggling one often comes down not to how much water you provide, but how consistently and efficiently you deliver it.
Plants, much like people, thrive on routine. When water is delivered inconsistently — flooding one day and withholding for three days — roots are forced to adapt to stress cycles rather than focusing on growth and fruit production. A DIY watering system solves this problem by delivering measured amounts of water on a reliable schedule, regardless of whether you remember to head outside before sunset. Studies in home horticulture consistently show that drip irrigation and automated systems reduce water consumption by 30 to 50 percent compared to hand watering or sprinkler systems.
Beyond conservation, a thoughtfully built system protects your investment. Seeds, seedlings, and established plants all represent real money and real time. Losing a tomato plant mid-summer because you were on vacation, or watching newly transplanted herbs wilt during an unexpected heat wave, is both frustrating and avoidable. Building your own watering system is one of the most practical upgrades any gardener can make, and the best part is that it does not require advanced plumbing knowledge or a large budget to get started.
Understanding the Different Types of DIY Watering Systems
Before you purchase a single fitting or length of tubing, it helps enormously to understand the landscape of DIY watering options available to home gardeners. Each approach suits different garden layouts, plant types, and budgets, and choosing the right one from the start will save you from costly do-overs. The three most popular systems for home gardens are drip irrigation, soaker hoses, and sprinkler-based setups, each with distinct advantages depending on your specific situation.
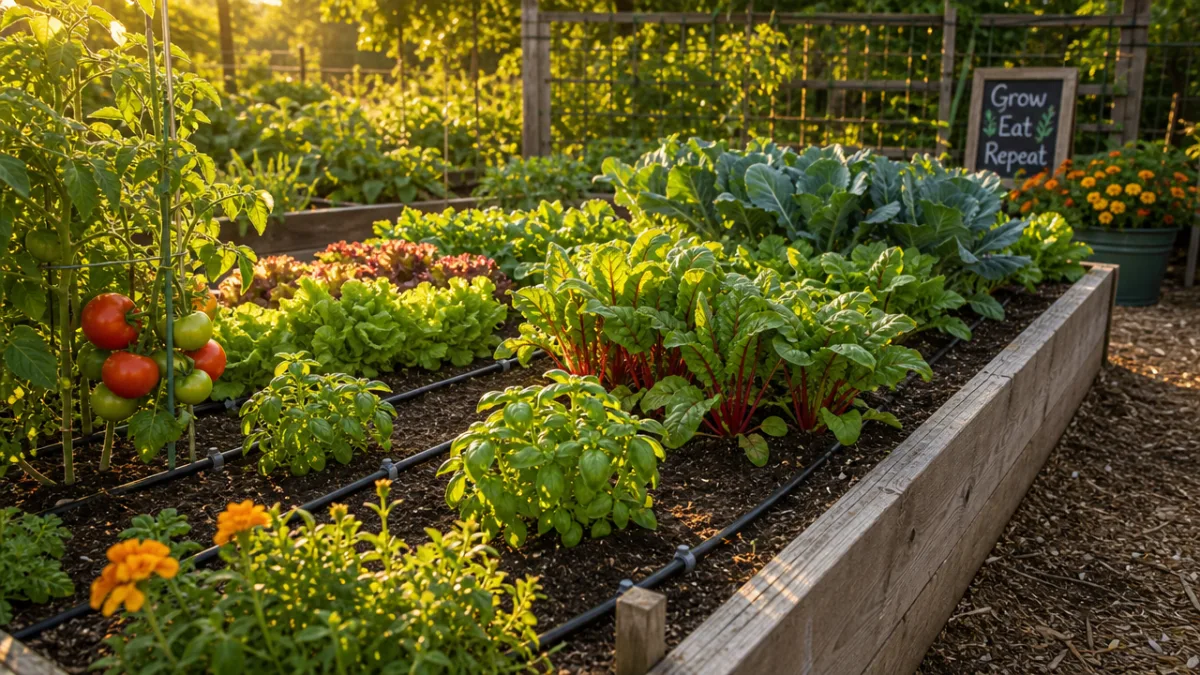
Drip irrigation is widely considered the gold standard for vegetable gardens and raised beds. In this system, water travels from a main supply line through a network of smaller distribution tubes, ending at emitters placed directly at the base of each plant. Because water is delivered at the root zone and never touches the foliage, you dramatically reduce the risk of fungal diseases like powdery mildew, blight, and leaf spot. Drip systems are also modular and endlessly customizable — you can add or remove emitters as your garden changes from season to season.
Soaker hoses are a simpler and more affordable alternative, particularly well-suited to row gardens and established perennial beds. These porous hoses weep water slowly along their entire length, saturating the soil in a narrow band. They require less installation effort than a full drip system and are easy to reposition. Overhead sprinkler systems on timers round out the options and work best for lawns, ground covers, and densely planted flower beds where even coverage matters more than targeted root delivery.
Tools and Materials You Will Need
One of the great appeals of building a DIY watering system is that most of the components are inexpensive, widely available at hardware stores, and require no specialized skills to assemble. Before you head to the store, sketch a rough map of your garden so you can estimate the lengths of tubing you will need and identify where you want emitters or spray heads placed. A little planning at this stage prevents multiple return trips and ensures your system covers every part of the garden without gaps or redundant overlap.
For a basic drip irrigation setup serving a medium-sized raised bed or in-ground vegetable garden, you will typically need the following core components. A backflow preventer protects your household water supply from contamination and is required by plumbing codes in many regions. A pressure regulator brings your home’s water pressure down to the lower range that drip systems require, usually around 25 to 30 PSI. A filter removes sediment that would otherwise clog the tiny emitter openings over time. A timer — even a simple mechanical one — is what transforms your system from convenient to truly automatic.
- Main supply tubing (typically half-inch polyethylene tubing for the primary line)
- Quarter-inch distribution tubing to reach individual plants from the main line
- Drip emitters in various flow rates (0.5, 1, or 2 gallons per hour depending on plant needs)
- Barbed fittings, tees, elbows, and end caps for connecting and capping lines
- Punch tool for creating holes in the main line where distribution tubes will connect
- Hose-end timer with battery or solar power
- Backflow preventer, pressure regulator, and in-line filter (often sold as a single unit)
- Stakes or clips to hold tubing flat against the soil surface
Optional but highly recommended additions include a fertilizer injector, which allows you to deliver liquid fertilizer through the irrigation system directly to the root zone, and a rain sensor that pauses your timer during periods of natural rainfall. These additions cost relatively little but significantly enhance the intelligence and efficiency of your setup. For gardeners with multiple zones — say, a vegetable bed, a container garden, and a flower border — a multi-zone timer with separate programming for each area is well worth the modest upgrade in price.
Step-by-Step Installation Guide
With your materials gathered and your garden map in hand, installation can typically be completed in an afternoon for a single raised bed or small garden plot. Begin by connecting your backflow preventer, pressure regulator, and filter assembly to the outdoor spigot. Most quality kits sell these three components as a pre-assembled unit with a standard hose-thread connection, so this step is as simple as hand-tightening two connections. Attach your timer to this assembly before the filter so the timer controls the flow of water before it enters the system.
Next, roll out your main half-inch supply line along the perimeter or central spine of your garden, cutting it to length with a sharp pair of bypass pruners or tubing cutters. Avoid kinking the tube; if you are working in cold weather, soak the tubing briefly in warm water to make it more pliable and easier to route around corners. Cap the far end of the main line securely with an end cap, then use your punch tool to create holes at each point where you want to run a distribution line to a plant or group of plants.
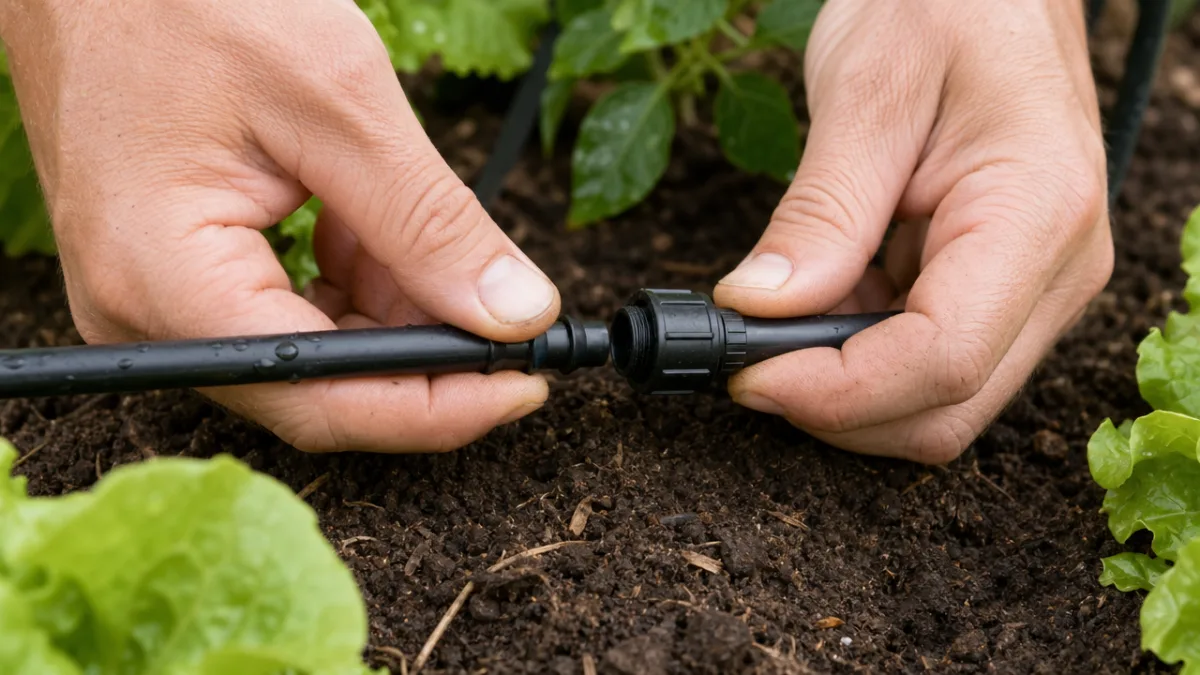
Insert barbed fittings into each punched hole and connect your quarter-inch distribution tubing. Run a length of this smaller tubing from the fitting to the base of each plant, securing it with stakes along the way to keep it flat and tidy. At the end of each distribution line, insert the appropriate drip emitter for that plant type — a thirsty tomato plant might warrant a two-gallon-per-hour emitter, while herbs like rosemary or lavender do better with a slower half-gallon emitter. Once all emitters are in place, turn the system on briefly and walk through the garden to confirm every emitter is flowing and there are no leaks at any of the fittings.
Programming your timer is the final and most satisfying step. As a general starting point, most vegetable gardens benefit from watering once per day in the early morning hours, typically for 20 to 45 minutes depending on your emitter flow rates and soil type. Sandy soils drain quickly and may benefit from shorter, more frequent cycles, while clay-heavy soils absorb water more slowly and do better with longer, less frequent sessions. Adjust your schedule over the first two weeks, checking soil moisture with your finger a few inches below the surface to dial in the right balance for your specific conditions.
Watering Schedules and Plant-Specific Needs
Even the best-built watering system will underperform if it is programmed without considering the specific needs of the plants it serves. Different crops, ornamentals, and shrubs have dramatically different water requirements based on their root depth, their stage of growth, and their native climate preferences. Understanding these differences allows you to configure your system with zones or varying emitter rates so that each plant receives exactly what it needs, not a one-size-fits-all average that is either too much for some and too little for others.
Vegetables are generally the most demanding water users in a home garden, particularly fruiting crops like tomatoes, cucumbers, squash, and peppers. These plants are developing heavy fruits while simultaneously pushing new growth, which requires consistent moisture. Inconsistent watering in tomatoes, for example, is a primary cause of blossom end rot and fruit cracking — both of which are entirely preventable with reliable irrigation. Leafy greens like lettuce, spinach, and kale prefer consistently moist soil as well but are more forgiving of slight variation and generally require lower total volume than large fruiting plants.
Herbs present an interesting challenge because the Mediterranean varieties — rosemary, thyme, sage, and oregano — actually prefer drier conditions and well-drained soil, making them poor companions in a single irrigation zone with thirsty vegetables. Consider placing herbs on a separate distribution line with lower-flow emitters or on an entirely separate timer schedule. Basil is the exception among common culinary herbs, preferring more moisture similar to its tomato companion. Flowers and ornamental perennials generally fall in between, and established shrubs may need irrigation only during drought periods once their root systems are mature.
Maintenance, Troubleshooting, and Seasonal Care
A DIY watering system is a set-and-largely-forget convenience, but it is not entirely maintenance-free. Regular inspection keeps the system running at peak efficiency and catches small problems before they become expensive ones. Once a month during the growing season, run the system and walk your garden with fresh eyes, watching each emitter to confirm it is dripping at the expected rate. An emitter that has stopped flowing entirely is usually clogged with mineral deposits or debris and can typically be cleared by soaking it in white vinegar for an hour or simply replaced at a cost of a few cents.
Leaks at fittings are the other most common issue and are usually easy to resolve. If a barbed fitting is weeping water at the connection point, try pushing it more firmly into the tubing — barbed connections rely on a tight interference fit and sometimes need extra force to seat properly. If the tubing has become brittle or cracked at a fitting over time, cut out that section and insert a straight coupler to splice in a fresh length of tubing. Inspect your filter screen every four to six weeks and rinse it clean under running water to maintain proper flow through the system.
End-of-season care is essential for gardeners in climates that experience freezing temperatures. Polyethylene tubing becomes brittle and can crack when water freezes inside it, so before the first hard frost you should drain the entire system completely. Begin by turning off the water supply and disconnecting the timer and filter assembly from the spigot. Open the end caps on your main lines to allow water to drain out, then blow through the main line or use a low-pressure air compressor to push any remaining water out through the emitters. Store your timer, filter, and pressure regulator indoors over winter; the tubing can stay in the garden if it is fully drained.
Spring startup is the mirror image of this process. Before reconnecting the water supply, walk the garden and inspect every section of tubing for cracks or damage that may have occurred over winter from freezing ground, garden tools, or foot traffic. Replace any damaged sections before pressurizing the system. Clean your filter, check that the timer’s batteries are fresh, and reprogramme the schedule to account for early-season cooler temperatures, which require less frequent watering than the peak of summer. Within an hour you can have your system fully operational and ready for the growing season ahead.
Creative Upgrades and Advanced DIY Ideas
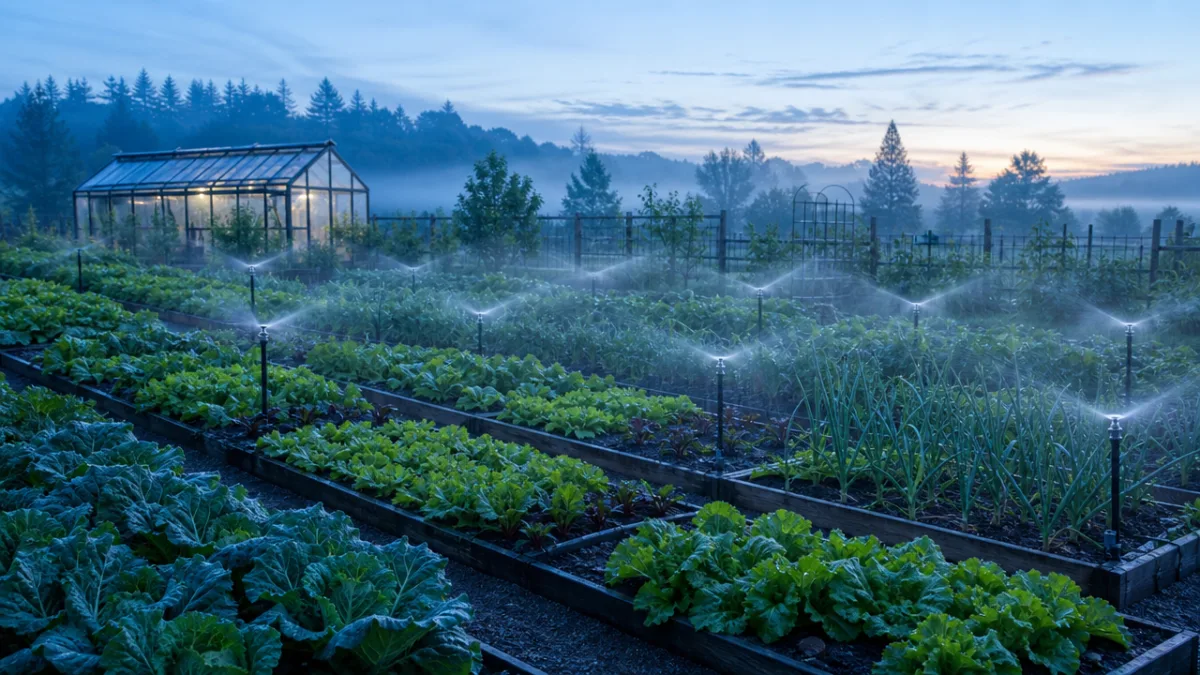
Once you have a basic system running reliably, a whole world of affordable upgrades opens up that can make your garden even more efficient, responsive, and satisfying to manage. One of the most popular enhancements is adding a smart timer that connects to your home WiFi and integrates with local weather data. These controllers automatically skip scheduled watering cycles when rain is forecast or has recently fallen, and some can even adjust run times based on temperature and humidity. The water savings and the sheer convenience of managing your garden’s irrigation from a smartphone make smart timers a worthwhile investment for any committed gardener.
Another rewarding upgrade is the addition of a self-filling reservoir system for container gardens and potted plants. Using a float valve similar to the mechanism inside a toilet tank, you can connect a reservoir to your main supply line and have it automatically refill as plants draw down the water. This approach is particularly valuable for container gardening on balconies and patios, where pots dry out faster than in-ground beds and hand watering can be tedious. Combined with sub-irrigation planters that wick moisture upward from a bottom reservoir, this system gives container plants access to consistent moisture without the risk of overwatering.
For the adventurous DIY gardener, integrating a rainwater harvesting system with your irrigation setup is both environmentally rewarding and practically beneficial. A 50 to 100 gallon rain barrel connected to a downspout can collect meaningful amounts of water during rainfall events, and with a small submersible pump and the right fittings, that collected water can be routed through your existing drip system. Rainwater is naturally soft and slightly acidic, which many garden plants prefer over chlorinated municipal water. While this setup requires a bit more plumbing confidence, it is well within reach of any gardener who has successfully installed a basic drip system and is ready for their next project.
- Start simple with a single zone drip system, then expand as you gain confidence with the components and connections.
- Keep a watering journal for the first season, noting soil moisture checks, plant health observations, and any adjustments you make to the timer schedule.
- Invest in quality emitters and fittings from reputable irrigation brands rather than the cheapest option available — reliability pays for itself in avoided frustration.
- Label each zone and emitter type on your garden map so future troubleshooting and seasonal adjustments are quick and systematic.
- Consider mulching over your drip lines with straw, wood chips, or shredded leaves to reduce evaporation, moderate soil temperature, and extend the time between required watering cycles.
The cumulative effect of these upgrades is a garden that operates with something close to intelligence — responsive to weather, tailored to each plant’s individual needs, and nearly autonomous in its daily operation. You will spend less time on routine maintenance and more time on the parts of gardening you actually enjoy: planting, harvesting, experimenting with new varieties, and simply sitting in a green space that thrives because of thoughtful systems working quietly in the background. Building your own watering system is not just a practical project; it is an investment in the long-term relationship between you and your garden.








What do you think?
It is nice to know your opinion. Leave a comment.