










Chic DIY Wall Planters for Your Home: A Complete Guide to Elevated Green Décor
Why Wall Planters Are the Ultimate Home Décor Upgrade
Wall planters have become one of those trends that genuinely earns its popularity. Instead of competing for counter or shelf space like regular potted plants, wall-mounted planters take your greenery vertical — turning what would otherwise be a blank, forgettable wall into something alive and interesting. Whether you’re working with a tiny apartment or a bigger home with plenty of room to play, they’re surprisingly versatile and work well in almost any space.
What makes DIY wall planters so appealing is how much creative control you have. You get to choose the materials, the size, the layout, the plants — everything can be tweaked to fit your taste and your space. You could go rustic with a macramé pocket holding a trailing pothos, or sleek and modern with a geometric metal frame showing off some sculptural succulents. The range of what’s possible is genuinely exciting, and you’re only limited by your own imagination.
There’s also a real, practical case to be made here beyond just aesthetics. Research backs up what plant lovers have known forever — having greenery around you can lower stress, clean the air a bit, and even help your focus and mood. And when you build the planters yourself, there’s an extra layer of satisfaction in all of that. You made it, it looks great, and it’s quietly making your home a nicer place to be. Hard to argue with that.
Choosing the Right Materials for Your DIY Wall Planters
Your choice of material shapes everything — how the planter looks, how long it lasts, how much it weighs, and which plants will actually do well in it. Wood is a go-to for a reason: it’s warm, natural, easy to find, and forgiving enough for beginners to work with confidently. Reclaimed wood is especially great because it comes with its own story and texture — that kind of character is impossible to fake. Pallet wood, old fence boards, or salvaged timber are all solid starting points and often free or very cheap to source.
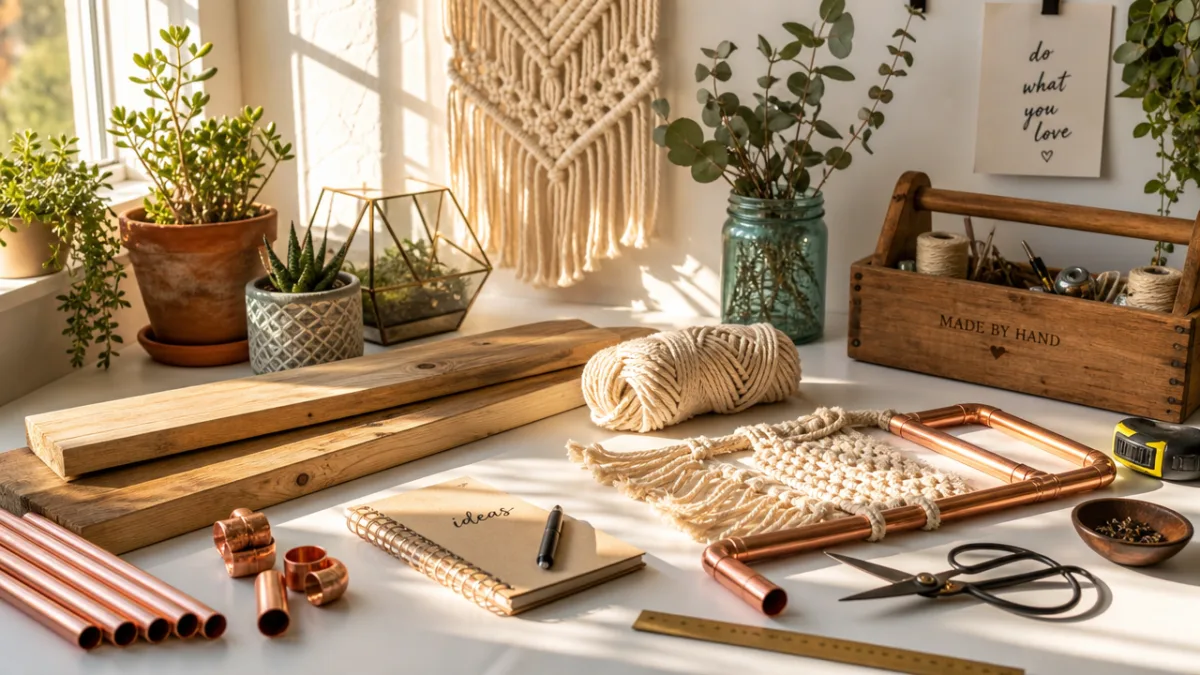
If you’re drawn to something more industrial or modern — maybe a Scandinavian-influenced aesthetic — metal is worth a close look. Copper pipe fittings, wire mesh, and steel rods can be put together into geometric planters that genuinely look like something from a design boutique. One of metal’s biggest advantages is durability; a basic coat of rust-proofing spray can keep a metal planter looking great for years. If you’re worried about the weight you’re putting on your walls, lightweight aluminium is a smart practical choice.
For a softer, more boho feel, natural fibres are the way to go. Jute, cotton rope, and macramé cord require no power tools or special skills, which makes them perfect if you’re just getting started. A terra cotta pot paired with a knotted rope hanger is a classic combination that feels timeless and works across a surprising range of interior styles. It’s also worth playing around with cork, woven seagrass, or even repurposed ceramic tiles as you get more comfortable and start developing your own look.
Five Stunning DIY Wall Planter Designs to Try at Home
The floating wooden shelf planter is probably the most approachable design whether you’re a total beginner or a seasoned DIYer. Cut a piece of reclaimed wood to the width you want, sand it smooth, and finish it with a natural stain or some white chalk paint. Small circular metal brackets underneath hold individual pots in place, and the whole thing mounts to the wall with heavy-duty screws and anchors. The end result has a clean, gallery-like quality that looks right at home in a kitchen, living room, or hallway.
The pegboard planter wall is a great pick if you love being able to rearrange things on a whim. Fix a sheet of pegboard to your wall, then use hooks, small shelves, and custom pot holders to build out your display. The beauty of pegboard is that nothing is permanent — you can add pieces, swap plants around, and completely reinvent the whole look without picking up a drill again. Paint the pegboard in a bold colour and it becomes a real statement piece rather than just a backdrop.
If you want something that really turns heads, try building a ladder-style planter from two long wooden dowels and a handful of shorter crossbars. Lean it against the wall at a slight angle, then hang small pots from each rung with leather straps or S-hooks. This design is especially good with trailing plants like string of pearls, ivy, or heartleaf philodendron — over time they cascade down between the rungs and the whole thing starts to look like a lush, living curtain. It just gets better the longer it grows.
Copper pipe planters hold a special place in the DIY world because the end result looks far more complicated to build than it actually is. Using standard plumbing pipe, elbow joints, and T-connectors, you can create wall-mounted frames in nearly any shape or configuration. Hang terra cotta pots from the horizontal bars with thin copper wire or leather cord. The warm rosy tones of copper look good against both light and dark walls, and the material develops a beautiful patina with age that honestly just makes it better over time.
And then there are macramé plant hangers — one of the most genuinely satisfying DIY planter projects you can take on. A few basic knotting techniques (the square knot, the spiral knot, and the lark’s head knot are the main ones) are all you need to create holders in an afternoon that are plenty strong enough to support a fully watered pot. Hang a series of them at different heights, mix in a variety of plants, and you’ve got a layered, organic display that has real visual depth and personality.
Best Plants for Your DIY Wall Planters
Getting the plants right matters just as much as building a good-looking planter — and the good news is that some of the most striking plants out there are also some of the most easygoing. Succulents are an obvious place to start. Their compact root systems, minimal watering needs, and enormous variety of shapes and colours make them almost perfectly suited to wall-mounted displays. Echeveria, sedum, and haworthia all do particularly well in smaller pots and can handle the slightly drier conditions that wall planters sometimes create.
Trailing and vining plants are a natural fit for wall planters because they grow downward naturally, creating those beautiful cascading effects that make vertical gardens so visually rewarding. Some excellent choices include:
- Pothos (Epipremnum aureum) — virtually indestructible, tolerates low light, grows rapidly with minimal care
- String of Pearls (Senecio rowleyanus) — striking bead-like foliage that drapes elegantly over pot edges
- Heartleaf Philodendron — glossy heart-shaped leaves, tolerates humidity, ideal for bathrooms and kitchens
- Creeping Jenny — bright chartreuse foliage, excellent for adding a pop of vivid colour
- English Ivy — classic trailing plant, excellent air-purifying properties, grows vigorously
Herbs are worth a special mention for kitchen wall planters because they pull double duty — they look lovely and you can actually cook with them. Basil, rosemary, thyme, mint, and chives all grow well in individual wall-mounted pots as long as they get enough light, either from a nearby window or a small grow light. There’s something genuinely satisfying about reaching up to snip fresh herbs straight from your wall while you’re in the middle of cooking a meal. It’s one of those DIY projects that earns its place every single day.
Step-by-Step Guide to Building a Wooden Pocket Planter
The wooden pocket planter is one of those beginner projects that punches well above its difficulty level — the construction is simple, but the finished result looks genuinely polished. Before you start, gather your materials: a length of 1×6 inch pine or cedar board, a saw, sandpaper in 80-grit and 120-grit, wood glue, finishing nails or a brad nailer, a drill with appropriate bits, and whatever wood finish you’ve decided on. Cedar is the better choice if you can get it, since it naturally resists rot and handles moisture well — both important qualities when you’re working with live plants.
Follow these steps to construct your basic wooden pocket planter:
- Cut your board into the following pieces: two side panels at 6 inches tall, one back panel at your desired width, one bottom panel at 4 inches deep, and one front panel at 4 inches tall.
- Sand all pieces thoroughly with 80-grit sandpaper, then finish with 120-grit for a smooth surface that will accept stain or paint evenly.
- Apply wood glue to the edges and assemble the box shape, using finishing nails to reinforce each joint while the glue cures.
- Drill several small drainage holes in the bottom panel to prevent waterlogging, which is the most common cause of root rot in container plants.
- Apply your chosen finish — natural tung oil, white chalk paint, or a weather-resistant exterior stain all work beautifully depending on your desired aesthetic.
- Attach a French cleat or two heavy-duty keyhole brackets to the back panel, then mount corresponding hardware to your wall at the correct height.
Once your planter is up on the wall, tuck a piece of landscape fabric or a small plastic liner inside before you add any soil. This is an easy step to skip, but it’s worth doing — it shields the wood from direct moisture contact while still letting excess water drain through the holes you drilled. Use a proper potting mix rather than garden soil, since potting mixes are formulated specifically to drain well and give container plant roots the air circulation they need. Fill to about an inch from the top, plant your chosen specimen, give it a gentle first watering, and take a moment to appreciate what you’ve built.
Tips for Arranging and Styling Your Wall Planters
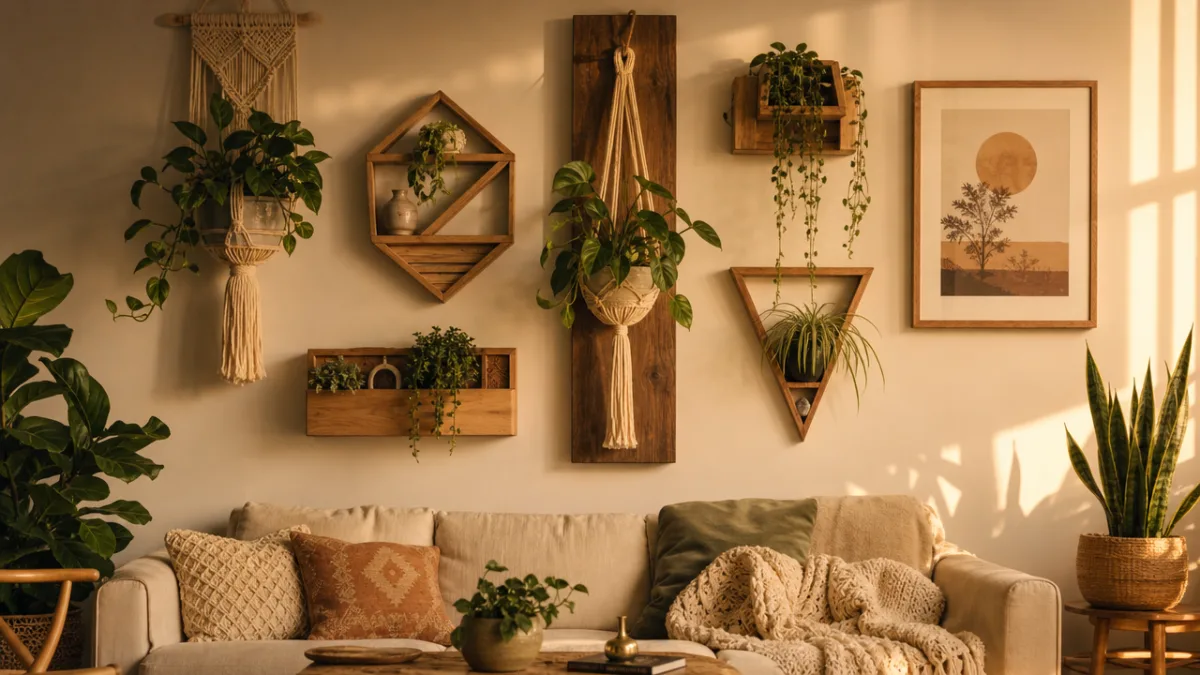
The gap between a wall planter display that looks nice and one that looks intentional usually comes down to composition. One of the most reliable rules in interior styling is the odd-numbers rule — groupings of three, five, or seven almost always feel more dynamic and considered than even-numbered arrangements. Before you start drilling, use painter’s tape to mark out potential positions on the wall and try a few different layouts with three or five planters. It takes a few extra minutes but saves you from filling unnecessary holes later.
Varying heights, sizes, and textures is what keeps a wall display from looking flat. Try anchoring the arrangement with one larger planter at the centre and scattering smaller pieces asymmetrically around it, or line them up in a diagonal that pulls the eye upward and makes the ceiling feel higher. Mixing materials adds a lot — a wooden shelf planter alongside a macramé hanger and a small terra cotta pot creates a richness that you just can’t get from using one material throughout.
Lighting is something a lot of first-timers don’t think about until after the fact, but it can genuinely transform how the display looks and how well the plants do. Small LED picture lights mounted above the arrangement create a warm glow in the evenings that makes the whole wall feel like a feature. For plants on darker walls that don’t get much natural light, clip-on grow lights can fill the gap and keep everything healthy year-round, even when the days get short in winter.
Finally, treat your wall planter display the way you’d treat any other design feature in your home — give it a bit of ongoing attention. Rotate plants now and then so they grow evenly, trim trailing varieties before they take over, and refresh the whole arrangement seasonally with new plants or updated hardware. The best wall planter displays aren’t the ones that were perfect on day one; they’re the ones that have been thoughtfully tended and gradually shaped over time by someone who genuinely loves them.
Common Mistakes to Avoid When Making DIY Wall Planters
Even enthusiastic, well-intentioned DIYers can run into the same avoidable problems on their first wall planter project. The biggest one, by a wide margin, is underestimating how heavy a planted pot actually is. A 6-inch terra cotta pot filled with damp potting mix can weigh more than two kilograms — and once you’ve got several of those hanging on the same wall, that adds up fast. Use wall anchors rated for at least three times the weight you’re expecting, and wherever possible, screw directly into studs rather than just drywall. It’s one of those things that feels overly cautious until something falls.
Inadequate drainage is the second most common stumbling block, and it’s also the most common reason plants die in wall containers. When water has nowhere to go, it sits at the bottom of the planter and creates the wet, airless conditions that cause roots to rot. Always drill multiple drainage holes no matter what plant you’re growing, and consider adding a layer of horticultural grit or perlite at the bottom of the planter before your potting mix to give the roots even better drainage and airflow.
It’s also worth thinking through the actual watering process before you finalize your design — something a lot of people don’t do until they’re standing on a stepstool with a watering can, dripping on their furniture. Use saucers or drip trays wherever you can, look into self-watering inserts for deeper planters, and get yourself a narrow-spouted watering can or a spray bottle for more precise application. A little bit of planning at the design stage makes watering so much less of a headache in the months ahead.








What do you think?
It is nice to know your opinion. Leave a comment.