










22 DIY IKEA Pot Hacks to Display Plants in Style
Why IKEA Plant Hacks Have Taken Over the Internet
There is something wonderfully satisfying about transforming a plain, affordable IKEA product into a stunning plant display that looks like it came from a high-end boutique. Over the past several years, DIY enthusiasts and interior design lovers have discovered that IKEA’s simple, clean-lined products serve as the perfect blank canvas for creative plant styling projects. From the iconic terracotta-toned INGEFÄRA pot to the humble BITTERGURKA series, these inexpensive pieces can be elevated dramatically with just a bit of paint, texture, or clever repurposing.
The appeal of IKEA hacks lies not just in the cost savings, but in the deeply personal nature of the results. When you paint a geometric pattern onto a basic white pot, drill drainage holes into an unexpected container, or wrap a plain planter in jute rope, you create something that is entirely your own. Social media platforms like Pinterest and Instagram have amplified this culture of creative reuse, with millions of home decorators sharing their before-and-after transformations and inspiring countless others to try their hand at a weekend project.
IKEA’s product design philosophy, built around simplicity and functionality, makes their items especially hack-friendly. The surfaces are often smooth and paintable, the shapes are geometric and easy to work with, and the prices are low enough that experimenting feels low-risk. Whether you live in a tiny apartment with a single sunny windowsill or a sprawling home with a dedicated plant room, there is an IKEA pot hack on this list that will suit your space, your skill level, and your aesthetic vision perfectly.
Getting Started: Tools, Materials, and IKEA Items to Stock Up On
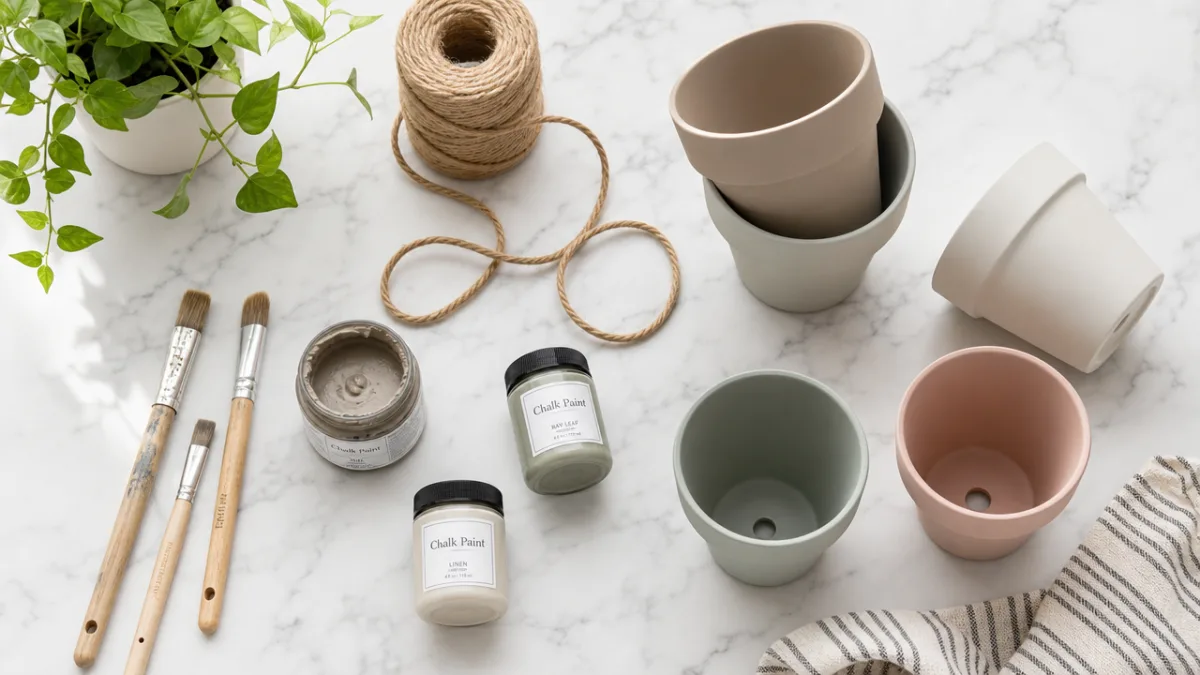
Before diving into any DIY project, having the right materials on hand makes the entire experience smoother and more enjoyable. For IKEA pot hacks, you will want to gather a few essential supplies that appear again and again across different techniques. Chalk paint and spray paint in matte finishes are workhorses of the pot-hacking world, as they adhere beautifully to plastic, ceramic, and even metal surfaces without requiring a primer in most cases. A selection of fine and medium-grit sandpaper will help you prep surfaces and create a distressed finish when desired.
Some of the most popular IKEA items to hunt for when planning your plant display projects include the SOCKER greenhouse, which can be repurposed into a terrarium or fairy garden; the FEJKA artificial plant series, which can be combined with real planters for low-maintenance displays; and the STOCKHOLM vase collection, whose sculptural shapes lend themselves to elegant single-stem botanical arrangements. The ANILINARE and BITTERGURKA pots are also widely loved for their simple forms that respond beautifully to paint and texture treatments.
Beyond paint, consider stocking up on air-dry clay for adding sculptural texture, Mod Podge for decoupage effects, sisal or jute rope for wrapping projects, gold leaf sheets for glamorous accents, and waterproof sealant to protect your finished work from moisture damage. A hot glue gun will come in handy for attaching decorative elements like shells, pebbles, or dried botanicals. Having a dedicated workspace with a drop cloth or old newspaper will also help you work freely without worrying about stray paint splatters ruining your floors.
Paint and Color Transformation Hacks
One of the simplest and most impactful things you can do to an IKEA pot is paint it. A coat of matte terracotta spray paint on a plain white plastic pot instantly creates the look of an expensive handmade ceramic vessel. This technique works especially well with the INGEFÄRA range, which already has a pleasing rounded shape that mimics traditional clay pots. Apply two thin coats, letting each dry fully before the next, and finish with a matte sealant to protect the surface from watering splashes.
Color blocking is another hugely popular painting technique for IKEA planters. Choose two complementary colors — think dusty sage and warm cream, or navy blue and terracotta — and paint the bottom two-thirds of the pot in the darker shade, leaving the top third in the lighter tone. Use painter’s tape to create a crisp dividing line between the two colors. This two-tone effect adds visual interest and a contemporary design-forward quality that elevates even the most basic plastic container into something gallery-worthy.
For those who want something a little more artistic, try the ombre or gradient painting technique. Start with a base coat of your lightest color, then use a sea sponge to dab progressively deeper shades of the same hue from the bottom up, blending as you go. This creates a beautifully soft, organic fade that mimics the look of hand-thrown studio pottery. Earth tones like caramel, rust, and cream work especially well for this technique, and the finished pots look stunning grouped together in clusters of different heights.
Marble effect painting is another showstopper technique that requires minimal skill but delivers jaw-dropping results. Start with a white base coat, then use a fine artist’s brush or even a feather to drag thin, irregular lines of grey and gold paint across the surface in natural-looking diagonal veins. A light touch and slightly watered-down paint are key to achieving a convincing marble look. Seal with a high-gloss varnish to mimic the polished sheen of real stone, and you will have a planter that looks like it cost ten times what you paid for it.
Texture and Material Wrapping Techniques
Adding texture to an IKEA pot transforms it from a flat, featureless object into something that invites touch and visual exploration. Rope wrapping is perhaps the most beloved of all texture hacks, and for good reason — it is beginner-friendly, inexpensive, and endlessly adaptable. Start by applying a generous layer of strong craft glue around the base of your pot, then begin wrapping natural jute, sisal, or cotton rope tightly around the surface, pressing each row firmly against the last. Work your way up gradually, applying more glue as you go, until the entire pot is covered.
For a more refined look, try using thinner twine in a contrasting color to create geometric patterns as you wrap. Crossing the twine diagonally, creating diamond shapes, or alternating between two different textures of rope can turn a simple wrapping project into a genuinely sophisticated piece of home décor. The finished product pairs beautifully with trailing plants like pothos, string of pearls, or ivy, where the organic texture of the rope echoes the natural, flowing quality of the foliage cascading over the rim.
Air-dry clay is another incredible material for adding sculptural texture to plain pots. Roll thin sheets of clay and press them onto the outside surface of your pot, smoothing the edges with damp fingers to create a seamless look. You can use stamps, leaves, or textured fabric pressed into the clay surface before it dries to create intricate botanical or geometric patterns. Once fully cured, sand lightly and paint over the entire pot for a completely unified, artisanal appearance that nobody will believe you made yourself in an afternoon.
- Jute or sisal rope wrapping for a natural, bohemian aesthetic
- Air-dry clay appliqués for sculptural, handmade texture
- Pebble or river stone mosaic using waterproof adhesive and grout
- Dried grass or raffia wrapping for a coastal or tropical vibe
- Fabric decoupage using linen, burlap, or patterned cotton for a unique finish
- Cork sheet adhesive panels for an earthy, warm appearance
Mosaic work is an underrated but spectacular option for those with a little patience. Collect small pebbles, broken tile pieces, sea glass, or flat glass gems and adhere them to the outside of a sturdy IKEA pot using waterproof tile adhesive. Once the adhesive has cured, fill the gaps between pieces with colored or white grout, wipe away the excess, and buff to a shine. The result is a truly one-of-a-kind piece that is also completely weatherproof, making it ideal for outdoor displays on patios and balconies.
Clever Repurposing and Structural Hacks
Some of the most inventive IKEA plant hacks involve looking at a product designed for one purpose and imagining it in an entirely different role. The MOSSLANDA picture ledge, for example, was designed to display framed artwork, but plant lovers have discovered that it makes a gorgeous floating shelf for a row of small succulent pots. Mounted at varying heights on a wall, a series of MOSSLANDA shelves can create a living wall effect that brings a dramatic focal point to any room without requiring built-in cabinetry or expensive custom shelving.
The RIGGA clothes rack is another IKEA product that has found a second life in the plant world. By hanging macramé pot hangers at various heights from the horizontal rail, you can create a freestanding indoor plant installation that serves as a room divider, a statement piece in a reading corner, or a lush focal point in a bright hallway. The beauty of using the RIGGA is that it requires no drilling, no wall damage, and can be moved and reconfigured whenever you want a change of scenery — perfect for renters and those who love rearranging their spaces seasonally.
The RÅSKOG utility cart, IKEA’s beloved three-tiered rolling trolley, has inspired thousands of plant display ideas. Fill each tier with small pots in complementary sizes and colors, and you have a mobile plant cart that you can wheel toward the window on sunny days and pull back from cold glass on winter nights. This is especially practical for herb gardens, allowing you to roll your edible plants right next to the kitchen counter when you are cooking and return them to their light source afterward. Painting the RÅSKOG in a color that complements your pots adds another layer of visual cohesion.
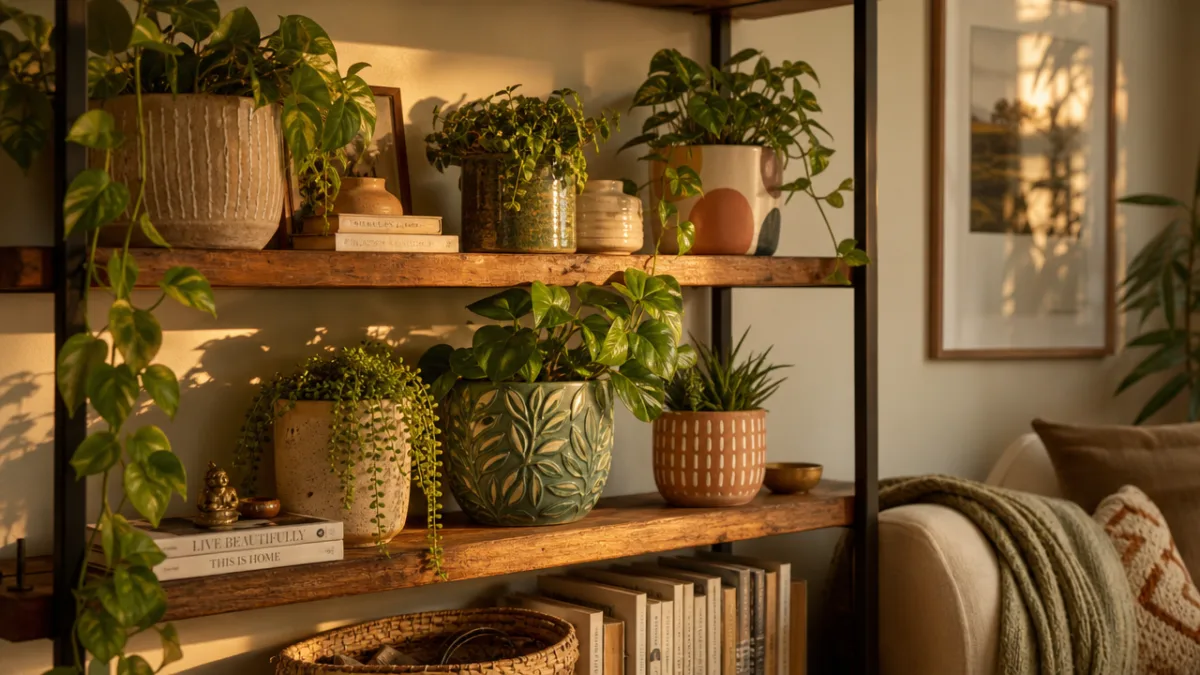
For the truly adventurous, the KALLAX shelving unit can be transformed into an extraordinary plant display wall. Remove the back panel of individual cubbies and mount the unit against a white wall, then arrange plants of varying heights and textures across the shelves. Adding small LED grow lights inside specific cubbies allows you to keep even shade-sensitive plants looking their best year-round. Mixing pots in different materials — ceramic, woven baskets, concrete — alongside a few stacked books or decorative objects creates a layered, curated look that feels lived-in and intentional rather than staged.
Seasonal and Themed Plant Display Ideas
One of the joys of working with inexpensive IKEA pots is that you can afford to create seasonal displays without guilt. In autumn, paint a set of BITTERGURKA pots in deep burnt orange, forest green, and mustard yellow, and fill them with ornamental cabbages, mums, or miniature pumpkins for a festive front step arrangement. In winter, a cluster of white or silver pots filled with evergreen sprigs, white cyclamen, or amaryllis creates an elegant, wintry tableau. Because the pots cost so little, you can repaint them in fresh spring pastels when the season turns without feeling like you are being wasteful.
Creating a cohesive themed plant display for a specific room is another wonderful application of IKEA pot hacks. For a bathroom spa aesthetic, wrap several INGEFÄRA pots in smooth white river stones and fill them with moisture-loving plants like peace lilies, ferns, or orchids. Arrange them on a tray alongside rolled white towels, a scented candle, and a small pebble garden for a display that feels like a five-star wellness retreat. The trick to making any themed display work is repetition — repeating the same color, material, or texture across multiple elements creates visual harmony and makes the arrangement feel intentional.
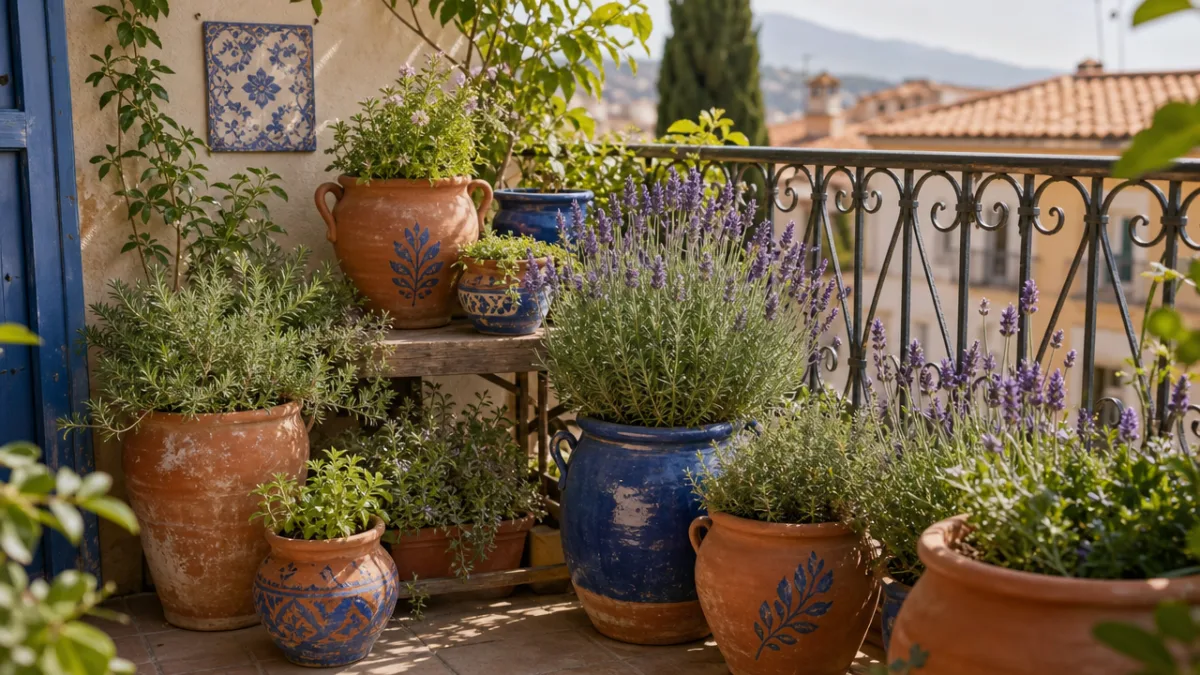
For outdoor spaces, consider creating a Mediterranean-inspired display using terracotta-painted SOCKER pots grouped with blue and white painted pots in varying sizes. Plant them with lavender, rosemary, and trailing silver thyme for an authentic Provençal herb garden feel. Add a few olive-toned ceramic pots from the IKEA seasonal range to complete the look, and arrange the entire display on a weathered wooden surface or stone step for maximum impact. The contrast between the textured pots and the silvery-green of Mediterranean herbs is endlessly photogenic and genuinely beautiful in real life as well.
- Spring: Soft pastel chalk-painted pots with tulips, daffodils, and hyacinths
- Summer: Bright, bold geometric patterns with succulents and air plants
- Autumn: Earth-toned textured pots with seasonal flowering plants and gourds
- Winter: Metallic gold-leafed or silver-painted pots with evergreens and cyclamen
Children’s rooms offer yet another delightful opportunity for creative IKEA pot hacking. Transform plain white pots into whimsical animal characters using paint and simple craft supplies — a round pot becomes a hedgehog with a painted face and a layer of textured brown paint, or a friendly owl with glued-on felt wings and googly eyes. Fill these playful planters with easy-care plants like cactus, aloe, or ZZ plants that thrive on benign neglect. Not only does this introduce children to the joys of caring for living things, but it also adds charm and personality to a nursery or play space in a way that mass-produced décor simply cannot match.
Tips for Long-Lasting Results and Plant Health
Creating a beautiful pot hack is only half the battle — ensuring that your creation holds up over time and actually supports the health of your plants is equally important. The single most critical step many first-time hackers overlook is drainage. Most decorative IKEA pots, particularly those made of ceramic or metal, do not have drainage holes, and planting directly into a pot without drainage is one of the fastest ways to kill a plant through root rot. Always either drill drainage holes using a ceramic or tile drill bit, or use the decorative pot as a cachepot — a purely decorative outer container — with a plain nursery pot sitting inside it.
Sealing your finished paint or texture work is equally non-negotiable if you want your creation to last. Waterproof sealant spray, applied in two thin coats once your paint has fully cured, will protect your work from the moisture that inevitably accompanies watering. For outdoor pots, choose a sealant specifically rated for exterior use and UV resistance so that the color does not fade in direct sunlight. Reapply sealant once a year for outdoor pots and every two to three years for indoor ones to keep them looking their best.
When it comes to the plants themselves, matching the right plant to the right pot size, drainage situation, and light placement will make the difference between a thriving display and a struggling one. Succulents and cacti need excellent drainage and bright light; group them in shallow, well-sealed terracotta-effect pots on south-facing windowsills. Tropical foliage plants like monsteras, philodendrons, and pothos prefer humid conditions and indirect light; display them in larger pots near east or west-facing windows where they will receive bright but gentle illumination throughout the day.
Finally, remember that the best plant displays evolve over time. Allow yourself to experiment, to make mistakes, and to repot and rehack as your taste develops and your plants grow. The beauty of working with affordable IKEA products is that nothing is precious — if a painted finish chips, touch it up. If a rope-wrapped pot starts looking worn, strip it and try a different wrapping style. This fluid, low-pressure approach to home décor is what makes the IKEA hack culture so enduringly popular and so genuinely joyful for the people who participate in it. Your home is a living space, and your plant displays should feel alive, personal, and continually evolving along with you.








What do you think?
It is nice to know your opinion. Leave a comment.