










What Is Moss Graffiti and Why Is Everyone Talking About It?
Moss graffiti — you might also hear it called eco-graffiti or green graffiti — is exactly what it sounds like: street art made from living moss instead of spray paint. No synthetic pigments, no aerosol chemicals, just actual growing plants arranged into designs that are as beautiful as they are biodegradable. It’s been picking up steam for the better part of a decade now, and it’s not hard to see why — people are genuinely hungry for creative outlets that feel good about the planet rather than guilty about it.
Here’s what makes it even better: where regular graffiti can damage surfaces and leave behind a cocktail of toxic chemicals, moss actually gives something back. It absorbs carbon dioxide, helps regulate moisture in the air, and creates tiny little habitats for insects and microorganisms. Your wall mural is quietly doing a small amount of good in the world — which, honestly, is not something you get to say about most decorating projects.
But there’s another layer to the appeal that goes beyond environmental brownie points. There’s something genuinely satisfying about working with a living medium — watching your design slowly wake up and fill in over days and weeks as the moss settles in and starts to grow. Artists everywhere from Tokyo to Brooklyn have run with this technique, producing everything from delicate botanical lettering to massive murals covering entire building facades. It asks for patience, and in return it connects you to natural processes in a way that almost no other art form really does.
The History and Cultural Roots of Green Art
The origins of moss graffiti as a proper artistic practice are a bit hazy, but most people trace its rise to the early 2000s urban art scene, especially in Europe. Artists in London, Berlin, and Barcelona started playing with living plant materials partly as a response to the legal and environmental baggage that came with traditional graffiti. The thinking was simple but compelling: make street art that doesn’t carry the destructive associations of spray paint, and make it say something clear about how we relate to the natural world.
Green art as a broader idea goes back much further, though. The land art movements of the 1960s and 70s — think Andy Goldsworthy and Robert Smithson — were already using natural materials to create installations that existed in real dialogue with the landscape. Moss graffiti is essentially that same impulse brought into the city and handed to regular people with regular tools and, yes, a regular kitchen blender. It’s land art for the rest of us.
More recently, moss graffiti has wandered well beyond street art into interior design, DIY culture, and even corporate branding. Eco-minded companies have commissioned big moss installations for office lobbies and retail spaces. Lifestyle bloggers and Pinterest boards have turned the whole thing into a beloved weekend project. What started as a fairly niche form of activist art has grown into a genuinely global creative hobby — proof that the combination of nature and design hits something deep in people, regardless of where they’re from.
Gathering Your Materials: Everything You Need to Get Started
One of the best things about moss graffiti is that it won’t send you hunting through specialty art stores. Most of what you need is already in your backyard, at a local garden center, or sitting in your kitchen. The star of the show, obviously, is the moss itself — and getting the right kind really does make a difference in how your project turns out and how long it hangs around.
When you’re out collecting, go for clumps that look healthy and are a bright, vibrant green. Moss that’s dry, brown, or crumbling apart won’t blend properly or take hold on your surface. The best varieties for this kind of project are cushion moss, sheet moss, and fern moss — all fairly easy to track down in shaded, damp spots like forest floors, the bases of trees, or the shadowy sides of old stone walls. Collect more than you think you’ll need; for a medium-sized design, aim for around two full cups.
Beyond the moss, the ingredient list is pretty short. Here’s what to pull together before you start:
- 2 cups of fresh, living moss (cleaned of excess soil and debris)
- 2 cups of buttermilk or plain yogurt (acts as a binding agent and growth medium)
- 2 cups of water
- Half a teaspoon of sugar (optional, but it does encourage growth)
- A blender you’ve set aside for craft use — not one you’re still using for smoothies
- A paintbrush, wide foam brush, or spray bottle for applying the mixture
- Stencils or chalk for sketching out your design
- A shaded, slightly damp surface to work on for the best results
The buttermilk or yogurt is doing double duty here. It creates the kind of acidic, nutrient-rich environment that moss absolutely loves, and it acts as a natural adhesive that helps the blended mixture cling to vertical or textured surfaces while the moss puts down its own tiny root-like anchors called rhizoids. Some people swap in beer or liquid fertilizer for part of the buttermilk, and those variations can work — but for a first attempt, the dairy-based recipe is the most reliable by a clear margin.
Step-by-Step: How to Create Your First Moss Graffiti Design
With everything gathered, it’s time to actually make something. Start with your surface. Moss graffiti does best on rough, porous materials — brick, concrete, natural stone, untreated wood. Smooth surfaces like glass, metal, or painted walls are a much harder ask, because the moss rhizoids need something to grip. As for position, north- or east-facing surfaces tend to be your best bet since they get less direct sun and hold onto moisture longer, which is exactly what moss wants.
Once you’ve picked your spot, use chalk or a light pencil to sketch your design directly onto the surface. For a first project, keep it bold and simple — thick letterforms, large leaf shapes, basic geometric forms. Moss isn’t paint; it’ll spread a bit as it grows, and anything too intricate tends to blur into itself over time. If you’re using a stencil, press it firmly against the surface so the mixture doesn’t creep outside the lines.
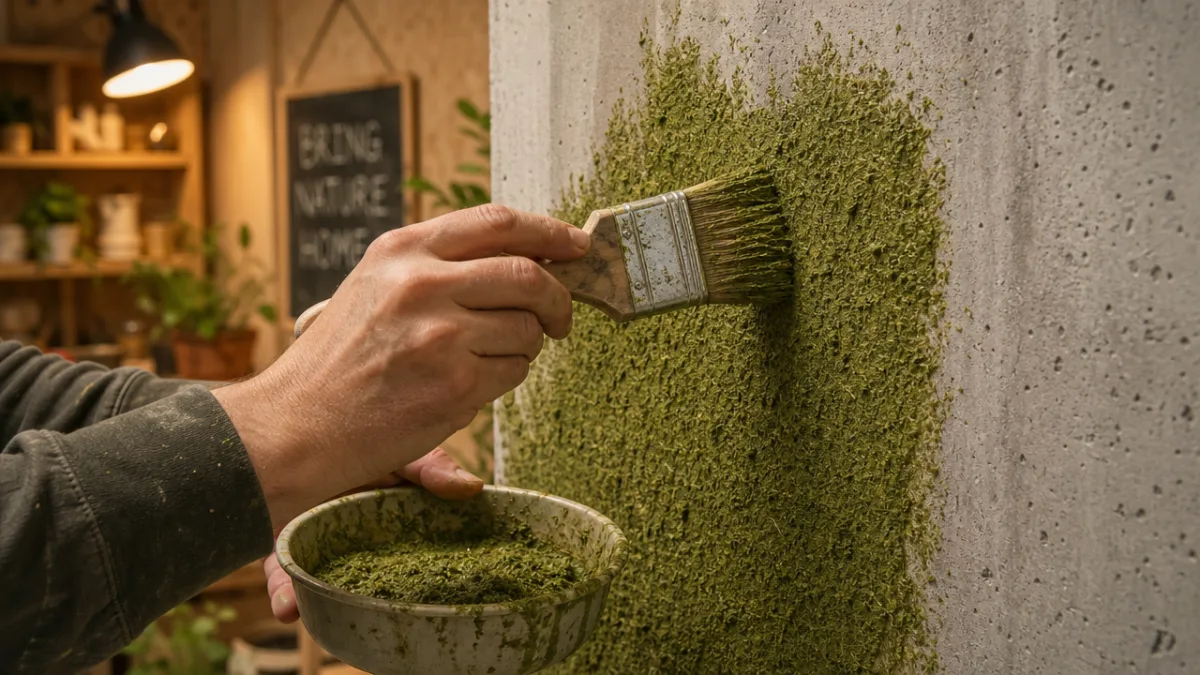
Now for the fun part: the blender. Combine your moss, buttermilk, water, and sugar and pulse until you’ve got something with a smooth, paint-like consistency. It should be thick enough to stay on a brush without immediately dripping, but fluid enough to spread. Too thick? Add a little water. Too thin? Toss in a bit more moss. When the texture feels right, load up your brush and start applying the mixture to your design in even, generous strokes — you’re aiming for a layer roughly three to five millimetres thick across the whole area.
Let that first coat settle for a few minutes, then go back over it with a second coat for better coverage and adhesion. Once you’re done, give the surface a light mist of water and then, crucially, leave it alone. For the first two weeks, come back every two or three days to mist the moss — especially if the weather’s been dry. Within one to three weeks, depending on your conditions, you should start seeing the first real signs of actual growth. Slowly, the blended mixture gives way to a living surface that is entirely yours.
Caring for Your Living Mural: Tips for Long-Term Success
Moss graffiti isn’t quite a set-it-and-forget-it project, but the maintenance is a lot lighter than you might expect once things get going. In that critical first month, moisture is everything. In dry climates or during summer heat, daily misting might be necessary. In a humid or rainy spot, the weather will often handle most of it for you. The only real rule is: don’t let the moss dry out completely during those early weeks when it’s still finding its footing.
Once the moss is properly established — usually around four to six weeks in, when you can see dense, actively growing coverage — the routine gets much simpler. A mist here and there during dry spells, a diluted liquid fertilizer spritz once a month, and the occasional removal of competing weeds or debris is about all it takes. Resist the urge to trim or tidy the moss too aggressively; it naturally grows in soft, uneven patterns, and that gentle irregularity is a big part of what makes it look so alive and organic.
Indoor installations need a slightly different approach since interior spaces tend to run drier. A consistent misting schedule becomes more important, and placement matters — you want natural light, but not direct sun or a spot near heating vents, both of which will dry the moss out in no time. Some indoor artists apply a thin layer of clear, water-based sealant to the surrounding wall to protect the paint or plaster from moisture, while leaving the moss design itself completely unsealed so it can breathe and keep growing.
If patches start browning or thinning out, don’t stress about it. Moss is tougher than it looks and often bounces back with more frequent watering and a diluted seaweed fertilizer solution. For bigger die-off areas, blend a small fresh batch of the mixture and patch it directly onto the affected spots. Most moss graffiti artists find that after a while, reading what their installation needs becomes second nature — and caring for a living piece of art shifts from feeling like maintenance to feeling like a genuinely enjoyable ritual.
Inspiration, Variations, and Taking Your Moss Art Further
Once you’ve got the basic technique down, the creative possibilities really start to open up. Moss graffiti is just one corner of a much bigger movement toward living wall art, and plenty of artists mix moss with other plant materials to build richer, more layered installations. Air plants, ferns, succulents, and lichen can all join the party, adding colour variation, texture contrast, and visual depth that moss alone can’t quite achieve. These mixed-media living walls are having a real moment in both residential and commercial interior design right now.
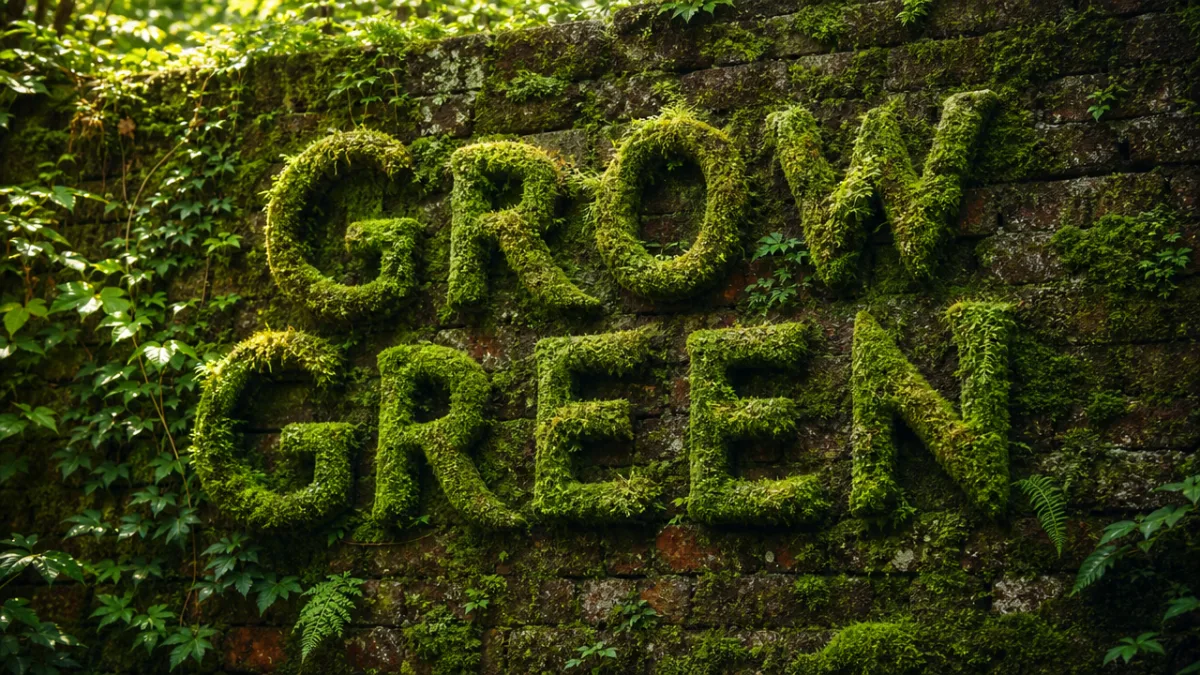
Typography remains one of the most popular applications — and with good reason. Big, bold letterforms covered in living moss carry a visual impact that painted or printed lettering just can’t touch. Lots of people use the technique for personalised house names, favourite quotes, business signage, or decorative initials on feature walls in living rooms and entryways. There’s something about the combination of organic texture and meaningful words that feels simultaneously ancient and completely of the moment — rooted in nature, but deeply personal.
If you want to push things further, it’s worth looking into the world of professional green wall installation, where architectural panels planted with moss and other living plants are used to cover entire interior or exterior building surfaces. There’s a thriving community of artists, designers, and horticulturalists working in this space, and they share techniques, tutorials, and project documentation online constantly. Moss graffiti is a great on-ramp to that larger world of biophilic design — the philosophy of building human spaces that actively bring living natural systems into the picture.
It’s also, for what it’s worth, a wonderful project to do with kids. It teaches plant biology, patience, environmental responsibility, and creative expression all in one go, with no toxic materials and very little cost. Watching a child light up as they see actual moss growing from a design they made themselves — that’s something else entirely. It’s a good reminder that the best DIY projects were never really about the finished result anyway. They’re about everything you notice and feel while you’re making them.








What do you think?
It is nice to know your opinion. Leave a comment.