










Simple Lattice Privacy Screen: A Complete Guide to Building Your Own Outdoor Retreat
Introduction to Lattice Privacy Screens
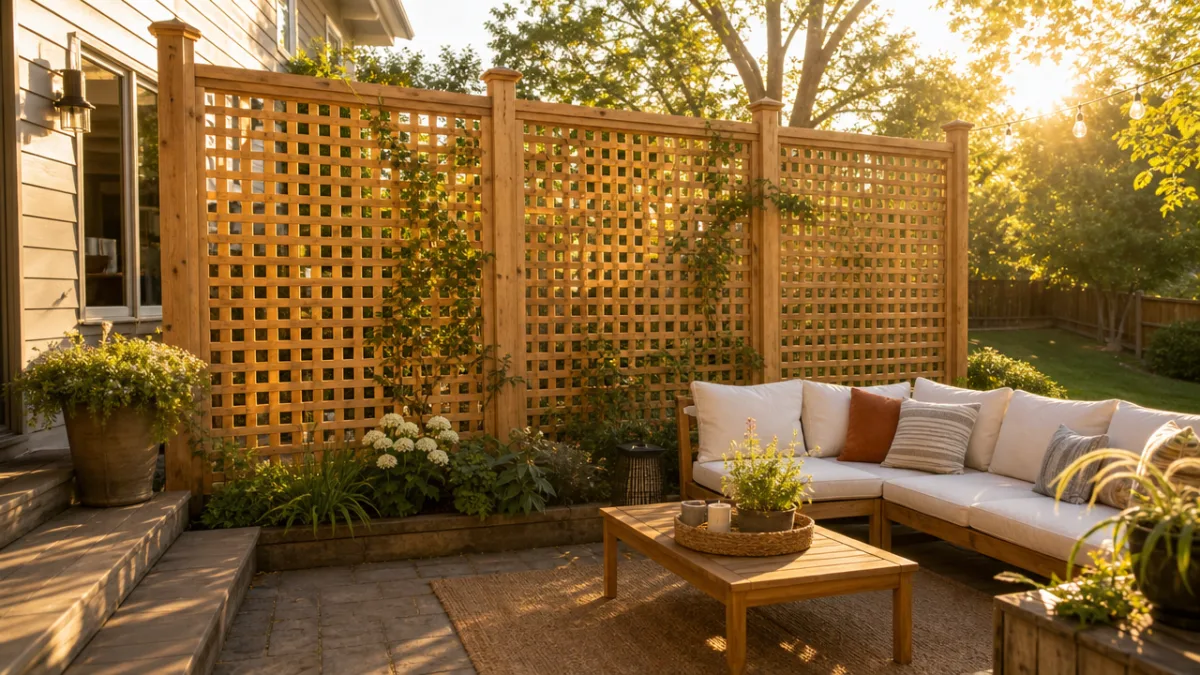
A lattice privacy screen is one of the most versatile and visually appealing solutions for creating seclusion in your outdoor living spaces. Whether you want to block the view from a neighboring yard, define the boundaries of a patio or deck, or simply add a decorative architectural element to your garden, a simple lattice privacy screen delivers both form and function in a single, elegant structure. The interlocking diagonal or square grid pattern of lattice has been used in garden design for centuries, and for good reason — it works beautifully in almost every landscape style.
What makes lattice privacy screens particularly appealing to homeowners and DIY enthusiasts alike is their relative simplicity to construct. Unlike a solid fence, which requires precise post setting, level boards, and considerable material costs, a lattice screen can be assembled in a weekend using commonly available materials from any home improvement store. The open grid design also reduces wind resistance, which means it places less stress on the supporting posts and framework, making it a structurally sound choice even in areas prone to breezy conditions.
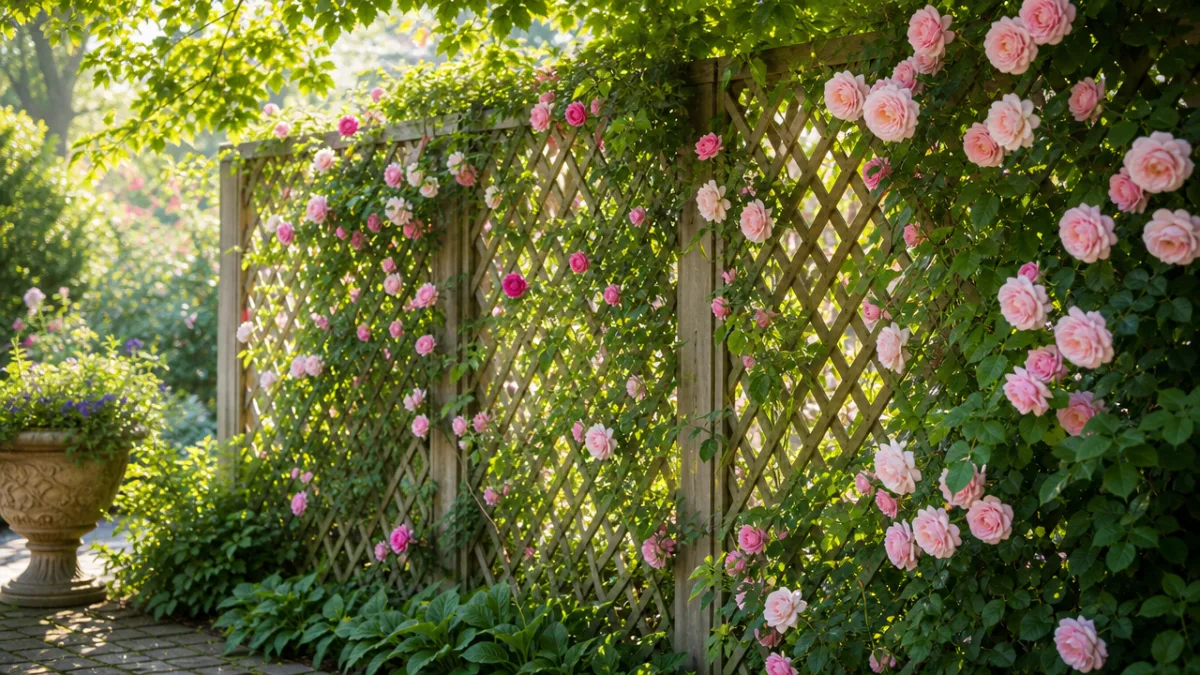
Beyond their practical utility, lattice privacy screens double as living garden features when combined with climbing plants. Vines like jasmine, clematis, honeysuckle, or climbing roses weave naturally through the lattice grid, transforming a simple wooden structure into a lush, fragrant garden wall. This fusion of architecture and nature is what makes lattice screens a perennial favorite in both traditional cottage gardens and contemporary outdoor design schemes. The possibilities for customization are virtually limitless, allowing every homeowner to create something truly unique.
Planning Your Lattice Privacy Screen Project
Before you purchase a single board or drive a single screw, careful planning is the foundation of any successful lattice privacy screen project. Begin by clearly defining the purpose of your screen. Are you blocking a specific sightline from a neighbor’s window or an adjacent road? Are you enclosing a seating area to create a sense of intimate outdoor living? Or is the screen primarily decorative, intended to add structure and visual interest to an otherwise open garden? Your answers will directly influence the height, length, opacity, and placement of your finished screen.
Next, check your local building codes and homeowner association guidelines before proceeding. Many municipalities have regulations governing fence and screen height, particularly near property lines and public rights-of-way. Permits may be required for structures exceeding a certain height, typically six feet in most areas. Ignoring these requirements can result in fines or forced removal of your completed project, so a quick call to your local planning department or a visit to their website is time very well spent. It is also courteous — and sometimes legally required — to inform adjacent neighbors of your intentions before construction begins.
Once you have established the parameters of your project, create a simple sketch or scale drawing of the proposed screen. Note the exact length and height you need, the spacing between vertical support posts, and how the screen will be anchored to the ground or to existing structures. Consider the visual weight of the screen in relation to surrounding elements — a towering, full-panel lattice screen might overwhelm a small urban garden, while a modest three-foot screen would provide little privacy in a sprawling suburban backyard. Getting the proportions right at the planning stage saves considerable frustration later.
Materials and Tools You Will Need
Gathering the right materials before you begin is essential for a smooth construction process. For a standard lattice privacy screen, the primary material is, of course, the lattice panel itself. You can purchase pre-made lattice panels at most home improvement retailers in two common varieties: standard lattice, which features thinner, more flexible slats typically spaced about two inches apart, and heavy-duty privacy lattice, which uses thicker slats set closer together for greater opacity. Panels typically come in 4-foot by 8-foot sheets, making it easy to calculate how many you need based on your planned dimensions.
For the framework, pressure-treated lumber is the gold standard for any outdoor wood project. Posts should be a minimum of 4×4 inches for structural stability, while the top and bottom rails that frame each lattice panel can be constructed from 2×4 lumber. Pressure-treated wood resists rot, insect damage, and moisture — all critical considerations for a structure that will live outdoors year-round. Alternatively, cedar and redwood are naturally rot-resistant species that accept paint and stain beautifully and are a popular choice among those who prefer a more natural aesthetic without chemical treatment.
In terms of tools, most homeowners will have the majority of what they need already in their garage. Here is a list of the essential equipment for this project:
- Circular saw or miter saw for cutting lumber and lattice panels to size
- Power drill with assorted bits and screwdriver heads
- Post hole digger or rented power auger for setting support posts
- Level — both a standard hand level and a long carpenter’s level
- Tape measure and carpenter’s square
- String line and stakes for marking post positions
- Concrete mix for setting posts firmly in the ground
- Exterior-rated screws and galvanized hardware throughout
- Safety glasses, work gloves, and hearing protection
Regarding fasteners and hardware, it is important to use only exterior-rated, galvanized, or stainless steel screws and nails throughout this project. Standard interior hardware will rust within a season or two when exposed to moisture, causing unsightly staining and ultimately weakening the structural connections of your screen. Deck screws in 2.5 to 3-inch lengths are ideal for assembling the frame components, while shorter 1.5-inch screws work well for attaching lattice panels to the frame without punching through to the other side.
Step-by-Step Construction Process
With your materials assembled and your plan finalized, it is time to begin building. Start by marking the precise locations of your support posts using stakes and a string line. For a typical 4×8 lattice panel, posts should be set at eight-foot intervals on center — meaning the center of one post to the center of the next measures exactly eight feet, allowing the standard panel to fit snugly between them with the frame members overlapping each post by an inch or two on either side. Use a tape measure to verify spacing, and drive a stake at each post location.
Dig your post holes to the appropriate depth, which should be one-third of the total post length for adequate stability. For a six-foot finished screen height using eight-foot posts, you would bury approximately two and a half feet of post in the ground, leaving just over five feet above grade to account for any lattice that extends past the top rail. In cold climates, post holes must extend below the frost line to prevent heaving during freeze-thaw cycles — consult your local building department for the required frost depth in your area. Pour a bag of fast-setting concrete into each hole, add water per the manufacturer’s instructions, and use your level to ensure each post is perfectly plumb on all four sides before the concrete sets.
Once the posts are set and the concrete has cured — typically 24 to 48 hours for fast-setting mixes — you can begin attaching the horizontal rail framework. Cut your 2×4 lumber to span between posts, then attach a bottom rail approximately two to three inches above finished grade and a top rail flush with the top of the posts. These rails create the top and bottom boundaries of the frame into which the lattice panel will sit. Many builders also add a middle rail on taller screens for added rigidity and a more polished appearance. Pre-drill all screw holes near the ends of boards to prevent splitting.
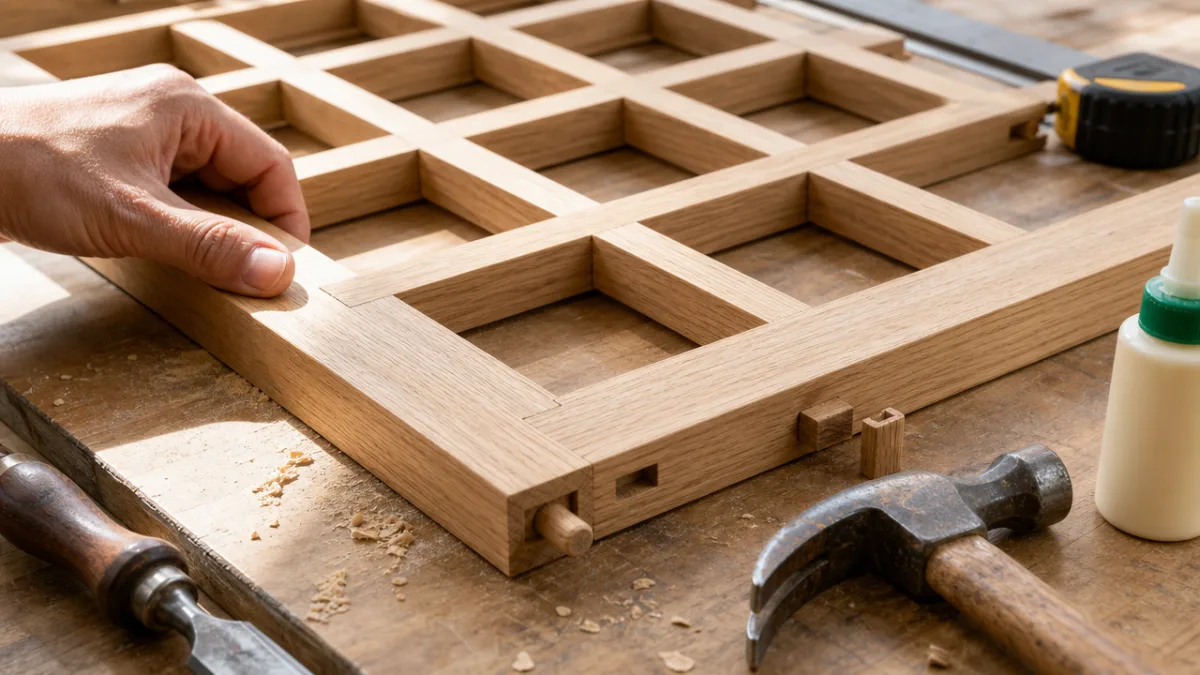
With the framework complete, slide or set your lattice panels into the frame openings. Most builders choose to add thin strips of lumber — called lattice molding or cap strips — on both the front and back face of the frame to sandwich and secure the lattice panel in place. These strips, typically 1×2 or 1×1 lumber, are nailed or screwed through the lattice and into the frame rails and posts, holding everything firmly without requiring you to nail directly through the fragile lattice slats themselves, which can cause cracking and splitting. Work from one end of the screen to the other, ensuring each panel is level and square before fastening.
Finishing, Painting, and Maintaining Your Screen
A freshly built lattice privacy screen, even one constructed from quality pressure-treated lumber, will benefit enormously from a proper finish. If you used pressure-treated pine, allow the wood to dry for several weeks before applying any paint or stain, as the preservative treatment initially leaves the wood with elevated moisture content that can cause finish coatings to peel prematurely. Cedar and redwood can typically be finished sooner. Lightly sanding all surfaces before finishing will open the grain, improve adhesion, and give you a much smoother, more professional result.
Your finishing options broadly fall into three categories. An exterior paint in a solid color offers the most complete protection from UV radiation and moisture, and gives the screen a clean, architectural look that integrates well with a home’s existing trim colors. An exterior stain — either semi-transparent or solid — penetrates the wood fibers rather than sitting on the surface, providing protection while allowing the natural grain texture to show through to varying degrees. Finally, a clear exterior sealer or water repellent preserves the natural wood appearance while offering basic moisture protection, though it requires more frequent reapplication than paint or stain.
Long-term maintenance is what will determine whether your lattice privacy screen looks beautiful for five years or for twenty-five. Inspect the structure annually, paying particular attention to the base of the posts at ground level, which is the area most vulnerable to moisture and rot even with treated lumber. Tighten or replace any loose fasteners, re-caulk any joints where water might pool, and touch up the finish wherever it shows wear or weathering. Remove dead or spent climbing plants that have woven tightly through the lattice at the end of each growing season to prevent excessive moisture retention against the wood surface.
Design Ideas and Creative Variations
One of the most exciting aspects of building your own lattice privacy screen is the freedom to move beyond the standard rectangular panel-in-a-frame formula and explore more creative interpretations. Consider capping the top of your screen with a decorative finial on each post, or cutting the top rail into a gentle arch between posts for a more elegant, garden-wall feel. Alternating panels of diagonal lattice with square lattice creates a visually interesting rhythm along a longer run of screening, breaking up the monotony of a uniform grid pattern.
For a more contemporary aesthetic, consider pairing traditional wood lattice with metal powder-coated framework — square steel posts and rails painted in charcoal gray or matte black provide a sleek contrast to the warmth of natural wood lattice, creating a hybrid design that feels fresh and modern. Some homeowners incorporate built-in planter boxes at the base of their screen, creating a seamless transition between the vertical structure and the garden bed, and giving climbing plants a dedicated home from which to ascend the lattice. Adding outdoor lighting — solar post caps, string lights woven through the grid, or low-voltage landscape fixtures at the base — transforms the screen into a stunning nighttime feature as well.
Color is another powerful design tool worth considering carefully. While natural wood tones and classic white are perennial choices, a lattice screen painted in a deep, moody hue such as forest green, navy blue, or charcoal can serve as a dramatic backdrop for brightly colored flowering plants, making both the architecture and the garden planting pop with visual impact. Conversely, a screen painted to match the house’s trim color creates a cohesive, intentional look that makes the screen feel like a natural extension of the architecture rather than an afterthought. The most important principle is to make a deliberate choice rather than defaulting to whatever was on sale at the paint counter.
The Lasting Value of a DIY Lattice Privacy Screen
A well-built lattice privacy screen delivers value that extends far beyond its immediate functional purpose. From a financial standpoint, creating defined outdoor “rooms” is consistently cited by real estate professionals as one of the most effective ways to increase the perceived value and marketability of a home. A thoughtfully designed outdoor living space with screening, seating, and planting communicates to potential buyers that the exterior of the home has been cared for with the same attention and investment as the interior — and that impression can meaningfully influence both buyer interest and sale price.
From a personal enjoyment perspective, the transformation that a privacy screen brings to an outdoor space is almost immediate and always dramatic. Suddenly, a previously exposed patio becomes a sheltered outdoor room where you actually want to spend time. The simple psychological effect of a defined boundary — even a semi-transparent one — creates a sense of enclosure and intimacy that makes outdoor entertaining feel more like hosting guests in a beautifully designed interior room rather than sitting exposed in the open backyard. This shift in how you feel in the space is perhaps the most compelling argument for the investment of time and materials that a lattice screen requires.
Finally, there is the deeply satisfying experience of having built something lasting and beautiful with your own hands. A DIY lattice privacy screen is an approachable project that rewards patience, careful measurement, and a willingness to learn — and the finished structure stands as tangible evidence of those qualities every time you step outside. With proper material selection, sound construction technique, and consistent maintenance, a lattice privacy screen can serve your outdoor living space for decades, growing more beautiful with each passing season as climbing plants mature and the wood weathers to a distinguished patina. It is, in every sense, an investment worth making.








What do you think?
It is nice to know your opinion. Leave a comment.