










Free Modern Bench Plans – Easy DIY Project Using Only Five 2×6 Boards
Introduction: Why This Bench Project Is Perfect for Every Skill Level
If you’ve ever wanted to build your own furniture but weren’t sure where to start, this bench project might be exactly what you’ve been waiting for. Using just five standard 2×6 boards, you can put together something that looks clean and modern, holds up to real use, and works just as well on a patio as it does in an entryway or dining room. No fancy workshop, no specialized skills — just a few tools, a free afternoon, and a little enthusiasm.
What makes this design so appealing is how refreshingly straightforward it is. A lot of beginner woodworking plans sneak in complicated joinery, odd lumber dimensions, or specialty hardware that sends you on a frustrating scavenger hunt. This one doesn’t. The 2×6 is about as easy to find as lumber gets, and you can usually walk out of the hardware store with everything you need for under thirty dollars. That’s hard to beat for a piece of furniture you’ll actually use every day.
There’s also a lot to learn along the way, even though the build itself is simple. You’ll get comfortable measuring and cutting accurately, figure out how to put together a leg assembly that doesn’t wobble, and learn how to finish wood so it looks like something you paid good money for. Plenty of first-time builders have started here and come away feeling ready to tackle something bigger. That kind of confidence is worth just as much as the bench itself.
Materials and Tools You’ll Need Before You Begin
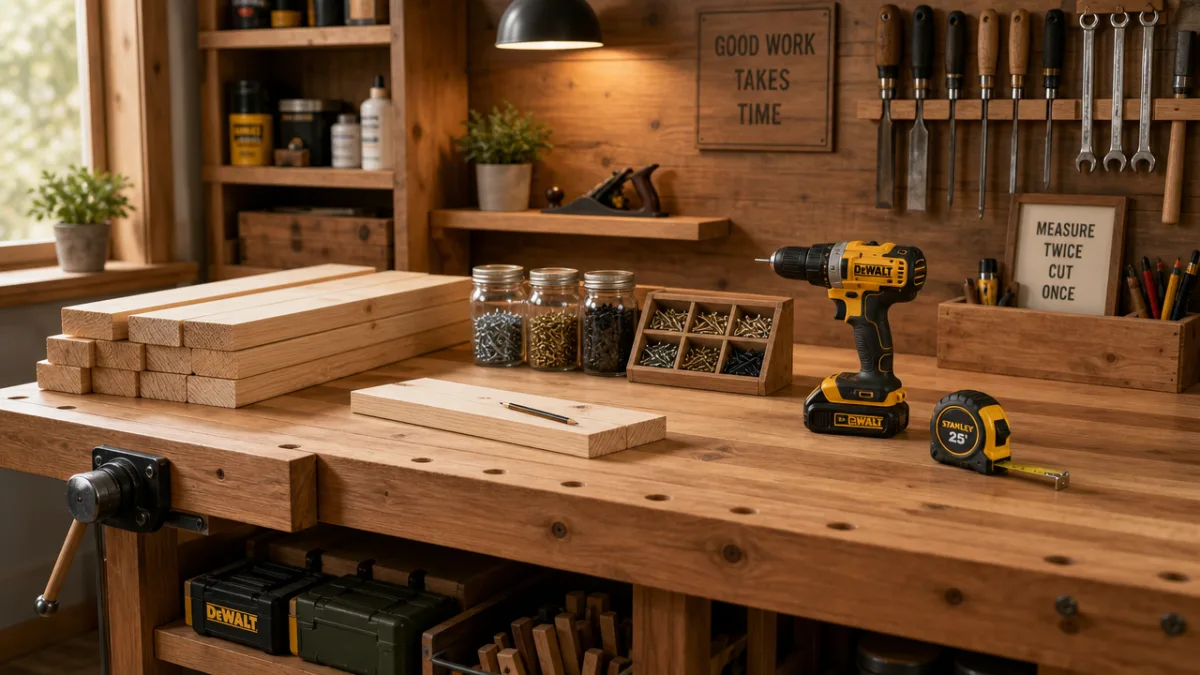
One of the best things about this project is how short the shopping list is. You need five 2×6 boards, each eight feet long, and that’s pretty much it for lumber. Those five boards will give you everything — the seat, the legs, the stretchers, all of it. When you’re picking them out at the store, take your time. Hold each board up and sight down its length to check for warping, and pass on anything with large knots, deep cracks, or visible moisture damage. Choosing good boards at the start makes every step after it easier.
Beyond the lumber, you’ll need a few basic supplies. Exterior-grade screws in 2.5-inch and 3-inch lengths are the workhorses of this build — they’re strong enough to do the job without splitting the wood. A bottle of wood glue will reinforce every joint and make the whole thing noticeably more solid. For sanding, grab sheets in 80-, 120-, and 220-grit so you can work through the grits in sequence. And if the bench is going outside, pick up a good exterior finish, whether that’s a stain-and-sealer combo, outdoor paint, or a penetrating oil — you’ll want that protection in place before the weather gets to it.
The tool list is just as manageable. You’ll need something to make straight cuts (a circular saw or miter saw works great), a power drill, a tape measure, a carpenter’s square, and a pencil. A random orbital sander is a nice time-saver but totally optional — hand sanding works fine. Clamps are genuinely helpful for holding things steady while glue sets or while you’re driving screws, and a countersink bit will give your screw holes that clean, intentional look rather than the wood-splitting surprise you get when you skip it.
Understanding the Cut List and Board Layout
Before you make a single cut, it really pays to understand how those five boards turn into a bench. The layout is thoughtful — almost no wood gets wasted. Two boards become the seat slats that form the top surface. Two more boards get cut into the legs. The fifth board gets cut up into the stretchers that run between the legs and keep the whole thing from racking or wobbling when someone sits down.
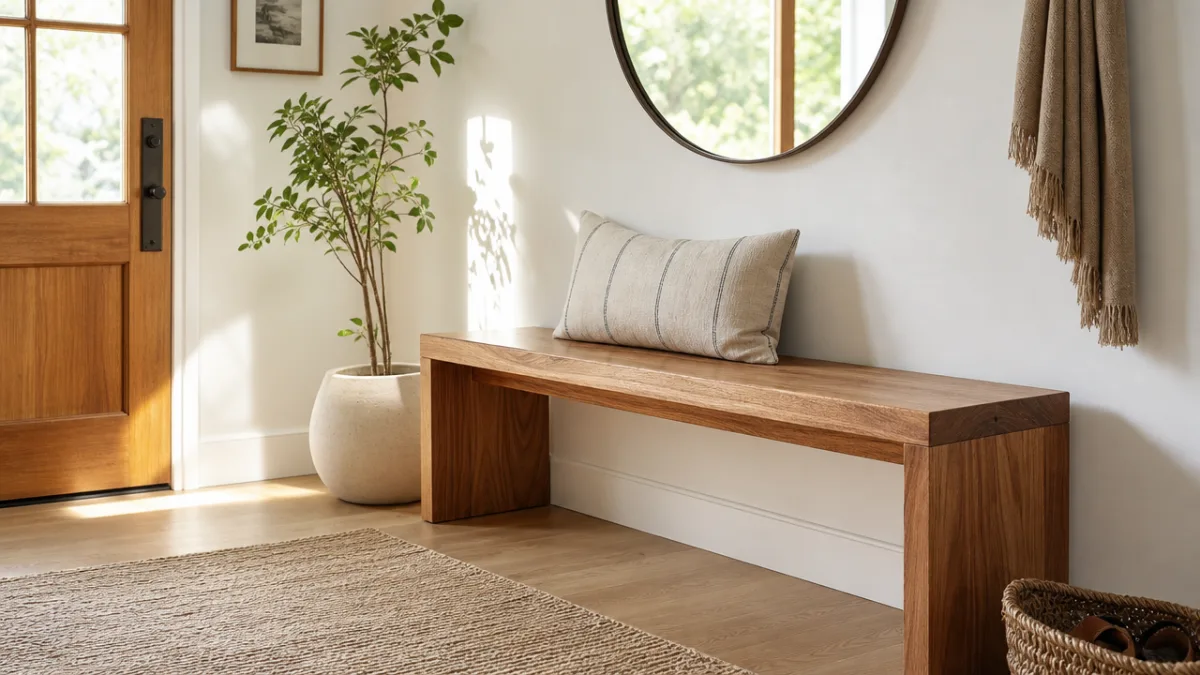
When it’s all put together, the finished bench lands around 48 inches long, about 11.25 inches wide (that’s the actual width of a 2×6 laid flat), and somewhere between 17 and 18 inches tall — right in the sweet spot for comfortable seating at a table or on its own. The seat is just two 2x6s placed side by side, which gives you a surface that’s genuinely comfortable to sit on. The legs can be cut straight for a more traditional look, or with a slight 5-degree angle at the bottom to give the bench that tapered, modern silhouette that makes it look like it came from a design shop rather than a Saturday afternoon project.
When you’re laying out your cuts, stick to the classic rule: measure twice, cut once. Use a sharp pencil and your carpenter’s square to mark every line clearly, and label each piece with a bit of masking tape as you go so nothing gets mixed up. Here’s how the cut list breaks down:
- Seat slats: 2 pieces at 48 inches long (from boards 1 and 2)
- Legs: 4 pieces at approximately 16.5 inches long (from boards 3 and 4), cut with a 5-degree angle on the bottom for a splayed look
- Top stretchers: 2 pieces at 9.25 inches long (from board 5), connecting the legs at the top
- Bottom stretcher: 1 piece at 11.25 inches long (from board 5), running along the center base for added rigidity
Spend a few minutes before you start cutting to lay all the marked boards out and mentally walk through how they’ll fit together. If something looks off or a measurement doesn’t add up, sort it out now. Ten minutes of double-checking at this stage can save you from a frustrating mistake that costs you a whole board.
Step-by-Step Assembly Instructions
Once everything is cut and labeled, assembly goes faster than you might expect — and this is the part where it really starts to feel like a bench. Start by building the two leg sets, one for each end. For each leg set, take two leg pieces and one top stretcher, and fit the stretcher horizontally between the legs at the top. Spread a thin, even bead of wood glue on the mating surfaces, press everything together, and lock the joints with two 3-inch screws driven through pre-drilled, countersunk holes. Keep your carpenter’s square close and check every angle as you go — a little care here means you won’t end up with a bench that rocks.
After both leg assemblies are together and the glue has had at least twenty to thirty minutes to firm up, you can attach the seat boards. Lay the two seat slats side by side and set the leg assemblies at each end, making sure the legs are flush with the outer edges. You can leave a small gap between the seat slats — around a quarter inch works well for outdoor benches since it lets water drain — or push them tight together for a cleaner indoor look. Glue the top of each stretcher, position the seat boards where you want them, clamp everything down, and drive screws through the seat into the stretchers below.
The last structural piece is the bottom stretcher, which runs lengthwise along the base between the two leg sets. This one does a lot of work — it’s what keeps the bench from twisting or shifting sideways under load. Center it between the legs, glue it in place, and secure it with screws driven in from the outside of each leg. At this point your bench should be standing on its own and feeling remarkably solid. Give every joint one more check with the square, and if anything has shifted even slightly before the glue is fully set, now is your window to correct it. Then set it aside overnight and let everything cure completely.
Sanding, Finishing, and Customization Options
The finishing stage is honestly where most of the visual magic happens, and it’s worth taking your time here rather than rushing to call the project done. Start with 80-grit sandpaper to knock off mill marks, pencil lines, and any roughness left by your cuts. Always sand with the grain — going across it leaves scratches that become very visible once you apply a finish. Give the edges and corners a little extra attention, just easing them slightly so the bench doesn’t feel sharp against bare skin.
Step up to 120-grit next to smooth out the scratches from the 80-grit pass, then finish with 220-grit for a surface that feels genuinely silky. Between each grit, wipe everything down with a tack cloth or a lightly damp rag to clear the dust before moving on. It’s tempting to skip this step, but trapped dust under your finish shows up as a gritty, rough texture that’s immediately obvious and really hard to fix after the fact.
For the finish itself, here are some solid options depending on where the bench is going and the look you’re after:
- Exterior wood stain and sealer: Ideal for outdoor benches, this combination penetrates the wood grain to add color while protecting against moisture, UV rays, and mildew. Available in dozens of colors from natural cedar tones to deep walnut shades.
- Outdoor paint: Provides full color coverage and a protective hard shell. Choose a satin or semi-gloss exterior paint for durability. Primer is recommended before painting for the best adhesion and longevity.
- Penetrating oil finish: Products like teak oil or danish oil soak into the wood fibers rather than sitting on the surface, enhancing the natural grain and providing moderate weather resistance with a beautiful matte sheen.
- Indoor polyurethane: For benches that will live inside, a water-based or oil-based polyurethane topcoat offers excellent scratch resistance and a range of sheen levels from matte to high gloss.
- Natural beeswax or furniture wax: A wonderful all-natural option for indoor benches that creates a soft, subtle luster and is easy to reapply as needed over the years.
And the customization doesn’t have to stop there. The design is intentionally minimal, which makes it easy to put your own spin on it. Swap in hairpin legs for a mid-century modern vibe. Add a foam cushion and some upholstery fabric to make it much more comfortable for indoor seating. Some people use a sixth board to add a lower shelf between the legs, which is especially handy in an entryway for corralling shoes. Think of the five-board plan as your starting point, not your ceiling.
Tips for Long-Term Durability and Maintenance
Building a nice bench is one thing — keeping it looking good is another. For outdoor benches especially, the single most important habit you can get into is reapplying your protective finish on a regular schedule. Most exterior stains and sealers need a fresh coat every year or two, though how much sun, rain, and seasonal temperature swings the bench gets will affect that timeline. Before you reapply, lightly scuff the surface with 220-grit to remove anything peeling or chalky and help the new coat bond properly.
It’s also worth getting into the habit of checking and snugging up the screws once or twice a year. Wood naturally expands and contracts as humidity and temperature change, and over time that movement can work joints loose. A quick once-over with a screwdriver doesn’t take long, and catching a slightly loose joint early is a lot easier than dealing with a wobbly bench later. If you spot any cracks forming in the wood, fill them promptly with wood filler or exterior caulk — left open, those cracks let moisture in and that’s where rot tends to start.
Indoor benches are much easier to care for. Regular dusting and quick attention to spills is really all it takes to keep the surface looking fresh. If a high-traffic spot starts to show wear, a light scuff-sand and a thin topcoat will bring it right back without having to refinish the whole piece. Stick some felt pads on the bottoms of the legs to protect your floors and keep the bench from sliding around. Honestly, a well-built bench like this one, given even basic care, can last for decades and develop a genuinely beautiful character along the way.
Conclusion: The Lasting Value of Building It Yourself
There’s something genuinely great about sitting on a piece of furniture you built yourself. This five-board bench delivers that feeling without asking much of you in return — a modest budget, a few hours, and a handful of common tools. From loading those boards into your car to setting the finished bench in its spot, the whole process is a reminder that good-looking, functional furniture doesn’t have to come from a catalog or cost a small fortune. Sometimes it just comes from your garage on a Saturday afternoon.
For a lot of people, a project like this is also the one that opens the door to something bigger. There’s a certain point during a build where you realize you can actually do this — and once that clicks, it’s hard to walk through a furniture store without mentally reverse-engineering everything on the floor. This bench is straightforward enough to finish in a weekend, but substantial enough that you’ll actually use it every day, and that combination tends to stick with people in a way that a more complicated first project wouldn’t.
Beyond the practical result, there’s also just the story the bench carries with it. Something you buy off a shelf doesn’t have much of a story. Something you built yourself carries the memory of the afternoon you made it, the small problem you figured out along the way, and the quiet satisfaction of knowing exactly how it was put together. Build one for yourself, make one as a gift, or put a matching pair on your porch. However you use this design, the bench is really just the visible part — what matters more is what the making of it does for you.








What do you think?
It is nice to know your opinion. Leave a comment.