










Amigurumi Wasp Crochet Pattern: Your Complete Guide to Making an Adorable DIY Plush Toy
What Is Amigurumi and Why Make a Wasp?
Amigurumi is a Japanese craft that involves crocheting or knitting small stuffed creatures out of yarn. The name combines “ami” (knitted or crocheted) with “nuigurumi” (stuffed doll), and it’s honestly one of the most satisfying hobbies out there. What started in Japan has found its way into craft rooms all over the world, and it’s easy to see why — there’s something almost meditative about working in continuous rounds, and the little figures you end up with are just so charming. Whether you’ve been crocheting for years or just picked up your first hook recently, amigurumi is a great way to make something genuinely special with your hands.
Most people picture bunnies, bears, or cats when they think of amigurumi — the classic cute crew. But the craft has grown way beyond that, and insects have quietly become a favorite subject for a lot of pattern designers. A wasp is actually a perfect choice. Between the segmented body, those bold yellow-and-black stripes, and the delicate wings, it ends up being one of the most visually striking things you can make. And surprisingly, a crocheted wasp is completely adorable — definitely not the reaction you’d have to the real thing. People always want to pick it up and look at it more closely.
There’s also something genuinely fun about the creative challenge a wasp presents. It’s a step up from your average round amigurumi animal because you have to think about body proportions, segmentation, and how to suggest wings using yarn. That extra complexity makes finishing the project feel really rewarding. A digital word file pattern handles all the hard thinking for you — just follow the written instructions at your own pace, come back to any section whenever you need to, and let your confidence grow stitch by stitch.
Understanding the Digital Word File Pattern Format
A digital word file pattern is a downloadable document — usually a .doc or .docx file — with all the written instructions, stitch counts, and assembly notes you need to finish your amigurumi. The biggest perk over a printed pattern is that you get it instantly. No waiting for shipping, no worrying about spilling your coffee on the only copy. You can pull it up on your laptop, tablet, or phone, or print it out at whatever font size actually works for your eyes.
The word file format has a real edge over PDFs, too — it’s editable. Want to highlight certain rows, jot down a note in the margin, or swap the font for something easier to read? Go right ahead. A lot of experienced crocheters have their own shorthand for pattern notes, and a word file makes that kind of personalization completely painless. You can even check off rows as you complete them, which is a lifesaver on longer projects when you put it down and pick it back up a few days later.
Digital patterns are also a greener choice — no paper waste unless you decide to print. They’re easy to keep organized in folders, searchable when you can’t remember which section covered the antennae, and simple to share with a class or crafting group (within the designer’s licensing terms, of course). For this wasp pattern specifically, the word file format means you get clear, step-by-step instructions that walk you through every single part of the toy — head, thorax, stinger, antennae, all of it — in a logical order that actually makes sense as you work through it.
Materials and Tools You Will Need
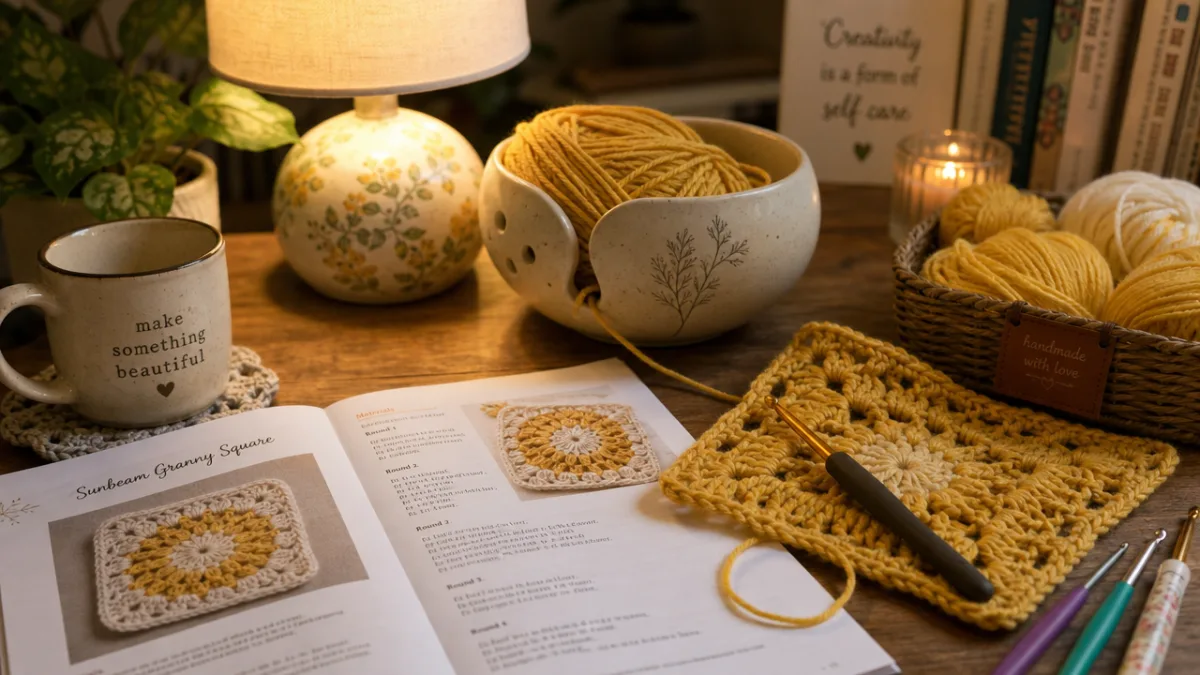
Getting your materials together before you start makes the whole process so much smoother. Yarn is the obvious first thing to sort out, and for an amigurumi like this you’ll want a lightweight worsted or DK weight in yellow, black, and white. Those three colors cover the classic wasp look — bright yellow for the body segments, deep black for the bands and head, and white or pale cream for the wings. Try to choose a yarn with a tight, smooth twist, since it’ll show your stitch definition really clearly and give you that neat, polished finish you’re aiming for.
You’ll also need a crochet hook sized for your yarn, though here’s a tip: most amigurumi patterns actually call for a hook a size or two smaller than what the yarn label suggests. The tighter gauge means stuffing won’t peek through the gaps between stitches. For worsted weight yarn, starting with a 3.5mm or 4mm hook is usually about right. Beyond that, you’ll need polyester fiberfill stuffing, a yarn needle for seaming and weaving in ends, sharp scissors, and safety eyes — typically small black ones around 6mm or 8mm work well for a little wasp.
A few extras are worth picking up too. Stitch markers are pretty much essential for amigurumi since you’re working in continuous spiraling rounds — without a marker it’s surprisingly easy to lose track of where you are. Pins come in handy when you’re positioning the legs and wings before sewing them on, so everything ends up symmetrical. If you want the antennae or legs to actually hold a pose, a small length of wire inserted inside them does the trick beautifully. And having a reference photo of the finished piece nearby — or even just a real wasp photo — helps you check your proportions as you go.
Step-by-Step Overview of the Crochet Process
The wasp is built in separate pieces that get assembled at the end — which is pretty standard for amigurumi, and honestly makes the whole thing much more manageable. Each part gets crocheted and stuffed on its own before everything comes together into the finished figure. You’ll be making the head, the thorax (the middle section where the legs attach), the abdomen (the bigger striped rear section), the legs, the antennae, and the wings. Each piece follows the same basic logic: increases to build out a flat circle, then even rounds to create the sides of a 3D shape, then decreases to close it up.
Most pieces start with a magic ring — an adjustable loop that lets you begin crocheting in the round without leaving a hole in the center. From there you increase evenly over several rounds to make a flat circle, then keep adding rounds at an even stitch count to build up the walls of a sphere or oval. The striped abdomen is where the color changes come in: you switch yarn at specific rows to create those yellow-and-black bands, and the pattern tells you exactly when to switch and how to carry the unused yarn neatly so you don’t end up with a tangled mess inside the piece.
Assembly is the moment when everything clicks into place and it actually starts looking like a wasp. Pins are your best friend here — use them to position the thorax and abdomen at the right angle relative to each other before you commit to any stitches. Wasps have that distinctive narrow waist (the petiole), and the pattern guides you through connecting the two body sections with just a small cluster of joining stitches to recreate it. The legs go on symmetrically along the thorax, three per side. The wings — worked in a fine yarn or crochet thread so they look appropriately delicate — attach to the top of the thorax. Then the antennae curl up from the head, and the safety eyes get locked in before you close everything up.
- Begin with a magic ring and work in continuous spiraling rounds throughout most of the pattern.
- Use stitch markers to track the beginning of each round and prevent miscounting.
- Change colors at the end of a round by pulling the new color through the last two loops of your final stitch.
- Stuff each piece firmly as you work so the fiberfill distributes evenly before the opening closes.
- Pin all pieces in place before seaming to check symmetry and proportion.
- Insert safety eyes before closing the head, as they cannot be added after the piece is sealed.

Tips for Getting the Best Results
Tension is probably the thing that trips up beginners most often with amigurumi. It’s simply how tightly or loosely you’re holding the yarn as you work, and it has a direct effect on how your stitches look and how big your finished piece turns out. For amigurumi you want a slightly firmer tension than you’d use for a blanket, because that keeps the stitches dense enough that the stuffing stays hidden inside where it belongs. If you notice your tension drifting around, try consciously relaxing your grip a little and letting the yarn flow more smoothly through your fingers rather than fighting it.
Color changes sound nerve-wracking the first time, but they really do become second nature quickly. The trick is timing — you switch colors on the very last yarn-over of the stitch before the change, so that the first stitch of the new color comes out clean. Weave in your ends as you go rather than leaving a pile of them for the end of the project, and weave them in multiple directions so they’re actually secure. For the wasp’s striped abdomen, carrying the unused color up the inside of the work instead of cutting and rejoining at every single stripe saves a lot of time and dramatically reduces the number of ends you have to deal with.
Don’t rush the finishing stage — it really does matter more than people expect. How neatly you join the pieces, how carefully you place the wings and legs, how securely those antennae are attached — all of it shows in the final result. Take your time, step back every so often to look at the overall shape, and don’t be afraid to unpick a seam and redo it if something looks off. Those extra few minutes spent fussing over the assembly make a huge difference to how the finished wasp looks, and to how proud you’ll feel when you set it on a shelf or hand it to someone as a gift.
- Always make a gauge swatch before beginning, especially if you are substituting a different yarn than the pattern recommends.
- Keep a small notebook or use the word file itself to record your row counts as you work through each piece.
- Block your finished wings lightly with a damp cloth to help them lie flat and maintain their shape.
- Use a yarn needle with a blunt tip for seaming to avoid splitting the yarn in the pieces you are joining.
- Store your finished amigurumi away from direct sunlight to prevent the colors from fading over time.

Creative Variations and Gifting Ideas
Once you’ve worked through the pattern and understand how the wasp goes together, experimenting becomes really fun. The yellow-and-black colorway is classic for a reason, but there’s nothing stopping you from making a fantasy version in teal and purple, or going full kawaii with soft pinks and creams. You can also play with scale — grab a bulkier yarn and a bigger hook for an oversized cushion-sized wasp, or go the other direction with fine crochet thread and a tiny hook for a miniature version that could work as an ornament or bag charm.
As a gift, a crocheted wasp is genuinely unexpected in the best possible way. It’s perfect for nature lovers, insect enthusiasts, or anyone who has a soft spot for handmade and unusual things. Kids who are obsessed with bugs absolutely love them, and plenty of adults who collect quirky, artisan-made objects will appreciate it just as much. Tuck in a small card that explains the amigurumi tradition and the time that went into making it, and suddenly it’s not just a gift — it’s a story, something with a real human element that no toy from a shop can replicate.
There’s also a bigger creative project hiding in here if you want it. Crochet a whole insect collection — a bee, a butterfly, a ladybird, a wasp — and display them together in a shadow box or arrange them as a nature-themed vignette. If you sell on handmade marketplaces, unusual amigurumi creatures tend to get a lot of attention, and a wasp is definitely a standout piece. The pattern also works really well as a teaching tool: walk a beginner through it step by step and use it as a natural way to introduce working in the round, color changes, and 3D assembly in a project that’s actually exciting to make.
Why Handmade Matters: The Value of DIY Craft
In a world where most things are mass-produced and disposable, a handmade amigurumi wasp is quietly countercultural. Every stitch was placed by a person who was paying attention, making small decisions, and caring about the outcome. The time spent on a piece like this is a kind of slow, focused making that feels genuinely different from how most of us spend our hours. Research backs this up, too — crafts like crochet have been shown to reduce stress, sharpen concentration, and leave people with a real sense of accomplishment. There’s something good for you in the act of making something well with your own hands.
There’s also something that happens when you give someone a thing you made yourself. You’re not handing over a product — you’re giving them evidence of time spent specifically for them. The person receiving it knows that this exact object, made by these exact hands, doesn’t exist anywhere else in the world. The little imperfections that come with handmaking are part of that; they’re proof that a real person did this. That kind of uniqueness is genuinely precious, and it tends to stick with people long after the moment of receiving it in a way that a store-bought gift just doesn’t.
Buying a digital pattern also connects you to something bigger — the community of independent designers and makers who create these things. When you purchase from a small creator, you’re directly helping them keep doing what they do. The amigurumi world is a wonderfully warm and generous corner of the internet, full of online groups, social media communities, and local clubs where people share their finished projects, help each other through tricky techniques, and genuinely cheer each other on. Posting a photo of your finished wasp and tagging the designer is a small thing, but it matters — it helps their work find new people and keeps the whole creative ecosystem going.








What do you think?
It is nice to know your opinion. Leave a comment.