










DIY Spring Decor Garden Cloche: Bringing Enchanting Glass Dome Magic to Your Home
What Is a Garden Cloche and Why It Belongs in Your Spring Decor
A garden cloche is one of those timeless decorative pieces that effortlessly bridges the gap between functional garden tool and stunning home accent. Originally designed to protect tender seedlings from late frosts in French kitchen gardens, the glass dome cloche has evolved into a beloved decorating staple that adds instant charm, elegance, and a touch of whimsy to any space. When spring arrives and the world begins to bloom again, there is simply no better time to incorporate these beautiful glass vessels into your seasonal home decor.
The appeal of a cloche lies in its ability to transform even the most ordinary objects into something that looks curated and intentional. By placing items beneath a glass dome, you create a miniature world — a tiny terrarium of sorts — that draws the eye and invites curiosity. Whether you fill yours with fresh moss, delicate dried flowers, small ceramic bunnies, or a cluster of speckled eggs, the cloche elevates whatever sits inside it into something that looks like it belongs in an upscale boutique or a feature spread in a home decor magazine.
Best of all, making your own garden cloche display for spring is a wonderfully accessible DIY project that requires minimal supplies, very little crafting experience, and only a few hours of your time. The results, however, look anything but simple. A well-styled cloche arrangement can become the centerpiece of a dining table, the focal point of a mantel, or the perfect finishing touch on an entryway console. Once you understand the basics of cloche styling and construction, you will find yourself reaching for this versatile decorating tool season after season.
Gathering Your Materials: Everything You Need to Get Started
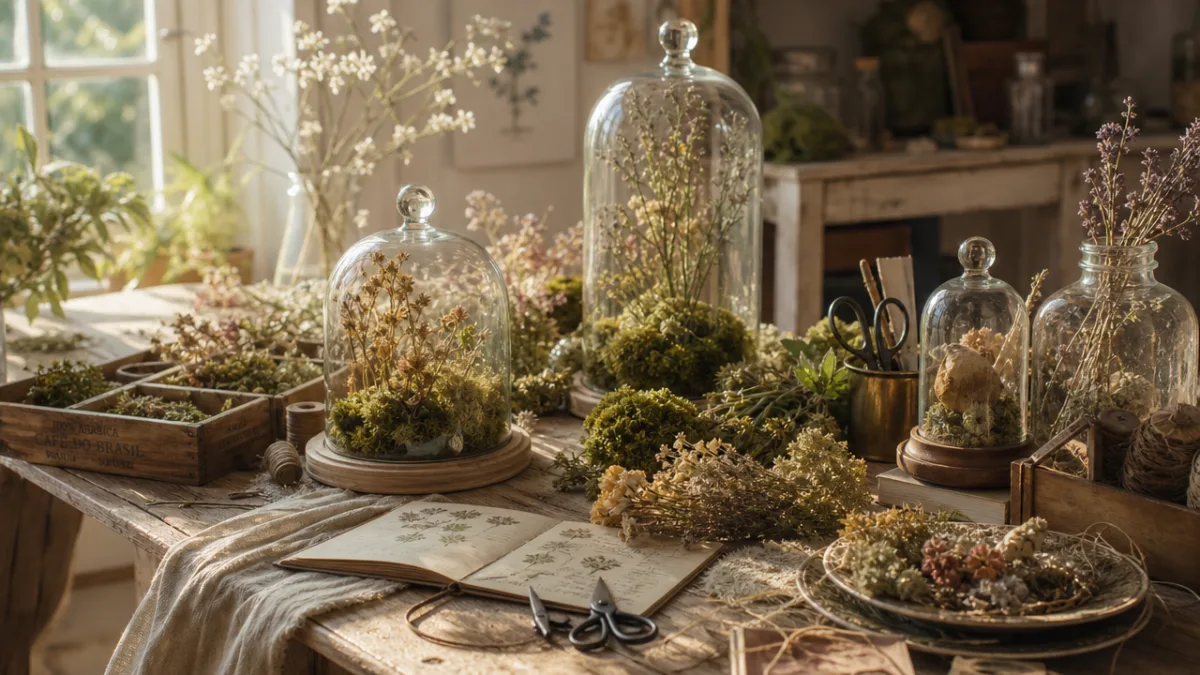
Before you dive into creating your DIY spring cloche, it is important to gather all of your materials so the process flows smoothly from start to finish. The most essential component is, of course, the cloche itself. Glass cloches come in a wide range of sizes and styles, and you can find them at craft stores, home decor shops, thrift stores, and online marketplaces. Look for cloches with a flat, stable base or ones that come paired with a wooden, slate, or ceramic tray, as this makes styling much easier and gives your finished display a polished, intentional look.
For a classic spring garden cloche arrangement, you will want to gather a selection of natural and decorative elements that evoke the freshness and beauty of the season. Consider collecting items such as preserved or dried moss in varying shades of green, small bundles of dried lavender or baby’s breath, miniature bird nests, faux or real speckled eggs, tiny potted succulents or air plants, small ceramic or resin animal figurines, and delicate ribbon or twine for finishing touches. Having a variety of textures, heights, and colors available before you begin will make the styling process far more intuitive and enjoyable.
You will also want to have a few basic crafting tools on hand. A hot glue gun and extra glue sticks are invaluable for securing elements in place so that your arrangement stays intact when moved or dusted. Small scissors or floral snips will help you trim moss, stems, or ribbon to the perfect length. A pair of tweezers can be surprisingly useful for placing tiny elements with precision inside the dome. Finally, having a damp cloth nearby will allow you to wipe away any fingerprints from the glass as you work, keeping your finished piece looking crisp and beautiful.
Step-by-Step Instructions for Creating Your Spring Garden Cloche
Begin by preparing your base. If your cloche came with a tray or platform, this is what you will be working with. If not, you can create a charming base using a small wooden slice, a piece of slate, a terracotta saucer, or even a thick piece of driftwood. The base sets the tone for the entire arrangement, so choose something that complements the aesthetic you are going for — rustic and natural, clean and modern, or soft and romantic. Lightly sand any rough edges and, if desired, apply a thin coat of stain or paint to coordinate with your existing decor.
Next, begin building your base layer using sheet moss or preserved moss. Press the moss firmly against the surface of your base, using small dots of hot glue to secure it in place. Do not worry about making this layer perfectly neat — a slightly wild, organic look is part of the charm. Vary the texture by layering different types of moss if you have them available. This green foundation will give your arrangement a lush, garden-fresh feel and provide a visually cohesive backdrop for all of the decorative elements you will be adding on top.
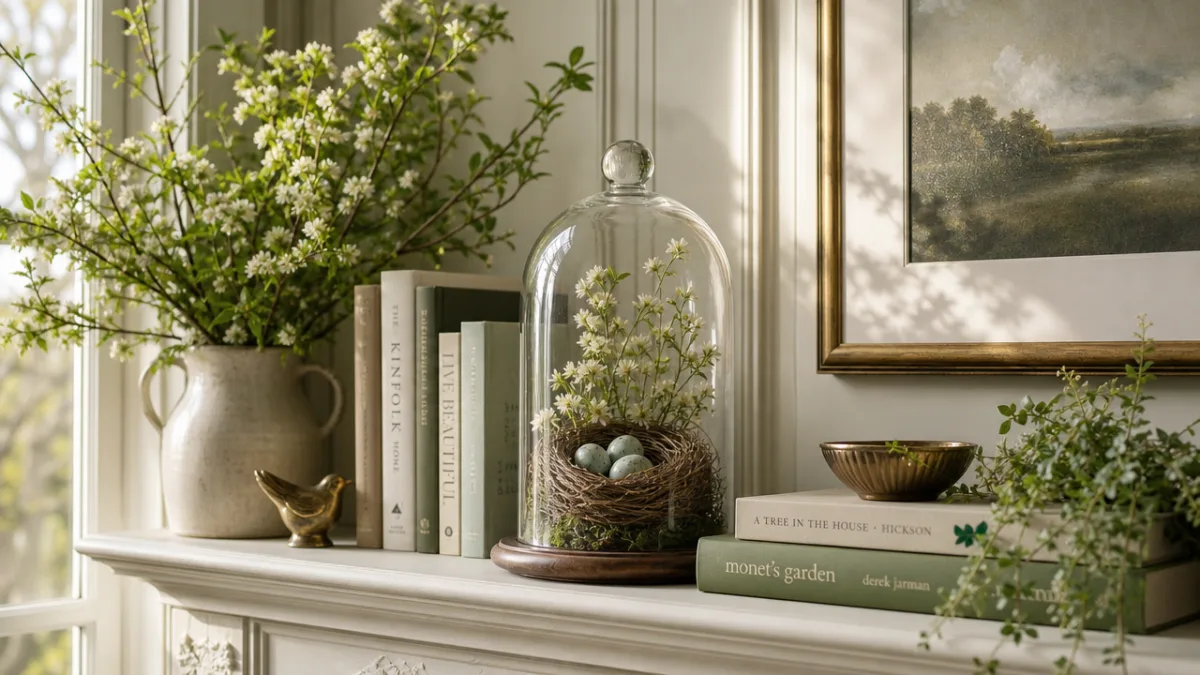
Once your moss layer is in place, begin adding your feature elements one by one, starting with the tallest or most substantial pieces and working your way down to the smallest accents. A small bird nest makes a wonderful focal point and can be nestled directly into the moss for a natural look. Tuck a few speckled eggs into the nest, secure them gently with a tiny drop of glue if needed, and then begin adding surrounding elements such as tiny flowers, feathers, or ribbon. Step back frequently as you work to assess the overall balance and composition of your arrangement before placing the cloche dome over the top.
Tips for Perfect Cloche Styling
Achieving a beautifully styled cloche is as much about editing as it is about adding. One of the most common mistakes beginners make is overcrowding the dome with too many elements, which can make the arrangement look cluttered rather than charming. A good rule of thumb is to use an odd number of main focal items — three or five tends to work best — and to leave some breathing room so the eye can move easily from one element to the next. Restraint is your friend when it comes to cloche design.
Height variation is another key principle to keep in mind. Try to include at least one element that reaches fairly close to the top of the dome, creating vertical interest and making the most of the cloche’s height. This might be a tall sprig of dried eucalyptus, a branch of flowering cherry blossoms (real or faux), or a slender decorative bird on a stick. Contrasting this with lower, rounder elements at the base creates a dynamic, visually pleasing composition that feels complete and thoughtfully designed.
Consider also the principle of layering textures and materials. A cloche arrangement that incorporates smooth surfaces alongside rough, matte alongside glossy, and organic alongside man-made will always feel more interesting and sophisticated than one built from a single material or texture type. For spring specifically, pairing the softness of moss and dried petals with the cool, hard surface of a ceramic egg or the slight sheen of a glass bead creates the kind of tactile contrast that makes people want to look — and look again.
Troubleshooting Common DIY Cloche Problems
If you find that your elements keep shifting or falling over inside the dome, do not hesitate to use more hot glue. While it might feel like cheating, gluing your arrangement together is a completely standard practice in DIY decor, and it is the only reliable way to ensure your display remains intact over time. Allow each glued element to cool and set fully before adding the next piece on top of or beside it, and always test the stability of your arrangement by gently tilting the base before placing the dome over the top.
Condensation can sometimes be an issue if you are using live plants or freshly cut flowers inside your cloche. To minimize moisture buildup, make sure any live plant material is as dry as possible before placing it inside the dome, and consider lifting the cloche slightly on one side using a small, inconspicuous item to allow for airflow. If you are using preserved or dried materials exclusively — which is the most common approach for long-lasting seasonal decor — condensation will not be a concern at all, and your arrangement should remain beautiful for months without any maintenance.
Creative Spring Themes and Variations to Try
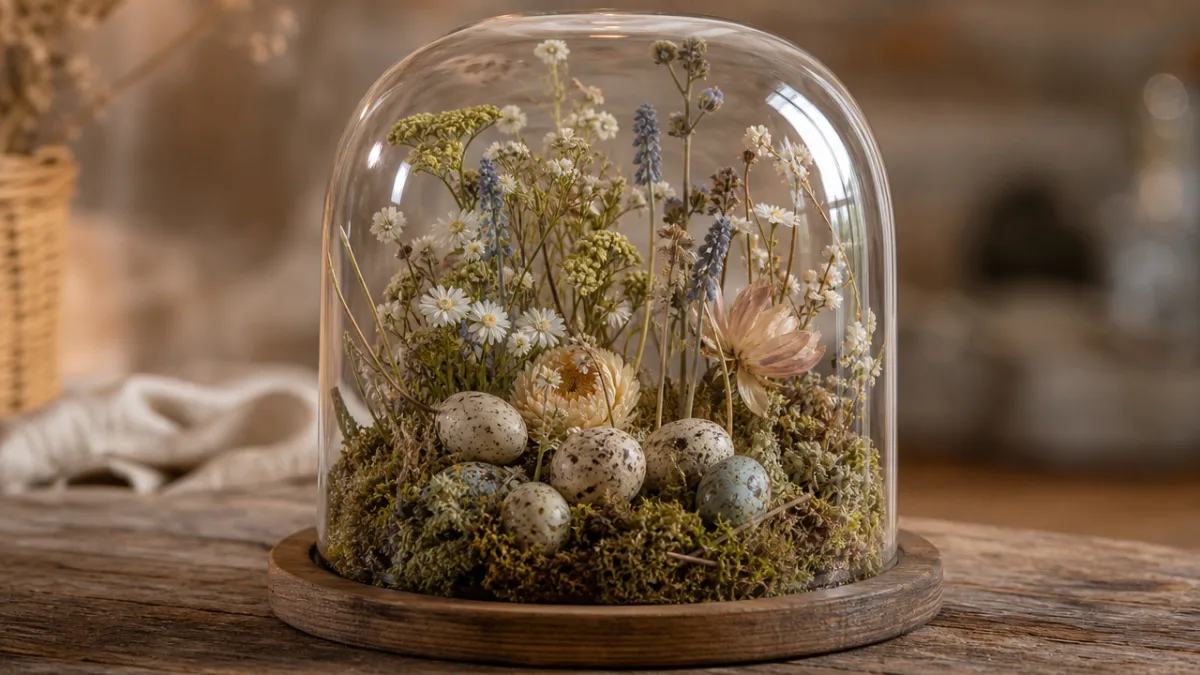
One of the most delightful aspects of DIY garden cloches is how easily they adapt to different stylistic themes and personal aesthetics. If you prefer a cottagecore or botanical aesthetic, consider filling your cloche with an abundance of dried wildflowers, pressed fern fronds, a tiny watering can, and perhaps a miniature mushroom or two tucked into lush green moss. This style feels wonderfully nostalgic and dreamy, evoking long walks through misty English gardens and the pages of vintage botanical illustration books.
For those who lean toward a more modern farmhouse or Scandinavian-inspired look, a simpler, more restrained approach works beautifully. A single sculptural air plant resting on a bed of pale, bleached moss, accented with a handful of white quartz crystals or smooth river stones, creates a minimalist display that feels fresh, airy, and effortlessly chic. Choosing a cloche with clean lines and a simple wooden or white ceramic base reinforces this pared-back aesthetic and lets the natural beauty of each element speak for itself.
Easter and springtime celebrations offer another wonderful opportunity to theme your cloche display around specific holiday imagery. A collection of three graduated-size cloches arranged together on a mantel or sideboard, each filled with a different Easter-themed vignette — one with a nest of pastel eggs, one with a ceramic bunny surrounded by tiny flowers, and one with a simple candle nestled in moss — creates a cohesive and celebratory display that feels festive without being overdone. You can also swap out a single element within each cloche from year to year to keep the look feeling fresh and new.
Seasonal Swaps to Extend the Life of Your Cloche Investment
One of the smartest things about investing time and money into a beautiful cloche base is that you can refresh the interior display with each passing season, effectively creating an entirely new decorative piece without purchasing anything new. As spring transitions into summer, swap out the pastel eggs and delicate flowers for sun-bleached shells, miniature starfish, and fine sand for a beachy, relaxed summer vibe. Come autumn, fill the base with tiny gourds, acorn caps, dried orange slices, and cinnamon sticks for a warm, harvest-inspired display.
Winter and holiday variations are equally enchanting. A bed of white faux snow, a small bottle brush tree, and a few sparkly glass ornaments transform your cloche into a miniature snow globe scene that looks magical on a holiday mantel. You might also consider creating a candle cloche for winter evenings — place a battery-operated LED taper candle at the center of your base, surround it with dried rosemary sprigs (which smell wonderful and evoke pine needles), and add a few small pinecones at the base for a cozy, rustic holiday display that is both safe and stunning.
The key to making seasonal swaps quick and easy is to keep your base relatively neutral and to store your seasonal filler elements in small labeled bins so you can find them easily when the time comes to redecorate. Investing in a higher-quality cloche with a beautiful base from the start pays dividends over time, as a well-made cloche will last for years and serve as a dependable decorating anchor no matter what season it is. Think of it less as a single project and more as a long-term decorating investment that will bring you joy again and again.
Displaying and Styling Your Cloche in Your Home
Where you choose to display your finished cloche can be just as important as what you put inside it. Cloches work beautifully in a wide range of locations throughout the home, but they tend to have the greatest visual impact when placed at or slightly above eye level, where their details can be appreciated up close. A dining table centerpiece, a mantel arrangement, a bookshelf vignette, or a styled tray on a coffee table are all excellent options that put your cloche right where it will be noticed and admired by family and guests alike.
When styling a cloche as part of a larger vignette, it is helpful to think of it as the star of a small supporting cast. Pair your cloche with a stack of books, a small potted plant, a framed artwork leaning against the wall, or a collection of complementary objects in varying heights and shapes. The cloche should be the eye-catching centerpiece, but the surrounding elements should provide context, balance, and visual interest. Keep the color palette cohesive by repeating one or two key colors from inside the cloche in the surrounding objects.
Lighting plays a significant and often underestimated role in how beautiful your cloche display will look in your space. Natural light filtering through a nearby window is ideal, as it illuminates the glass dome beautifully and casts soft, shifting patterns of light and shadow that bring the arrangement to life. If your cloche will be displayed in a darker corner or on a mantel without nearby natural light, consider positioning a small, warm-toned spotlight or an LED puck light beneath the base of the display to create a gentle upward glow that highlights the details of your arrangement and gives the glass a lovely luminous quality.
Why DIY Spring Cloches Make Meaningful Gifts and Personal Statements
Beyond their decorative value in your own home, handmade garden cloches make extraordinarily thoughtful and personal gifts for the people in your life who love beautiful things. Because each cloche is uniquely assembled by hand, no two are exactly alike, which gives every gift a one-of-a-kind quality that mass-produced decor simply cannot replicate. A spring cloche gifted to a friend or family member carries within it not only the charm of the object itself but also the time, thought, and care that went into making it — qualities that any recipient is sure to appreciate.
Consider tailoring the contents of a gift cloche to the personality, interests, or home aesthetic of the person you are making it for. A nature lover might appreciate a cloche filled with real preserved botanicals, a tiny compass, and a miniature map. A gardening enthusiast might love a design featuring seed packet labels, small clay plant markers, and a tiny trowel. Someone who collects vintage items might be delighted by a cloche that incorporates antique buttons, a miniature cameo brooch, or a fragment of vintage lace tucked beneath a glass dome like a tiny treasure in a museum case.
There is also something deeply meaningful about the act of creating a miniature world with your own hands. In a time when so much of our visual environment is designed by algorithms and consumed passively on screens, taking the time to arrange a small, beautiful, physical thing — to place a tiny nest just so, to choose a particular shade of moss, to position a delicate dried flower with care — is a quietly radical act of presence and intention. Your DIY spring garden cloche is not just decor. It is a small, handmade declaration of your love for beauty, for nature, and for the joy of making something lovely with your own two hands.








What do you think?
It is nice to know your opinion. Leave a comment.