










DIY Raised Garden Boxes: A Complete Guide to Building Your Own Backyard Garden
Why Raised Garden Boxes Are Worth the Effort
Raised garden boxes have become one of the most popular trends in home gardening, and for excellent reason. Whether you have a small urban backyard, rocky soil, or simply want better control over your growing conditions, a raised garden box offers a practical and rewarding solution. Gardeners of every experience level have discovered that these structures dramatically improve plant yields, reduce weeding time, and make the entire gardening process more enjoyable and accessible.
Beyond the functional benefits, raised garden boxes add a polished, intentional aesthetic to any outdoor space. Unlike traditional in-ground gardens that can look haphazard or unkempt, a well-built raised box gives your yard a sense of structure and design. Many homeowners find that once they build their first box, they quickly plan for a second, third, or even an entire raised bed garden system that becomes the focal point of their outdoor living area.
There is also a deeply satisfying element to growing food in something you built with your own hands. The combination of carpentry and gardening taps into a primal sense of self-sufficiency that is increasingly rare in modern life. When you eat tomatoes from a bed you designed, filled, and planted yourself, the flavor somehow tastes even better. This guide will walk you through everything you need to know to plan, build, fill, and plant your very own raised garden boxes from start to finish.
Choosing the Right Materials for Your Raised Garden Box
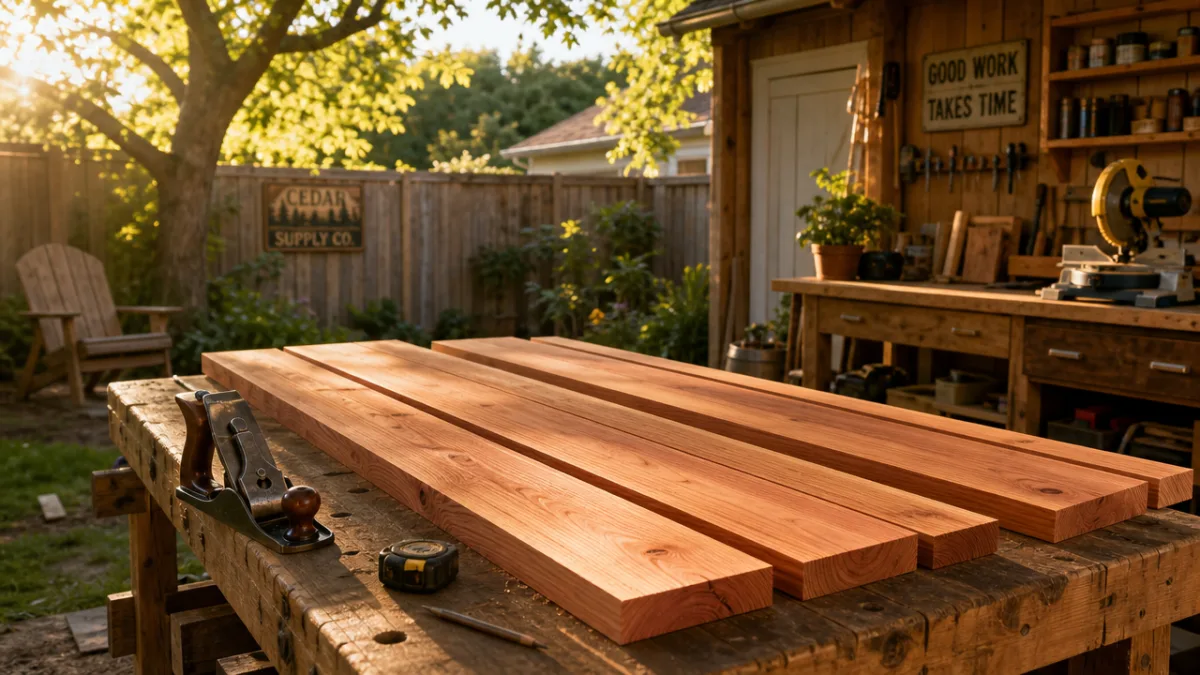
The material you choose for your raised garden box will determine its longevity, safety, appearance, and overall cost. The most popular choice by far is untreated cedar wood. Cedar is naturally resistant to rot and insect damage, it weathers gracefully to a soft silver-grey over the years, and it contains no chemicals that could leach into your soil and affect your food. While cedar costs more than other woods upfront, it easily lasts ten to twenty years with minimal maintenance, making it a smart long-term investment.
Pine and fir are affordable alternatives that work well if you seal or treat them properly. However, be cautious about the type of treatment you use if you plan to grow edibles. Avoid pressure-treated lumber containing harmful preservatives, though modern ACQ-treated lumber is generally considered safe for garden use by most agricultural guidelines. If you want a completely chemical-free option, look for naturally rot-resistant options like black locust or redwood, both of which perform similarly to cedar in terms of durability and appearance.
Non-wood materials are also worth considering depending on your goals and budget. Galvanized steel raised beds have surged in popularity because they are extremely durable, resistant to pests, and have a sleek modern look that complements contemporary landscape design. Composite lumber made from recycled plastic and wood fibers is another excellent option that will never rot, warp, or splinter. Concrete blocks, bricks, and even repurposed items like old bathtubs or stock tanks can make creative and highly functional raised garden containers. The key is to choose materials that are food-safe, durable in your climate, and match the visual style you want for your garden space.
- Cedar: Best overall choice for edibles, naturally rot-resistant, beautiful finish, 10-20 year lifespan
- Galvanized steel: Ultra-durable, modern look, no risk of rot, great for warm climates
- Composite lumber: Eco-friendly, maintenance-free, good for humid environments
- Pine or fir: Budget-friendly but requires sealing, shorter lifespan without treatment
- Concrete blocks or brick: Permanent, excellent heat retention, creative design potential
Planning Your Garden Box Dimensions and Layout
Before cutting a single board, take time to plan your raised garden box dimensions carefully. The most critical measurement to get right is the width. Garden beds should never be wider than four feet if you can access them from both sides, or two feet if they are positioned against a wall or fence. This ensures you can comfortably reach the center of the bed without stepping into the soil, which would compact it and undermine all the drainage and aeration benefits you are working to create. Compacted soil is the enemy of healthy root development, so keeping your beds narrow is non-negotiable.
Length is more flexible and can be adapted to your space, though most gardeners find that an eight to twelve foot length is manageable and practical. Height is where you have the most creative freedom and where you can really tailor the bed to your physical needs. A standard depth of six inches works for shallow-rooted crops like lettuce, herbs, and radishes. For root vegetables, tomatoes, and peppers, aim for at least twelve inches. If you or a family member has mobility challenges, consider building a bed that is twenty-four to thirty-six inches tall so it can be tended from a seated or standing position without bending down at all.
When planning the layout of multiple beds in your yard, think about pathways as carefully as the beds themselves. Paths between boxes should be at least eighteen inches wide, and twenty-four inches is more comfortable, especially if you plan to use a wheelbarrow. Consider sunlight patterns throughout the day and orient rectangular beds running north to south to prevent taller plants from shading shorter ones. Leave space for watering infrastructure, compost bins, and tool storage as part of your overall garden zone. Sketching your layout on graph paper or using a free online garden planner before you build will save you time, money, and frustration.
Step-by-Step Building Instructions
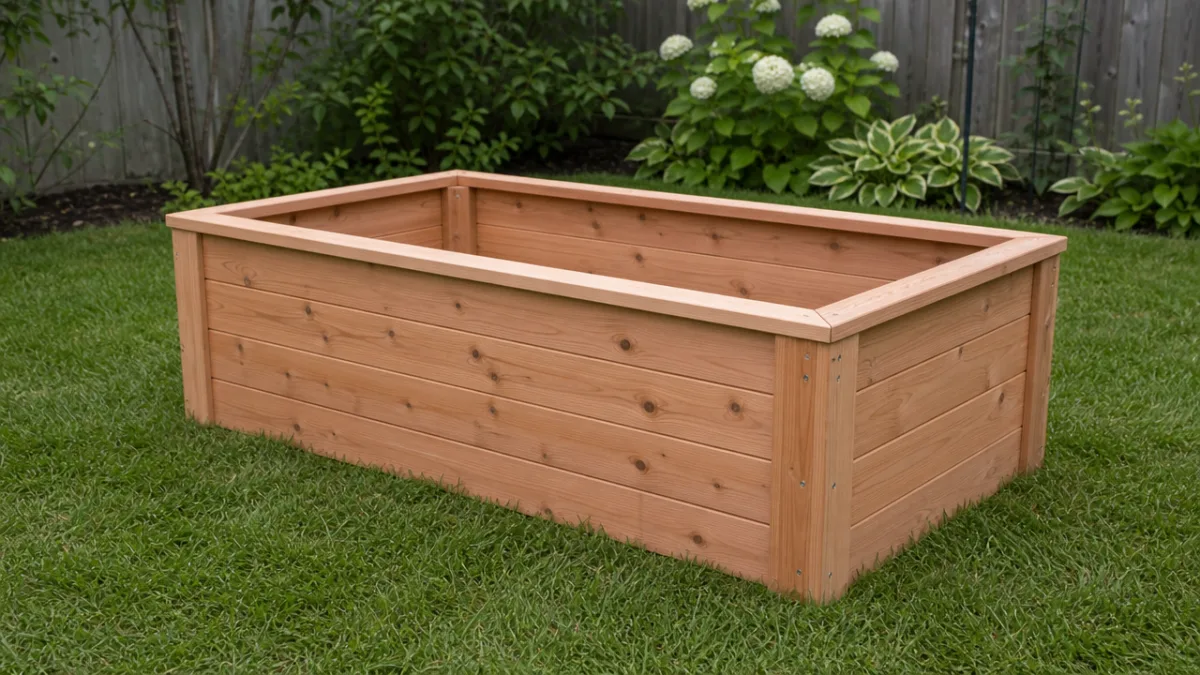
Building a basic raised garden box requires only modest carpentry skills and a small set of tools. For a standard four-foot by eight-foot bed using two-inch by ten-inch cedar boards, you will need two eight-foot boards for the long sides, and two four-foot boards for the short ends. You will also need four corner posts cut from four-by-four lumber, exterior-grade screws, a drill, a measuring tape, and a carpenter’s square. This straightforward design can be assembled in an afternoon, even by a first-time builder, and the resulting structure is solid, attractive, and highly functional.
Begin by cutting your lumber to size if it has not already been pre-cut. Attach the corner posts to the inside face of each end board using two or three screws per board, making sure everything is square as you go. Then attach the long side boards to the outside face of the corner posts, checking for squareness again before fully tightening all screws. The corner posts should extend below the bottom edge of the boards by six to eight inches if you plan to partially bury them in the ground for added stability. This anchoring method keeps the bed from shifting or bowing outward once it is filled with heavy soil.
Once your frame is assembled, line the bottom with hardware cloth or galvanized mesh if you are concerned about burrowing pests like gophers or voles. This step adds only a small cost but can save an entire season’s worth of crops from being destroyed underground. Some gardeners also add a layer of cardboard directly on the ground inside the frame before adding soil, which smothers existing grass and weeds and breaks down over time to enrich the soil. Place your completed box in its final position before filling it, because a fully loaded raised bed filled with soil can weigh several hundred pounds and will be essentially impossible to move.
- Cut all lumber to the correct dimensions based on your planned bed size
- Attach corner posts to the inside of the short end boards using exterior screws
- Connect the long side boards to the corner posts and check for squareness
- Install hardware cloth across the bottom to prevent burrowing pests
- Lay cardboard on the ground inside the frame to suppress weeds
- Position the finished frame in its permanent location before adding soil
- Fill with your chosen soil mix and water thoroughly before planting
Filling Your Raised Garden Box with the Right Soil Mix
The soil you put into your raised garden box is arguably more important than the box itself. Unlike in-ground gardening where you are working with and improving existing soil over time, raised bed gardening gives you the rare opportunity to create the ideal growing medium from scratch. The classic Mel’s Mix, popularized by the Square Foot Gardening movement, calls for equal parts blended compost, coarse vermiculite, and peat moss or coconut coir. This combination produces a light, fluffy, moisture-retentive medium that drains well, never compacts, and provides excellent nutrition for almost any vegetable crop.
For a more budget-friendly approach, a blend of sixty percent topsoil, thirty percent compost, and ten percent coarse sand or perlite works very well and can be sourced affordably from local landscape supply companies that sell in bulk by the cubic yard. Avoid using straight topsoil from your yard, which can compact badly in the confined space of a raised bed, drain poorly, and may introduce weed seeds or soilborne diseases. The investment in good quality amended soil pays enormous dividends in plant health, root development, and overall harvest quantity throughout the growing season and for years to come.
Compost deserves special emphasis because it is the single most important ingredient in a thriving raised bed ecosystem. Rich compost feeds beneficial microbial life in the soil, improves moisture retention without causing waterlogging, provides a slow steady release of nutrients, and buffers pH fluctuations that can stress plants. Top-dressing your beds with an inch or two of fresh compost at the start of each growing season is all the fertilization most vegetables will ever need. Many experienced raised bed gardeners never use synthetic fertilizers at all, relying entirely on annual compost additions and occasional organic amendments like fish emulsion or kelp meal to keep their soil in peak condition.
Selecting Plants and Planning Your First Season
One of the great joys of raised bed gardening is how productively you can grow food in a relatively small footprint by using intensive planting methods. Rather than planting in long single rows with wide empty gaps between them as traditional row gardening dictates, raised bed gardening encourages square foot spacing or intensive grid planting that maximizes every inch of growing space. This approach not only boosts your yield per square foot dramatically but also creates a dense canopy of foliage that shades the soil, retaining moisture and suppressing weeds naturally as the season progresses.
For beginners, a mix of fast-growing and rewarding crops will make your first season feel successful and motivating. Lettuce, spinach, radishes, and bush beans are all extremely easy to grow, produce quickly, and do well in raised beds. Tomatoes, peppers, cucumbers, and zucchini are slightly more demanding but deliver impressive harvests that make the effort very worthwhile. Herbs like basil, parsley, chives, and thyme thrive in raised beds and are enormously useful in the kitchen, making them excellent choices to include in every bed or in pots positioned alongside your main garden boxes.
Succession planting is a technique every raised bed gardener should embrace from their very first season. Instead of planting all your lettuce seeds at once and ending up with more than you can eat, plant a small section every two to three weeks throughout spring and early summer for a continuous harvest. As one crop finishes for the season, pull it out and immediately replant that space with a different crop suited to the current season. This approach keeps your beds producing at maximum capacity from early spring all the way through late fall and, in mild climates, even into the winter months with season-extending covers and cold-hardy varieties.
Maintaining Your Raised Garden Boxes Through the Seasons
One of the most frequently cited advantages of raised bed gardening is how much less maintenance it requires compared to traditional in-ground gardens. Because the soil is never walked on, it stays loose and aerated year after year without any tilling or turning. Because the beds are clearly defined and the soil is so healthy, weeds have a harder time establishing themselves, and the few that do appear are easy to pull from the soft, uncompacted medium. Most raised bed gardeners report spending dramatically less time weeding than they ever did with in-ground plots, giving them more time to enjoy the actual fruits of their labor.
Watering is the maintenance task that requires the most consistent attention, particularly during hot summer weather. Raised beds drain more freely than in-ground soil, which is great for root health but means they can dry out faster. A drip irrigation system or soaker hose laid beneath the soil surface when you first fill the bed is a worthwhile upgrade that will save you time and conserve water by delivering moisture directly to the root zone with minimal evaporation. Mulching the soil surface with two to three inches of straw, shredded leaves, or wood chips also helps retain moisture, regulate soil temperature, and further suppress weed germination between plants.
At the end of each growing season, take time to care for both your plants and your boxes. Clear spent plant material thoroughly rather than leaving it to harbor disease or pests over the winter. Add a fresh layer of compost to replenish nutrients consumed during the growing season and let it break down over the winter months, ready to support the following spring’s crops. Inspect your wooden boxes annually for signs of rot, loose screws, or bowing sides and make repairs promptly before small problems become major structural failures. With consistent seasonal care, a well-built cedar raised garden box can serve your family for two decades or more, providing thousands of pounds of fresh, healthy, homegrown food along the way.








What do you think?
It is nice to know your opinion. Leave a comment.