










“`html
Transform Your Outdoor Space: The Magic of DIY Container Fountains
There’s something about the sound of water that just makes you exhale. A little fountain on the patio or tucked into a garden corner can completely change the feel of an outdoor space — and for a long time, most people assumed that meant hiring someone and spending a lot of money. Good news: you can build a genuinely lovely container fountain in a single afternoon, for less than forty dollars, with zero prior experience required.
Container fountains have gotten really popular with DIYers and garden designers, and it’s not hard to see why. The whole thing is self-contained — no digging trenches, no underground plumbing, no landscaper needed. Everything sits inside whatever decorative container you choose, which means you can match it to pretty much any style. Rustic farmhouse? Modern minimalist? Overgrown cottage garden? There’s a pot and a stone arrangement out there that’ll feel right at home.
They’re practical too, beyond just looking nice. The sound of trickling water does a surprisingly good job of muffling street noise and making a patio or balcony feel more private. Moving water also brings birds and pollinators into your yard, which is a lovely side effect if you’re into that sort of thing. Fair warning though — once you realize how easy and cheap this is, you’ll probably want to build more than one.
Gathering Your Materials: Everything You Need for Under $40
What I really like about this project is that you don’t need to hunt down anything unusual. No specialty garden centers, no obscure online orders. A big home improvement store, a discount retailer, or even a thrift shop will have almost everything you need. Before you go shopping, it helps to have a rough picture in your head of what you want the finished fountain to look like — that way you can pick pieces that actually work together in terms of size and style.
The pump is the most important piece. Submersible water pumps made for small fountains are easy to find and usually run between ten and twenty dollars. Look for one that’s rated for your container size and has a flow adjustment dial — that little dial matters more than you’d think. A slower trickle tends to sound the most relaxing, while cranking it up gives you a more dramatic visual splash. It’s nice to have the option.
Here’s a general shopping list for the project:
- One large decorative container or pot (ceramic, glazed, or resin all work great) — approximately $10 to $15 at discount stores
- One small submersible water pump with tubing — approximately $10 to $18
- Flexible vinyl tubing to extend the pump outlet if needed — often included with the pump
- Decorative river rocks, glass pebbles, or smooth stones to fill and conceal the pump — approximately $3 to $6
- Waterproof sealant if your container has a drainage hole — approximately $3 to $5
- Optional: aquatic plants, small figurines, or driftwood for decoration
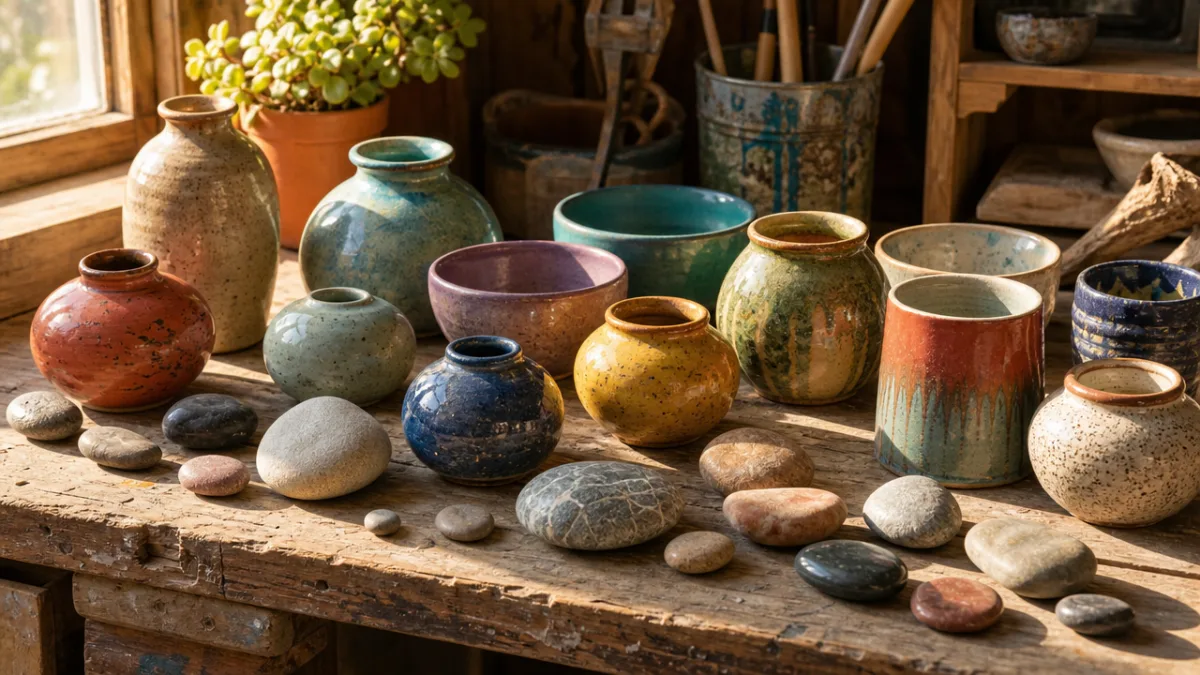
When you’re picking your container, think about proportion. Too small and you’ll be topping it off every other day as water evaporates and splashes out. Too large and your pump won’t have enough oomph to create satisfying flow. Something in the two-to-five gallon range is the sweet spot for a first build. Glazed ceramic pots are a go-to for a reason — they’re beautiful, they hold water well, and you can find them in an almost ridiculous variety of colors and shapes without spending much money at all.
Step-by-Step Instructions: Building Your Container Fountain
Once you’ve got everything together, the actual building part is pretty fun. Start with the container. If it has a drainage hole at the bottom — and most garden pots do — you’ll need to seal it up before anything else. Slather a generous amount of waterproof sealant around the hole on the inside, let it cure fully per the instructions, then add a second coat just to be safe. Don’t skip this step or rush it. A leaky pot will drain your fountain constantly and could damage your deck or patio over time.
Next, set your pump at the bottom of the container, roughly centered so the water will bubble up attractively from the middle. Run the power cord up and over the rim as neatly as you can. If the pump came with an extension tube, attach it now and trim it so the outlet sits just below or just at the eventual water surface — that’ll give you a gentle bubbling effect. If you want a more visible arc of water, let the tube extend a few inches above the waterline instead.
Now the really satisfying part: pour your rocks in around the pump until the pump and all the tubing are hidden, with just the very tip of the outlet peeking out at the top. The stones look great and also keep the pump weighted down and stable. Once you’re happy with how everything looks, fill the container with water until the stones are just submerged, plug it in, and watch it go.
Tips for a Cleaner, More Polished Result
A few small touches can take your fountain from “cool craft project” to “wait, did you buy that?” Using a mix of stone sizes — larger smooth river rocks alongside smaller pebbles or glass gems — adds visual depth and texture that makes the whole thing look more intentional. Varying the height of the stones in different areas also helps it feel more natural rather than like a flat layer of gravel.
If the cord running over the rim bugs you aesthetically, there are a couple of ways to handle it. You can use a masonry or tile drill bit to cut a small notch in the rim of a ceramic pot so the cord exits more cleanly. Or you can trail it behind a nearby planter or along a fence and clip it in place — it practically disappears. It’s a small detail, but cord management is one of those things that makes a noticeable difference in the finished look.
Also worth thinking about: where exactly you’re placing the fountain before you fill it. A container full of water and rocks is genuinely heavy, and moving it without emptying it first is a pain. Pick a spot near a power outlet, with the right sun exposure for any plants you’re adding, and close enough to wherever you usually sit that you can actually hear and see it. A fountain right beside your seating area is one of those simple pleasures that’s hard to appreciate until you have it.
Keeping Your Fountain Running Beautifully: Maintenance and Care
People always want to know how much upkeep these things need. Honestly, not much — but a little regular attention will keep it looking good and help your pump last a lot longer. The most important habit is just checking the water level. In summer, evaporation can drop the level noticeably in just a few days, and a pump that runs dry will overheat and burn out fast. A quick check every two to three days during warm weather and a top-up when needed is really all it takes.
Algae is the other thing to keep an eye on. It loves warm, sunny water, and without any intervention your fountain can go green within a few weeks in summer. The easiest fix is keeping the fountain in a shadier spot — algae slows down significantly without direct sun. You can also pick up a bottle of fountain enzyme treatment at a garden center for a few dollars; it breaks down organic material and keeps algae in check without being harmful to birds, wildlife, or pets.
Every few weeks, do a more thorough clean. Pull out the stones, rinse them off in a bucket, empty the container, and wipe the inside down with a soft cloth or brush to clear out any residue or mineral buildup. Clean the pump too, especially the intake filter — that thing can get clogged with debris and noticeably reduce the water flow. The whole process takes maybe thirty minutes and makes a real difference in how clear the water looks and how well the pump performs.
Winterizing Your Container Fountain
If you get freezing temperatures where you live, you’ll need to prep the fountain before the first hard frost. Water that freezes inside a ceramic or glazed pot can crack or shatter it — which would be a really disappointing end to something you put effort into. Drain it completely in late autumn, bring the pump inside, and either move the container indoors or flip it upside down somewhere sheltered so water can’t collect inside.
Store the pump submerged in a bucket of water indoors over winter. That sounds counterintuitive, but keeping the internal seals wet prevents them from drying out and cracking in the cold, dry air. A pump stored dry is much more likely to fail when you go to start it back up in spring. Storing it in water costs you nothing and could easily save you from buying a new one.
With good winterization and a bit of summer attention, a well-built container fountain can easily last for years. The pump is the part most likely to need replacing eventually, but at ten to twenty dollars for a new one, it’s a pretty minor cost for what you get out of it. A lot of DIY fountain enthusiasts end up upgrading to better pumps over time anyway as the hobby grows on them — which it tends to do.
Personalizing Your Fountain: Creative Ideas to Make It Your Own
This is honestly the most fun part. Once you understand how the pump and tubing work, you can take the concept in almost any direction. Some of the coolest container fountains are built inside completely unexpected vessels — old galvanized washtubs, weathered wine barrels, big terracotta urns, vintage concrete planters from an estate sale or antique market. If it holds water, it can be a fountain.
You can also add aquatic plants, which completely changes the vibe of the whole thing. Dwarf papyrus, water lettuce, miniature water lilies, and creeping Jenny are all great options for container water gardens. Besides looking beautiful, aquatic plants actually help keep the water cleaner by soaking up the excess nutrients that algae would otherwise feed on. A fountain with lush foliage and little floating blooms looks way more like a deliberate water garden feature than a weekend DIY project.
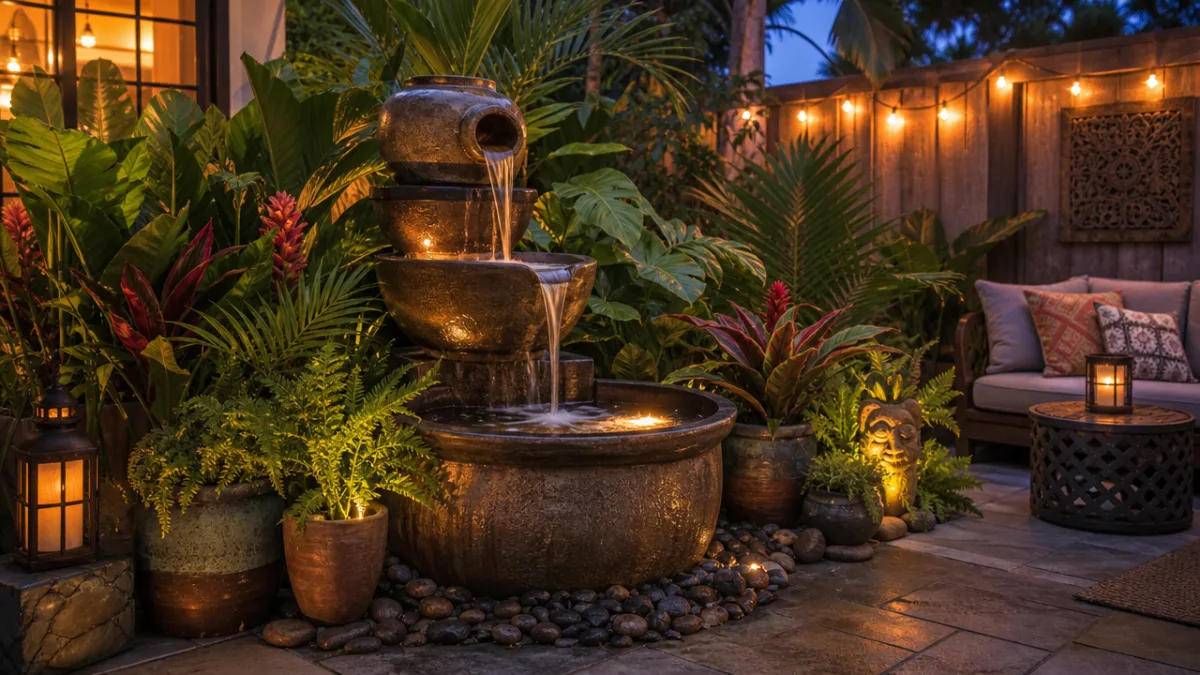
If you want to go bigger, try a tiered design with two or three containers stacked in graduated sizes. Water pumps up from the largest base container into the smallest one at the top, overflows into the middle, and cascades down into the base. It looks spectacular as a focal point on a deck or in a garden bed, and it sounds amazing too. It’s a bit more involved to build, but still very much within reach for a beginner, and you can usually pull it off for well under a hundred dollars even with multiple containers.
Incorporating Lighting for Nighttime Drama
A submersible LED light is one of the cheapest upgrades you can make to a container fountain, and the effect after dark is genuinely magical. Small submersible LEDs for fountain and pond use start at around five to ten dollars and come in warm white — which gives off a beautiful, natural-looking glow — or color-changing modes if you want something more festive. Just tuck the light under the stones near the pump outlet, and the water flowing over it will shimmer in a way that’s really hard not to love.
Solar-powered options are worth considering too, especially if you don’t want to deal with extra wiring or don’t have an outlet nearby. A small solar panel charges a battery during the day that powers the light through the evening. Solar lights aren’t quite as bright as plug-in LEDs, but for soft ambient fountain lighting they’re more than enough — and they make the whole setup completely portable, since nothing has to be tethered to an outlet.
Whether you go simple with a single container and a handful of stones, or build something tiered and lush with plants and evening lighting, the core idea stays the same: this is one of the most satisfying outdoor DIY projects you can take on. The cost is low, the skills required are basic, and the end result is something you’ll genuinely enjoy every time you sit outside. The sound of moving water, the way light catches the surface, and the quiet satisfaction of having made it yourself — it’s worth every minute.
“`








What do you think?
It is nice to know your opinion. Leave a comment.