










DIY Raised Garden Beds: A Complete Guide to Building, Planting, and Thriving
Why Raised Garden Beds Are Worth Every Effort
Raised garden beds have become one of the most popular trends in home gardening, and for very good reason. Whether you have a sprawling backyard or a compact urban patio, a raised bed gives you complete control over your growing environment in ways that traditional in-ground gardening simply cannot match. From the quality of your soil to the drainage beneath your plants’ roots, every variable becomes manageable when you build up rather than dig down.
One of the most compelling advantages of raised garden beds is their accessibility. Gardeners who struggle with back pain, knee problems, or mobility limitations often find that tending to a ground-level plot is genuinely discouraging. Raising your growing surface by even twelve to twenty-four inches transforms gardening from a painful chore into a genuinely enjoyable activity. You can sit on the edge of a well-built bed, reach across to weed or harvest, and spend time outdoors without paying for it physically the next morning.
Beyond physical comfort, raised beds simply produce better results for most gardeners. Because you fill them with a custom soil blend rather than relying on whatever native soil your yard happens to offer, your plants start with optimal nutrition, aeration, and drainage from day one. Compaction, which is one of the most common silent killers of vegetable gardens, becomes essentially a non-issue because feet never walk across the growing area. Over a single growing season, the difference in yield and plant health between a raised bed and a comparable in-ground plot can be dramatic enough to convert even the most skeptical gardener.
Comparing Raised Beds to In-Ground and Container Gardening
It helps to understand where raised beds fit in the broader spectrum of gardening methods. Container gardening offers maximum portability and is ideal for renters or those with only a balcony or deck, but containers dry out quickly, require frequent fertilizing, and limit root depth in ways that can constrain plant size and yield. In-ground gardening is the most economical option upfront, but it demands significant soil amendment in most climates, offers no protection against soil compaction, and can make crop rotation more difficult to manage effectively.
Raised beds occupy a sweet spot between these two approaches. They offer the soil control of containers without the watering burden, and they provide the generous root space of in-ground beds without the compaction problem. They are also far easier to protect with row covers, cold frames, or netting since the defined perimeter gives you a clear framework to attach protective materials. For most home vegetable gardeners, raised beds deliver the best combination of convenience, productivity, and long-term garden health.
Cost is a fair concern when considering raised beds, as building materials do represent an upfront investment. However, when you factor in the improved yields, reduced water waste, lower weed pressure, and extended growing seasons that raised beds enable, most gardeners find the math works in their favor within one or two growing seasons. Inexpensive options like untreated pine or reclaimed lumber can keep initial costs very manageable, and beds built from cedar or composite materials will last a decade or longer with minimal maintenance.
Choosing the Right Materials for Your Raised Bed
The material you choose for your raised bed walls will determine how long your structure lasts, whether it might introduce any unwanted chemicals into your soil, how it looks in your garden space, and how much you spend at the outset. Wood is the most popular choice by a significant margin, and within the category of wood alone there are several meaningful distinctions to understand before you head to the lumber yard. Cedar is widely considered the gold standard because it contains natural oils that resist rot and insect damage, making it likely to last eight to fifteen years without any treatment whatsoever.
Untreated pine is a more budget-friendly alternative that typically lasts three to five years before beginning to deteriorate noticeably. Some gardeners treat pine beds with linseed oil or other food-safe sealants to extend their lifespan, which is a perfectly reasonable approach. What you want to avoid is pressure-treated lumber that uses arsenic-based preservatives, which were common in older treated wood and can leach harmful compounds into soil where food crops are growing. Modern pressure-treated lumber uses copper-based compounds that are considered safe by most regulatory agencies, but many organic gardeners prefer to avoid it entirely out of caution.
Beyond wood, you have several appealing alternatives worth considering. Galvanized steel raised beds have surged in popularity for their clean, modern aesthetic and their exceptional durability — a well-made steel bed can last twenty or thirty years. Concrete blocks, natural stone, and brick all create permanent, beautiful raised beds that will genuinely never rot. Recycled composite lumber made from plastic and wood fiber offers a middle ground, resisting rot like plastic while looking more natural. Each of these materials has trade-offs in cost, appearance, thermal properties, and ease of installation that are worth weighing against your specific priorities.
Dimensions That Make Gardening Easier
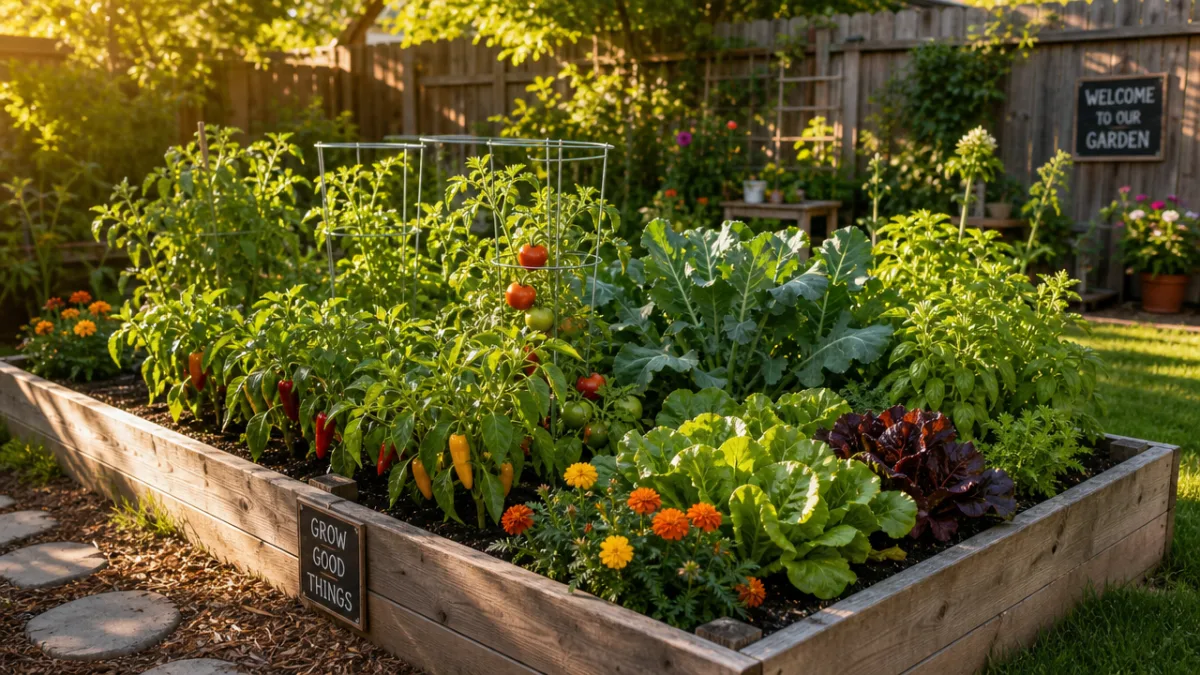
One of the most important design decisions you will make is how wide to build your raised bed, and the answer is almost always no more than four feet. This measurement exists because the average adult can comfortably reach approximately two feet from either side, meaning a four-foot-wide bed can be fully accessed from both sides without any need to step into the growing area. If your bed will be placed against a wall or fence and can only be reached from one side, reduce the width to two feet to preserve that crucial no-compaction principle.
Length is far more flexible and can be adjusted to suit your available space, though beds longer than eight to twelve feet can start to feel unwieldy when you need to walk around them to access the far side. Height is another dimension where personal preference and physical needs should guide your decision. A standard height of six to twelve inches is sufficient for most vegetables, herbs, and annual flowers, as it provides adequate root depth while keeping material costs manageable. If you want to sit on the edge while you work, aim for at least sixteen to twenty-four inches, and if you want a truly accessible bed that can be used from a wheelchair, thirty-two inches is often cited as an ideal working height.
Spacing between multiple beds is an often-overlooked planning consideration that becomes very obvious once you are out in the garden trying to maneuver with a wheelbarrow full of compost or a flat of transplants. A minimum of eighteen inches between beds is necessary for comfortable walking access, and twenty-four to thirty-six inches will allow you to operate a wheelbarrow or garden cart without difficulty. Before you build, spend some time laying out the proposed dimensions with stakes and string so you can walk through the space and confirm that pathways feel generous enough for real-world gardening use.
Building Your Raised Bed Step by Step
Building a basic wooden raised bed is a genuinely approachable project that most people with minimal DIY experience can complete in an afternoon. The tools you need are modest: a circular saw or hand saw for cutting lumber to length, a drill for driving screws, a measuring tape, a carpenter’s square for checking corners, and a level to ensure your finished bed sits evenly. If you purchase pre-cut lumber from a hardware store, you may be able to skip the saw entirely and complete the project with nothing more than a drill and a few basic hardware items.
Begin by preparing the site where your bed will sit. Remove any sod or thick vegetation from the area, ideally cutting it low and then laying several layers of cardboard over the soil surface. This cardboard layer serves as a biodegradable weed barrier that will suppress existing vegetation while allowing earthworms and soil organisms to move freely between the native soil and your raised bed mixture above. Cardboard breaks down within a single growing season, and by the time it disappears your plant roots will have established deeply enough that competition from below is rarely a problem.
Assemble your frame by connecting corner boards with deck screws or structural corner brackets, checking each corner with your square as you go. For beds longer than four feet, add interior bracing along the long sides to prevent the walls from bowing outward under the weight of soil and water. Once your frame is assembled, set it in place, confirm that it sits level, and adjust with small amounts of soil or gravel beneath the corners as needed. A level bed is not merely aesthetically pleasing — it ensures that water distributes evenly across the growing surface rather than pooling at one end and leaving the other dry.
Filling Your Bed with the Perfect Soil Mix
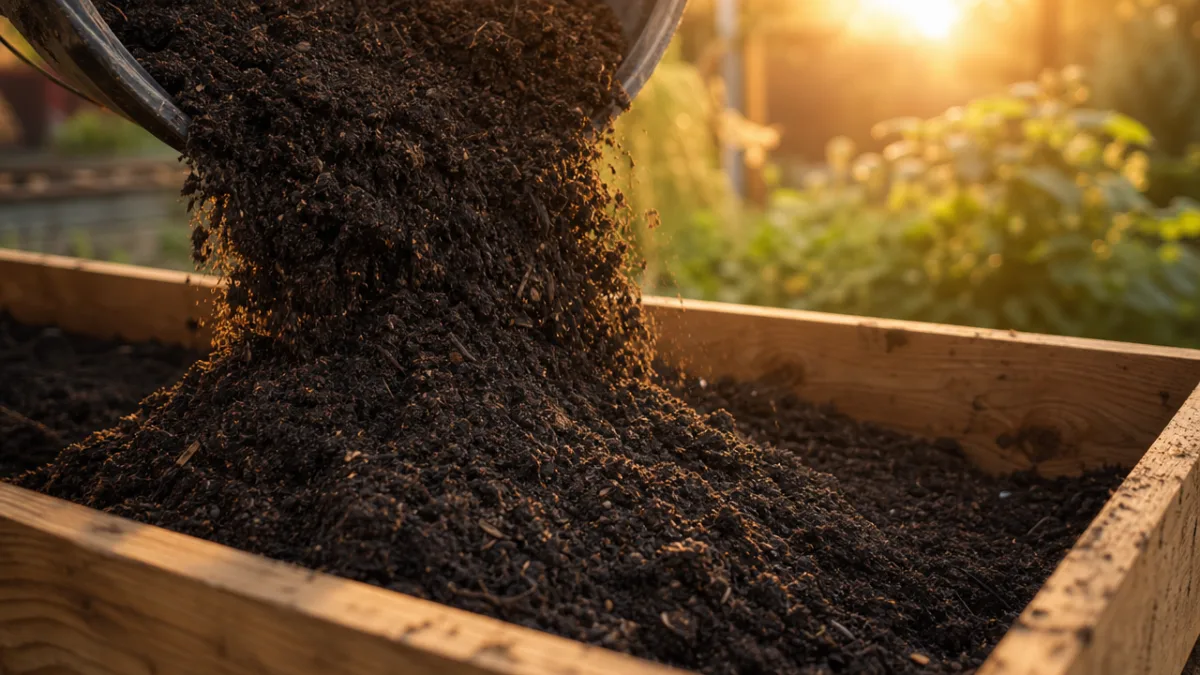
The soil mixture you use to fill your raised bed is arguably the single most important factor in determining how well your garden performs. Native soil dug from the ground is almost never appropriate for filling raised beds on its own — it compacts too heavily, drains too slowly or too quickly depending on its clay or sand content, and rarely provides the light, airy texture that vegetable roots need to thrive. Instead, experienced raised bed gardeners rely on what is often called “Mel’s Mix,” named after gardening author Mel Bartholomew, or variations of this recipe adapted to local conditions and available materials.
A highly effective standard mix consists of roughly one-third high-quality compost, one-third coarse vermiculite or perlite for drainage and aeration, and one-third a blended topsoil or additional compost. The compost component is where most of your plant nutrition will come from, so using a diverse compost — ideally made from multiple source materials rather than a single type — will give your plants access to a broader spectrum of nutrients and beneficial microorganisms. Sourcing compost from multiple suppliers or blending homemade compost with purchased product is an excellent way to maximize this diversity.
As you calculate how much material you need, remember that soil volume shrinks noticeably as it settles and as organic matter decomposes over the first few months. Plan to top off your beds each spring with two to three inches of fresh compost, which replenishes nutrients consumed by the previous season’s crops, refreshes organic matter content, and gradually improves the soil structure over successive years. This annual topdressing is one of the most effective and lowest-effort practices in raised bed gardening, and beds that receive it consistently become noticeably more productive with each passing growing season.
Planting Strategies to Maximize Your Raised Bed’s Potential
One of the most exciting aspects of raised bed gardening is the opportunity to use intensive planting techniques that would be impractical or ineffective in traditional row gardening. Because your soil is so well prepared and fertile, plants can be spaced much closer together than standard recommendations suggest, with each plant’s canopy eventually touching its neighbors to create a living mulch that shades the soil, retains moisture, and suppresses weeds. This approach, sometimes called square foot gardening or intensive planting, can produce yields two to four times greater per square foot than conventional row gardening.
Succession planting is another powerful strategy uniquely well-suited to the defined space of a raised bed. Rather than planting your entire lettuce crop at once and facing a glut followed by a gap, you plant a small batch every two to three weeks, ensuring a continuous harvest of tender young leaves throughout the season. The same approach works beautifully with radishes, spinach, cilantro, and many other fast-maturing crops that tend to bolt in warm weather. Keeping a simple planting calendar on your phone or a notebook in the garden shed makes succession planting much easier to maintain consistently.
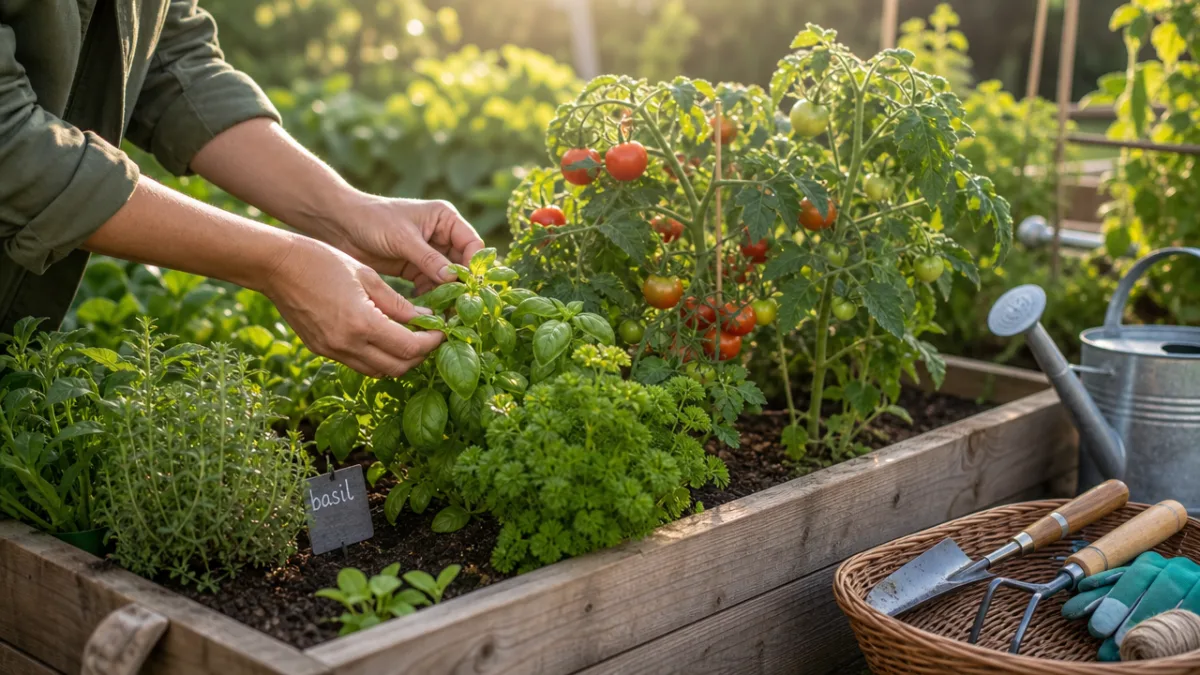
Companion planting — the practice of growing mutually beneficial plants near one another — is also particularly practical in the organized environment of a raised bed. The classic “Three Sisters” combination of corn, climbing beans, and squash is perhaps the most famous example, but countless other pairings offer real benefits. Basil planted near tomatoes is said to improve flavor and deter certain pests. Marigolds interplanted throughout vegetable beds repel nematodes and attract beneficial insects. Tall plants like staked tomatoes or trellised cucumbers can provide helpful shade for heat-sensitive crops like lettuce when positioned thoughtfully on the north side of a bed.
Seasonal Planning and Crop Rotation
Raised beds make crop rotation — the practice of moving plant families to different areas each season to prevent the buildup of soil-borne diseases and pests — far more manageable than it is in an open garden. When you have four or more raised beds, you can easily designate each bed for a different plant family and rotate them on a simple schedule from year to year. Nightshades like tomatoes, peppers, and eggplants move to a different bed each season, as do brassicas, legumes, and root vegetables, ensuring that each family returns to any given bed no more than once every three or four years.
Extending your growing season is one of the genuine joys of raised bed gardening, and the raised structure itself contributes meaningfully to this. Soil in raised beds warms earlier in spring than ground-level soil because it is exposed to sunlight on multiple sides and drains more freely, eliminating the cold, wet conditions that keep in-ground beds dormant for weeks longer. You can enhance this effect further by covering your beds with clear plastic sheeting or a cold frame lid in late winter, essentially creating a miniature greenhouse effect that can allow planting four to six weeks earlier than your unprotected neighbors.
At the other end of the season, the same structures that extend your spring planting can protect fall crops from early frosts, keeping kale, chard, carrots, and other cold-tolerant vegetables productive well into autumn and even early winter in many climates. Row cover fabric secured over wire hoops set inside the bed frame creates a floating tunnel that can provide several degrees of frost protection with almost no effort. With thoughtful seasonal planning, a single raised bed can produce food for nine to eleven months of the year in temperate climates, transforming it from a summer luxury into a year-round food production system.
Watering, Fertilizing, and Maintaining Your Raised Bed Garden
Despite their many advantages, raised beds do present one management challenge that requires consistent attention: they dry out faster than in-ground beds. Because the soil is elevated and surrounded on all sides by air, moisture evaporates more quickly, and during hot summer weather a raised bed may need watering every day or even twice a day if it contains small transplants or shallow-rooted crops. Understanding this characteristic and planning for it from the beginning will prevent the most common cause of raised bed disappointment, which is transplants wilting or seedlings failing in what should be ideal growing conditions.
Drip irrigation is the single most effective solution to the watering challenge, and installing a basic drip system in a raised bed is a weekend project that will pay dividends for the entire growing season and beyond. A simple timer attached to your outdoor faucet, connected to soaker hose or drip tape routed through the bed, can keep soil moisture remarkably consistent with almost no ongoing effort. This consistency is actually better for plants than hand watering, which tends to deliver too much at once followed by too little in between. Drip systems also deliver water directly to the root zone, keeping foliage dry and significantly reducing fungal disease pressure on crops like tomatoes and squash.
Mulching the surface of your raised bed with two to three inches of straw, shredded leaves, or wood chips dramatically reduces moisture loss, moderates soil temperature fluctuations, and suppresses weeds simultaneously. This single practice can reduce your watering frequency by half in some climates, which is not only convenient but also meaningfully reduces your water bill over a full growing season. Pull the mulch slightly away from the base of plant stems to prevent rot, and replenish it mid-season as it begins to decompose, which itself adds organic matter to your soil as it breaks down.
Troubleshooting Common Raised Bed Problems
Even in a well-designed raised bed, problems will occasionally arise, and knowing how to identify and address the most common issues will keep you from losing a season’s worth of work to preventable causes. Nutrient deficiency is one of the most frequently misdiagnosed problems in raised beds, often appearing as yellowing leaves, stunted growth, or poor fruiting. Because raised beds with high organic matter content can sometimes lock up certain minerals, or because the intensity of production depletes nutrients faster than in-ground beds, supplemental fertilizing is often necessary even in beds that were richly amended at the start of the season.
Pest pressure in raised beds is generally lower than in in-ground gardens, partly because the defined perimeter makes exclusion strategies more practical. Copper tape applied around the rim of a wooden bed deters slugs and snails, which are among the most destructive nighttime visitors in many gardens. Hardware cloth or wire mesh stapled to the underside of the bed frame before filling provides reliable protection against burrowing pests like voles and moles, which can devastate root crops and bulbs with disheartening speed. For flying insects and larger animals like rabbits or deer, a simple hoop structure with netting can be set up and removed as needed without any permanent modification to the bed itself.
Wood rot and structural deterioration are inevitable realities for wooden raised beds, but monitoring for them and addressing minor issues early can significantly extend the functional life of your investment. Inspect the interior corners and the bottom edges of your bed walls annually, as these areas hold moisture longest and deteriorate first. Brushing exposed cut ends with linseed oil once a year provides meaningful protection for untreated wood. When boards do eventually need replacement, the modular nature of most raised bed designs means you can often replace individual boards without dismantling the entire structure, making repairs far less daunting than building a completely new bed from scratch.
- Check soil moisture daily during warm weather, especially for newly planted seedlings that have not yet developed deep root systems capable of seeking out water on their own.
- Amend with compost every spring before the growing season begins, adding at least two inches across the entire surface of each bed to replenish organic matter and nutrients consumed the previous year.
- Rotate crop families annually between beds to prevent the accumulation of soil-borne pathogens and pest populations that favor specific plant families.
- Inspect for structural integrity at the start and end of each growing season, tightening loose screws and replacing compromised boards before they fail during the growing season.
- Keep records of what grew where and when you planted it, as this information becomes invaluable for planning rotations and succession plantings in future seasons.
Raised garden beds reward the investment of time, money, and thought with returns that traditional gardening methods rarely match. From the physical comfort they offer to the extraordinary productivity achievable in a compact, well-managed space, they represent one of the most meaningful upgrades any home gardener can make. Whether you build one simple four-by-eight frame this weekend or develop an elaborate multi-bed kitchen garden over several seasons, the journey of raised bed gardening is one that consistently deepens your connection to growing food and to the living soil that makes it all possible.








What do you think?
It is nice to know your opinion. Leave a comment.