










DIY Patio Bar Plans: A Complete Step-by-Step Outdoor Bar Build Guide
Why Build Your Own Outdoor Patio Bar?
There is something deeply satisfying about hosting friends and family around a structure you built with your own hands. A DIY patio bar transforms an ordinary backyard into a genuine entertainment destination, and it does so at a fraction of the cost of hiring a contractor or purchasing a pre-built unit. When you take on this project yourself, you gain complete control over the dimensions, materials, style, and features — meaning the finished product fits your space and your lifestyle perfectly rather than forcing you to compromise on someone else’s design.
Beyond the cost savings, building your own outdoor bar is a rewarding weekend project that builds real skills. You will gain experience with basic carpentry, concrete or gravel work, and outdoor finishing techniques that carry over into future home improvement projects. Many homeowners who complete this build find it becomes a gateway project — once the bar is done, the pergola, the deck expansion, or the built-in grill station suddenly feels achievable too. The confidence that comes from completing a substantial build like this is genuinely hard to put a price on.
From a property value perspective, a well-built outdoor entertainment area consistently ranks among the top return-on-investment improvements a homeowner can make. Real estate professionals frequently cite outdoor living spaces as a major selling point, particularly in warmer climates. Even if you never plan to sell, the daily enjoyment you extract from a well-designed patio bar — the lazy Sunday afternoons, the birthday parties, the casual weeknight gatherings — makes the investment of time and materials pay dividends for years to come.
Planning and Design: Getting the Foundations Right
Before you cut a single board or drive a single screw, you need a solid plan. The planning phase is where most DIY projects succeed or fail, and an outdoor bar is no exception. Start by measuring your available patio or backyard space carefully, noting any slopes, drainage patterns, or existing structures that will affect your layout. A standard outdoor bar runs between eight and twelve feet in length, but your specific dimensions should be dictated by how many people you typically entertain and how much space you can comfortably dedicate to the structure without overwhelming the surrounding area.
Consider the orientation of your bar relative to the sun, prevailing wind, and sight lines from the house. A bar that bakes in full afternoon sun from the west will be uncomfortable for both the bartender and guests during summer evenings. If shade structures like a pergola or umbrella are not part of your plan, orienting the bar so that it benefits from the natural shade of your home or existing trees is a smart move. Similarly, think about how traffic will flow around the bar — you want guests to be able to gather comfortably at the counter without blocking pathways to the rest of the yard.
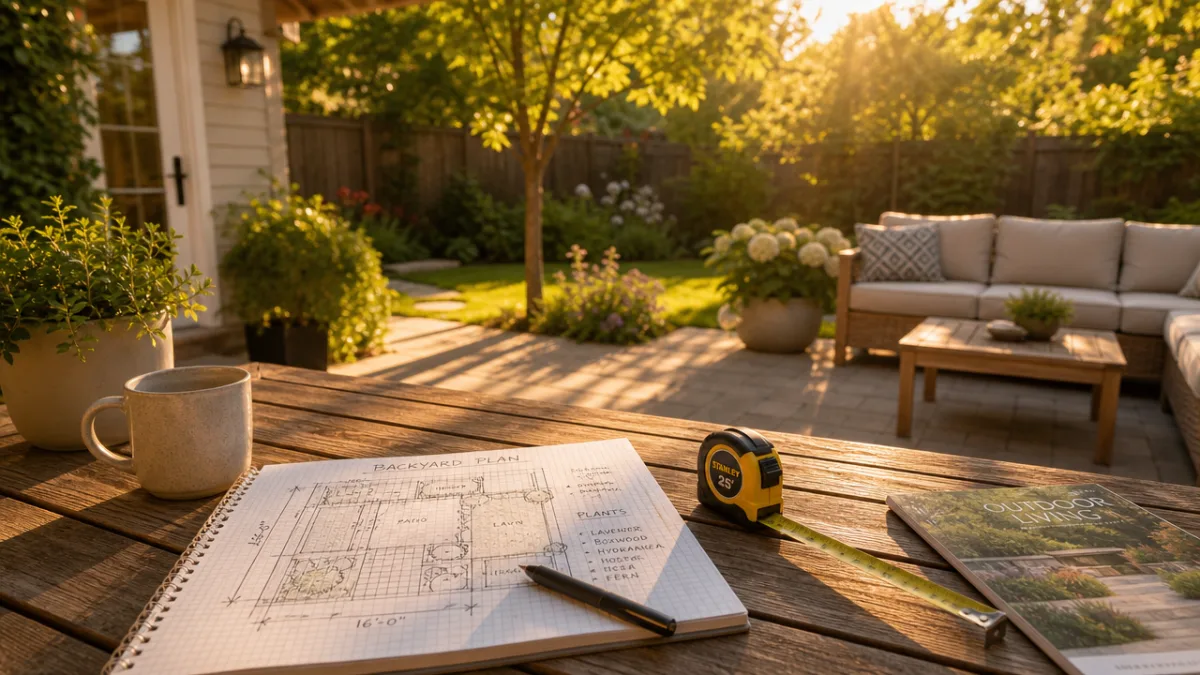
Sketch your design to scale on graph paper or use a free online tool before committing to a materials list. Your drawing should indicate the bar height (typically 42 to 48 inches for a standing bar or 36 inches for a seated counter), the depth of the bar top overhang for seating, the location of any built-in cooler, sink, or storage, and the overall footprint. Having a clear drawing in hand when you visit the lumber yard prevents expensive mistakes and helps you communicate the project to anyone who will be helping you build.
Key dimensions to keep in mind during planning include the following. Bar height should sit between 40 and 48 inches for comfortable standing service. The bar top should overhang the front face by at least 10 to 12 inches so bar stools can tuck underneath. Leave at least 36 inches of clearance behind the bar for the person serving. If you plan to add shelving for bottles and glassware, allow for at least two 12-inch deep shelves set 12 inches apart vertically.
Materials and Tools: What You Will Need
Selecting the right materials is one of the most important decisions you will make for this project, because outdoor structures are exposed to moisture, UV radiation, temperature swings, and insects year-round. Pressure-treated lumber is the standard choice for the structural framing — it resists rot and insect damage far better than untreated pine and costs relatively little more. For visible surfaces like the bar top, side panels, and shelving, you have more flexibility. Cedar and redwood are naturally rot-resistant and beautiful when finished, while composite decking materials offer even longer life with minimal maintenance.
The bar top deserves special attention because it takes the most abuse. Options range from simple pressure-treated planks finished with exterior spar urethane, to cedar boards with a poured epoxy finish for a glossy bar-top look, to full concrete pours for a modern industrial aesthetic. Concrete bar tops are extremely durable and weather beautifully, but they require a separate forming and pouring process that adds time and complexity. For a first build, a well-sealed cedar or hardwood top is often the most approachable option that still looks exceptional when finished.
For hardware, do not cut corners. Exterior-rated screws, joist hangers, post bases, and Simpson Strong-Tie connectors are essential for a structure that will remain solid through years of weather. Galvanized or stainless steel hardware resists rust and will not stain the surrounding wood. If you plan to incorporate a sink or refrigeration, you will also need to plan for outdoor-rated electrical outlets and a water supply line — both of which may require permits and professional involvement depending on your local building codes.
The tools required for this project are accessible to most intermediate DIYers. You will need a circular saw or miter saw, a drill/driver with a full set of bits, a level (both a 4-foot and a torpedo level are useful), a tape measure, a framing square, clamps, and a sander for finishing. A nail gun speeds up framing considerably if you have access to one. For finishing, you will need brushes or a roller designed for exterior stains and sealers.
- Pressure-treated 4×4 posts for corner and mid-span support
- Pressure-treated 2×4 framing lumber for horizontal rails and blocking
- Cedar or hardwood boards for the bar top and visible panels
- Exterior-rated plywood for back panels and shelving if desired
- Galvanized or stainless steel screws, joist hangers, and post bases
- Concrete mix for setting posts or building footings
- Exterior stain, sealer, or paint rated for ground contact exposure
- Optional: stainless steel sink, outdoor refrigerator, cooler insert
Step-by-Step Construction Process
Begin construction by laying out the footprint of your bar with stakes and string lines, then dig your post holes to the appropriate depth for your climate — typically 12 inches below the frost line in cold-weather regions. Set your 4×4 posts in concrete, check them for plumb in both directions before the concrete sets, and allow a full 24 to 48 hours for curing before proceeding. Getting your posts perfectly plumb at this stage saves significant frustration later, since every framing decision you make afterward references these posts for alignment and level.
Once the posts are cured and set, cut them to height and begin attaching your horizontal framing rails. These rails form the skeleton of the bar structure, defining the bar top height, the mid-level shelf height, and the bottom base level. Use a long level or a laser level to ensure that all your rails are perfectly level, checking both along the length of the bar and across its depth. Secure the rails to the posts using structural screws and metal connectors — do not rely on toenailed screws alone for structural connections, as they are far weaker and tend to work loose over time.
With the frame complete, you can begin attaching the facing boards that give the bar its finished look. These are typically installed vertically or horizontally depending on the aesthetic you have chosen. Horizontal boards installed with a slight gap between them give a clean, modern look and allow for any water that reaches the surface to drain freely rather than pooling. Leave a small expansion gap between boards — typically an eighth of an inch — to allow for seasonal wood movement without buckling or cracking.
The bar top is typically the final structural element to install, and it deserves patience. If you are using solid wood planks, glue and clamp them together to form a full-width slab, allow the glue to cure, then sand the surface progressively from 80 grit up to 220 grit before applying your finish. For an epoxy finish, follow the manufacturer’s instructions carefully regarding temperature and humidity — most epoxies require temperatures above 60 degrees Fahrenheit to cure properly. Apply multiple thin coats rather than one thick coat to avoid bubbling, and use a propane torch lightly over each wet coat to pop any surface bubbles before they cure.

Finishing, Sealing, and Weatherproofing
No outdoor wood structure will last long without proper finishing, and this step is one that DIY builders sometimes rush through after the excitement of framing and assembly. Take the time to prepare your surfaces properly before applying any finish — sand away mill glaze from pressure-treated lumber, fill any cracks or voids with an exterior-rated wood filler, and wipe the entire structure down with a tack cloth to remove dust. Applying finish to a dusty or oily surface results in poor adhesion and premature peeling, which means you will be redoing the work far sooner than necessary.
For pressure-treated framing that will not be directly visible, a coat of clear exterior wood sealer is usually sufficient. For visible cedar or hardwood surfaces, choose a high-quality exterior deck stain that penetrates the wood rather than forming a film on the surface — penetrating stains are more forgiving of wood movement and do not peel the way film-forming finishes do. Semi-transparent stains allow the natural grain of the wood to show through while adding significant UV and moisture protection, which is an excellent balance of aesthetics and performance for outdoor furniture and structures.
Pay particular attention to end grain, which absorbs moisture far more readily than face grain and is therefore the most vulnerable part of any outdoor wood structure. Apply two coats of sealer to all cut ends, including the bottoms of posts even if they are set in concrete footings. Any area where two pieces of wood meet at a horizontal surface — such as the top of a rail or the bottom of a bar top overhang — should be caulked with an exterior paintable caulk to prevent water from pooling in the joint and wicking into the wood over time.
Plan your finishing schedule to allow adequate drying time between coats and to avoid applying finish in direct sunlight, which causes many sealers to dry too quickly and results in lap marks. Early morning application on a dry, mild day gives most exterior finishes the best chance to penetrate and cure properly. Once finished, your bar will need touch-up coats every one to two years depending on sun and weather exposure — a small investment of time that dramatically extends the life of the structure.
Adding Features and Personal Touches
Once the base structure is built and sealed, the real fun begins: customizing the bar with features that make it uniquely yours. A built-in ice chest or cooler insert is one of the most popular additions, and it is straightforward to incorporate — simply frame an opening in the bar top to the dimensions of your chosen cooler and trim it out with a matching wood frame. Stainless steel drop-in coolers look polished and are easy to clean, while repurposed vintage coolers can add real character to a more rustic design.
Lighting transforms an outdoor bar from a daytime structure into an evening destination, and there are more options available than ever before. String lights strung overhead on a pergola or along the eaves of the house create warm, festive ambiance at very low cost. Under-counter LED strip lights make it easy to find things inside cabinets after dark. For a dramatic effect, consider rope lighting along the bottom of the bar base or inside back-lit bottle shelving — both look far more expensive than they actually are and can be installed by any confident DIYer comfortable with basic electrical work and outdoor-rated wiring.
Storage is another area where thoughtful additions pay off in daily usability. A row of hooks on the back wall for bar tools and towels keeps the workspace tidy. A section of rail-mounted stemware holders keeps wine glasses safely stored upside down and within reach. If your design includes a back bar shelf unit, leave space at the base for a small outdoor-rated mini refrigerator — these are available in widths as narrow as 15 inches and keep beverages at the ideal serving temperature without requiring a trip to the kitchen. Even a simple lockable cabinet at the base of the structure keeps items dry and secure when the bar is not in use.

Maintenance Tips to Keep Your Bar Looking Great for Years
A well-built outdoor bar is a long-term investment, and like any investment it rewards consistent attention. At the start of each outdoor season, inspect the entire structure carefully for any signs of wood checking, cracking, or soft spots that might indicate the beginning of rot. Pay particular attention to the base of posts, the underside of the bar top, and any areas where water tends to collect. Catching minor problems early — a small soft spot, a loose joint, a cracked board — allows you to address them with minimal effort before they develop into costly structural issues.
Clean the bar top and all horizontal surfaces regularly throughout the season, as organic matter like fallen leaves and debris retain moisture against the wood surface and accelerate deterioration. A simple scrub with a mild soap solution and a stiff brush is usually all that is needed, followed by a thorough rinse. Avoid pressure washing wood surfaces at close range or high pressure, as this raises the wood grain dramatically and can drive water deep into the grain — a light setting from a comfortable distance is fine for periodic deep cleaning.
Reapply your exterior finish according to the manufacturer’s recommended schedule, which is typically every one to two years for penetrating stains and every two to three years for film-forming finishes. Before reapplying, clean the surface thoroughly and lightly sand any areas where the finish has worn thin. If you used an epoxy bar top, inspect it annually for any cracks or chips and touch them up immediately to prevent water from getting underneath the coating and lifting it from the wood substrate. With consistent seasonal care, a well-built pressure-treated and cedar bar should provide fifteen to twenty years of service with only cosmetic maintenance required.
Consider covering the bar during extended periods of non-use — particularly over winter in cold climates. A custom or universal outdoor bar cover keeps UV radiation, bird droppings, and precipitation off the surface and dramatically reduces the amount of cleaning and refinishing required each spring. Remove any electronics, cushions, or accessories and store them indoors during the off-season. Drain and dry any plumbing completely before freezing temperatures arrive to prevent pipe bursts and water damage. These simple seasonal habits take only a few hours each year and pay back many times over in reduced maintenance costs and a structure that looks great season after season.








What do you think?
It is nice to know your opinion. Leave a comment.