










DIY Garden Arbor: A Complete Guide to Building Your Own Beautiful Backyard Structure
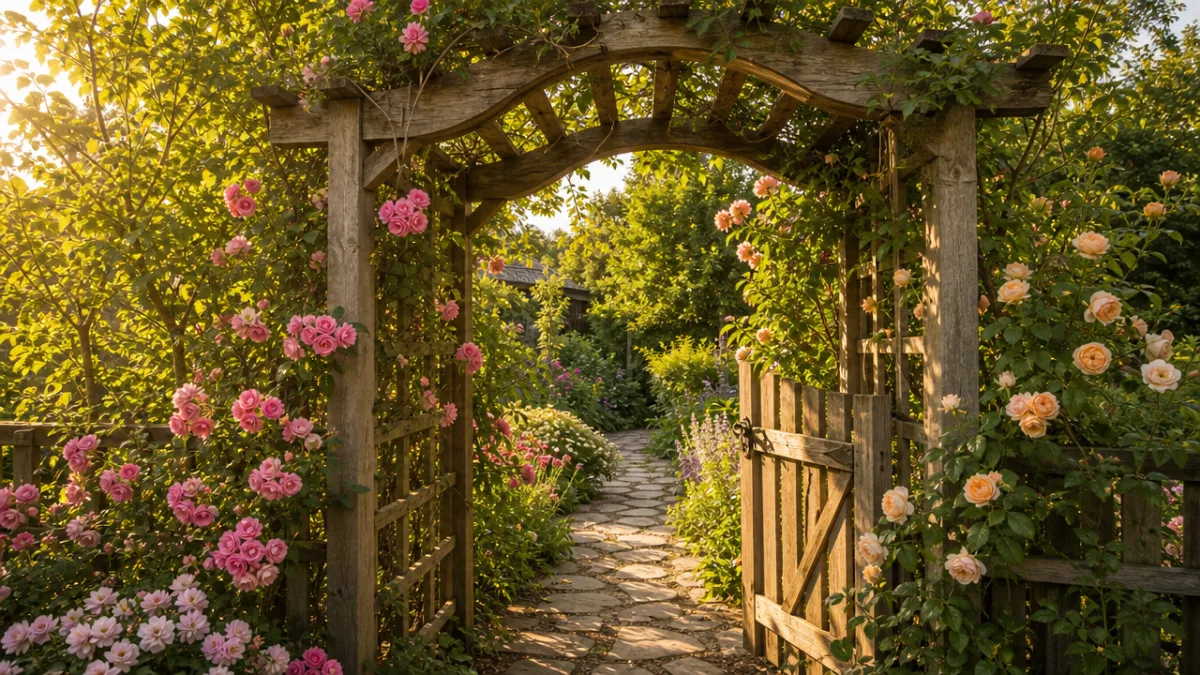
A garden arbor is one of those timeless outdoor structures that can completely transform the look and feel of your backyard. Whether you envision a romantic entryway draped in climbing roses, a shaded retreat covered with wisteria, or a simple architectural accent that defines a garden path, building your own arbor is a deeply rewarding project that combines practical carpentry skills with creative garden design. The beauty of a DIY arbor lies not just in the finished structure, but in the process of crafting something lasting and beautiful with your own hands.
Garden arbors have graced outdoor spaces for thousands of years, dating back to ancient Egyptian and Roman gardens where they served as shaded walkways and architectural focal points. Today, they remain one of the most popular garden structures precisely because they serve so many purposes simultaneously. They define space, support plants, create privacy, and add vertical interest to landscapes that might otherwise feel flat and uninspiring. A well-built arbor can anchor an entire garden design and become the feature that visitors remember most about your outdoor space.
This comprehensive guide will walk you through every step of planning, building, and finishing your own garden arbor, from choosing the right materials and design to installing the structure safely and training plants to climb it beautifully. Whether you’re an experienced woodworker or a enthusiastic beginner tackling your first major outdoor project, you’ll find the information you need to create an arbor that will stand strong and look stunning for decades to come.
Planning Your Garden Arbor: Design Considerations and Choosing the Right Style
Before you pick up a single tool or purchase any lumber, the most important work happens on paper. Planning your arbor thoroughly will save you time, money, and frustration during the build. Start by thinking carefully about the purpose of your arbor. Will it serve as an entrance arch over a garden gate? A freestanding structure in the middle of a lawn? A passage through a hedge or fence? The purpose will largely dictate the size, shape, and overall design of your structure, so it’s worth spending real time thinking through how you want to use the finished arbor before committing to any specific plans.
Classic arbor styles include the simple arch, the tunnel arbor, the pergola-style flat-roofed arbor, and the pointed Gothic arch. Each style carries a different aesthetic and suits different garden environments. A simple arch with clean lines works beautifully in a contemporary or minimalist garden, while an ornate Gothic pointed arch feels perfectly at home in a cottage or English-style garden. Pergola-style arbors with flat or slightly pitched roofs are ideal when you want maximum coverage and plan to grow dense, heavy vines like wisteria or climbing hydrangea. Spend time looking at photos and visiting local gardens to get a sense of which style resonates with your own taste and complements your existing landscape.
Consider scale carefully as you finalize your design. An arbor that feels grand and spacious in a large yard can look overwhelming and out of proportion in a small garden, while an undersized structure in a large landscape will simply disappear visually. As a general rule of thumb, a standard garden arbor should be at least seven to eight feet tall at its highest point to allow for comfortable passage underneath, particularly once climbing plants add some bulk to the structure. Width typically ranges from four to six feet for a single-path arch and up to twelve feet or more for a wider tunnel or pergola-style design. Sketch your design to scale on graph paper, noting the positions of existing trees, fences, paths, and planting beds to ensure the placement makes sense within the overall garden layout.
Selecting Materials: Wood, Metal, and Everything In Between
The material you choose for your arbor will affect its longevity, maintenance requirements, visual appearance, and overall cost more than almost any other decision you make. Cedar and redwood are two of the most popular choices for DIY garden arbors, and for very good reasons. Both woods contain natural oils that resist rot, insects, and moisture without any chemical treatment, making them excellent candidates for structures that will spend their entire lives outdoors exposed to weather. Cedar in particular is widely available across North America, relatively affordable compared to exotic hardwoods, and ages beautifully to a soft silver-gray patina that many gardeners find irresistible.
Pressure-treated lumber is another commonly used option, particularly for the posts and any components that will be in direct contact with soil or concrete. Modern pressure-treated wood uses copper-based preservatives that are safer than older formulations and provide excellent protection against rot and termites. However, pressure-treated wood can look rough and greenish when new, tends to warp and crack as it dries, and requires a waiting period before painting or staining. If you choose to use pressure-treated lumber for structural components, consider pairing it with untreated cedar or pine for the decorative elements to get the best of both worlds in terms of durability and visual appeal.
For gardeners who want a truly low-maintenance option, powder-coated steel or aluminum arbors are worth considering, though they limit the DIY experience somewhat since most metal fabrication requires specialized tools. However, it is entirely possible to build a DIY arbor using metal EMT conduit or square steel tubing if you’re comfortable with basic metalworking techniques. Vinyl and composite materials are also available and offer excellent durability, but many gardeners find them less visually satisfying than natural wood. Whatever material you choose, factor in not just the upfront cost but the long-term maintenance commitment, since a well-chosen, properly installed cedar arbor will outperform cheap pine with minimal upkeep and reward you with decades of beauty.
Tools and Materials List: Everything You Need Before You Begin
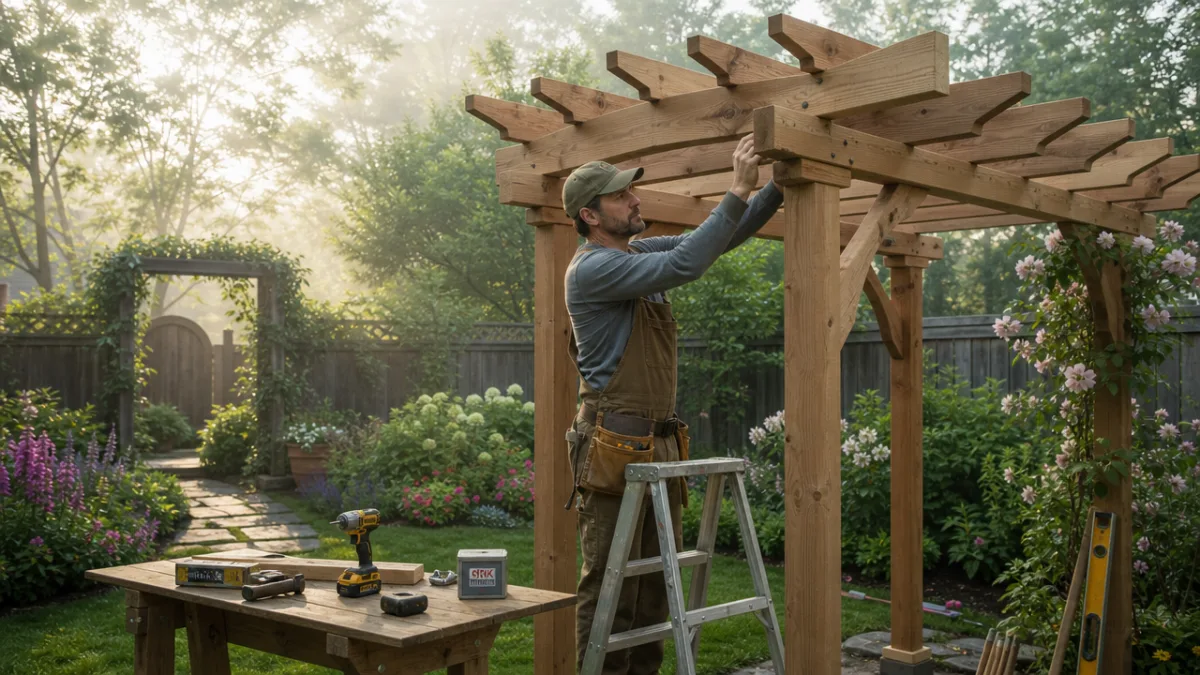
Having the right tools assembled before you begin will make the entire building process smoother and more enjoyable. There is nothing more frustrating than stopping mid-project because you’ve discovered you’re missing a critical tool. For a standard wooden garden arbor, you’ll need a circular saw or miter saw for cutting lumber to length, a drill and impact driver for driving screws and boring holes, a level and a plumb bob for ensuring your posts are perfectly vertical, a tape measure and carpenter’s square for layout work, and a post hole digger or auger for setting the posts. A jigsaw is extremely useful if your design includes any decorative curved cuts, which are one of the elements that can elevate an arbor from plain to truly beautiful.
In terms of hardware and fasteners, invest in quality exterior-grade screws, bolts, and hardware rather than cutting costs here. Galvanized or stainless steel hardware will resist rust and staining and will hold up far better over many years of weather exposure than cheaper zinc-plated alternatives. For a typical four-post arbor, you’ll need post anchors or concrete for setting posts, joist hanger hardware for connecting cross members, and a generous supply of 3-inch exterior deck screws. Many arbor designs also incorporate decorative bolts and nuts, which add a rustic hand-crafted quality to the finished structure. Having a helper for at least the post-setting and roof-framing stages of the project is strongly recommended, both for safety and because many steps genuinely require two sets of hands.
A basic lumber list for a standard six-foot-wide, eight-foot-tall garden arch arbor typically includes the following materials, though quantities will vary based on your specific design. You will generally need four 4×4 posts at ten feet long, several 2×4 or 2×6 boards for the horizontal beams and cross members, thinner 1×4 or 2×2 lumber for lattice panels and decorative bracing, and your chosen finish materials such as exterior paint, wood stain, or penetrating oil sealer. Write out your complete cut list before heading to the lumber yard, calculate your quantities with ten percent extra for waste and mistakes, and consider having the lumber yard make your longest straight cuts if you don’t have a reliable saw setup at home.
Step-by-Step Construction: From Setting Posts to Adding Finishing Details
The foundation of any successful arbor is the post installation, and this stage deserves the most careful attention because mistakes here cannot easily be corrected later. Begin by marking your post locations precisely using stakes and string lines, measuring diagonally between opposite corners to confirm your layout is square. Post holes should be a minimum of 24 inches deep in most climates, and deeper in areas with significant frost heave, since frost can push shallow posts right out of the ground over winter. The general rule is to bury one-third of the total post length underground, so a ten-foot post should have roughly three feet below grade with seven feet above ground.
You have two main options for securing posts: setting them in concrete or using surface-mounted post anchor hardware. Setting posts in concrete provides maximum stability and is the best choice for most freestanding arbors. Mix concrete to a stiff consistency, pour it around the post, slope the top of the concrete away from the post to shed water, and brace the posts perfectly plumb while the concrete cures for at least 24 hours before continuing. Surface-mounted post anchors bolted to an existing concrete patio or paved surface are a good option when you cannot or do not want to dig holes, and they actually improve long-term post durability by keeping the wood out of contact with soil and moisture. Once posts are set and cured, cut them to their final height using a reciprocating saw or circular saw guided by a level line marked around all four sides of each post.
With posts in place, the build progresses relatively quickly. Install the horizontal beams connecting the tops of the posts on each side of the arbor first, securing them with exterior screws and adding decorative angled brackets underneath for visual interest and additional strength. Then span the top of the structure with your roof rafters or cross members, spaced evenly and secured with joist hangers or toe-screwed in place. Many arbor designs include decorative curved or scalloped rafter tails that extend beyond the beams, and these details, cut with a jigsaw using a cardboard template, can dramatically improve the finished look of the structure. Finally, add your lattice panels, cross bracing, or decorative pickets to the sides of the arbor to provide climbing support for plants and visual interest.
Finishing and Weatherproofing Your Arbor: Paint, Stain, and Sealers
The way you finish your arbor will significantly influence both its longevity and its appearance, and this step should not be rushed or skipped in the interest of getting plants onto the structure more quickly. The best time to apply finish to an arbor is actually before the final assembly, when you can easily coat all four sides of every board while it’s lying flat and accessible. This is particularly important for end grain cuts, which absorb moisture readily and are the most common starting points for rot. Whether you choose paint, stain, or a penetrating oil finish, applying at least two coats before assembly and touching up any cut ends and fastener locations during the build will give your arbor far better protection than coating the assembled structure alone.
Exterior latex paint provides excellent protection and comes in an essentially unlimited color palette, making it a great choice if you want your arbor to coordinate with your house color or make a bold design statement in the garden. Solid-color exterior stain offers similar protection to paint while allowing some wood grain texture to show through, and it tends to peel and crack less dramatically than paint as the wood ages and moves. Semi-transparent and transparent stains provide beautiful color while allowing the full character of the wood to show, but they offer somewhat less moisture protection and require more frequent reapplication. Penetrating teak oils and exterior finishing oils work beautifully on cedar and redwood, feeding the wood and maintaining its natural appearance, but they do require annual reapplication to remain effective.
Beyond the initial finish application, a small amount of regular maintenance will keep your arbor looking beautiful and structurally sound for many years. Each spring, take a few minutes to inspect the structure carefully, looking for any signs of loose hardware, cracked or splitting wood, softening at post bases that might indicate the beginning of rot, and paint or stain that is peeling or wearing thin. Tighten any loose bolts or screws, apply a fresh coat of finish wherever the wood looks dry or the old coating is failing, and apply wood hardener to any soft spots to arrest rot before it progresses. Catching problems early is always far easier and less expensive than dealing with significant structural deterioration later.
Choosing and Training Climbing Plants: Bringing Your Arbor to Life
An arbor without plants is a lovely structure, but an arbor clothed in flowering vines is pure magic, and choosing the right plants for your climate, soil, and aesthetic vision is one of the most delightful aspects of the entire project. Roses are perhaps the single most popular choice for arbor coverage, and with good reason. Climbing and rambling roses combine incredible floral beauty with vigorous growth, and many varieties bloom repeatedly throughout the growing season rather than just once in spring. Popular climbers for arbors include ‘New Dawn,’ a blush-pink rambler with extraordinary vigor and fragrance; ‘Fourth of July,’ a stunning red-and-white striped repeat bloomer; and ‘Zephirine Drouhin,’ a nearly thornless pink climber that is particularly suitable for arbors near walkways where thorns would be a nuisance to passersby.
For gardeners who want the most spectacular show of all, wisteria is hard to beat, with its enormous cascading clusters of fragrant purple, white, or pink flowers in late spring. However, wisteria deserves a note of caution: it is an extraordinarily vigorous and heavy vine that can eventually overwhelm all but the most robustly built structures. If you plan to grow wisteria on your arbor, overbuild the structure significantly and use the heaviest lumber dimensions you can manage. Clematis is another wonderful choice, with hundreds of species and cultivars offering flowers in nearly every color imaginable, more manageable growth habits than wisteria, and a wide range of bloom times that can be strategically combined to provide color from early spring through autumn. Honeysuckle, climbing hydrangea, trumpet vine, and annual climbers like morning glory and moonflower round out an impressive palette of choices for almost every garden situation.
Training your chosen climbers onto the arbor correctly in the early years will pay enormous dividends in terms of coverage and flowering later. Most climbing plants do not truly climb on their own without assistance and need to be guided onto the structure and tied in place until they establish. Use soft garden twine or purpose-made plant ties to attach new growth to the arbor framework regularly throughout the growing season, spreading stems horizontally and at angles rather than allowing them to grow straight up, since horizontal stems tend to produce far more flowers along their length. Prune your climbers at the appropriate time for each species, since pruning at the wrong time of year can inadvertently remove the flower buds that would have given you your best display, and invest in a good reference guide to climbing plants specific to your region for the most reliable, locally tested advice.
Creative Customization: Making Your Arbor Uniquely Your Own
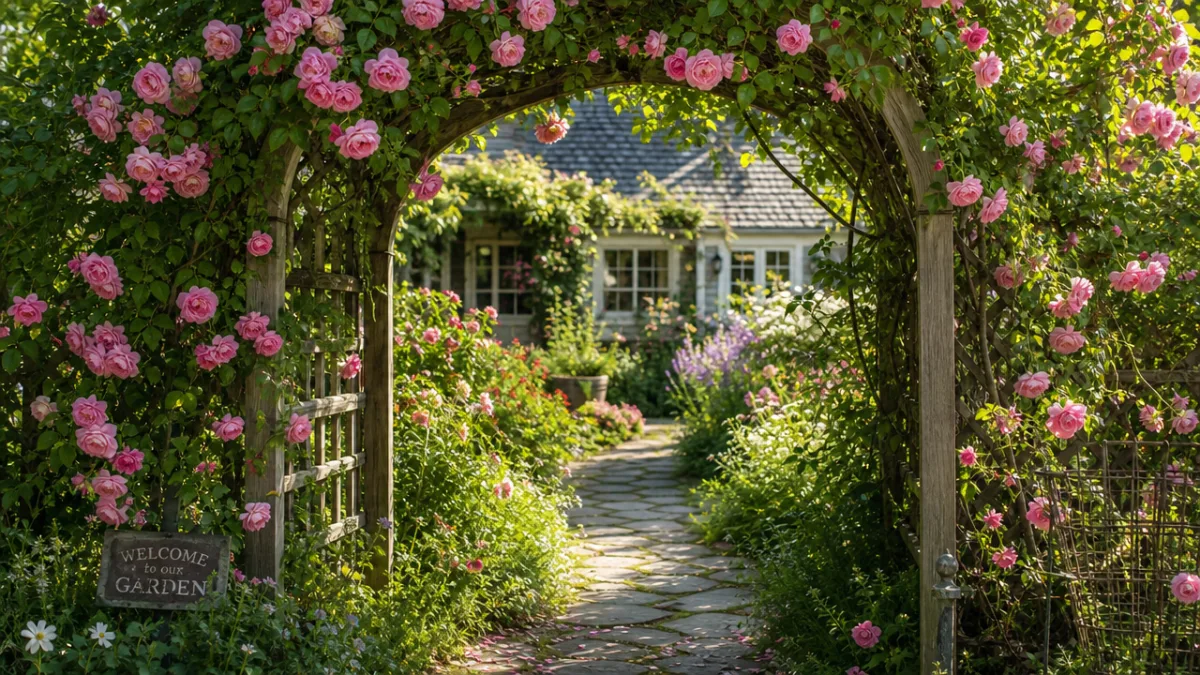
One of the greatest joys of building your own garden arbor rather than purchasing a prefabricated kit is the freedom to customize every aspect of the design to suit your personal taste, your garden’s existing style, and the specific purpose you have in mind. There are countless ways to personalize an arbor beyond the basic structure, and even small decorative choices can make an enormous difference in the finished appearance. Decorative post caps, for example, add a polished and intentional quality to the tops of your posts that immediately elevates the overall look of the structure. Post caps are available in everything from simple pyramid shapes to elaborate finial designs, and can be purchased ready-made from woodworking suppliers or carved by hand if you have the skill and inclination.
Lighting is another transformative addition that many arbor builders overlook until after the fact, but planning for it during the construction phase makes installation far neater and easier. Solar-powered string lights woven through the roof structure create a magical ambiance for evening entertaining. Low-voltage landscape spotlights aimed upward at the arbor from ground level can make the structure a dramatic nighttime focal point in the garden. If your arbor is within reach of an electrical supply, hardwired exterior sconce fixtures mounted to the posts provide both practical illumination and a sophisticated finished look. Whatever lighting you choose, plan the routing of any wires before you close up the structure with lattice panels, making it much easier to hide cables neatly within the framework.
Consider also what you might place within or around the arbor to complete the scene and maximize its usefulness as a garden destination. A simple wooden bench placed inside the arbor creates an irresistible shaded seating area, particularly when the climbing plants overhead and to the sides create a sense of gentle enclosure. A gate hung between the arbor posts marks a threshold between different garden areas and adds a charming architectural detail while providing practical privacy or containment. Window box planters attached to the sides of the arbor can hold trailing annuals that cascade beautifully downward while the climbers work their way upward from below. With imagination and care, your DIY garden arbor can become not just a structure in your garden but the emotional heart of your entire outdoor living space, a place that draws you outside every day and brings genuine joy through every season of the year.








What do you think?
It is nice to know your opinion. Leave a comment.