










Concrete Goose Makeover: How To Paint Lawn Statues
The Charm and Challenge of Concrete Lawn Statues
Concrete lawn statues have been a staple of American front yards and gardens for as long as most of us can remember. Whether it’s the classic concrete goose standing guard by the front door, a cheerful garden gnome, or a decorative urn, these tough little ornaments have a way of giving a yard some real personality. The problem is that years of sun, rain, and freeze-thaw cycles are not kind to them. Colors bleach out, mildew creeps in, and the surface starts to pit and flake until your once-charming goose looks less like a welcoming yard accent and more like something you dug out of an archaeological site.
Here’s the good news: repainting a concrete lawn statue is one of the most satisfying and wallet-friendly DIY projects you can tackle on a weekend. With the right materials and a bit of patience, you can turn a faded, tired old statue into something that looks freshly bought. That said, concrete does have some quirks you need to know about going in. It’s porous and alkaline, which means it behaves very differently from wood or metal when it comes to holding paint and managing moisture.
Before you grab whatever old can of paint is sitting in the garage, it’s worth understanding why these statues fall apart in the first place. All that porosity means concrete soaks up water, and when that water freezes, it expands and pushes the surface apart from the inside. On top of that, concrete’s high alkaline pH can actually react with certain paints, causing them to bubble, peel, or discolor way sooner than they should. Once you understand what you’re working with, making the right choices at every step becomes a lot easier.
Gathering Your Supplies Before You Begin
A successful goose makeover really does start at the hardware store, not in the driveway. Getting all your supplies together before you touch the statue saves you from those frustrating mid-project runs and means you can apply each coat at exactly the right time. It’s tempting to cut corners on materials, but investing in decent stuff upfront is the difference between a paint job that lasts a season and one that holds up for years.
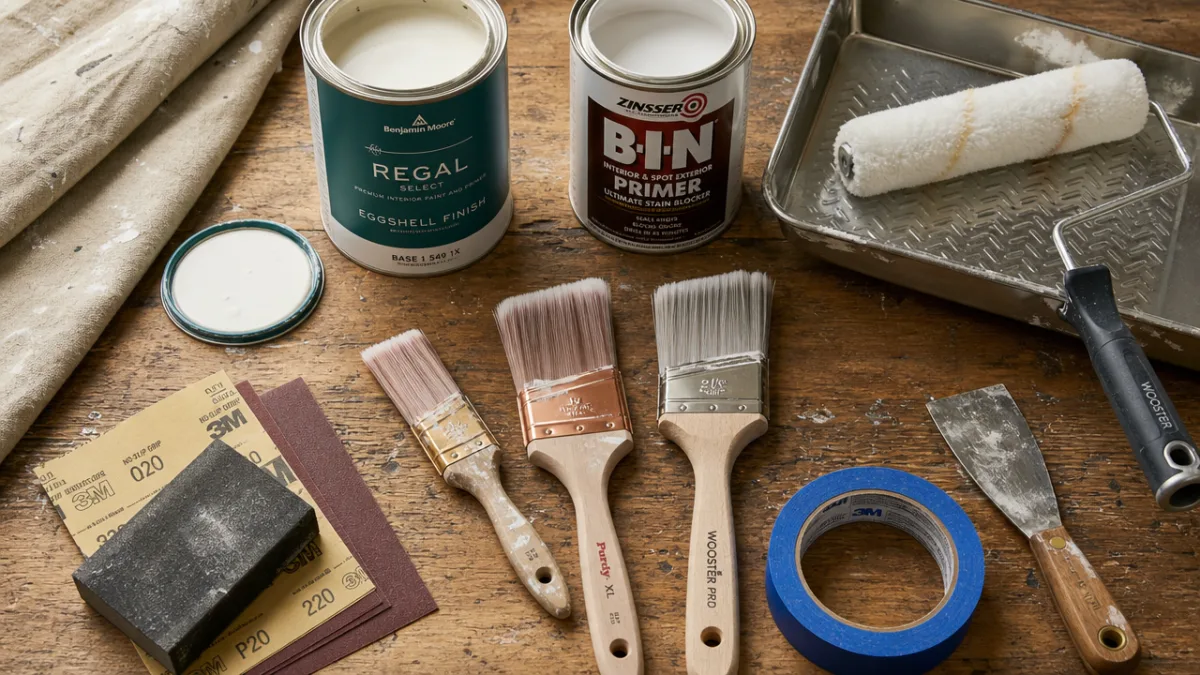
For cleaning and prep, you’ll need a stiff-bristled scrub brush, a bucket, some mild dish soap or a dedicated concrete cleaner, and either a garden hose with a spray nozzle or a pressure washer on a low to medium setting. Pick up some fine-grit sandpaper in the 120 to 220 range for smoothing rough patches or flaking paint, and grab a tack cloth or some clean rags for wiping away dust before you paint. If your statue has chunks missing or significant deterioration, a concrete patching compound will fill those in nicely and give you a smooth surface to work from.
For the painting itself, the most important purchase is a good masonry primer. This stuff is specifically formulated to bond to alkaline concrete and seal up all that porosity, so don’t skip it or substitute regular primer. For your topcoat color, look for exterior acrylic latex paint or anything specifically labeled for masonry and concrete. You’ll want small to medium foam rollers for the big flat areas and a range of artist-style detail brushes for the beak, feet, eyes, and any decorative bits. And don’t forget a clear masonry sealer for the final step — that’s what keeps all your hard work looking good through rain, sun, and everything else the seasons throw at it.
Cleaning and Prepping the Surface Properly
If there’s one thing that determines whether your paint job lasts one season or many years, it’s surface prep. This is the step people love to rush or skip entirely, and it’s also the reason they end up with bubbling, peeling paint a few weeks later. Concrete is genuinely unforgiving here. Any dirt, mildew, grease, loose paint, or chalky residue on the surface acts as a barrier between your new paint and the concrete underneath, and no amount of expensive primer will fix that.
Move your statue to a well-ventilated spot outdoors where you have room to work and runoff water isn’t going to be an issue. Mix up some warm water and mild soap in your bucket and get scrubbing — the whole surface, top to bottom, with extra attention in the crevices, textured areas, and anywhere you see that telltale green or black from mold and mildew. For stubborn biological growth, a diluted bleach solution (one part bleach to ten parts water) brushed on and left for fifteen minutes before scrubbing works really well. Just make sure you rinse everything thoroughly with clean water when you’re done.
Once the statue is clean, let it dry completely — ideally 24 to 48 hours in dry weather. Then go over the whole thing carefully and look for flaking, chipping, or crumbling spots. Sand those areas smooth, feathering the edges of any existing paint so there’s no sharp ledge that could trap moisture later. Fill any significant cracks or missing chunks with concrete patching compound, let it cure fully per the manufacturer’s directions, and lightly sand those spots smooth. Finish up by wiping the entire statue down with your tack cloth to remove all the dust, and then you’re ready to prime.
Applying Primer: The Foundation of a Lasting Finish
Primer is not optional on concrete, full stop. It’s especially critical on decorative statues with all their complex shapes, deep textures, and little nooks that love to collect moisture. A masonry primer is doing several jobs at once: it seals the porous concrete so moisture can’t easily migrate back up through your paint, it neutralizes the alkaline pH so the concrete won’t chemically eat away at your topcoat, and it creates a mechanical grip so the paint actually has something to bond to. Skip it and you’re basically setting yourself up for disappointment.
Apply your primer in a thin, even coat using a brush or foam roller, working from the top of the statue downward so any drips get caught and smoothed as you go. On something as detailed as a goose, use a larger brush for the broad body areas and switch to a smaller detail brush for the beak, feet, eyes, and fine features. Don’t glob it on — you want the primer to seal the surface, not fill in the sculpture’s detail and make the whole thing look like a blobby mess. Two thin coats will always beat one thick one.
Let the primer dry according to the manufacturer’s instructions, usually two to four hours for water-based masonry primers under normal conditions. Don’t rush it, because painting over uncured primer is a reliable way to cause adhesion failure. Once it’s fully dry, give it a very light pass with 220-grit sandpaper to knock down any brush marks, then wipe with the tack cloth one more time. It’s an extra ten minutes of work that makes a genuinely noticeable difference in how smooth and professional the final result looks.
Painting Your Concrete Goose: Techniques for a Beautiful Result
This is the fun part. With a clean, well-primed surface ready to go, you’ll actually start to see the transformation happen as you paint. A concrete goose is a mix of large background areas — the body, the base — and all those small decorative details like the beak, eyes, feet, and any outfits or accessories your particular goose might be sporting. Planning your color scheme before you open the first can and applying your colors in the right order will save you a lot of time and produce much sharper, cleaner results.
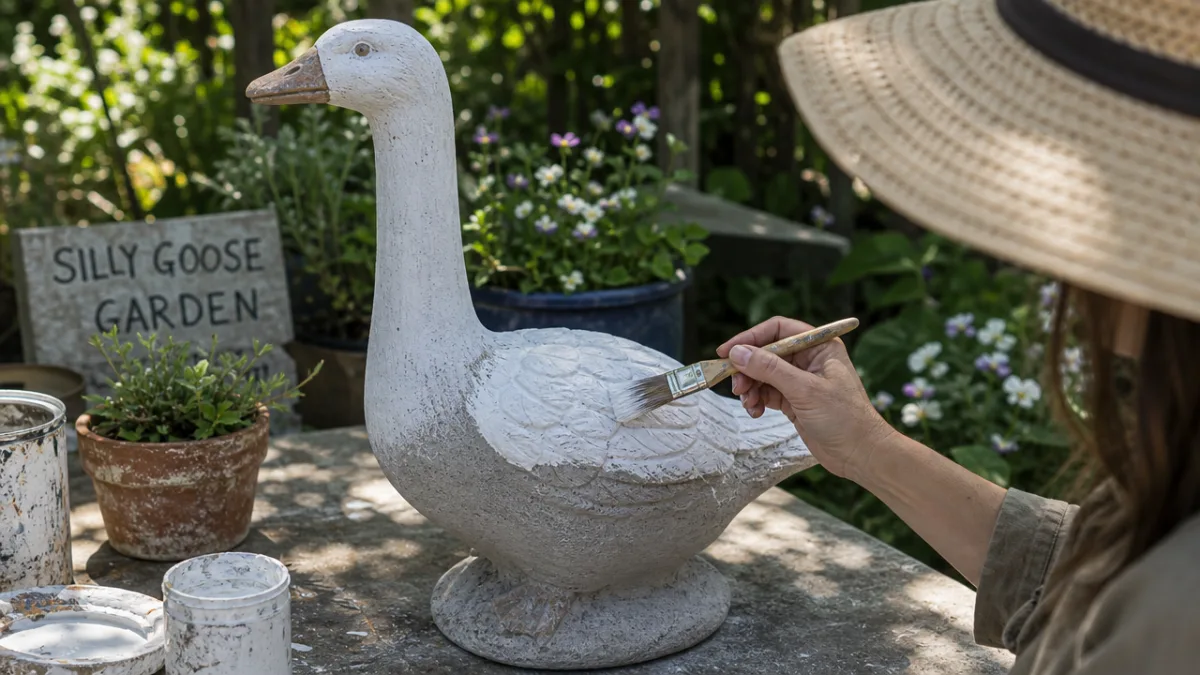
Start with the largest color area first, which for most geese is the white or off-white body. Use a foam roller or wide brush and apply your exterior acrylic latex paint in thin, even coats, letting each one dry before you add the next. Two to three thin coats typically gets you to full, opaque coverage without burying the sculpture’s detail. Work top to bottom to manage drips. Once the body color is fully dry, switch to smaller artist brushes and start adding the detail colors for the beak, feet, eyes, and any other distinct features, taking your time and staying within the lines.
For the really fine stuff — eyelids, nostrils, painted-on clothing patterns — thin your paint just slightly with water (no more than ten percent) to improve flow and reduce brushstroke visibility. A very fine liner brush is your friend here, and bracing your hand against the statue itself helps you stay steady. Step back and look at your work from a distance every so often, because you’ll catch things that are easy to miss when you’re close up. If you want to go the extra mile, layering thin, translucent color washes over your base coats adds real depth and makes the finished piece look handcrafted rather than just painted.
Color Suggestions for a Classic Goose
- Body: Bright white or warm off-white for a natural, realistic look that contrasts well with greenery
- Beak and feet: Golden yellow, burnt orange, or a realistic coral-orange mixed from red and yellow
- Eyes: A deep brown or black pupil with a thin white highlight dot adds life and expressiveness
- Base or ground area: Earthy green, tan, or brown to mimic natural grass or stone surroundings
- Accessories: Match any painted aprons, bows, or hats to seasonal or personal color preferences
Sealing and Protecting Your Finished Statue
Once the painting is done and you’re happy with how it looks, resist the temptation to call the project finished right there. Skipping the sealer is one of the most common mistakes people make, and it’s a shame because the sealer is what keeps all that work looking great long-term. UV radiation is one of the biggest culprits behind fading exterior paint, and a good UV-resistant sealer slows that process dramatically. A waterproof sealer also stops rain and humidity from seeping through the paint and back into the concrete, which is exactly what causes peeling and bubbling in the first place.
Look for a clear acrylic masonry sealer rated for exterior use with UV protection. These typically come in matte, satin, and gloss finishes, so you can pick whatever suits your taste. Matte or satin tends to look more natural on decorative statues, while gloss makes the colors pop and appear more vivid. Apply with a clean brush or foam applicator in thin, even coats, getting into all the crevices and textured areas. Two coats with full drying time in between gives you the best long-term protection.
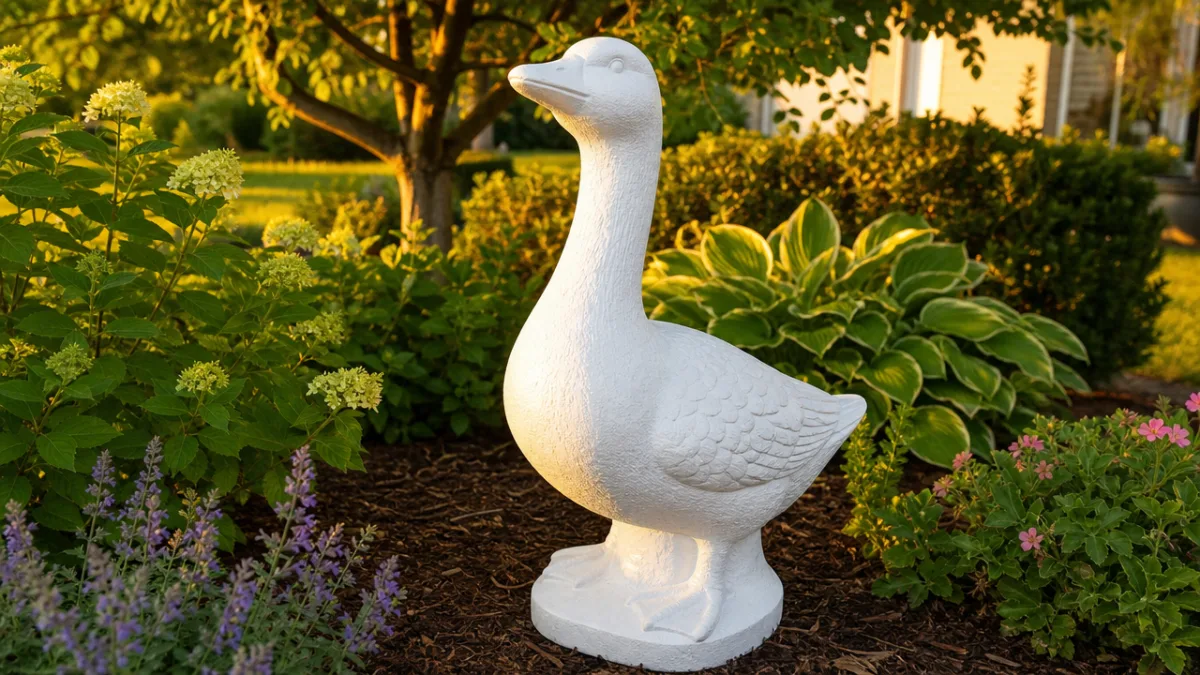
Let the final sealer coat cure completely before putting the statue back outside — typically 24 to 72 hours depending on temperature and humidity. From there, your goose is ready to face the seasons. If you want to go above and beyond, bring it indoors or cover it during the worst winter months, since repeated hard freezes are the harshest thing you can put a painted concrete surface through. With proper care and a fresh coat of sealer every two to three years when needed, a well-painted concrete statue can hold its color and character for a surprisingly long time.
Maintenance Tips and Creative Ideas for Seasonal Updates
One of the best things about having a concrete goose is the whole tradition of dressing it up for the seasons. Plenty of homeowners take it a step further and give their goose a fresh coat of paint to match the holidays or time of year, which keeps the yard feeling lively and current. Because you did the prep and sealing properly the first time around, future touch-ups and updates will be much easier — the surface will be in great shape and new paint will stick without much fuss.
Make a habit of giving your statue a look-over each spring once winter weather has passed. Check for spots where the sealer has worn thin, where paint has chipped, or where small cracks have shown up. Take care of those areas right away — a light sanding of the problem spot, a dab of primer if bare concrete is showing, and then a touch of paint to match. A fresh bit of sealer over the repaired area blends everything back together and restores the protective barrier. A small fix now is always better than a major repair later.
And beyond just maintenance, your concrete goose is genuinely a fun canvas to play with throughout the year. In spring, add some delicate floral accents or paint a little flower crown. Come autumn, go warm and rich with oranges, deep reds, and harvest yellows. For winter holidays, metallic gold or silver paint with red accents turns the statue into a festive focal point. The techniques you picked up doing this project translate to all kinds of creative seasonal ideas, making your goose far more than just a lawn decoration — it becomes a little ongoing expression of personality right there in your front yard.
Quick Seasonal Update Checklist
- Inspect the statue thoroughly for chips, cracks, or sealer wear after each season
- Clean the surface gently with mild soap and water before any touch-up work
- Sand any damaged areas lightly and apply spot primer where needed
- Apply your seasonal color updates with detail brushes, allowing full drying between coats
- Finish with a fresh application of clear sealer over any newly painted or repaired areas
- Store or cover the statue during extreme weather to maximize the lifespan of your paint work
With the right materials, a little creativity, and the techniques covered in this guide, a concrete goose makeover turns out to be one of the most visible and satisfying DIY improvements you can make to your home’s exterior. The whole process — from prep to final sealed coat — fits comfortably into a weekend, and the results tend to draw compliments from neighbors for seasons afterward. And honestly, beyond the goose itself, you’ll come away with skills and confidence that carry over to all sorts of other concrete and masonry projects: garden stepping stones, patio planters, birdbaths, and more. Once you know how to handle concrete, a lot of other projects start looking a lot more doable.








What do you think?
It is nice to know your opinion. Leave a comment.