










Making a Magic Forest with Megascans & UE4: A Complete Guide to Photorealistic Environment Art
Introduction to Photorealistic Forest Creation in Unreal Engine 4
Creating a magical, photorealistic forest environment in Unreal Engine 4 has become one of the most sought-after skills in the game development and real-time visualization industries. With the powerful combination of Megascans assets and UE4’s rendering capabilities, artists can now achieve results that were once only possible in pre-rendered CGI films. This guide walks you through the entire process, from initial concept to final polished scene, covering every essential technique along the way.
Megascans, developed by Quixel and now fully integrated into the Unreal Engine ecosystem, provides artists with a massive library of photogrammetry-based assets. These are real-world objects scanned at extremely high resolution, capturing every detail of bark, moss, stone, and soil with scientific accuracy. When you combine these assets with UE4’s physically-based rendering pipeline, the results are breathtaking environments that feel genuinely alive and tactile, making your magic forest feel like a place that truly exists somewhere in the world.
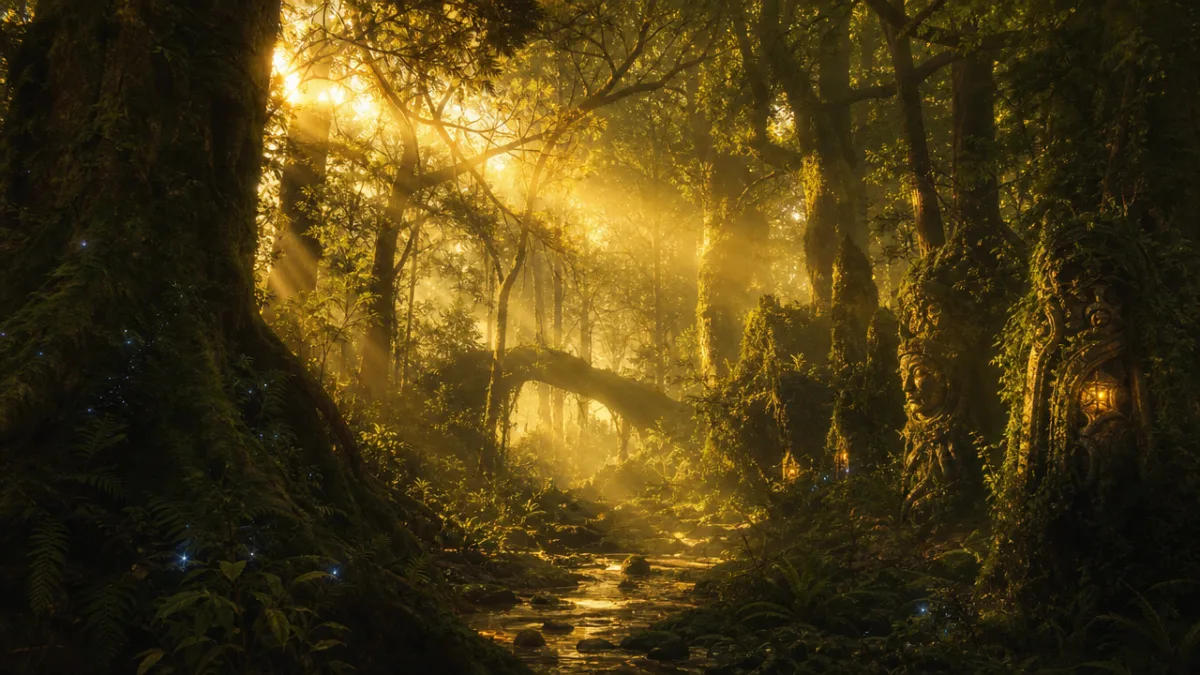
Before diving into the technical steps, it is worth understanding what makes a forest feel magical rather than merely realistic. The answer lies in the balance between naturalistic detail and artistic intention. A magic forest is not just a collection of trees and rocks arranged randomly; it is a carefully orchestrated composition where light behaves in ways that feel slightly dreamlike, where moss glows with an inner luminescence, and where every vista invites the viewer deeper into the scene. This artistic vision should guide every technical decision you make throughout the creation process.
Setting Up Your Project and Importing Megascans Assets
The first step to building your magic forest is establishing a well-organized UE4 project. Begin by creating a new project using the blank template with maximum quality settings enabled. Navigate to your project settings and ensure that Lumen global illumination is enabled if you are working with UE5 compatibility modes, or configure Ray Tracing for UE4’s high-end rendering path. A clean folder hierarchy from the start will save you enormous amounts of time later, especially as your asset library grows into the hundreds of individual meshes and materials.
Open the Quixel Bridge panel directly within the Unreal Editor to begin importing your Megascans assets. The Bridge integration allows you to browse the entire Megascans library without leaving the editor, and downloading assets is as simple as clicking the Add button on any asset you choose. For a forest environment, you will want to focus on several key categories: surface materials like forest floor, mud, and leaf litter; 3D plants including ferns, shrubs, and ground cover; tree trunks and branches; and atmospheric elements like mossy rocks and fallen logs. Aim to download assets across multiple levels of detail to ensure your scene performs well at distance.
Once your assets are imported, spend time organizing them into logical folders within your Content Browser. Create top-level folders for Surfaces, Plants, Trees, Rocks, and Atmosphere. Within each folder, maintain subfolders for the original Megascans assets, any modified materials, and any derived asset variations you create yourself. This organizational discipline pays enormous dividends when you are deep in the environment art process and need to locate a specific moss texture or bark material quickly without hunting through hundreds of thumbnails.
It is also highly recommended at this stage to configure your Megascans material instances for your specific artistic needs. Quixel provides master materials with the Megascans Bridge plugin that expose a wide variety of parameters including tiling, roughness adjustments, and normal map intensity. Before placing a single asset in your scene, take time to create child material instances from these masters and adjust them to suit the slightly heightened, magical aesthetic you are aiming for. Slightly increasing the saturation of greens, boosting the subsurface scattering on leaf materials, and adding subtle luminance variations to mosses will immediately push your forest from realistic toward magical.
Sculpting the Terrain and Laying the Foundation
With your assets organized and your materials prepared, it is time to build the physical foundation of your forest. UE4’s Landscape system provides a powerful toolset for sculpting terrain, and for a forest environment you want to create a surface that feels organic and ancient rather than artificially smooth. Begin by creating a new Landscape actor with a size appropriate to your vision, typically somewhere between 505 by 505 meters for a medium-scale forest and 2017 by 2017 meters for a more expansive wilderness scene. The key is to start large enough to give your composition room to breathe.
Sculpting convincing forest terrain requires understanding how forests actually shape the land beneath them. Centuries of root growth push soil upward into gentle mounds around tree bases, creating a rolling, undulating surface even in relatively flat terrain. Water erosion carves subtle channels and gullies between elevated areas. Fallen and decayed trees leave long, low ridges in the earth. Use UE4’s sculpt, smooth, and noise tools in combination, working at multiple scales from large sweeping contours down to fine surface variation. Avoid perfectly flat areas and perfectly uniform slopes; real forest floors are wonderfully chaotic.
Once your basic terrain form is established, apply your Landscape material. For a magic forest, a sophisticated multi-layer material that blends forest floor, exposed roots, moss, and leaf litter based on slope angle and height will produce convincing results. Use the Landscape Layer Blend node in your material to create smooth, natural-looking transitions between these surface types. Steeper slopes should reveal more exposed soil and rock, while flat areas accumulate leaf litter and moss. Add a subtle procedural displacement to your terrain material to give the ground surface a genuinely three-dimensional feel at close inspection distances.
After your terrain material is looking strong, begin painting additional detail layers by hand in the areas where your major compositional elements will be placed. Around where you plan to place large ancient trees, paint heavier concentrations of root-exposed earth and moss. In clearings where light will pool dramatically, lay down thick carpets of green moss and small flowering plants. Near any water features, paint wet mud and dark, saturated soil. This hand-painted variation is what separates a procedurally competent forest from one that feels truly art-directed and intentional, reinforcing the magical atmosphere you are building throughout the scene.
Placing and Scattering Vegetation with Foliage Tools
Vegetation placement is where your magic forest truly begins to come alive, and UE4’s Foliage Tool is your primary instrument for this stage. The Foliage Tool allows you to paint static mesh instances directly onto your terrain and other surfaces, with control over density, scale variation, rotation, and alignment to surface normals. For a convincing forest, you will be working with a layered approach: first establishing your hero trees as unique placed actors, then using the Foliage Tool to scatter mid-range vegetation, and finally painting in the finest ground cover details.
Begin with your hero trees, which are the oldest, largest, and most characterful specimens that define the personality of your forest. For a magic forest aesthetic, select Megascans trees with dramatic silhouettes, heavily textured bark, and sweeping branch structures. Place these by hand as individual actors rather than as foliage instances, because they deserve individual attention and precise positioning. Give each tree a unique scale, a slight rotation offset, and consider adding bespoke material instances that slightly vary their color and roughness from their siblings. These hero trees should be placed to frame your key vistas and guide the viewer’s eye through the composition.
With your hero trees established, open the Foliage Tool and begin building out your forest’s mid-level vegetation. Load a selection of five to eight different tree meshes into your foliage palette and paint them across your terrain in overlapping passes. The key settings to master are the density value, which controls how many instances are placed per brush stroke, and the scale randomization range, which introduces natural size variation among your trees. A forest should never look like it was planted in rows; vary your density painting passes and use the erase tool to thin out clusters that look too regular or uniform.
For ground cover, you will want to work through several distinct layers using the Foliage Tool. Begin with medium-sized plants such as ferns, large mushrooms, and flowering shrubs, painting them in loose groupings that feel natural. Then add a layer of smaller plants like wood sorrel, small mushrooms, and seedlings. Finally, paint the finest detail layer of grass tufts, small stones, and debris. Each pass should use different meshes, different scale ranges, and slightly different density values. The cumulative effect of these layered passes is a forest floor of remarkable complexity that would take individual placement to achieve, but takes only minutes with the foliage tools.
- Hero trees should be individually placed and customized with unique material instances and precise positioning to anchor key compositional focal points.
- Mid-level foliage painting should use a palette of at least five to eight different tree meshes painted in overlapping, irregular passes to avoid repetition patterns.
- Ground cover should be built up in at minimum three distinct layers: large plants, medium plants, and fine detail grass and debris to achieve convincing depth.
- Always use scale randomization and rotation variation settings aggressively to ensure no two foliage instances look identical to the viewer’s eye.
- Reserve your highest-polygon, highest-resolution assets for the areas closest to where your camera or player will spend the most time exploring the scene.
Lighting the Magic Forest for Atmosphere and Drama
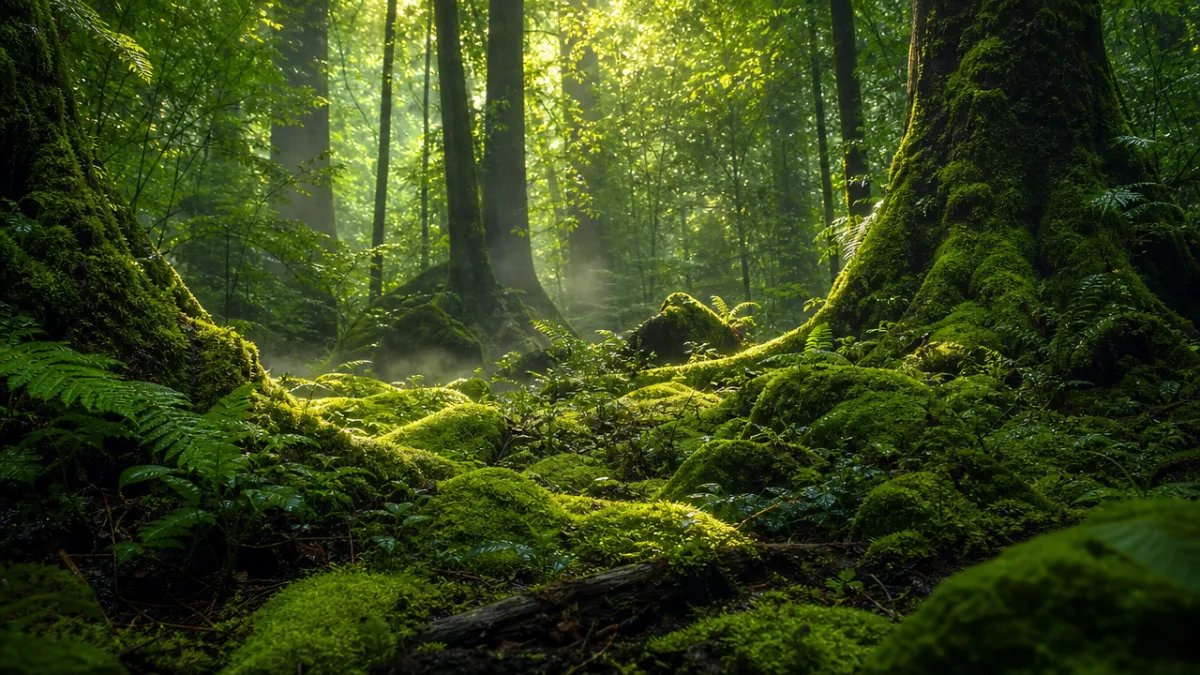
Lighting is the single most powerful tool available to you for transforming a realistic forest into a magical one, and UE4 provides an extraordinary suite of lighting tools to achieve exactly the atmosphere you envision. The foundation of any outdoor forest scene is a Directional Light representing the sun, but for a magic forest you want to think carefully about the time of day and the quality of light you are depicting. The golden hours of early morning and late afternoon produce the most dramatic and flattering light for forest scenes, with long shadows, warm color temperatures, and spectacular god rays through the canopy.
Volumetric fog and atmospheric effects are absolutely essential for the magical quality of your forest. Add an Exponential Height Fog actor to your scene and tune its settings to create a subtle, low-lying mist that fills the spaces between trees and gathers in hollows. For a magic forest, you want slightly more fog density than a purely realistic scene would warrant, as this softens the midground and background elements and creates the sensation of depth that makes the forest feel vast and mysterious. Combine this with a Sky Atmosphere component to achieve physically accurate sky colors that interact correctly with your directional light at different times of day.
Volumetric light shafts, often called god rays, are perhaps the single most iconic element of a magic forest aesthetic. In UE4, enable light shaft bloom and light shaft occlusion on your Directional Light and tune the settings to produce beams of light that visibly pierce through gaps in the canopy and illuminate the fog below. These shafts should feel dramatic but not cartoonish; aim for a quality where they enhance the sense of scale and atmosphere without overwhelming the scene with overly bright streaks. Position your hero trees and arrange your canopy gaps deliberately to control exactly where these light shafts fall in your composition.
Supplement your primary lighting with carefully placed Point Lights and Spot Lights to accentuate specific elements throughout the scene. Place warm, low-intensity Point Lights near mushroom clusters to give them a gentle, bioluminescent glow. Use slightly cooler Spot Lights to highlight the surfaces of particularly beautiful mossy rocks or the entrance to clearings. Add Rect Lights to simulate soft reflected light from water surfaces or sunlit clearings just outside frame. These supplementary lights should be subtle enough that the viewer does not consciously notice any individual one, but collectively they lift the magic quality of the entire scene significantly above what the primary lighting alone can achieve.
Post-Processing, Final Polish, and Optimization
The final stage of creating your magic forest involves using UE4’s Post Process Volume to apply the finishing layer of visual treatment that unifies all your work into a cohesive aesthetic statement. Add a Post Process Volume to your scene, set it to unbounded so it affects the entire level, and begin dialing in your color grading settings. For a magic forest, a subtle warm-to-cool color split where shadows shift slightly toward cool blues and greens while highlights remain warm gold creates a visually sophisticated look. Use the Color Grading section’s Gain, Gamma, and Lift parameters to sculpt this color treatment with precision.
Lens effects applied through the Post Process Volume add a final layer of cinematic quality to your forest. Enable a subtle Depth of Field effect to softly defocus distant background elements, which not only looks beautiful but also reinforces the sense of atmospheric depth in your scene. Add a small amount of chromatic aberration and lens flare to suggest the light-gathering quality of a real camera encountering this luminous, misty environment. Film grain, applied very subtly, gives the image a texture that reads as cinematic and authentic rather than the slightly sterile cleanliness of purely digital rendering.
Ambient Occlusion settings in your Post Process Volume deserve careful attention in a forest environment. Because forests are dense with overlapping geometry, ambient occlusion plays a critical role in grounding plants and stones against the terrain and against each other. Increase the AO intensity slightly above the default value, but also increase the AO radius to ensure that contact shadows read at the scale of large tree roots and boulder clusters, not just at the tiny scale of surface details. Getting the AO balance right is the difference between a forest where everything sits convincingly in the environment and one that looks slightly plastic and disconnected.
Optimization is the final practical consideration before your magic forest can be shared or shipped. UE4 provides several essential tools for managing performance without sacrificing visual quality. Review your Foliage Tool settings and ensure that appropriate Level of Detail transitions are configured for all your vegetation meshes, with lower-polygon LODs taking over at distances where the difference is not perceptible. Enable occlusion culling and use Hierarchical Level of Detail, known as HLOD, for your hero tree actors to reduce draw calls in complex scenes. Use the GPU Profiler and Stat GPU console commands to identify any specific rendering costs that are disproportionately expensive and address them individually rather than making sweeping quality reductions.
- Capture reference images from real forests and magical concept art before beginning any technical work, as strong artistic direction is the foundation of everything that follows.
- Organize your Megascans assets meticulously from the very beginning of the project to avoid chaotic content browsers that slow down your creative flow.
- Build your forest in compositional layers, starting with terrain form, then hero trees, then mid-range vegetation, then ground cover detail, and finally atmospheric and lighting effects.
- Use the Foliage Tool’s scale randomization and surface alignment settings aggressively to prevent the repetition patterns that reveal procedural placement to the viewer’s eye.
- Approach lighting in passes, establishing your primary sun light first, then atmospheric fog, then volumetric shafts, and finally supplementary accent lights for specific details.
- Apply Post Process color grading, depth of field, and lens effects as the final artistic layer that unifies all your technical work into a single coherent visual statement.
- Profile your scene’s performance early and often using UE4’s built-in profiling tools rather than leaving optimization as an afterthought at the very end of the project.
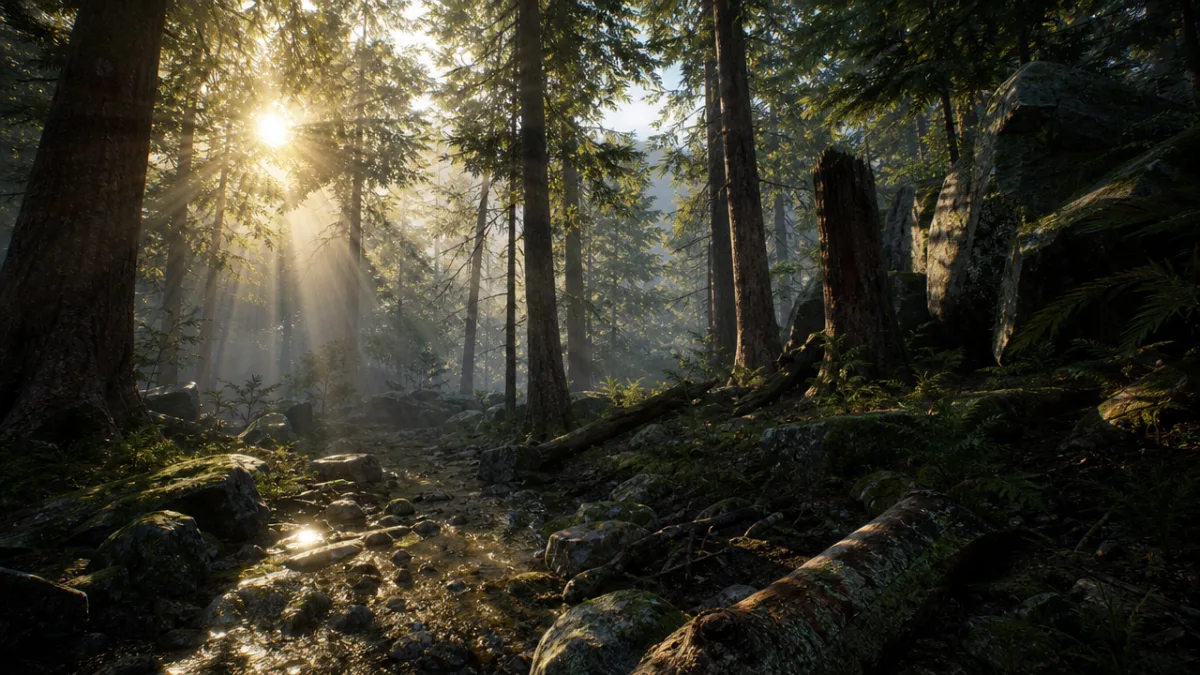
Creating a magic forest with Megascans and UE4 is ultimately an exercise in marrying technical mastery with artistic sensitivity. The tools available to environment artists today are genuinely extraordinary, and the Megascans library provides a foundation of photographic reality that would have seemed like science fiction to environment artists even a decade ago. But the magic comes not from the tools themselves, but from the vision and craft that guides every decision from terrain sculpting to final post-process color grading. With patience, iteration, and a clear artistic intention guiding your technical work, you can create forest environments that transport viewers into genuinely extraordinary worlds.








What do you think?
It is nice to know your opinion. Leave a comment.