










25 Recycled Garden Ideas with Wood Scraps: Easy DIY Projects
Why Wood Scraps Are a Gardener’s Best Friend
If you’ve ever done any woodworking, home renovation, or even just replaced a fence panel, you know how fast the offcuts pile up. Suddenly your garage is full of broken slats, odd-shaped boards, and pallet pieces that feel too good to throw away but too awkward to actually use. Before you haul any of it to the curb, take a proper look at what you’ve got — because wood scraps might be the most underrated material in any gardener’s toolkit.
There’s a certain charm to reclaimed wood that you just can’t buy off a shelf. The weathered grey of an old fence board, the rough texture of barn timber, the smooth grain of a leftover oak plank — each piece has its own history, and that shows in the finished project. Gardens built from recycled materials feel genuinely personal, like they grew up alongside the person who made them. No flat-pack furniture is ever going to give you that.
And beyond how it looks, using wood scraps is simply the smarter choice for the planet. Every board you repurpose is one less thing headed to a landfill and one less trip to the hardware store. Sustainable gardening doesn’t have to mean big gestures — it often starts with something as simple as building with what you already have. The projects in this article are beginner-friendly, but the results look anything but thrown together.
Raised Garden Beds Built from Reclaimed Lumber
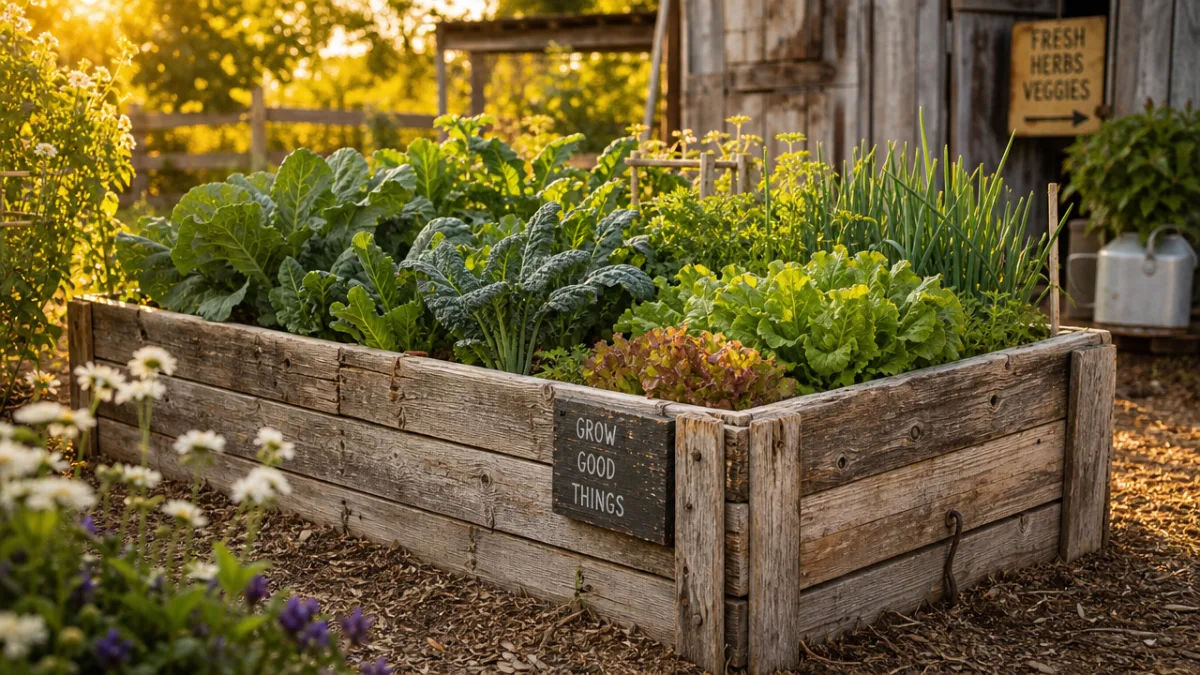
Raised beds are probably the most popular DIY garden project out there, and they’re a perfect match for wood scraps. All you really need are four boards of similar width, some screws, and a patch of flat ground. Using reclaimed lumber cuts your costs to almost nothing while giving the beds that rustic, lived-in look that blends so naturally into a garden. Even if your boards aren’t perfectly matched in thickness or length, that’s fine — a little variation just adds character.
Building a basic bed is straightforward even if you’ve never picked up a drill before. Lay your boards out in a rectangle, drill pilot holes so the wood doesn’t split, and screw the corners together. For deeper beds, stack two or three layers and stagger the joints so everything stays solid. Got some longer offcuts? Use them as internal dividers to create growing zones within the same bed — great for keeping herbs, salad greens, and flowers all in their own tidy sections without needing extra space.
One thing that’s worth paying attention to when using reclaimed wood near food crops is where the lumber came from. Older treated wood can contain preservatives you really don’t want leaching into your soil. Stick to lumber stamped “HT” (heat treated), boards from your own yard that you know the history of, or untreated construction offcuts. A quick bit of research into your materials means you can grow vegetables with complete peace of mind.
Garden Furniture and Seating from Pallet Wood
Pallets have had their moment in the DIY spotlight, and honestly, it’s well deserved. The timber is kiln-dried and built to handle serious weight, which means it holds up outdoors better than a lot of wood you’d buy specifically for the purpose. One pallet can become a bench, a side table, a vertical planter, or the base of an outdoor sofa — the slatted grid structure practically begs to be repurposed into something with shelves or compartments.
A pallet bench is probably the simplest place to start. Stack two pallets flat for the seat, stand a third one upright at the back as a rest, screw it all together, sand off any rough patches, and paint or stain it with something weatherproof. Throw on a couple of outdoor cushions and you’ve got a proper garden seat built in an afternoon for next to nothing. It’s the kind of project where the gap between the effort and the result feels almost unfair.
If you’ve accumulated a bigger pile of pallets, consider going all-in on a full outdoor dining set. Lay pallets end to end over a simple two-by-four frame for a long table that seats plenty of people, then build matching benches the same way. The natural variation in pallet grain means the whole set has this handcrafted, artisanal quality that mass-produced garden furniture can’t touch. Seal it well, and it’ll handle plenty of summers of outdoor meals and get-togethers.
Creative Planters and Containers from Wood Offcuts
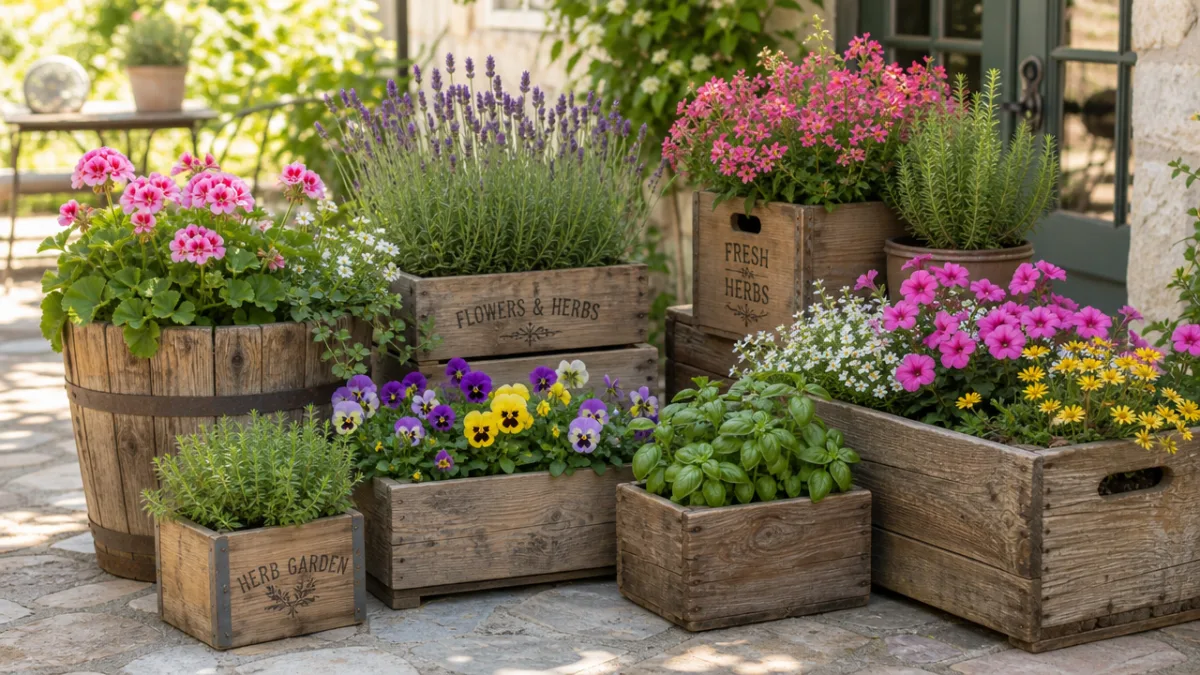
Those short little offcuts that seem too small for anything? They’re ideal for planters. Five equal-sized pieces — four sides and a base — give you a perfectly functional box planter. Drill a few drainage holes in the bottom, line it with landscape fabric so the soil stays in but water can escape, and you’re ready to plant. Paint it a bright color for something bold and modern, or leave the wood bare and let it go grey naturally for a classic cottage look.
Longer, narrower offcuts work especially well as window boxes. Mount them under actual windows for the traditional effect, or fix them along fence panels to turn a plain boundary into a trailing wall of flowers and greenery. Stacking planters at different heights along a path is another easy way to add depth and structure to your garden — taller plants at the back, trailing varieties tumbling over the front edges, and suddenly it all looks like someone actually planned it.
If you want to get a bit more playful with it, mismatched offcuts are great for unconventional shapes. A cluster of small square planters grouped at different heights on a simple wooden stand makes a really striking corner feature. Hexagonal planters, triangular wall pockets, and stacked log-ring towers are all doable with basic cutting skills and a jigsaw. The trick is to let the shapes of your offcuts suggest the design rather than fighting against them.
- Simple box planters using five equal offcuts for sides and base
- Window box planters mounted on fences or beneath actual windows
- Stacked tiered planters for layered height and visual interest
- Hexagonal or geometric planters cut with a jigsaw from flat boards
- Tall cylindrical tower planters made from stacked lumber rings
- Clustered small square planters arranged on a simple wooden stand
Garden Structures and Functional Features
Wood scraps are also genuinely useful for the less glamorous but very practical side of garden life. A compost bin, for instance, is really just four panels arranged in a square — pallets are particularly good for this because the gaps between slats let air circulate, which is exactly what composting needs. A two-bay setup where one side takes fresh kitchen and garden waste while the other holds maturing compost gives you a steady supply of free fertilizer and can be knocked together from a few boards in an afternoon.
Trellises are another great use of offcuts, especially the thinner strips. A fan trellis — thin lengths of wood fanned out from a single point and pinned together — makes an elegant support for climbing roses or sweet peas. A simple grid trellis from crossed lath strips does the job perfectly for cucumbers and beans. Either version can be sized to fit whatever space you have, leaned against a wall, fixed to a fence, or made freestanding with a couple of ground stakes.
Edging from short vertical offcuts is one of those ideas that looks great and costs nothing. Saw one end of each piece to a point, treat the buried section with linseed oil for protection, and drive them into the ground side by side along your bed or path edges. Leave the tops flat for something clean and contemporary, cut them at angles for a picket effect, or shape them into curves for something more decorative. Best of all, if you want to change the layout later, individual pieces can be pulled up and moved without disturbing anything else.
Garden Art, Décor, and Finishing Touches
Once the functional stuff is sorted, wood scraps become a genuinely fun medium for adding some personality to your garden. Hand-painted signs are one of the easiest and most satisfying projects going — cut a board to size, sand it, put down a base coat of outdoor paint, then letter your text by hand or with stencils. Directional signs, plant labels, a favourite quote tucked along a path — these small touches are what make a garden feel like it belongs to someone, rather than just being a nice green space.
If you want something a bit more ambitious, wood mosaic wall art is deeply satisfying to make. Collect offcuts in different species, thicknesses, and finishes, then arrange them into patterns or pictures on a backing board. Geometric designs using contrasting light and dark woods look striking and contemporary. Organic shapes cut with a jigsaw — leaves, flowers, animals — go in a more playful direction. Seal it well with exterior varnish, mount it on a fence where it’ll catch the light, and it becomes a proper focal point.
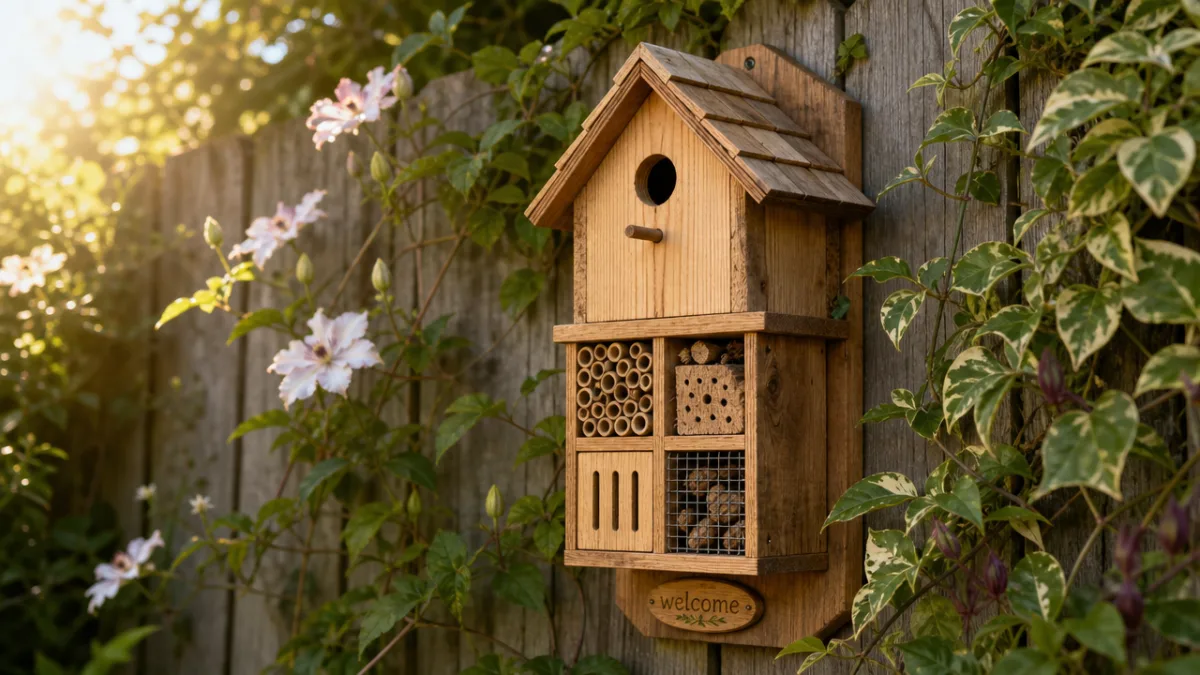
Bird boxes and bug hotels might be the most rewarding thing you can build from small scraps. A nestbox needs just a few pieces: base, four sides, a sloping roof, and an entrance hole drilled to the right diameter for the species you’re hoping to attract. Skip the perch — it actually helps predators more than birds. A bug hotel is even more freeform: a simple wooden frame packed with hollow stems, rolled cardboard, bark, and pine cones gives solitary bees, lacewings, and other beneficial insects somewhere to overwinter. In return, they’ll spend the whole summer pollinating your plants, which is a pretty good deal.
- Hand-painted garden signs and decorative plant labels
- Geometric wood mosaic wall art mounted on fence panels
- Nestboxes sized and drilled for specific garden bird species
- Bug hotels built from a wooden frame and natural filling materials
- Wind chimes made from thin offcuts suspended on garden twine
- Stepping stone borders created from flat wood rounds or cross-cut logs
- Sculptural garden totems built from stacked and carved offcuts
Tips for Working Safely and Successfully with Reclaimed Wood
Reclaimed wood is wonderful to work with, but it does need a slightly more careful approach than fresh-cut timber. Before you do anything else, go through each piece and check for old nails, staples, or screws — these need to come out before you saw or drill, unless you want to ruin a blade or send a fastener flying. While you’re at it, look for rot. Soft, discoloured, or crumbly sections won’t hold screws or take any weight, and a quick squeeze along the length of each board will reveal any soft spots that aren’t obvious from the surface.
Moisture is another thing worth thinking about. Wood that’s been sitting outside or in a damp shed can hold a surprising amount of water, and when it dries out after you’ve built with it, it can shrink, warp, and crack in ways that ruin a project. If you can, bring your reclaimed wood inside or under cover for a few weeks before you use it. Stand boards on end or stack them with spacers to let air move around all sides, and keep them away from radiators or heaters — drying too fast causes splitting.
Finally, a few decent tools and the right finishing products make a real difference to how your projects turn out and how long they last. A sander — or even just a range of sandpaper grits — lets you smooth rough surfaces and get wood ready for paint or stain. A drill with a selection of bits handles everything from pilot holes to drainage holes to screws. And a good exterior wood sealant, stain, or paint is non-negotiable for anything staying outside. Untreated wood can start to degrade within a single season. Get those basics sorted, and your recycled garden projects will stay looking great for years to come.








What do you think?
It is nice to know your opinion. Leave a comment.