










15+ DIY Arch Trellis Garden Ideas to Transform Your Outdoor Space
Why an Arch Trellis Is the Ultimate Garden Feature
An arch trellis is one of the most dramatic and rewarding additions you can make to any garden, whether you have sprawling acreage or a compact backyard patio. These elegant structures create a natural gateway that draws the eye, defines pathways, and invites visitors to move through your garden with a sense of wonder and discovery. Beyond pure aesthetics, arch trellises serve as vertical growing structures that allow plants to climb upward, maximizing your available growing space and adding a lush, layered dimension to your landscape.
The beauty of building your own arch trellis lies in the complete creative freedom it gives you. Store-bought versions are often limited in size, material, and style, but when you take the DIY route, you can customize every single detail to match your garden’s unique personality. Whether you prefer a rustic farmhouse aesthetic with rough-hewn timber or a sleek modern look with powder-coated metal conduit, the possibilities are truly endless. You can scale the structure to frame a grand entrance or create an intimate arbor tunnel that feels like something from a secret garden novel.
Cost savings are another compelling reason to build rather than buy. A quality metal or wood arch trellis from a garden center can easily run several hundred dollars, while a DIY version using repurposed lumber, rebar, or PVC pipe might cost as little as twenty to fifty dollars in materials. When you multiply that savings across multiple arches — say, lining an entire garden pathway with five or six arches — the economics become undeniable. Plus, the satisfaction of watching your climbing roses or sweet peas cascade over a structure you built yourself is something no retail purchase can replicate.
Choosing the Right Materials for Your DIY Arch Trellis
The material you choose for your arch trellis will determine not only its visual character but also its durability, maintenance requirements, and the types of plants it can support. Wood remains the most popular choice for garden arches because it blends naturally into the landscape, is easy to cut and shape without specialized tools, and can support heavy climbers like wisteria, climbing hydrangea, and large-flowered clematis. Cedar and redwood are the gold standards for outdoor wood projects because both species contain natural oils that resist rot and insect damage, meaning your structure can last fifteen years or more with minimal treatment.
For gardeners who want something longer-lasting with even less maintenance, metal options offer outstanding performance. Rebar is a surprisingly affordable and workable material — it bends easily when heated or cold-worked over a form, and once set, holds its shape indefinitely through all seasons. Galvanized steel conduit, commonly used in electrical work, is another excellent choice that gives a cleaner, more refined look. Many contemporary garden designers are also using copper pipe for arch trellises, which begins as a bright orange-gold and weathers over time into a gorgeous verdigris patina that looks stunning against green foliage.
PVC pipe deserves mention as a budget-friendly option, particularly for gardeners who want flexibility and lightweight construction. Schedule 40 PVC can be bent into smooth curves using a heat gun, allowing you to create graceful arched profiles without any carpentry skills. While PVC won’t have the same natural charm as wood or metal, it can be painted to blend in seamlessly, and its complete immunity to rot makes it a smart choice for garden beds with constant irrigation. For heavier plants, you can reinforce PVC arches by slipping rebar inside the pipes before bending.
- Cedar or redwood lumber for classic warmth and natural rot resistance
- Galvanized steel conduit for a modern industrial aesthetic that weathers beautifully
- Rebar bent over a custom form for a budget-friendly, ultra-durable option
- Copper pipe for a distinctive look that develops a stunning patina over time
- PVC pipe for lightweight, low-cost builds that resist moisture completely
- Willow or hazel branches woven together for a truly organic, cottage-style arch
Classic Wooden Arch Trellis Designs You Can Build This Weekend
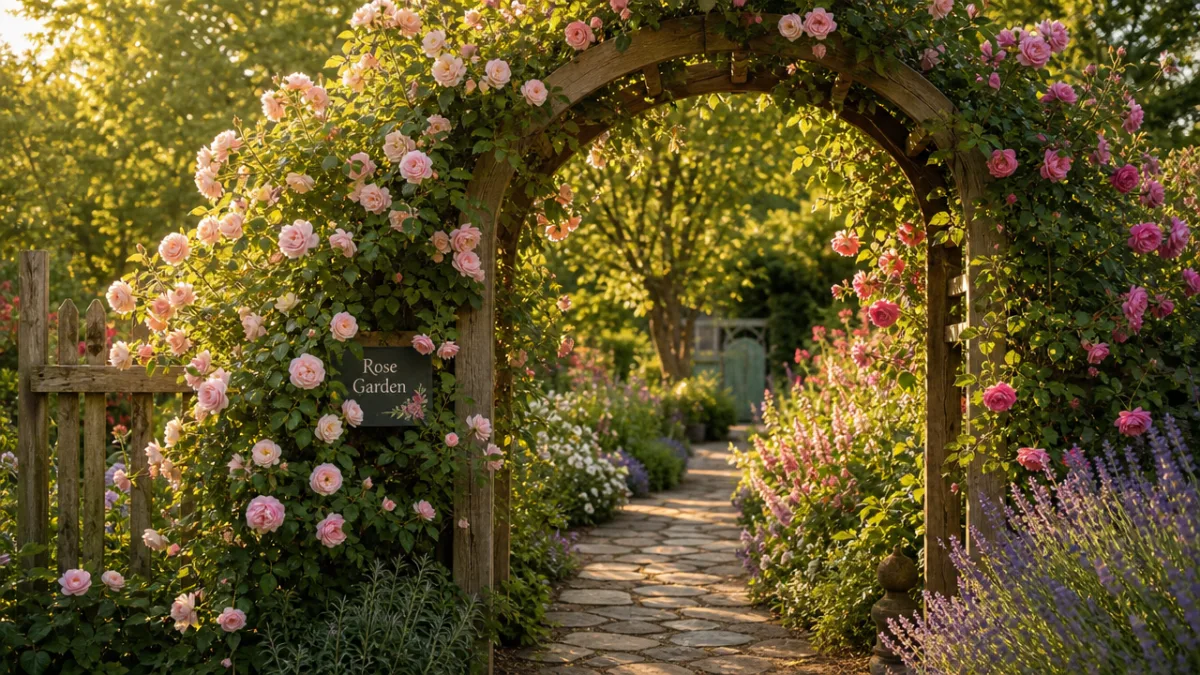
The simplest wooden arch trellis design consists of four upright posts connected at the top by two curved or angled boards, with a lattice panel filling each side. This straightforward construction requires only basic carpentry skills and common tools — a circular saw, drill, and post-hole digger are really all you need. For the arch profile, you have two main options: you can cut a gentle curve into the top beam using a jigsaw, which gives a traditional garden arch appearance, or you can create a pointed Gothic arch by mitering two straight boards at an angle and joining them at the apex with a decorative finial.
A farmhouse-style trellis arch made from rough-cut 4×4 cedar posts with 2×4 crossbeams and a simple grid of 1×2 wooden slats on the sides is one of the most beloved DIY designs circulating on social media for good reason. It looks like it belongs in a heritage cottage garden, ages beautifully to a silvery gray if left untreated, and can be assembled in a single afternoon. The grid sides provide excellent purchase for climbing plants to wrap their tendrils around, and the open structure allows air circulation that helps prevent the fungal diseases that plague many climbing plants in humid climates.
For something more ambitious, consider building a pergola-style arch trellis with extended side panels that create a mini tunnel effect. By setting four posts instead of two on each side and connecting them with horizontal rails at multiple heights, you create a structure that plants can colonize from multiple angles simultaneously. After just one full growing season, climbing plants like fast-growing annual sweet peas or perennial climbing hydrangea will begin to blur the lines between architecture and living garden, creating an effect that looks like it took years to achieve but was actually built in a single weekend project.
Metal and Modern Arch Trellis Ideas for Contemporary Gardens
If your garden leans toward clean lines and contemporary design, metal arch trellises offer an ideal solution that balances structure and sophistication. One of the most striking modern approaches involves bending two lengths of half-inch galvanized conduit into matching parabolic arches and connecting them with horizontal rebar crosspieces welded or wired at regular intervals. The result is a minimalist arch with an almost architectural quality — the kind of structure that looks intentional and designed rather than simply functional. Painted matte black or left to develop its own patina, this style works brilliantly in Scandinavian-inspired or Japanese minimalist garden designs.
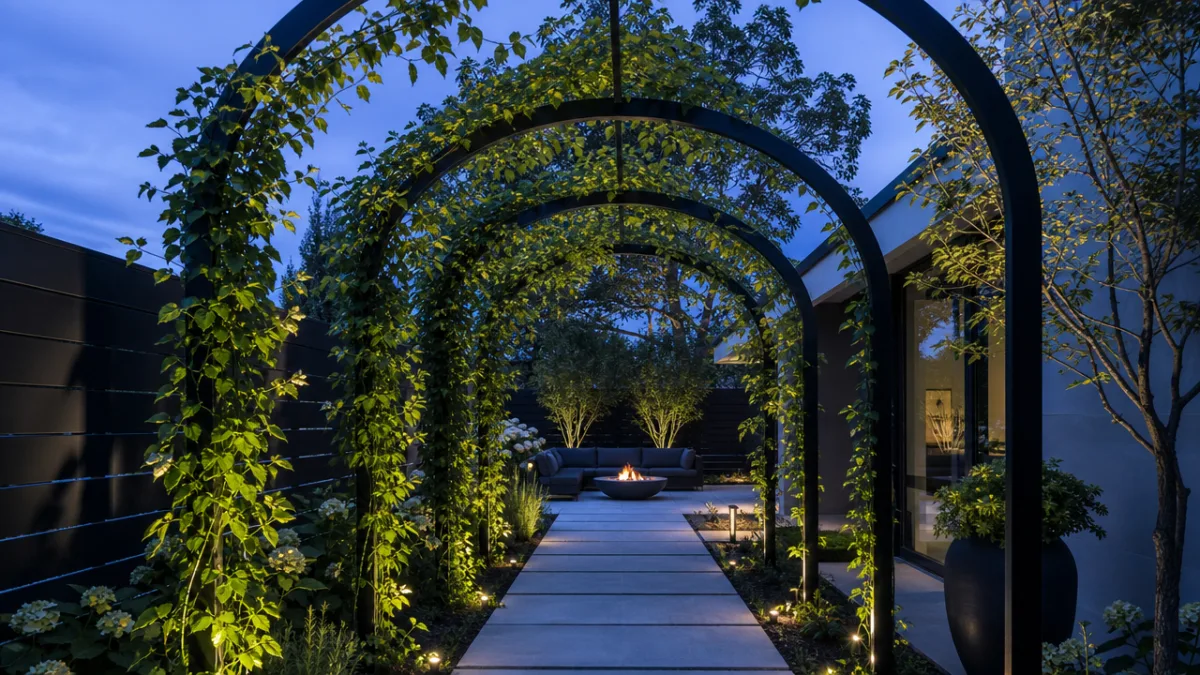
Rebar arch trellises have gained tremendous popularity on DIY gardening platforms because they are genuinely accessible to beginners. The process involves driving two lengths of rebar into the ground at a slight inward angle on opposite sides of a path, then bending them toward each other and connecting them at the top with wire or a coupling. Repeat this every twelve to eighteen inches along the length of a garden path, and you have a stunning tunnel arch that costs almost nothing. When planted with fast-growing annuals like morning glory, scarlet runner beans, or black-eyed Susan vine, this simple framework becomes a breathtaking green tunnel within a single summer.
Copper pipe arch trellises occupy a special niche at the intersection of practical garden structure and outdoor art installation. Using standard plumbing fittings — elbows, tees, and straight sections — you can assemble a freestanding arch of remarkable elegance without any welding or specialized tools. A typical design uses two upright lengths of three-quarter-inch copper pipe driven into the ground with rebar inside for stability, connected at the top by an elbow fitting and a horizontal crosspiece. Add vertical copper wires stretched between the uprights and the crossbar to create the climbing grid, and you have a structure that will become more beautiful with every passing year as the copper oxidizes.
- Plan your arch dimensions carefully — standard garden path arches are typically 7 feet tall and 4 feet wide
- Always set posts or drive anchors at least 18 inches into the ground for stability
- Apply an appropriate finish or treatment to metal to prevent unwanted corrosion in wet climates
- Space multiple arches evenly — 18 to 24 inches apart creates the best tunnel effect
- Install the arch before planting so climbers can be guided onto the structure from the very beginning
The Best Climbing Plants for Your Arch Trellis
The plant you choose to grow over your arch trellis can be just as important as the structure itself, and matching the right climber to your climate, soil, and aesthetic goals will make the difference between a mediocre garden feature and a truly spectacular one. Climbing roses are perennially the most beloved choice for arch trellises because they offer fragrance, extraordinary flower color variety, and a romantic visual density that no other plant quite matches. Varieties like Zephirine Drouhin, New Dawn, or climbing Iceberg are particularly well-suited to arch trellises because they produce canes that are long enough to be trained over the structure while producing abundant repeat blooms through the growing season.
For faster results, annual climbers are hard to beat. Sweet peas sown directly at the base of a new arch in early spring will reach the top within six to eight weeks, smothering the structure in delicate, incredibly fragrant flowers in shades of pink, purple, white, and red. Morning glory is another annual powerhouse that covers trellis arches with astonishing speed and rewards you with a daily display of vivid trumpet flowers that open fresh each morning. Scarlet runner beans pull double duty as both a beautiful ornamental climber and a productive food plant, producing edible beans throughout summer while covering the arch with striking red flowers that attract hummingbirds.
Perennial climbers reward the patient gardener with permanent, long-lived coverage that improves every year. Clematis is arguably the most versatile of all climbing plants for trellis arches because the genus encompasses hundreds of varieties blooming in virtually every color, from late spring through autumn, with mature plants putting on a floral display that stops visitors in their tracks. Wisteria is another magnificent option, though it requires a very sturdy arch — the weight of a mature wisteria in full bloom is considerable, and the structural integrity of your trellis must be planned for it from the outset. For shady gardens, climbing hydrangea is an outstanding performer that tolerates deep shade and produces large, lacecap flower heads in summer.
Creative and Unexpected DIY Arch Trellis Concepts
Once you move beyond the conventional wooden or metal arch, a whole world of creative possibilities opens up. One of the most charming and completely free ideas involves training two young trees planted on opposite sides of a path to grow toward each other and eventually meet overhead, creating a living arch. Fruit trees like apples and pears are particularly amenable to this pleaching technique and can be trained into formal espalier arches that are both beautiful and productive. The process takes several years, but the result — a living, fruiting tunnel arch — is something no purchased structure could ever replicate.
Repurposed materials offer another avenue for genuinely original arch trellis designs. Old bicycle wheels mounted on posts and connected by horizontal ropes or wires make a whimsical and unexpected trellis arch that will immediately become a conversation piece in any garden. Salvaged iron bed headboards, with their ornate scrollwork and curvaceous profiles, can be sunk into the ground face-to-face and connected at the top to form a romantic, vintage-inspired arch that costs nothing beyond the effort of sourcing the pieces at a thrift store or salvage yard. Even old wooden ladder sections positioned leaning together at their tops form a simple but effective A-frame arch that climbing plants will enthusiastically colonize.
Incorporating lighting into your DIY arch trellis design elevates the structure from a daytime garden feature to an all-hours focal point. Solar-powered LED fairy lights woven through the structure and the climbing plants create an enchanting glow after dark that transforms your garden into an outdoor living room. For a more architectural approach, consider adding small uplighting spots at the base of each arch post that cast dramatic shadows upward through the foliage. Some creative gardeners install small hooks along their arch crossbars to hang battery-powered lanterns, creating a warm, inviting light that makes the arch as magical on a summer evening as it is beautiful on a sunny afternoon.
- Pleached living tree arches for a long-term, organic garden statement
- Salvaged iron bed headboards for vintage-inspired romantic garden arches
- Bicycle wheel and rope constructions for a quirky, upcycled garden feature
- Woven willow or hazel living arches that root and grow in place
- Bamboo pole arches lashed with twine for a natural, zero-cost garden structure
- Solar fairy light integration to make your arch a nighttime garden centerpiece
Installation Tips and Long-Term Maintenance for DIY Arch Trellises
Proper installation is the single most important factor in the long-term success of your arch trellis, and the most critical step is ensuring that your posts or anchoring points are set deeply and securely enough to resist both the lateral pressure of climbing plants and the force of wind. As a general rule, posts should be buried to a depth equal to one-third of their total length — so a seven-foot-tall arch post should have approximately two and a half feet below grade. Using concrete to set wooden posts significantly extends their lifespan and prevents the rocking and leaning that eventually compromises the entire structure, though in well-draining sandy soils, compacted gravel can work nearly as well.
Before setting any posts, always call your local utility notification service to have underground lines marked. This single step prevents a potentially dangerous situation and costs nothing beyond a brief phone call or online request. Once you have the all-clear, use a post-hole digger or clamshell digger rather than a standard spade to create narrow, deep holes that give the concrete or gravel compaction something to grip. If your soil is particularly rocky or dense, renting a power auger for a few hours makes the job dramatically faster and is well worth the modest rental cost for a project with multiple post holes.
Maintenance requirements for DIY arch trellises vary considerably by material but are universally manageable with a modest annual investment of time. Wooden arches benefit from a fresh coat of exterior wood stain or preservative every two to three years, a task that is easiest accomplished in early spring before climbing plants have leafed out completely. Metal arches should be inspected annually for rust spots, which can be addressed promptly with a wire brush and rust-inhibiting primer before they spread. Structural connections — screws, bolts, and wire ties — should be checked and tightened each spring, as the freeze-thaw cycle of winter and the weight of growing plants will gradually work hardware loose over time. With this modest care routine, a well-built DIY arch trellis will reward you with decades of garden beauty.








What do you think?
It is nice to know your opinion. Leave a comment.