










“`html
How to Make Huge Dominoes: A Complete Guide to Building Your Own Giant Game Set
Introduction to Giant Dominoes
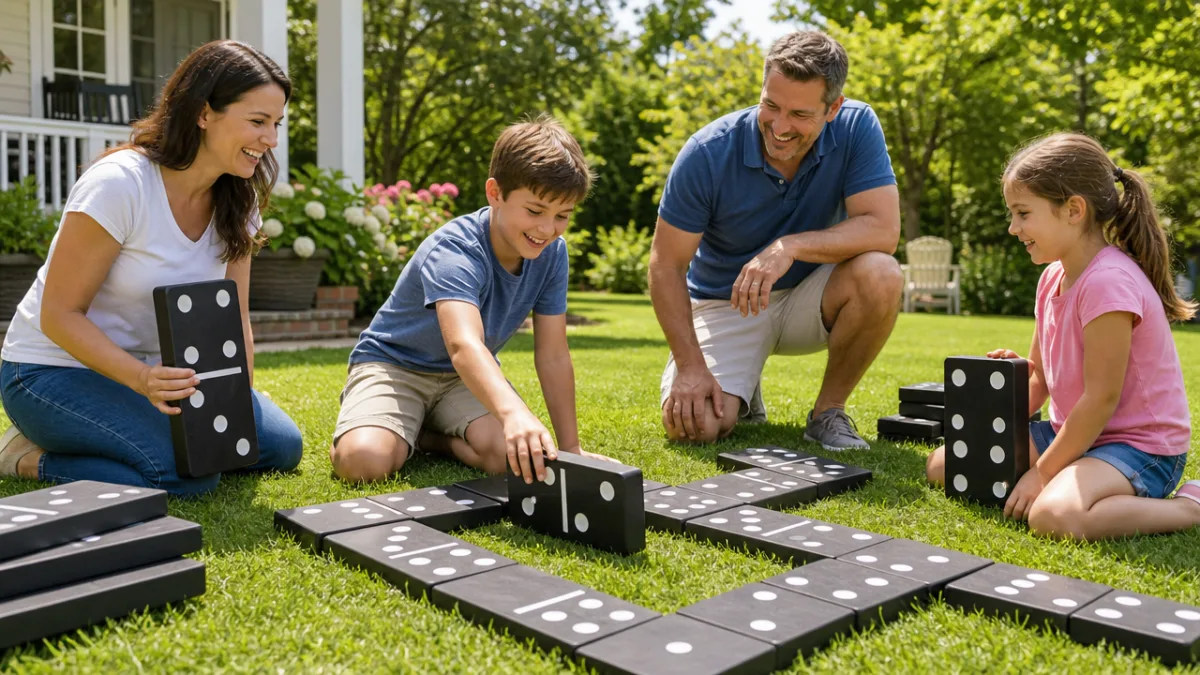
Giant dominoes have become a go-to addition for backyard parties, family reunions, and outdoor events of just about every kind. Unlike the tabletop version you might pull out on a rainy afternoon, oversized dominoes bring a whole new energy — there’s something about a game you can hold with two hands that gets people off their lawn chairs and actually engaged. Whether you’re throwing a summer barbecue or organizing a company picnic, a homemade set of giant dominoes has a way of becoming the unofficial centerpiece of the whole day.
What makes building your own set so appealing is the control you get over every detail — the size, the materials, the colors, the finish. Store-bought giant dominoes exist, sure, but they tend to be smaller than you’d hope and somehow never feel as satisfying as something you actually made. When you build your own, you can go as big as you want, and the result is something that genuinely impresses people. With the right materials and a little patience, you can put together a set that holds up to years of enthusiastic outdoor play.
This guide walks you through the whole process, from picking out lumber to applying the final coat of sealer. You don’t need a fully equipped workshop or years of woodworking experience — the techniques here are pretty accessible even if you’ve never made a cut with a miter saw before. By the time you’re done, you’ll have a complete set of 28 dominoes, each one big enough to make that deeply satisfying clack when it lands on a hard surface and sturdy enough to survive some genuinely competitive play.
Materials and Tools You Will Need
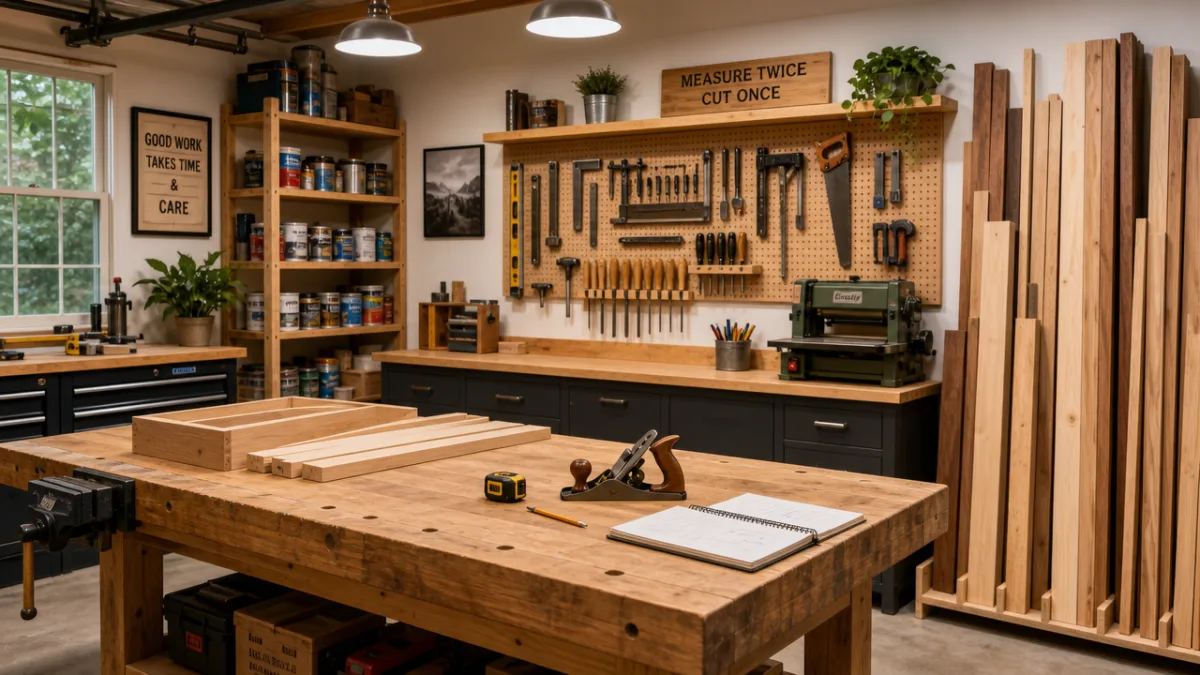
Before you make a single cut, it’s worth getting everything together in one place first. The main material you’ll need is lumber, and most people who’ve made these recommend 2×4 or 2×6 pine boards as the sweet spot. Pine is easy to find at any hardware store, it won’t break the budget, and it cuts and sands cleanly. For a standard double-six set of 28 pieces at roughly 7.5 inches by 3.75 inches by 1.5 inches, you’ll need about 14 to 16 feet of 2×4 lumber, give or take depending on your exact dimensions.
Beyond the wood itself, you’ll need a handful of tools and finishing supplies to do the job right. A miter saw or circular saw will give you clean, consistent cuts, and a sander — orbital or belt — will smooth things out and prep the surface for paint. You’ll want sandpaper in grits from 80 up to 220 for progressive smoothing, plus a tack cloth or damp rag to clear away sawdust before you start painting. To create those classic circular pip indentations, a drill with a spade bit or hole-saw attachment does the trick nicely.
For painting and finishing, here’s what you’ll want to have on hand:
- Exterior-grade primer spray paint or brush-on primer
- Black exterior latex paint for the base coat
- White exterior latex paint for the pips and dividing line
- Outdoor-rated polyurethane sealer or deck sealant
- Small round sponge applicators or a fine artist’s brush for detail work
- Painter’s tape for clean lines
- Rubber gloves and drop cloths for workspace protection
Having everything ready before you dive in saves you those frustrating mid-project hardware store runs and keeps your momentum going. It’s also worth grabbing a good measuring tape and a carpenter’s square, since consistent measurements are really the foundation of a set that looks and plays well. And if you’re planning to store the dominoes outdoors or in a garage between uses, pick up a canvas bag or a plastic storage bin big enough to hold all 28 pieces without a struggle.
Cutting and Shaping Your Domino Pieces
With everything assembled, it’s time to start cutting. The most popular size for giant dominoes is 7.5 inches long by 3.75 inches wide by 1.5 inches thick — big enough to feel genuinely impressive, but not so heavy that they become a chore to pick up. Standard 2×4 lumber already comes in at roughly 1.5 inches by 3.5 inches in actual dimensions, so you really only need to make crosscuts to hit the right length. If you want a bit more surface area for the pips, 2×6 boards give you that extra width.
Set your miter saw up on a stable surface and clamp a stop block to the fence so every piece comes out exactly the same length — consistency really matters here, because even small size differences become obvious when the tiles are laid side by side. Try to knock out all 28 cuts in one session if you can, and check your measurements every so often to make sure the stop block hasn’t crept out of position. A light pencil mark on each piece as you go can help you keep track of where you are in the process.
Once everything is cut, run every face and edge through the orbital sander, working your way up through the grits from 80 to 120 to 220. The corners deserve a little extra attention — that’s where splinters tend to hide and where sharp edges are most likely to catch someone’s hand mid-game. When you’re done sanding, run your fingers over every surface to catch any remaining rough spots, then wipe each piece down with a tack cloth. Clean, smooth wood soaks up paint far more evenly than anything dusty or rough.
For the pip indentations, a drill press gives you the most control, but a handheld drill with a half-inch spade bit works just fine if that’s what you have. Set your depth to about a quarter inch for a clean, consistent pip that’ll look sharp once it’s painted white. Before you drill anything, use a pencil and a printed template to mark every pip location on each tile — eyeballing it freehand tends to produce uneven spacing that’s pretty hard to ignore on the finished set. Taking a few extra minutes to mark things out properly is genuinely worth it.
Painting and Finishing for a Professional Look
The painting stage is where these pieces really start to look like dominoes, and a little care here goes a long way. Start with a thin, even coat of exterior-grade primer on every surface of each piece. Primer gives the topcoat something to grip and evens out the natural grain and color variations in the wood so they don’t bleed through later. Let it dry fully according to the manufacturer’s instructions — usually an hour or two — before moving on.
Once the primer is dry, apply your first coat of black exterior latex paint with a brush or small foam roller. Work with the grain in smooth, even strokes, and make sure you get the edges and corners well covered since those spots tend to chip first. Let that coat dry, give the surface a light pass with 220-grit sandpaper to knock down any raised grain, wipe it clean, and then lay down a second coat. Two solid coats of black is really the sweet spot for outdoor durability.
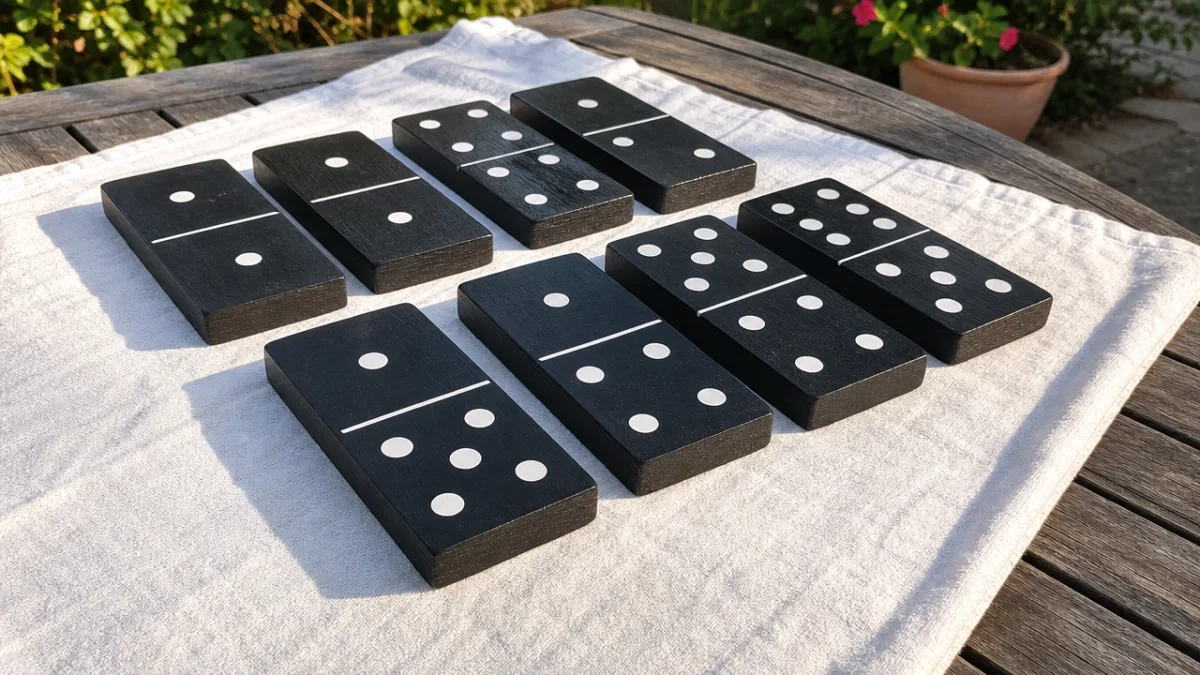
After the black base coat has had time to fully cure, you can add the white pips and the center dividing line. Use painter’s tape to get a crisp, straight line across the middle of each tile, then fill it in carefully with a small artist’s brush. For the pips, a round sponge applicator or even the eraser end of a pencil dipped in white paint and pressed into each drilled hole does a surprisingly clean job. The result is a nice, uniform dot that really pops against the black — and once you get into a rhythm, it goes faster than you’d expect.
The last step is sealing everything, and it’s not one to skip. A good outdoor polyurethane or deck sealant protects against moisture, UV fading, and all the bumping and scraping that comes with regular play. Put on at least two coats, letting each one dry fully before the next, and give extra attention to the edges and the bottom face of each tile since those take the most abuse. A well-sealed set can realistically hold up to five or more years of outdoor use with just a bit of annual upkeep.
Understanding the Rules and How to Play
Now for the fun part. The double-six set you just built contains 28 tiles, each one representing a unique combination of two numbers from zero (blank) to six. In the most common version of the game — usually just called “Block Dominoes” or simply “Dominoes” — the goal is to be the first player to play all your tiles by matching pip counts on adjacent pieces. It works with two to four players, and everyone starts by drawing from a shuffled facedown pile called the boneyard.
To get started, shuffle all 28 tiles face down and have everyone draw their opening hand. In a two-player game, each person draws seven tiles. With three or four players, everyone draws five, and any leftover tiles stay in the boneyard for later. Whoever holds the highest double — the double-six if anyone has it — places it first to anchor the chain. From there, play moves clockwise, with each person adding a tile to either open end of the chain by matching the pip count on that end.
If you can’t make a legal move because nothing in your hand matches the open ends, you draw from the boneyard until you pull something playable or run out of tiles. If the boneyard is empty and you still can’t play, you simply pass. The round ends when someone plays their last tile, or when the game gets blocked and nobody can move. In a blocked game, whoever has the lowest total pip count in their remaining hand wins — which means even when things look bad, the endgame can still swing your way with smart tile management.
Once you’re comfortable with the basics, there’s a whole world of variations that work beautifully with a big outdoor set. Mexican Train is a crowd favorite for larger groups — it can handle up to eight players and creates this sprawling, branching layout that looks especially dramatic with oversized tiles. All Fives (sometimes called Muggins) layers in a scoring element by awarding points whenever the open ends of the chain add up to a multiple of five. Having a couple of different formats ready to go keeps the set feeling fresh no matter how many times people have played before.
Tips for Storage, Maintenance, and Creative Customization
Good storage habits will do a lot to protect everything you’ve put into this project. The sealer handles a fair amount of weather exposure, but the tiles will last much longer if you’re not leaving them out in the elements between uses. A large canvas duffel bag, a wooden crate with a lid, or a heavy-duty plastic bin all do the job well. If you’re going to be hauling the set to events regularly, it’s worth putting together a simple plywood carrying case with a rope handle — it keeps everything organized and honestly looks like part of the package in a good way.
A little seasonal maintenance goes a long way toward keeping things looking sharp. At the start of each year, give the tiles a once-over for chipped paint, worn sealer, or any small cracks from moisture changes in the wood. A few touch-ups with black paint and a fresh coat of sealer once a year is usually all it takes to keep them looking nearly new. If the wood has started to gray or the sealer looks cloudy, a light sanding followed by fresh primer and paint will bring everything right back. It’s a small investment of time that really pays off.
One of the genuinely fun parts of making your own set is the chance to customize it in ways that a store-bought version just can’t offer. Painting a family name or monogram on the back of each tile in a contrasting color gives the set a cohesive, personal look and makes it easy to spot at a big event. Some people swap out traditional black for something bolder — red, navy, or forest green can look really striking in an outdoor setting. And if you want to go all out, stenciled patterns or hand-painted designs on the reverse side of the tiles make for a truly one-of-a-kind set.
If you enjoy the build process and want to keep going, a lot of these same techniques and materials transfer directly to other oversized games. Giant Jenga blocks can be cut from the same lumber in an afternoon. Giant Connect Four is a more involved build, but uses the same basic woodworking principles and tends to draw a crowd. A collection of homemade outdoor games stored together in a shed or garage becomes one of those resources you find yourself reaching for constantly — for casual weekend afternoons, kids’ parties, or event programming where you want something a little different.
And finally, this kind of project is a genuinely great thing to do with kids, teenagers, or friends who are curious about basic woodworking. With the right supervision and safety setup, older kids can take on the sanding, painting, and even some of the drilling — and there’s something real about playing a game you helped build yourself. Documenting the process and sharing it with people who might want to try it themselves is a nice bonus too. These things have a way of spreading, and that’s honestly part of what makes a project like this worth doing.
“`








What do you think?
It is nice to know your opinion. Leave a comment.