










12 DIY Garden Markers With Personality: Creative Ideas to Label Your Garden in Style
Why Garden Markers Matter More Than You Think
Garden markers might not seem like a big deal at first glance, but they do a lot more work than people give them credit for. When you’ve got a garden full of herbs, vegetables, flowers, and perennials, keeping track of what’s growing where becomes genuinely important — especially in those early weeks when every seedling looks basically identical. Without a good marker, you might accidentally pull out something you’ve been carefully tending, or spend ten minutes trying to remember which corner of the raised bed has your prized heirloom tomatoes.
But beyond the practical stuff, garden markers are actually a really fun way to put your own stamp on your outdoor space. Your garden reflects your personality, and the markers you choose are part of that. Whether you love a rustic farmhouse vibe, something more whimsical and fairy-garden-ish, or a clean modern look, there’s a DIY marker style that fits — and you can pull it off on almost any budget.
There’s also something deeply satisfying about making your own. Knowing that every little label was made by your hands and placed with care just adds to the joy of being out there. Homemade markers tend to hold up better and feel more personal than the generic plastic stakes you find at garden centers, and they make genuinely thoughtful gifts for any gardening friends or family members in your life.
Rustic Natural Materials: Sticks, Stones, and Slates
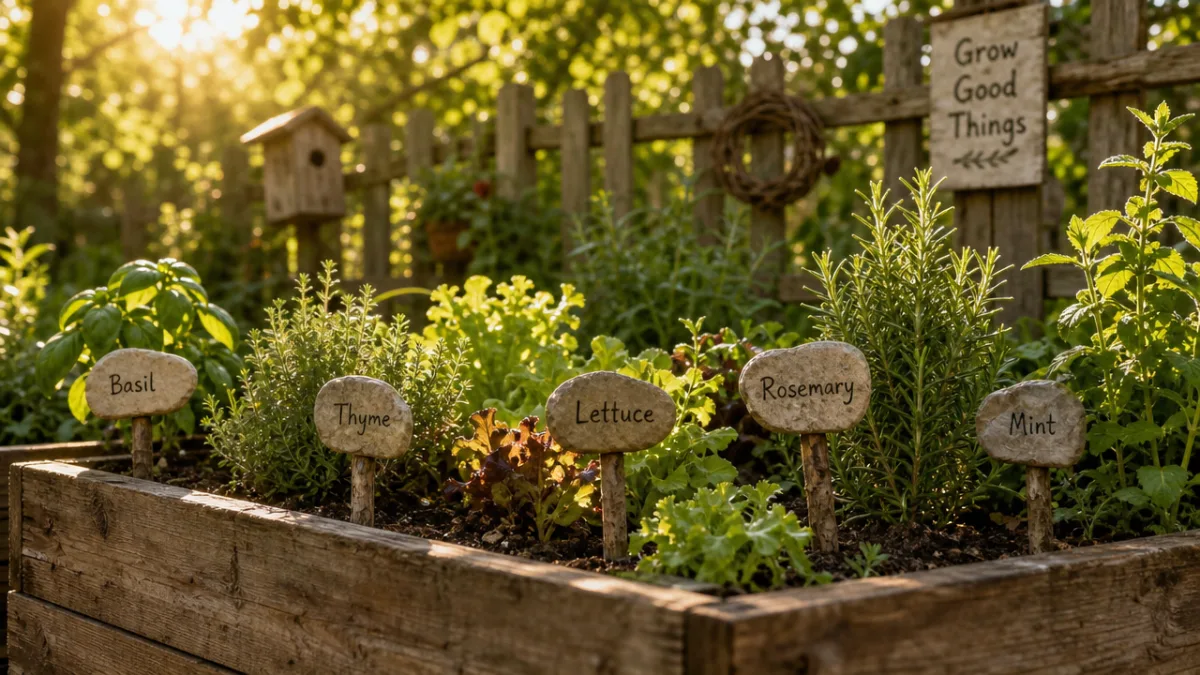
Some of the best DIY garden markers come from materials you can literally find on a walk through your backyard or a nearby park. Wooden sticks and branches cut to similar lengths, sanded down, and then painted or wood-burned with plant names look completely at home in the garden in a way that plastic stakes never quite manage. There’s a warmth to them that works with just about any garden style.
Flat river stones and pieces of slate are another favorite, and honestly they might be the most durable option out there. You can gather smooth stones from a riverbed or pick them up cheaply at a garden center, then paint them with acrylic craft paint, seal with a weatherproof varnish, and label with a paint pen or permanent marker. The great thing about stone markers is that they’re not going anywhere — no wind is knocking those over, and no curious bird is going to disturb them.
Slate in particular has really taken off in the DIY gardening world, and it’s easy to see why. It takes paint and chalk beautifully, you can wipe it clean and relabel it each season, and it just gets better looking as it weathers. You can find small slate pieces at craft stores, or if you want to go the truly sustainable route, reclaimed roofing slates work perfectly. Drill a small hole at the top, thread some twine through, and you’ve got a charming hanging marker for potted plants or vertical garden walls where a standard stake wouldn’t work anyway.
Upcycled and Repurposed Treasures From Around the House
Some of the most creative garden markers out there started life as something else entirely — things that would have ended up in the recycling bin or buried in a forgotten junk drawer. Old silverware, especially spoons, is a classic example. Bend them into stake shapes, stamp the plant names with metal letter stamps and a hammer, and push them straight into the soil. It’s an effortlessly whimsical look, and thrift stores are full of mismatched silverware sets for practically nothing.
Wine corks are another great option if you tend to have a stash building up. Slice them lengthwise, write or paint the plant name on the flat side, and attach them to a wooden skewer or thin dowel. They’re lightweight and perfectly sized for seedling trays, herb pots, or indoor containers where you don’t want something bulky crowding the plants. There’s also just something nice about the texture of cork — it has a little artisan quality to it that looks great.
Wooden clothespins are worth considering too — clip them right onto wire tomato cages, trellis netting, or the rim of a terracotta pot. Paint them a fun color and label them, and they add a cheerful little pop to the whole setup. Other things worth raiding your house for: old wooden spoons, broken terracotta pot shards, Scrabble tiles glued onto stakes, vintage keys with plant tags wired on, or even strips cut from an old license plate if you’re going for something truly one-of-a-kind.
Painted and Decorated Popsicle Stick Markers
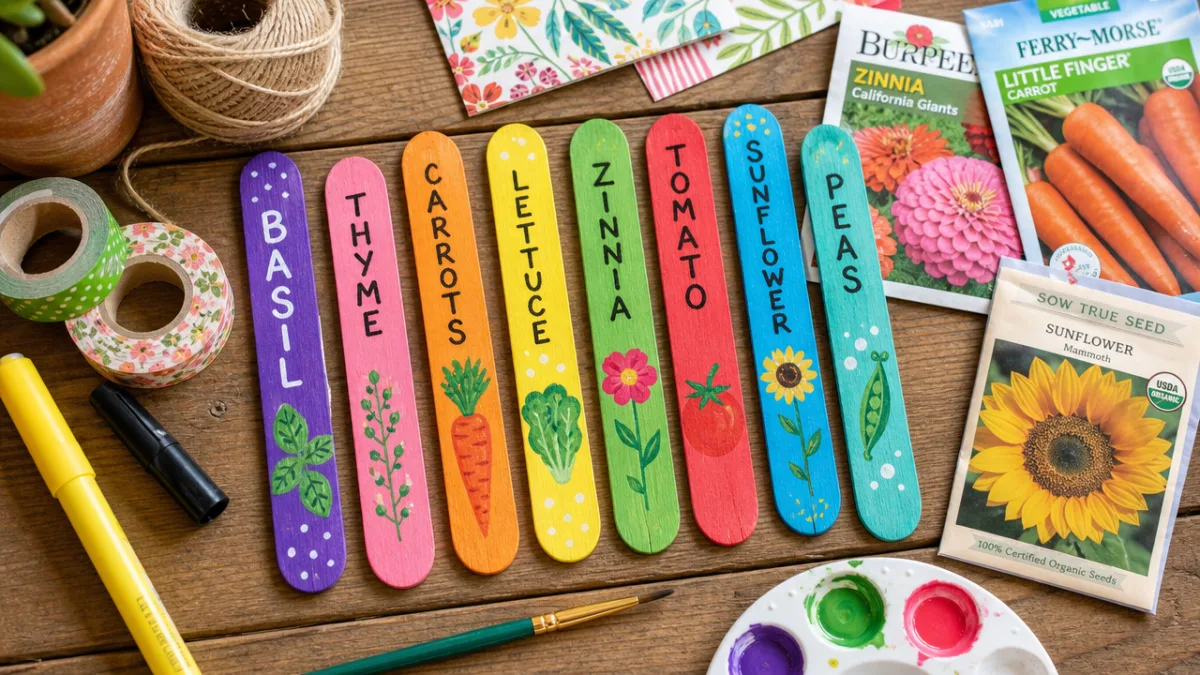
Popsicle sticks — or craft sticks if you want to get technical — are honestly hard to beat when it comes to accessibility and versatility, especially if you’re doing this with kids. You can grab a pack of a hundred at any craft store for just a couple of dollars, and they take paint, markers, stamps, and stickers equally well. That one pack will cover an entire season of garden labels with plenty to spare.
The decorating options are pretty much endless. Younger kids can go wild with bright acrylic paint, foam stamps, and their own handwriting — there’s something really special about a garden where the labels are in a child’s handwriting. Older crafters might prefer something more detailed, like using fine-tipped paint pens to draw little botanical sketches of the plant being labeled. A tiny basil leaf, a tomato, a sunflower — it’s a small touch that makes the markers genuinely delightful to look at.
The one thing you really shouldn’t skip is sealing the finished markers with a clear waterproof varnish or outdoor-formula Mod Podge before putting them in the garden. It’s the step that turns a cute craft project into something that will actually last the season. Some crafters also tuck the bottom of the stick into a small piece of cork before staking it in the ground, which helps block moisture from wicking up the wood and speeding up rot — a simple trick worth knowing.
Chalkboard and Blackboard Marker Styles
Chalkboard-style garden markers have become really popular over the past few years, and once you use them, you’ll understand why. Being able to wipe off and rewrite the label is a game-changer if you rotate your crops, try new varieties each year, or just change your mind mid-season (which happens more than any gardener will admit). One set of chalkboard markers can serve your garden for years, adapting to whatever you’re growing without ever needing to be replaced.
Making them at home is easier than you’d expect. Basically any smooth surface — wooden stakes, flat spoons, stones, cut plywood — can be coated with chalkboard paint, which you can find at any hardware or craft store. It comes in more colors than just black these days: deep green, navy, and warm terracotta are all popular choices that look beautiful in the garden. Apply a couple of thin coats, let it cure fully, and you’re ready to write.
Liquid chalk markers are worth a special mention here because they give you the rewritability of regular chalk with noticeably better weather resistance. Standard chalk will smear and wash away the moment it rains; liquid chalk markers leave a bolder, cleaner line that holds up through light moisture much better. For a more permanent look while keeping the chalkboard aesthetic, you can write with liquid chalk pens and then seal the text with a light coat of hairspray or fixative spray — a clever little trick that locks everything in place.
Creative Themed Markers for Specialty Gardens
If you’ve got a garden with a distinct personality — a dedicated herb corner, a pollinator patch, a kitchen garden, or a fairy garden for kids — markers that match the theme can really tie the whole thing together. An herb garden, for example, feels so much more cohesive with markers that nod to its culinary roots: terracotta-painted tiles with hand-lettered italic names, little chalkboard signs shaped like recipe cards, or small wooden cutting boards with herb names burned into the surface. Any of those reinforce the vibe in a way that generic plant stakes just don’t.
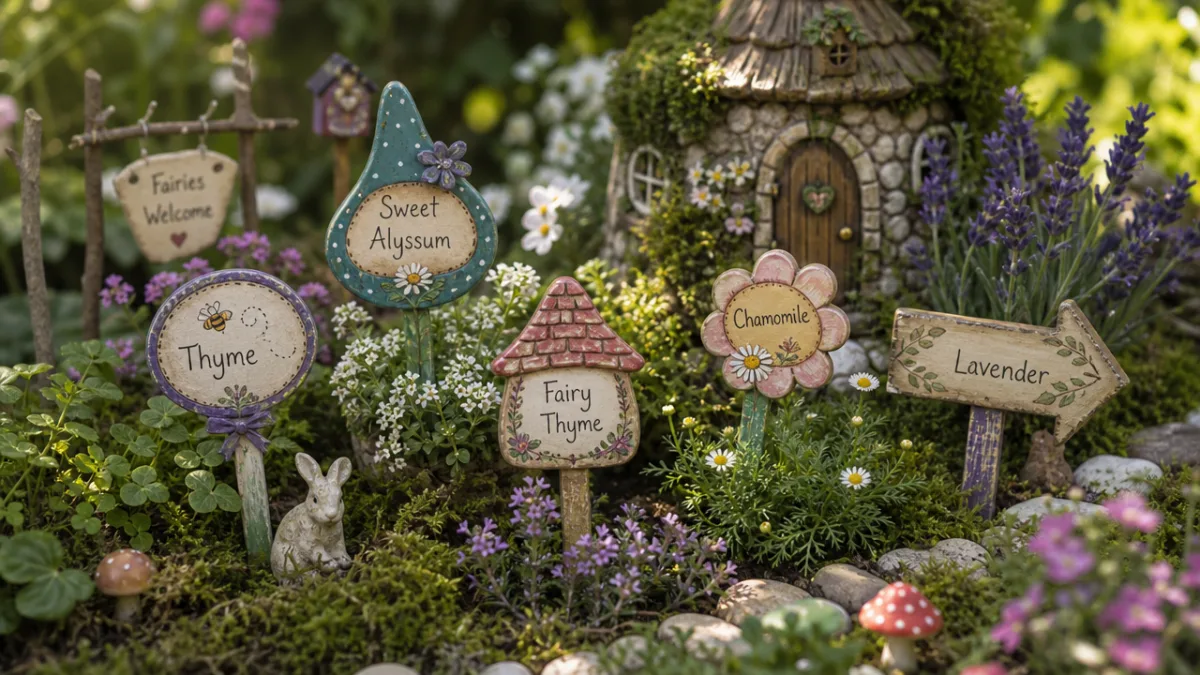
Fairy gardens and whimsical kids’ spaces call for something completely different — bright colors, glitter, fantasy shapes. Think markers shaped like tiny mushrooms, stars, or fairy doors, painted in jewel tones with iridescent finishes. Polymer clay is great for this kind of thing; you can sculpt little characters or creatures that serve as both marker and garden art, with the plant name built right into the design on a tiny scroll or banner. That kind of marker turns the garden into a whole little world, which kids absolutely love.
Pollinator and wildlife gardens deserve markers that celebrate what makes them special. Bee shapes cut from thin plywood and painted yellow and black, butterfly silhouettes on copper wire stakes, or pressed-flower resin markers that actually encase petals from the plant being labeled — these all carry a real connection to the garden’s purpose that no store-bought label ever could. They’re a reminder, every time you walk by, of why you planted what you planted and what you’re trying to support out there.
Tips for Making Your DIY Markers Last Outdoors
Making beautiful markers is the fun part — getting them to actually survive a full season outdoors takes a little more thought. The single most important thing you can do is seal the finished marker with a proper weatherproof topcoat before it ever goes in the garden. Outdoor Mod Podge, polyurethane varnish, clear acrylic spray sealer, and epoxy resin are all solid options. The key is letting whatever you choose cure fully before the marker goes outside — rushing that step is where a lot of people run into trouble.
Material choice matters just as much. If you’re working with wood, cedar and redwood are naturally rot-resistant and will outlast pine or poplar by multiple seasons without needing any special treatment. Copper and aluminum sheet metals are essentially weatherproof indefinitely and develop a gorgeous patina over time. Polymer clay, once baked and sealed, holds up surprisingly well through rain and temperature swings — much better than air-dry clay, which tends to crack or crumble after the first hard frost or heavy rainstorm.
Don’t overlook how you’re actually installing your markers, either. Too shallow and they’ll tip over in the first strong wind; too deep and you’ll struggle to retrieve them at the end of the season. A good general rule is to push at least a third of the stake’s total length into the ground. For raised beds or containers where you can’t go very deep, a weighted base design — like a flat stone with a hole drilled through it and a stake glued in — gives you stability without needing to bury much of the marker at all.
- Always seal painted surfaces with a waterproof outdoor varnish or spray sealer before placing markers in the garden, allowing at least 24 hours of curing time.
- Choose naturally rot-resistant woods like cedar, teak, or bamboo for wooden markers that will be in direct soil contact throughout the growing season.
- Avoid air-dry clay for outdoor markers in climates with significant rainfall or frost, and opt for oven-baked polymer clay instead for much greater durability.
- Bring delicate or particularly cherished markers indoors at the end of the growing season and store them in a dry location to extend their useful life for multiple years.
- Reapply a thin coat of outdoor sealant at the beginning of each new growing season to refresh the protective layer and restore the marker’s original vibrancy.
One last tip: keep a small basket or box where you store your markers over winter. Label it by garden section or plant type so you can grab the right ones quickly come spring without having to recreate everything from scratch. It’s a small habit that pays off in a big way — transforming your marker collection from a one-season craft project into a growing library of garden art that gets more charming and personal with every passing year.








What do you think?
It is nice to know your opinion. Leave a comment.