










Lavender Plant Care For Beginners: A Complete Growing Guide
Understanding Lavender: Origins and Why It Thrives
If you’ve ever walked past a lavender bush and stopped just to breathe it in, you’re not alone — this is one of those plants that people genuinely fall in love with. Native to the Mediterranean, lavender spent thousands of years evolving in hot, dry conditions with rocky soil and plenty of sunshine. That backstory matters a lot when you’re trying to grow it at home, because the closer you can get to those conditions, the happier your plant will be.
There are quite a few lavender species out there, but for home gardens, a handful of types come up again and again. English lavender (Lavandula angustifolia) is the toughest of the bunch and handles cold winters much better than the others, which makes it a go-to for gardeners in cooler parts of the world. French lavender (Lavandula stoechas) is a bit more dramatic-looking, with those little petal tufts sitting on top of each bloom. Then there are Spanish lavender and hybrid varieties like Lavandin, each with their own personalities. It’s worth knowing which type you’re growing, because it genuinely affects how you’ll care for it through the seasons.
Lavender has been earning its keep for centuries — the Romans threw it in their baths, medieval herbalists swore by its calming and antiseptic properties, and today it shows up in everything from skincare to cooking to aromatherapy. What makes it so appealing for beginner gardeners, though, is that once it’s settled in, it really doesn’t ask for much. It’s drought-tolerant, most bugs leave it alone, and a healthy plant can thrive for years. Whether you’ve got a full garden bed, a small balcony, or just a windowsill to work with, lavender is a surprisingly forgiving place to start.
Choosing the Right Location and Soil for Your Lavender
If there’s one thing to get right before anything else, it’s where you put your lavender. This plant is a total sun lover — it needs at least six to eight hours of direct sunlight every day to really thrive. In shadier spots, it tends to stretch out and get leggy, produces far fewer flowers, and becomes much more vulnerable to the root rot and fungal problems that kill off most beginner lavender plants. If you’re growing indoors, a south-facing window is your best friend, or you can use a good grow light that mimics full sun.
Drainage is just as important as light, and in some ways even less forgiving. Lavender evolved in lean, alkaline, fast-draining soils, so heavy clay that holds onto water is basically the worst-case scenario for it. If that’s what you’re working with, you’ll want to mix in plenty of coarse horticultural sand and fine grit, or go the raised bed or container route instead, where you have full control over what the roots are sitting in.
Speaking of containers — terracotta or unglazed ceramic pots are ideal. They’re porous, which means moisture can escape through the sides rather than building up around the roots, much like what happens in the wild. Fill them with a mix of quality potting compost and around thirty percent horticultural grit or perlite. Plastic pots tend to stay damp for too long, which lavender really doesn’t like. A small tip worth knowing: popping your pot on some pot feet improves drainage even further and lets air circulate underneath, which your plant will appreciate.
Watering Lavender Correctly: Less Is Genuinely More
Overwatering kills more lavender than anything else — more than pests, more than cold, more than neglect. Once your plant is established (usually after its first full growing season), it’s remarkably happy in dry conditions and genuinely prefers to dry out between waterings. While it’s getting settled in during that first season, watering once or twice a week in dry spells is fine, but always let the soil dry out completely before you water again. Poke your finger about two inches into the soil; if it still feels even a little damp, leave it alone for a few more days.
Once lavender is properly established in the ground, it often doesn’t need any extra watering at all except during a really prolonged dry stretch or a heat wave. In most temperate climates, rain does the job. Container plants are a different story since the limited amount of soil dries out faster — plan on watering every one to two weeks through summer, though that’ll vary depending on your climate and pot size. When you do water, aim for the base of the plant rather than the leaves, since wet foliage in humid weather is an open invitation for fungal disease.
Come winter, you can ease off dramatically. The cold slows everything down — evaporation, plant growth, the works — so the soil stays moist for much longer. Cut back watering from late autumn through early spring, and if your lavender is in a pot, move it somewhere sheltered so it isn’t sitting in cold, soggy soil during frosts. The simplest rule? When you’re not sure, don’t water. A slightly thirsty lavender plant will bounce back just fine. One that’s been sitting in wet soil for weeks is a much harder story.
Fertilizing, Pruning, and Seasonal Maintenance
Here’s something that surprises a lot of beginner gardeners: lavender actually does better when you’re a bit stingy with the feeding. Rich, nitrogen-heavy soil encourages a plant to put all its energy into lush green leaves rather than flowers — and the growth tends to be floppy and soft, which makes it more prone to disease. Unless your soil is really quite poor or you’re growing in containers, you usually don’t need to fertilize at all. If you do, a single light application of low-nitrogen, high-potassium fertilizer in early spring is plenty. Don’t fertilize after midsummer, since that can push out soft new growth right before the cold arrives.
Pruning is where a lot of beginners hesitate, but it really is one of the best things you can do for your plant. The goal is to keep lavender compact, bushy, and producing flowers year after year rather than becoming a woody, sprawling shrub that barely blooms. Aim to prune twice a year: a light trim after the first flush of flowers in early summer, and a more thorough cut once the second flowering wraps up in late summer or early autumn. Take back about a third of the plant’s size each time, always cutting into the soft green growth. The key thing to remember is never to cut into the hard, woody base — lavender can’t regrow from old wood the way some plants can, and cutting too far down can kill it.
Beyond watering and pruning, there are a few seasonal things worth keeping an eye on. After a hard winter, some stems may have died back or gotten damaged — clear those out in spring to make room for fresh growth. In humid summers, watch for fungal issues like gray mold or lavender shab, which show up as patches of dying or discolored growth. Giving plants enough space — at least thirty to forty-five centimeters apart — and pruning regularly to avoid overcrowding goes a long way toward preventing this. One more useful trick: mulching around the crown with gravel or grit instead of organic matter keeps moisture away from the base, where the plant is most vulnerable.
- Early Spring: Clear away any frost-damaged or dead stems and give a light feed if your soil really needs it.
- Late Spring to Early Summer: Enjoy the first bloom — then give the plant a light trim afterward to encourage a second flush.
- Late Summer: Do the main annual prune once the second bloom cycle finishes.
- Autumn: Wind down watering, skip the fertilizer, and start thinking about protecting any container plants from the cold.
- Winter: Keep younger or less cold-hardy varieties sheltered from prolonged frost and waterlogged soil.
Propagating Lavender: Growing New Plants From Cuttings
Once you’ve got lavender growing well, propagating it is one of the most satisfying things you can do with it. You can multiply your collection, fill in a larger bed, or pot up extras to give away — and it costs almost nothing. The easiest method for beginners is taking stem cuttings, which you can do either as softwood cuttings in late spring or semi-hardwood cuttings in late summer. Both work well, but late summer cuttings taken from this year’s growth tend to have a great success rate and will be nicely rooted by the time spring rolls around.
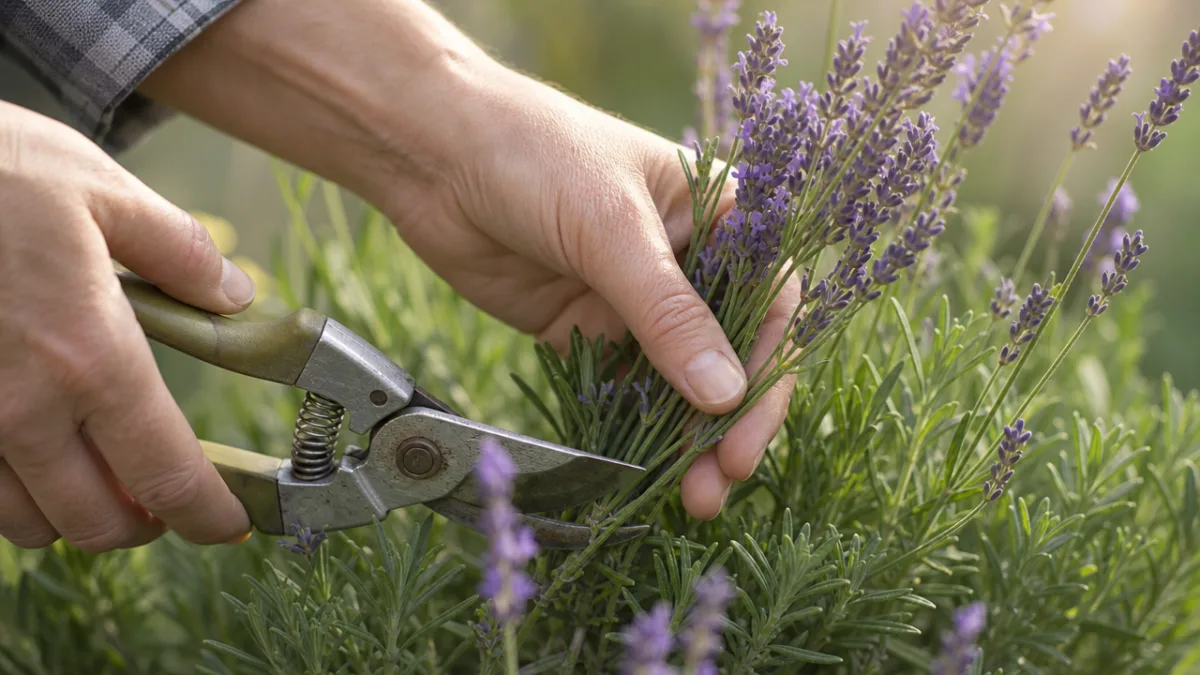
To take a cutting, find a healthy stem that isn’t flowering and cut a piece about ten to fifteen centimeters long, just below a leaf node. Strip the leaves off the bottom third to leave a clean bare stem. If you have hormone rooting powder or gel, dip the cut end in — it’s not strictly necessary, but it does help noticeably. Pop the cutting into a small pot filled with a fifty-fifty mix of compost and perlite or coarse sand, firm it in gently, and give it a light water.
Keep your cuttings somewhere warm and bright, but out of harsh midday sun — too much heat before roots have formed will cause them to wilt. Draping a clear plastic bag loosely over the pot creates a little humidity tent that stops the cutting from drying out too fast without making the compost soggy. Check in every week or so; you’ll know roots have formed when a gentle tug meets a little resistance, usually within four to six weeks. After that, gradually introduce the young plants to outdoor conditions before moving them to their permanent spots in the garden or into bigger pots.
Harvesting Lavender and Making the Most of Your Blooms
Timing your harvest makes a real difference to how your lavender looks and smells once it’s dried. The sweet spot is when the buds are just beginning to open — that’s when the essential oils are most concentrated and the flowers will hold their color and scent best through the drying process. Wait until the blooms are fully open and the petals will drop more easily and the fragrance won’t be as strong. Early morning is the best time to cut, after the dew has dried off but before the day really heats up.
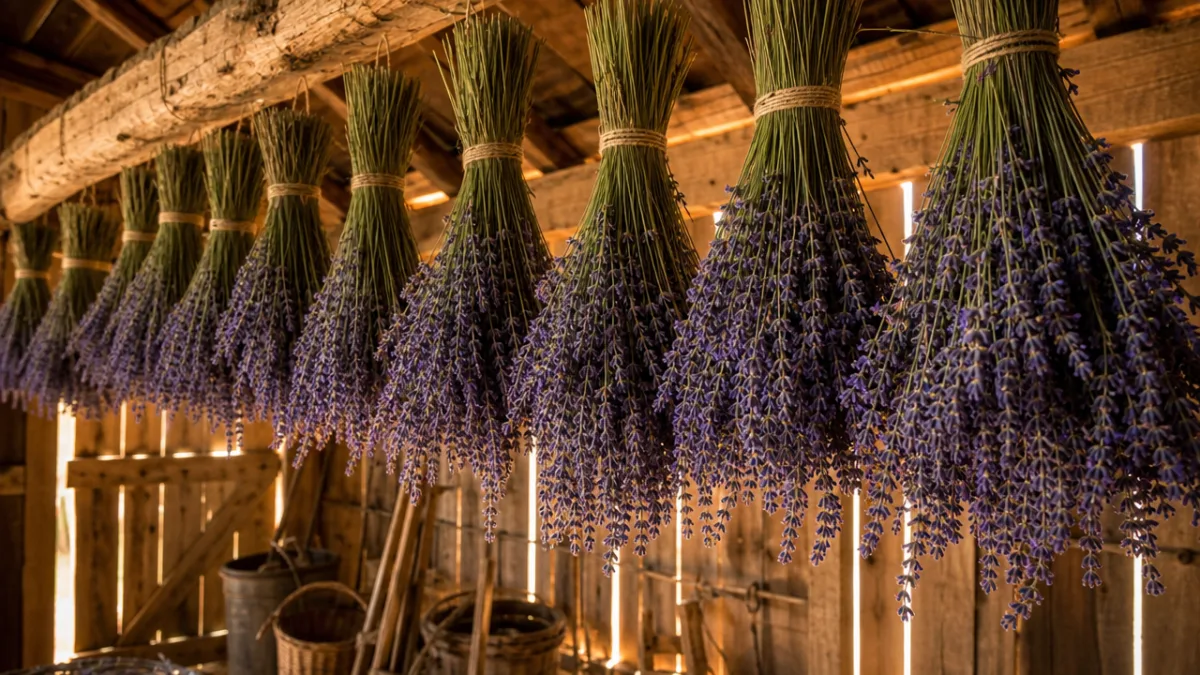
Gather the stems into small bundles, secure them with a rubber band or a bit of twine, and hang them upside down somewhere warm, dry, and well-ventilated — away from direct sunlight, which can fade the color. Depending on the humidity and airflow where you live, they should be fully dried within two to four weeks. Dried lavender holds its scent for months and works beautifully in sachets, potpourri, bath products, and even in the kitchen for baking and seasoning.
On the culinary side, English lavender varieties are your best bet, and they work in more recipes than you might expect. Paired with lemon, honey, or vanilla, lavender is lovely in shortbread, scones, and syrups. That said, go easy with it — it’s very potent and too much tips quickly into soapy or medicinal territory. A good rule of thumb is to start with about half what the recipe suggests until you get a feel for how strong it is. And beyond all the uses you’ll get out of it, there’s another benefit to regular harvesting: it’s actually good for the plant itself, encouraging bushier growth and more blooms the following season.
- Harvest in the morning once the dew has dried but before the hottest part of the day.
- Cut when flower buds are just starting to open — this is when fragrance and color are at their best.
- Bundle stems loosely and hang them upside down in a warm, airy spot out of direct sunlight to dry.
- Store dried lavender in airtight glass jars away from light to keep the scent going as long as possible.
- Use culinary lavender sparingly in recipes — start with less than the recipe calls for and adjust from there.
Troubleshooting Common Lavender Problems
Even well-cared-for lavender can hit a rough patch sometimes, and catching problems early usually makes the difference between a plant that bounces back and one that doesn’t. Root rot is the most common issue, almost always caused by soggy soil or too-frequent watering. The signs to look for are yellowing leaves, a stem base that feels soft or mushy, and an unpleasant smell coming from the soil. If you catch it early enough, there’s a chance you can save the plant — lift it out, cut away any blackened or mushy roots, treat with a fungicide, and replant in fresh, well-draining growing medium.
If your lavender is growing tall and sparse with very few flowers, that usually comes down to one of two things: not enough sun, or soil that’s too rich in nitrogen. Try moving it somewhere sunnier, or supplement with a grow light if it’s indoors. Cut out high-nitrogen fertilizers entirely, and consider top-dressing the soil with some horticultural grit to bring the fertility down a bit. And don’t underestimate the impact of pruning — plants that have never been cut back tend to get increasingly woody over time and gradually stop blooming as well as they should.
Pests aren’t usually much of a problem with lavender, since its oils naturally put off most insects and even animals tend to avoid it. One exception is the spittlebug (also called a froghopper), which shows up in summer as those odd white frothy blobs on the stems. It looks worse than it is — the plant itself is rarely harmed — and you can deal with it simply by hand-picking or blasting it off with a jet of water. In humid climates, gray mold (Botrytis cinerea) can be more of an issue, showing up as a fuzzy gray coating on flowers or stems. Better air circulation, watering at the base rather than overhead, and promptly removing any affected growth are usually enough to get on top of it without reaching for chemical sprays. Get the basics right, pay a little attention, and lavender will genuinely repay you for years — with beautiful blooms, a scent that stops people in their tracks, and more than enough to bring a little of the garden indoors.








What do you think?
It is nice to know your opinion. Leave a comment.