










Small Crochet Mermaid Doll: A Complete Guide to Your Free Amigurumi Pattern
Introduction to Amigurumi Mermaid Dolls
Amigurumi, the beloved Japanese art of crocheting small stuffed animals and fantasy creatures, has captured the hearts of crafters worldwide for decades. Among the many enchanting designs that have emerged from this tradition, the mermaid doll stands out as one of the most magical and universally adored creations. Combining the whimsy of undersea mythology with the tactile satisfaction of handmade crafts, a crocheted mermaid doll makes for a deeply personal and genuinely charming project that beginners and seasoned crocheters alike can enjoy creating.
The appeal of a small crochet mermaid doll goes well beyond its visual charm. These little figures carry an emotional resonance that few other craft projects can match. Whether you are making one as a gift for a child who loves fairytales, a decorative accent for a coastal-themed nursery, or simply a creative challenge to expand your crocheting repertoire, the mermaid amigurumi delivers satisfaction at every stage of the process. From choosing the perfect iridescent yarn to weaving in the final ends, each step feels like contributing to something genuinely magical.
Free patterns for amigurumi mermaids have become widely available across crafting communities, blogs, and social media platforms like Pinterest, making this a wonderfully accessible project regardless of your budget. These patterns typically guide you through constructing the doll in separate pieces — head, body, tail, arms, and hair — before assembling them into a cohesive and beautifully detailed figure. The free availability of such detailed instructions means that almost anyone with a crochet hook and some yarn can bring their very own mermaid to life without spending a fortune on pattern books.
Materials and Tools You Will Need
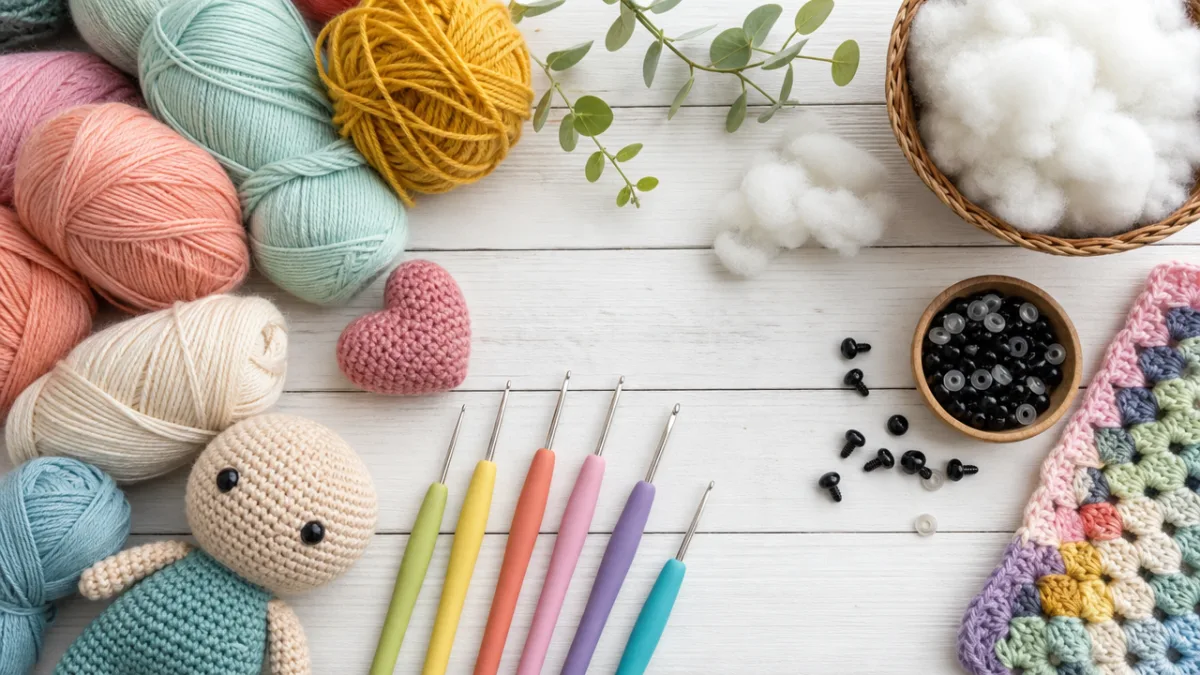
Before you dive into your mermaid doll project, gathering the right materials is essential for achieving a polished and professional-looking result. The most important supply is, of course, your yarn. For amigurumi projects, most patterns recommend a lightweight cotton or acrylic yarn, typically in a fingering or sport weight category. Cotton yarn is particularly popular because it holds its shape well after stuffing, produces clean stitch definition that makes the doll look neat and tidy, and comes in an enormous range of colors — which is especially important when you want to capture the shimmering, gradient look of a mermaid tail.
When selecting colors for your mermaid doll, consider pairing a skin-toned yarn for the upper body and head with something truly spectacular for the tail. Variegated yarns that shift between turquoise, seafoam green, and purple can create a stunning ombre effect that makes your mermaid look like she has swum straight out of a storybook. Many crafters also choose to add a touch of sparkle by using a thin metallic thread held alongside their main yarn, which adds a subtle shimmer reminiscent of fish scales catching sunlight beneath the water’s surface.
Beyond yarn, you will need a few additional tools and supplies to complete your project successfully. A crochet hook in the size recommended by your pattern is critical — most amigurumi patterns use a smaller hook than the yarn label suggests, which creates a tighter fabric that prevents stuffing from showing through. You will also need polyester fiberfill stuffing, a yarn needle for seaming and weaving in ends, stitch markers to track your rounds, and safety eyes in an appropriate size for the doll’s face. Optional embellishments such as small beads, sequins, ribbon, or fabric scraps can add charming finishing details to your completed mermaid.
- Fingering or sport weight cotton or acrylic yarn in skin tone, tail color, and hair color
- Crochet hook sized appropriately for your yarn, typically 2mm to 3.5mm
- Polyester fiberfill stuffing
- Safety eyes, usually 6mm to 9mm depending on doll size
- Yarn needle for assembly and finishing
- Stitch markers to track round beginnings
- Scissors and optional embellishments such as ribbon or sequins
Understanding the Basic Stitches and Techniques
If you are new to amigurumi, the good news is that most mermaid doll patterns rely on just a handful of fundamental crochet stitches that are relatively straightforward to learn. The backbone of nearly every amigurumi piece is the magic ring, also called a magic circle or adjustable ring. This technique allows you to start crocheting in the round with a tight, invisible center, which is essential for creating seamless spherical shapes like heads and the rounded tips of a mermaid tail. Mastering the magic ring is perhaps the single most important skill you can develop before starting your first amigurumi project.
From the magic ring, amigurumi pieces are typically built using single crochet stitches worked in a continuous spiral rather than joined rounds. This spiral construction gives the fabric a smooth, seamless appearance that is ideal for stuffed figures. You will use increases — two single crochets worked into one stitch — to expand the circumference of your pieces, and decreases — two stitches worked together — to close them off and shape the form. Common decreases in amigurumi include the invisible decrease, which creates a neater finish than a standard decrease by hiding the reduction within the fabric rather than leaving a visible gap.
For the mermaid’s tail specifically, you may encounter a few slightly more advanced techniques that add dimension and realism to the finished piece. Tail fins are often crocheted flat rather than in the round, requiring you to work in rows and turn your work at the end of each one. Some patterns incorporate surface slip stitches or post stitches to create the appearance of scales across the tail, while others use color changes at regular intervals to simulate the iridescent shimmer of a mermaid’s lower body. None of these techniques is beyond the reach of a motivated beginner, and with a little patience, the results are absolutely worth the effort invested.
Step-by-Step Pattern Overview
While the specific stitch counts and row numbers will vary depending on the exact free pattern you choose to follow, most small amigurumi mermaid dolls are constructed in a predictable sequence that begins with the head and works downward through the body and tail. Starting with the head allows you to insert the safety eyes at the correct stage — typically before closing the piece and stuffing it — without struggling to position them accurately through a nearly closed opening. Most patterns create the head as a simple sphere, beginning with six stitches in a magic ring and expanding outward through a series of increase rounds before tapering back in with decrease rounds.
Once the head is complete, you will move on to the body, which in a mermaid doll transitions seamlessly into the tail. Some patterns create the body and tail as a single continuous piece for a cleaner look, while others make them separately and seam them together. The upper body is typically humanoid in shape — narrower at the shoulders and slightly wider at the hips — while the tail begins below the waist and flares outward as it approaches the fluked fin at the bottom. This gradual transition from torso to tail is one of the most satisfying design elements to execute, as it transforms a simple crocheted tube into something unmistakably mermaid-like.
Arms are worked separately as small elongated tubes and attached to the sides of the body once all pieces are assembled. They may or may not be stuffed depending on the size of the doll; very small arms are often left unstuffed so that they remain poseable and soft. Hair is another element that varies widely between patterns — some use yarn loops sewn directly to the head, others create long flowing strands by cutting lengths of yarn and attaching them through the stitches using a lark’s head knot, and some patterns incorporate separate crocheted hair pieces that wrap around the head like a wig. Each method produces a distinct look with its own aesthetic appeal and level of effort.
- Crochet the head starting from a magic ring, increasing to full size, stuffing, and closing
- Insert safety eyes at the correct point and embroider any additional facial features
- Crochet the body and tail as one or two pieces, incorporating color changes for the tail
- Create the tail fins as flat crocheted pieces and attach them to the base of the tail
- Crochet both arms and attach them symmetrically to the sides of the upper body
- Add hair using your preferred method — yarn loops, cut strands, or a crocheted piece
- Finish with any embellishments such as a crocheted shell top, crown, or accessories
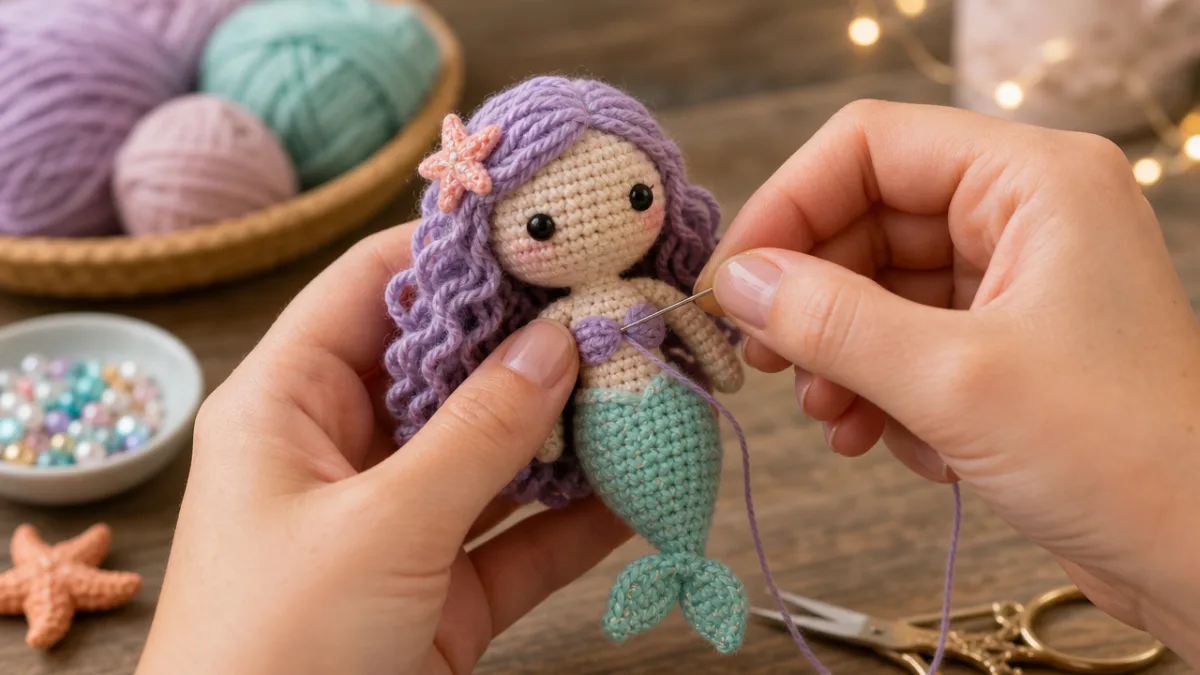
Assembly is often the most challenging phase for newer crocheters, as achieving a symmetrical and well-proportioned finished doll requires some patience and a good eye for placement. Pinning pieces in position before sewing them permanently is highly recommended, as it allows you to adjust the angle and position of the head, arms, and fins until you are completely satisfied. Using the same yarn as your project for seaming helps the joins blend invisibly into the surrounding stitches, resulting in a cleaner and more professional appearance overall.
Customizing Your Mermaid Doll
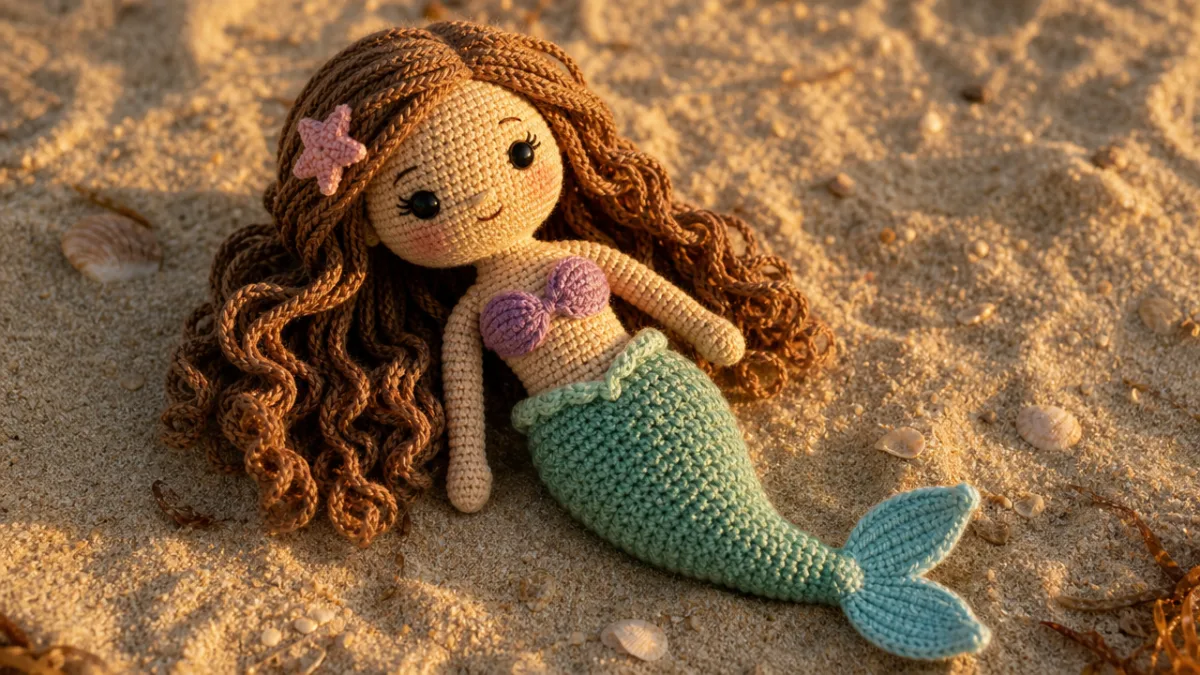
One of the greatest joys of working from a free amigurumi pattern is the enormous scope for personalization that it offers. Once you understand the foundational structure of the doll, you can begin to make creative decisions that transform a generic pattern into something uniquely your own. Color is the most immediate and impactful customization option — swapping the suggested tail colors for deep ocean navy and silver, or sunny coral and gold, can completely change the personality and mood of the finished doll. The skin tone of the upper body is another meaningful choice, and using a yarn that reflects the recipient’s own complexion can make the gift feel especially thoughtful and inclusive.
Facial features offer another avenue for creative expression. While most patterns instruct you to use safety eyes for a clean, cartoon-like appearance, many crocheters prefer to embroider the eyes with yarn or embroidery floss instead. Embroidered eyes allow you to create a wider range of expressions — sparkling wide-eyed wonder, sleepy half-closed lids, or playful upward gazes — and eliminate any choking hazard concerns for dolls intended for very young children. Adding embroidered eyelashes, rosy cheeks in blush-colored floss, or a tiny stitched smile can give your mermaid a distinctive and charming personality that sets her apart from every other version of the same pattern.
Accessories and clothing details present perhaps the most exciting customization opportunities of all. Many mermaid doll patterns include a simple crocheted seashell bikini top as part of the standard design, but you can expand on this by adding a starfish hair clip, a tiny crocheted crown made from gold yarn, or even a miniature crocheted fishing net that she carries in one hand. Some crocheters use fabric scraps or ribbon to create tiny flowing capes or sashes that add a royal, fantastical dimension to their mermaid’s look. Pearl or seed bead embellishments sewn along the tail can simulate a scattering of ocean gems, adding texture and visual interest that photographs beautifully.
Tips for Achieving a Professional Finish
Achieving a truly polished amigurumi doll is as much about the finishing details as it is about getting the basic stitches right. One of the most common challenges newcomers face is uneven tension, which can cause the fabric to look loose and the stuffing to show through the stitches. Working consistently with a firm but not aggressive tension throughout the project helps maintain an even fabric density. If you find that your tension varies significantly between the beginning and end of a project, practicing a few small swatches before starting can help you find your rhythm and produce a more uniform result across all the doll’s components.
Stuffing the doll correctly is another skill that has a significant impact on the finished appearance. Under-stuffing leaves the doll looking limp and shapeless, while over-stuffing distorts the stitches and creates a lumpy, misshapen silhouette. The goal is a firm but not rigid stuffed figure that holds its shape without the fabric stretching visibly. Adding stuffing gradually as you complete each section — rather than waiting to stuff everything at the end — makes it easier to achieve the right density and ensures that stuffing reaches into narrow areas like the tip of the tail without leaving hollow spots.
Weaving in your yarn ends carefully and securely is a finishing step that should never be rushed. Poorly secured ends can work their way loose over time, unraveling your careful stitching and spoiling the doll’s appearance. Using your yarn needle to weave each end through at least three or four stitches in alternating directions before trimming helps anchor the yarn firmly within the fabric. For dolls that will be given to children and handled frequently, running the needle back through the woven section a second time in the opposite direction provides additional security that will keep your work looking beautiful for years to come.
- Block finished pieces lightly with steam or a damp cloth for a smoother appearance
- Use the invisible decrease throughout to minimize gaps in your fabric
- Pin all pieces in position before committing to any seaming
- Photograph your doll in natural daylight to capture the yarn’s true color and texture
- Label any saved pattern notes with your hook size and yarn brand for future reference
Where to Find Free Patterns and Community Support
The online crafting community is an extraordinarily generous and supportive space, and amigurumi enthusiasts in particular have cultivated a rich culture of sharing patterns, tips, and finished work freely with one another. Pinterest is an ideal starting point for discovering free mermaid amigurumi patterns, as it aggregates content from across the web and allows you to save everything you find into organized boards for easy reference. A simple search for “free crochet mermaid doll pattern” or “amigurumi mermaid free” will surface dozens of options at every skill level, from simple beginner designs with minimal shaping to highly detailed intermediate patterns with embroidered scale textures and elaborate hair styling.
Beyond Pinterest, dedicated crafting platforms like Ravelry host thousands of free and paid amigurumi patterns in a searchable database that allows you to filter by skill level, yarn weight, and other criteria. Ravelry also has an active community forum where you can post questions, share progress photos, and receive encouragement from fellow crafters who have completed the same patterns you are working on. This community support aspect is invaluable when you encounter a confusing instruction or need help troubleshooting an area of your doll that does not quite match the pattern photos. Most experienced crocheters are genuinely happy to help, and the collective knowledge available in these communities is remarkable.
YouTube is another tremendously valuable resource, particularly for visual learners who struggle to translate written pattern instructions into physical action. Many skilled crocheters have recorded detailed video tutorials for amigurumi techniques — from mastering the magic ring to executing the perfect invisible decrease — that you can pause and replay as many times as needed while you work. Some creators have even produced full pattern walkthroughs for specific mermaid dolls, guiding you through each step of construction with their hook and yarn visible on screen. Combining written patterns with video guidance is one of the most effective strategies for producing a beautiful result, especially on your first attempt at a new technique or design style.
As you grow more confident in your amigurumi skills, you may find yourself naturally drawn toward designing your own patterns rather than following those created by others. Many crochet pattern designers begin by modifying existing free patterns — adjusting stitch counts to change the doll’s proportions, substituting different techniques for hair or scale textures, or adding original accessories that make the piece distinctly personal. Over time, these modifications accumulate into something genuinely original, and what began as a borrowed pattern becomes the foundation of a unique creative vision. The amigurumi community warmly celebrates original design work, and sharing your own free patterns online is a wonderful way to give back to the community that helped you learn your craft in the first place.








What do you think?
It is nice to know your opinion. Leave a comment.