










Introduction to the Linen Stitch: A Timeless Crochet Technique
If you’ve spent any time in the crochet world, you’ve probably come across the linen stitch at some point — and for good reason. It creates this beautifully tight, woven fabric that honestly looks like it came off an actual loom. Whether you’ve been crocheting for years or you’re just starting to explore beyond the basics, the linen stitch hits this really satisfying sweet spot between simple and impressive. It’s become a go-to for everything from home décor to stylish accessories, and once you try it, it’s easy to see why.
What makes it so special is actually pretty straightforward — the whole thing is just single crochets and chain stitches alternating back and forth. But that simplicity is deceptive, because the finished fabric has real weight and structure to it. It’s nothing like those airy lace patterns. The texture has this almost grid-like quality that catches light in a way that makes even a basic project look like you put in way more effort than you did.
And here’s the thing about learning the linen stitch: once it clicks, it opens up a whole lot of doors. Colorwork, tapestry crochet, modern market bag patterns — so many of these rely on this exact stitch construction. Designers love it for bags, placemats, dishcloths, clutches, and even garments, because that tight weave holds up beautifully and looks polished in a way that other stitches just don’t quite match.
Materials and Tools You Will Need
Before you jump in, it’s worth taking a few minutes to pull together the right supplies — it really does make a difference. The biggest thing is your yarn choice. Cotton is hands-down the best option for the linen stitch because it doesn’t have much stretch, which means the stitch structure stays nice and crisp. A smooth, plied cotton in a light worsted or DK weight is ideal, since you’ll actually be able to see each single crochet and chain space clearly in the finished fabric.
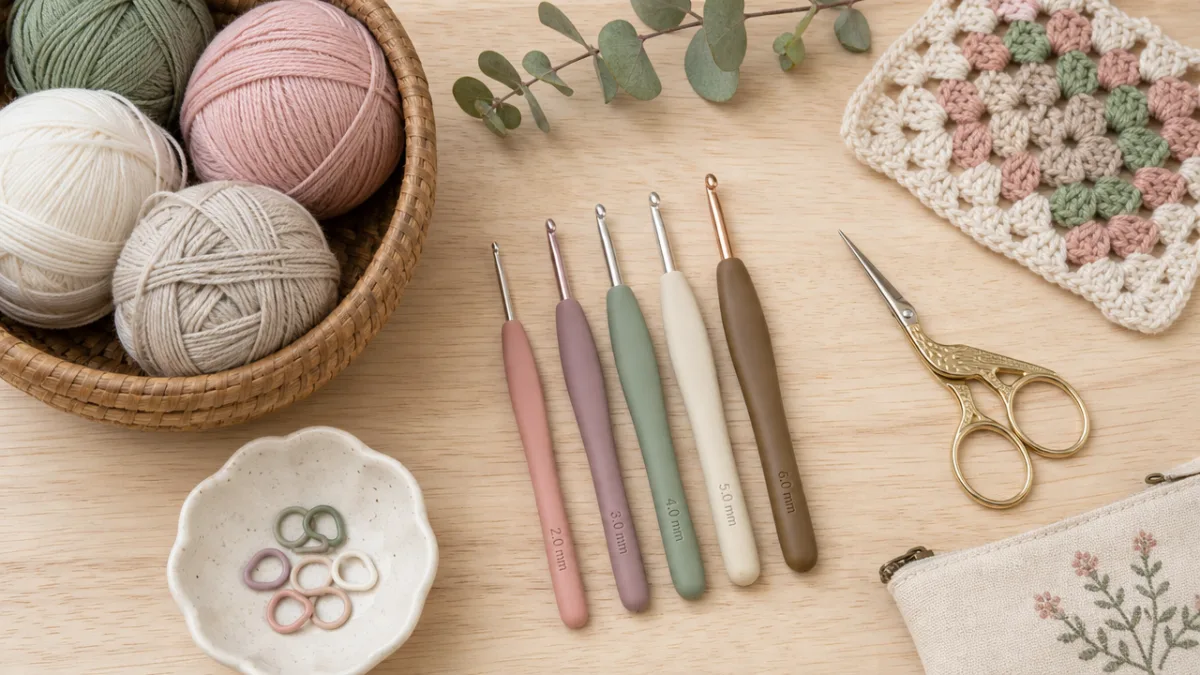
For your hook, matching the size recommended on your yarn label is a fine starting point, but a lot of experienced crocheters like to go down one size to get an even denser fabric. For standard worsted weight cotton, a 4.5mm or 5.0mm hook usually works really well. Bamboo or wooden hooks are worth trying too — they have just enough texture to keep cotton yarn from slipping around, which makes the whole process feel a lot more controlled.
A few extra tools will also make your life easier. A yarn needle is a must for weaving in ends neatly, especially if you plan to do any colorwork. Stitch markers are great for keeping track of your row counts and making sure your stitch count doesn’t drift. And if you want your finished piece to look its absolute best, a blocking mat with pins is a game changer — more on that later.
Understanding the Foundation Chain and Basic Stitch Construction
The linen stitch starts with a foundation chain, and getting this right from the beginning saves you a lot of headaches later. You need an odd number of chains — the exact count will depend on your pattern — plus any turning chains. That odd number is what creates the alternating, offset structure that gives the stitch its woven look. Before you work your first row, take a moment to count your chains carefully. Starting with the wrong number is probably the most common beginner mistake with this stitch, and it’s so easy to avoid.
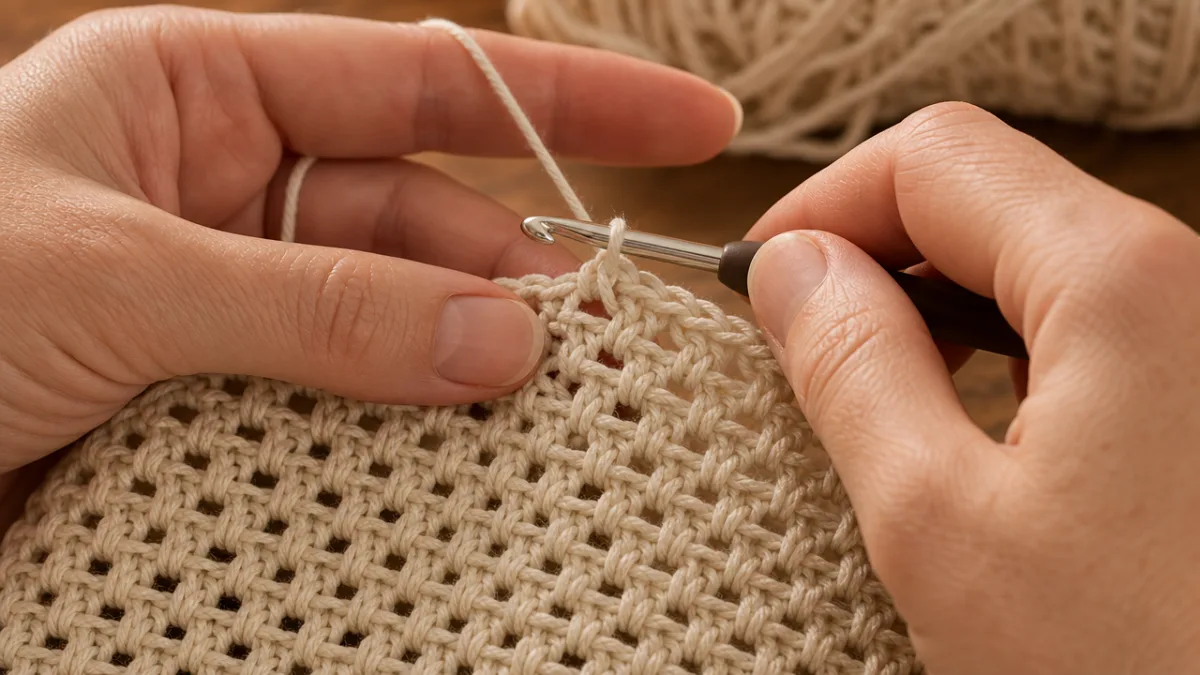
For the first row, skip the second chain from your hook and work a single crochet into the third chain. Then chain one, skip one chain, and work a single crochet into the next. You keep repeating that — single crochet, chain one, skip one — all the way to the end. This first row looks like a simple mesh, but that’s totally normal. The fabric really starts taking shape in the rows that follow, as the single crochets and chain spaces build up and interlock.
From the second row onward, you turn your work and chain two. That chain two acts as your turning chain and your first chain space. You work a single crochet into the chain space from the row below, chain one, and keep going across. Here’s the key thing to notice: your single crochets are always landing into the chain spaces of the previous row, and your chain spaces are sitting directly over the single crochets from the row below. That offset is exactly what creates the interlocked, woven texture — it’s a little moment of “oh, I see it now!” when it finally clicks.
Step-by-Step Video Tutorial Guide: Following Along Effectively
Video tutorials are genuinely one of the best ways to learn the linen stitch, because so much of it comes down to watching where the hook actually goes. When you’re searching on YouTube, Pinterest, or Instagram, look for instructors who show the fabric from multiple angles and don’t rush through the process. The best ones will show you both the right and wrong sides of the work as it develops, so you always know what to expect and can catch problems early.
The biggest tip for following along? Don’t try to keep up with the video in real time. Pause constantly. Rewind. Rewatch sections until they make sense. Professional crochet educators make things look effortless because they’ve done it thousands of times — you’re allowed to go at your own pace. Most video platforms let you slow playback to 0.75x or 0.5x speed, which is incredibly helpful when you’re trying to figure out hand positioning or exactly how the yarn is being managed.
Tension is something to really pay attention to when watching a tutorial. It’s honestly one of the biggest factors in whether your linen stitch fabric turns out looking clean and even or a little sloppy. Too loose and the chain spaces go all wobbly; too tight and the edges start to pull in. Good instructors will talk about how they hold the yarn and position the hook to stay consistent, and it’s worth trying to mimic that closely. Your first swatch will probably look a bit uneven — that’s completely normal and it corrects itself quickly as your hands find their rhythm.
Speaking of swatches, please do one before diving into a real project. Chain around 21 or 23 stitches and work about 20 rows. It might feel like extra work, but it’s genuinely the fastest way to learn the stitch without any pressure attached to it. You’ll internalize the pattern, check your gauge, and end up with a handy little reference piece to look back at whenever you need a reminder of what everything should look like.
Common Mistakes and How to Avoid Them
Even crocheters who’ve been at it for years hit a few snags when they first try the linen stitch — so don’t feel bad if you do too. The most common one is putting your hook in the wrong spot, specifically into a chain stitch when you meant to go into the chain space, or the other way around. It creates a little bump that throws off the whole woven pattern, and the frustrating part is you often don’t notice it until a few rows later. Training your eye to spot the chain spaces — those small holes or gaps between stitches — rather than focusing on individual chain loops makes a big difference.
Losing your stitch count at the edges is another one that trips people up. The beginning and end of rows can get confusing because the turning chain is easy to miscounts or skip altogether, which causes your fabric to slowly widen or narrow without you realizing it. Placing a stitch marker on the first and last stitch of every row is a simple fix that solves this almost entirely. It also helps to count your stitches every five or ten rows — a little annoying, but it saves you from having to unravel a lot of work later.
Tension inconsistency is the third big one, and it usually shows up as chain spaces that vary slightly in size across the fabric. This is almost always a hand positioning or yarn feeding thing rather than anything you’re doing intentionally, and the good news is it sorts itself out naturally as you practice. One helpful habit is to glance at each chain-one space right after you make it and compare it to the ones next to it. Working somewhere comfortable with decent lighting also makes more of a difference than you’d expect — physical tension and eye strain have a sneaky way of creeping into your stitches.
Creative Projects Perfect for the Linen Stitch
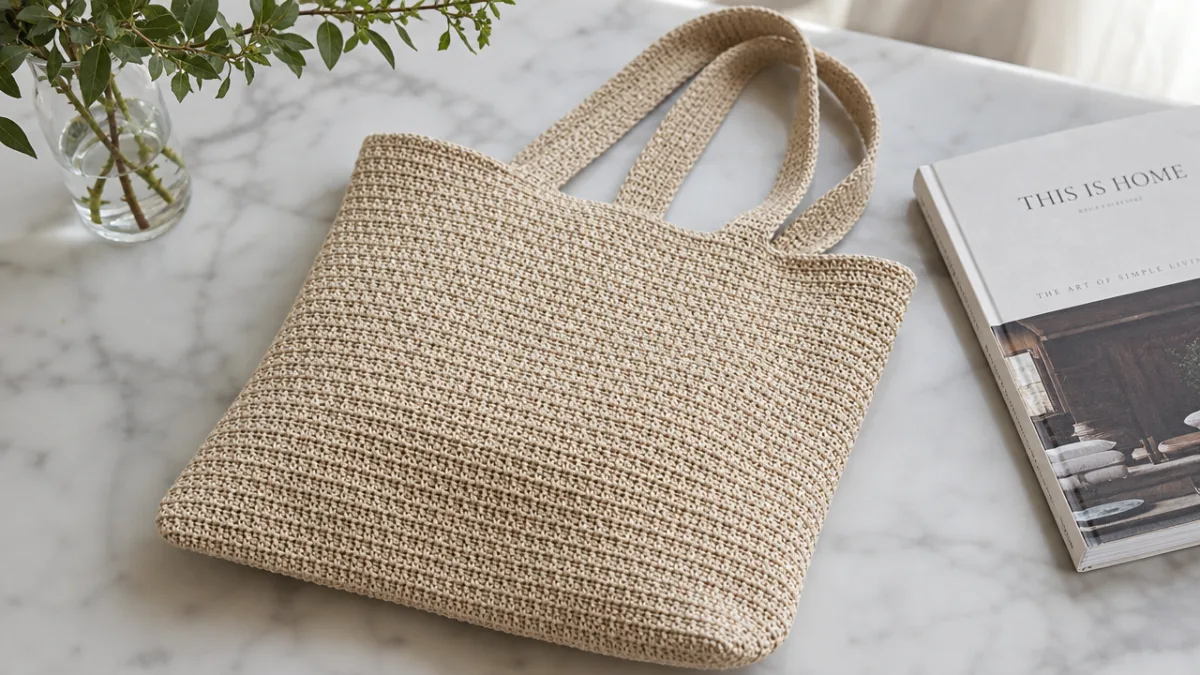
Once you’ve got the linen stitch down, the project possibilities are genuinely exciting. Market bags and tote bags are probably where most people start, and it’s easy to understand why — the dense fabric is perfect for something that needs to hold its shape under the weight of groceries or books. A simple rectangular bag worked in cotton rope yarn comes out looking like something you’d find in a boutique, and people will absolutely ask where you got it.
Kitchen and dining accessories are another natural fit. Placemats, dishcloths, pot holders, coasters — all of these translate beautifully into the linen stitch, and cotton’s absorbency and heat resistance make it ideal for that kind of everyday use. A matching set of placemats in two neutral cotton colors makes a really thoughtful handmade gift that looks way more complicated than it actually is. Smaller items like zipper pouches, journal covers, and pencil cases also work wonderfully when you use a stiffer cotton or hemp yarn with a firm hook.
If you want to take things further, the linen stitch is a fantastic base for colorwork and tapestry crochet. The tight, even grid of stitches makes geometric patterns and color-blocked designs come out sharp and clear. Simple stripes are striking, but with tapestry techniques you can get into diamonds, chevrons, and even pictorial motifs. Linen stitch wall hangings with planned colorwork have become genuinely popular in the contemporary fiber art world — the kind of thing you see in home décor shops and craft fairs and can’t believe someone made by hand.
And then there are garments, which feel ambitious but are totally within reach once the stitch feels natural to you. Summer tops, cardigans, and lightweight vests in fine cotton or linen yarn drape beautifully, with a sophisticated textural surface that’s hard to achieve with other stitches. The fabric gives good coverage without being heavy, which makes it ideal for warm-weather wear. Quite a few independent designers have published full garment patterns written specifically for the linen stitch — with all the shaping you need for armholes, necklines, and sleeves — so the path from practice swatch to finished top is more accessible than ever.
Finishing Techniques and Caring for Your Linen Stitch Projects
How you finish a linen stitch project matters just as much as how you crocheted it, and blocking is honestly the step that makes the biggest difference. Wet blocking — soaking your finished piece, gently pressing out the excess water, and then pinning it to a foam mat to dry — works incredibly well on cotton and linen fibers. It evens out any tension inconsistencies, opens up the stitch structure, and gives the whole piece that crisp, polished look that fresh-off-the-hook fabric rarely has. If you’ve never blocked your crochet before, doing it for the first time on a linen stitch piece is a bit of a revelation.
Weaving in your ends properly is the other finishing step you don’t want to rush, especially for anything that’s going to get washed regularly or take some wear. The linen stitch fabric is tight enough that ends don’t tend to work loose easily, but threading through at least five or six stitches in a couple of different directions before trimming gives you real security. For colorwork projects with lots of yarn tails, weave each end in a different direction so you don’t end up with any one spot that’s noticeably thicker than the rest.
For everyday care, cotton linen stitch pieces are pretty low-maintenance. A gentle or delicate machine wash cycle in cool water works fine, though hand washing is always the gentlest option if you want to preserve the colors and structure over the long haul. Lay things flat to dry rather than tossing them in the dryer, which can cause shrinkage and distortion. And avoid wringing or twisting wet cotton — it can stretch the stitches out of alignment. Treat your finished pieces well and they’ll hold up for years, which is honestly one of the most satisfying things about putting real time and care into learning a stitch like this.








What do you think?
It is nice to know your opinion. Leave a comment.