










Granite Stitch Tutorial: How to Crochet the Moss Stitch
Introduction to the Moss Stitch (Granite Stitch)
If you’re looking for a crochet stitch that looks way more impressive than it actually is to make, the moss stitch — also called the granite stitch or linen stitch — might just become your new favorite. It has this wonderfully pebbly texture that people always want to touch, and yet it’s genuinely one of the most beginner-friendly patterns out there. Whether you’ve just picked up a hook for the first time or you’ve been crocheting for years and want something satisfying to add to your toolkit, this stitch delivers something pretty special.
What really makes this stitch stand out is how versatile it is. The finished fabric is tight and dense with a texture that looks almost like woven linen or, well, a mossy stone — which explains all the names. That quality makes it perfect for everything from dishcloths and washcloths to scarves, blankets, tote bags, and home décor. It plays nicely with almost any yarn weight and looks great in a single color or with simple stripes.
Before we jump into the how-to, it’s worth taking a quick moment to understand why this stitch creates the texture it does — because once it clicks, you’ll find the whole pattern makes a lot more sense. Basically, you’re alternating single crochets and chain stitches in a way that offsets each new row from the last, so the stitches nestle into each other and create those interlocking columns. The fabric that results is firm but not stiff, has a lovely drape, and has that rustic handmade look that’s honestly hard to believe came from just two types of stitches. Once you find your rhythm, you’ll be cruising through rows without even thinking about it.
Materials and Tools You Will Need
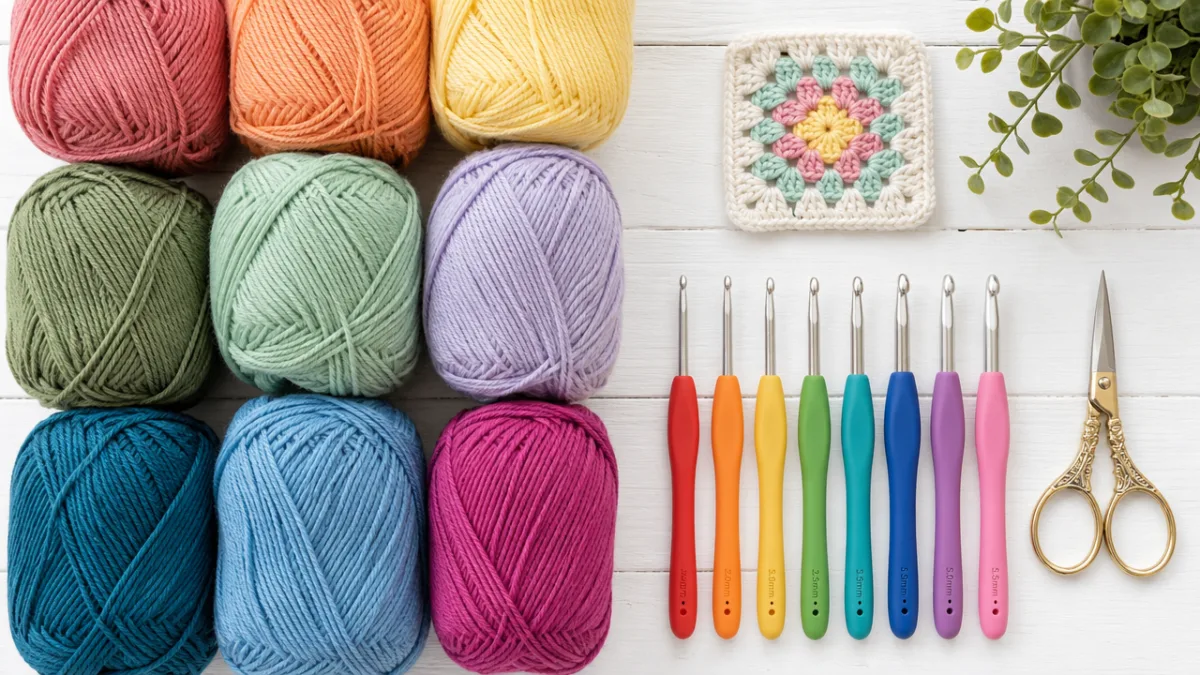
The good news is you probably already have most of what you need sitting in your craft supplies. This isn’t a project that requires anything fancy or specialized — just some decent yarn, the right hook, and a little patience. That said, your material choices do affect the final look and feel of your fabric, so it’s worth giving it a bit of thought before you start.
Yarn texture matters more than you might expect with the moss stitch. Smooth, plied yarns show off the stitch definition best and give you that crisp, linen-like look the stitch is known for. Cotton is a fan favorite because it has almost no stretch, which makes it easier to keep your tension consistent. Wool and wool blends are also wonderful — they produce something softer and warmer that’s lovely for scarves and blankets. Just steer clear of super fuzzy or heavily textured yarns for your first attempt, since they tend to hide the stitch pattern and make it hard to see where you’re supposed to put your hook.
Here is a general list of materials you will need to get started:
- Worsted weight yarn (approximately 100–200 yards for a practice swatch or small project)
- Crochet hook sized to match your yarn (typically a US size G/4mm or H/5mm for worsted weight)
- Scissors for cutting yarn at the end of your project
- A yarn needle for weaving in ends when you are finished
- Stitch markers (optional but helpful for keeping track of row counts)
- A ruler or measuring tape to check your gauge if working to a specific size
One quick note on gauge, especially if you’re making something that needs specific dimensions like a hat or garment: the moss stitch tends to produce a slightly tighter fabric than regular single crochet at the same hook size, so you may want to go up half a size from what your yarn label suggests. Work a small swatch, measure it, and adjust from there. For more forgiving projects like scarves and dishcloths, you can honestly just relax and enjoy the process without stressing over exact measurements.
Understanding the Basic Stitch Structure
Before you pick up your hook, it really helps to have a clear picture in your head of how this stitch actually works. At its heart, the moss stitch is just two things repeated over and over: a single crochet and a chain stitch. Those two simple moves, alternated in the right sequence and offset row by row, are what create all that beautiful interlocking texture. The key thing to understand — and this is the part that trips people up at first — is that each single crochet gets worked into the chain space of the previous row, not into the top of a stitch. That’s the secret to the offset columns.
The foundation chain follows a simple rule: you need a multiple of two chains, plus one extra for the turning chain. So if you want 20 working stitches, you’d chain 21. The exact number depends on how wide you want your project, but the formula never changes. This is one of those patterns where once you understand the underlying math, you can freely adjust your project size without hunting down a new pattern — you just run the numbers and go.
It’s also worth a quick note on terminology, since different pattern sources sometimes use different names for the same thing. The moss stitch, granite stitch, and linen stitch are all terms you’ll come across, and they’re largely used interchangeably — though some crafters draw subtle distinctions based on yarn weight or hook size. For this tutorial, we’re treating all three as the same stitch: alternating single crochets and chain-one spaces, with each row offset from the one before it to create that interlocking effect.
Step-by-Step Moss Stitch Instructions
Alright, time to actually make something! Start with your foundation chain. For a practice swatch, chain 21 — that gives you 20 working stitches plus one turning chain. Hold the chain so the right side faces you and make sure it’s lying flat without any twists. If you’re new to crocheting, go ahead and count your chains before moving on. Starting with the right number really does matter here.
To work the first row, follow these steps carefully:
- Skip the first two chains from your hook (these count as your turning chain and first chain space).
- Insert your hook into the third chain from the hook and work a single crochet.
- Chain one.
- Skip one chain in the foundation, then insert your hook into the next chain and work another single crochet.
- Chain one, skip one, single crochet — repeat this sequence across the entire row until you reach the end of your foundation chain.
- At the end of the row, you should finish with a single crochet in the last chain.
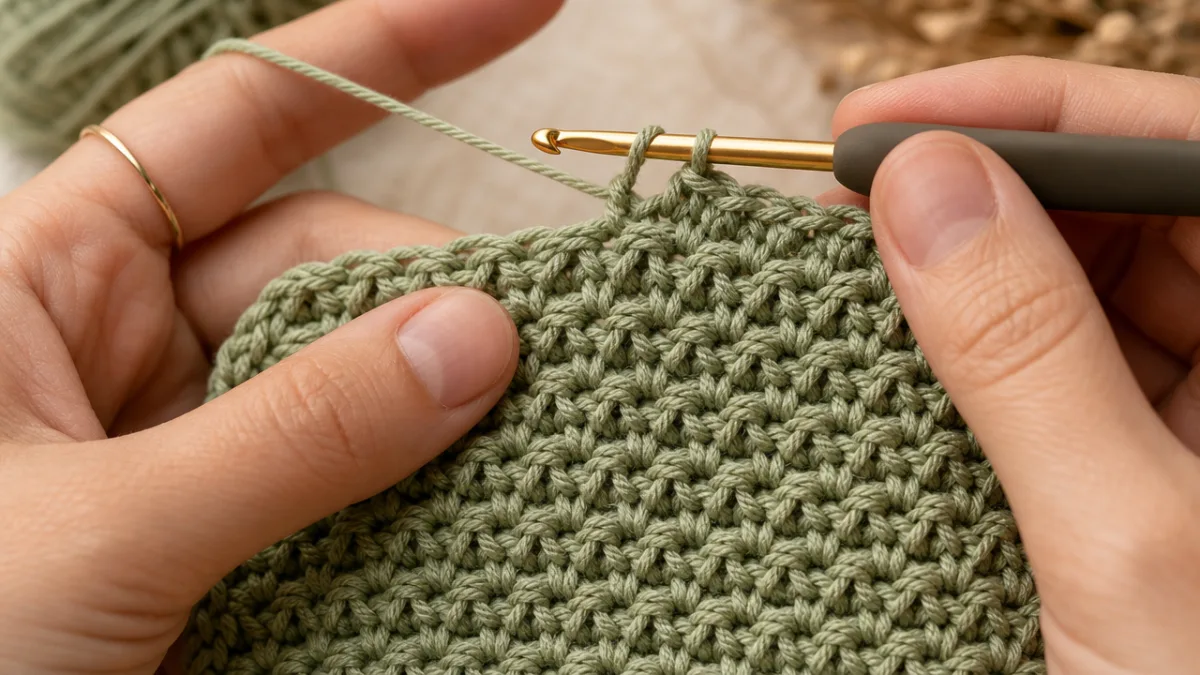
Row two is where the magic starts, and it’s also where the technique shifts slightly to create that offset effect. Chain one and turn your work so the reverse side faces you. Skip the first stitch at the base of your turning chain. Insert your hook into the very first chain-one space from the previous row and work a single crochet. Chain one. Then insert your hook into the next chain-one space and work another single crochet. Keep going — single crochet into chain space, chain one — all the way to the end. Work your final single crochet into the turning chain space of the previous row. That’s it. That’s the entire row repeat, and every row after this is worked exactly the same way.
After a few rows, you’ll start to see that pebbly, interlocking texture emerge, and it’s a pretty satisfying moment. Try to keep your tension consistent as you work — not so tight that the fabric stiffens up and you can barely get your hook in, but not so loose that the chain spaces are gaping open. Your personal tension sweet spot usually reveals itself within the first few rows, and after that the rhythm of the stitch gets almost meditative. A lot of crocheters genuinely love this stitch for exactly that reason.
Tips for Success and Common Mistakes to Avoid
Even the simplest stitches have their gotchas, and the moss stitch is no exception. The most common mistake beginners make is working into the top of a stitch instead of into the chain space. The chain-one spaces can close up a little depending on your tension, so it’s tempting to just stick your hook into whatever looks like the next available spot — but if it’s not the chain space, your pattern will go sideways fast and you’ll end up with a lumpy, uneven fabric. Always double-check that you’re going into the gap, not between the legs of a single crochet.
Losing or gaining stitches at the row ends is another really common issue. This usually happens when you accidentally skip the turning chain space at the end of a row, or add an extra single crochet into the turning chain when you shouldn’t. A good habit early on is to count your chain-one spaces at the end of every row for the first several rows until the pattern feels natural. The total number of chain-one spaces plus single crochets should stay the same from row to row. Stitch markers at each end of your rows can be a lifesaver for catching these accidental increases or decreases before they get out of hand.
Tension is also worth paying close attention to with this stitch specifically. Because every single crochet is anchored by chain-one spaces on both sides, even slightly uneven tension can make the fabric look wavy or puckered. If your edges are pulling inward, try going up half a hook size. If they’re flaring outward, go down half a size. Some crafters also find it helps to consciously relax their grip when working the chain stitches, since these tend to come out tighter than the single crochets and can cause the whole piece to contract. Small tweaks early on save you a lot of headaches down the road.
Creative Project Ideas Using the Moss Stitch
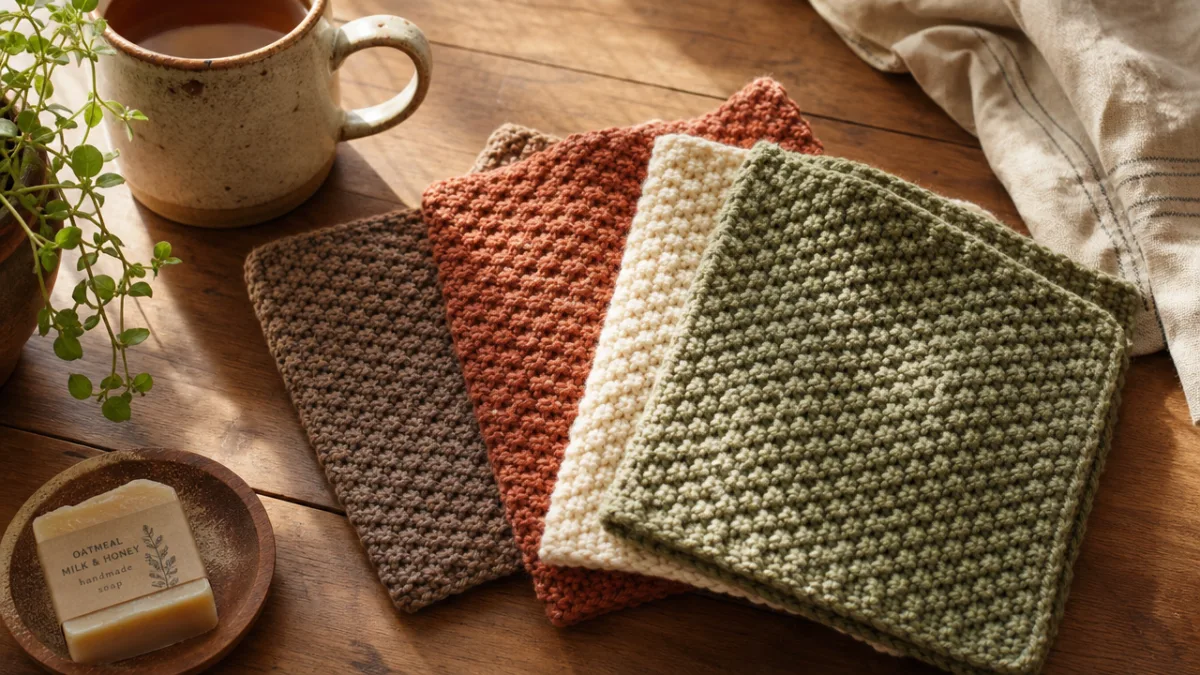
Once you’ve got the technique down, a whole world of projects opens up. The firm, textured fabric the moss stitch creates is a natural fit for kitchen items — dishcloths, washcloths, pot holders. Cotton yarn in fun, cheerful colors works great for these, and because worsted weight works up pretty fast, you can knock out a whole set of coordinating dishcloths in a weekend. They also make genuinely useful handmade gifts that people actually reach for in their kitchens.
Scarves and cowls are another perfect application. The density of the stitch gives you real warmth without making things bulky, and that tactile, artisan-y quality gives finished accessories a really current, handcrafted look. Try a long scarf in a single deep jewel tone for something sleek and minimalist, or play with simple color-block stripes by switching yarn every ten rows or so. Color changes are easy with this stitch because the repeat is so regular — just drop your old color at the end of a row, pick up the new one for the next row, and weave in the tails when you’re done.
If you’re ready for something bigger, the moss stitch makes a genuinely stunning blanket or throw. The texture looks beautiful on both sides, which means you can make a truly reversible blanket — always a satisfying thing to be able to say. Chunky-weight yarn on a bigger hook gives you a quick, cozy result with great visual depth, while DK-weight cotton in soft pastels creates something lighter and more delicate. People have also used this stitch for market bags, pillow covers, plant hangers, and even garments like vests and cardigans. The possibilities are honestly wide open once you start looking for them.
Here are some popular moss stitch project ideas to inspire your next make:
- Kitchen dishcloths and washcloths in 100% cotton yarn
- Infinity scarves and traditional long scarves in wool or wool-blend yarn
- Baby blankets in soft, machine-washable acrylic or cotton blends
- Throw pillows and decorative cushion covers for the home
- Reusable market bags in sturdy cotton twine or jute
- Simple rectangular clutch purses with a zipper or button closure
- Cozy lap blankets and full-size throws in chunky yarn
Finishing Techniques and Caring for Your Finished Project
A good finishing job can be the difference between something that looks handmade and something that looks genuinely made. When you’ve worked your final row, cut the yarn leaving at least a six-inch tail. Pull it through the last loop on your hook and give it a gentle tug to secure. Thread the tail onto your yarn needle, weave it through several nearby stitches on the wrong side, change direction at least once to lock it in, then trim the end close to the fabric. Do the same for any other tails from the beginning of your project or color changes.
Blocking is one of those finishing steps that beginners often skip, but if you’ve never tried it, it’s worth doing at least once — the difference can be pretty remarkable. All blocking really means is wetting or steaming your finished fabric and then pinning or shaping it to the right dimensions while it dries. It evens out tension inconsistencies, opens up the stitch texture so it really pops, and gives the edges a clean, professional finish. For cotton projects, wet blocking works beautifully: submerge the piece in cool water, gently squeeze out the excess without wringing, roll it in a towel to remove more moisture, then pin it flat to a foam mat and let it dry completely. For wool, skip the agitation — any roughing up of the fibers in water can cause felting.
How you care for a finished moss stitch piece really depends on what yarn you used, so always check the label before you throw anything in the wash. Most cotton yarn is machine washable on a gentle cycle in cool water, which makes cotton dishcloths and washcloths especially practical — they can just go in with a regular load and come out great. Wool generally needs to be hand-washed in cool water with gentle soap and then laid flat to dry so it doesn’t stretch or felt. Acrylic is the most low-maintenance of the bunch — it handles both machine washing and drying without complaint, which is a big reason it’s such a popular choice for baby items and blankets.
For storing your finished pieces between uses, fold heavier items like blankets and scarves rather than hanging them, since hanging can stretch them out over time. Keep them somewhere cool and dry, away from direct sunlight, which will eventually fade even the most vibrant yarn colors. Tuck a cedar block or a lavender sachet nearby to help keep moths away, especially if you’re working with natural fibers. Take care of your finished pieces and they’ll last for years — a real testament to the time and care you put into making them.








What do you think?
It is nice to know your opinion. Leave a comment.