










Granny Square Mitts: The Ultimate Guide to Crocheting Stylish Fingerless Gloves
The Timeless Appeal of Granny Square Mitts
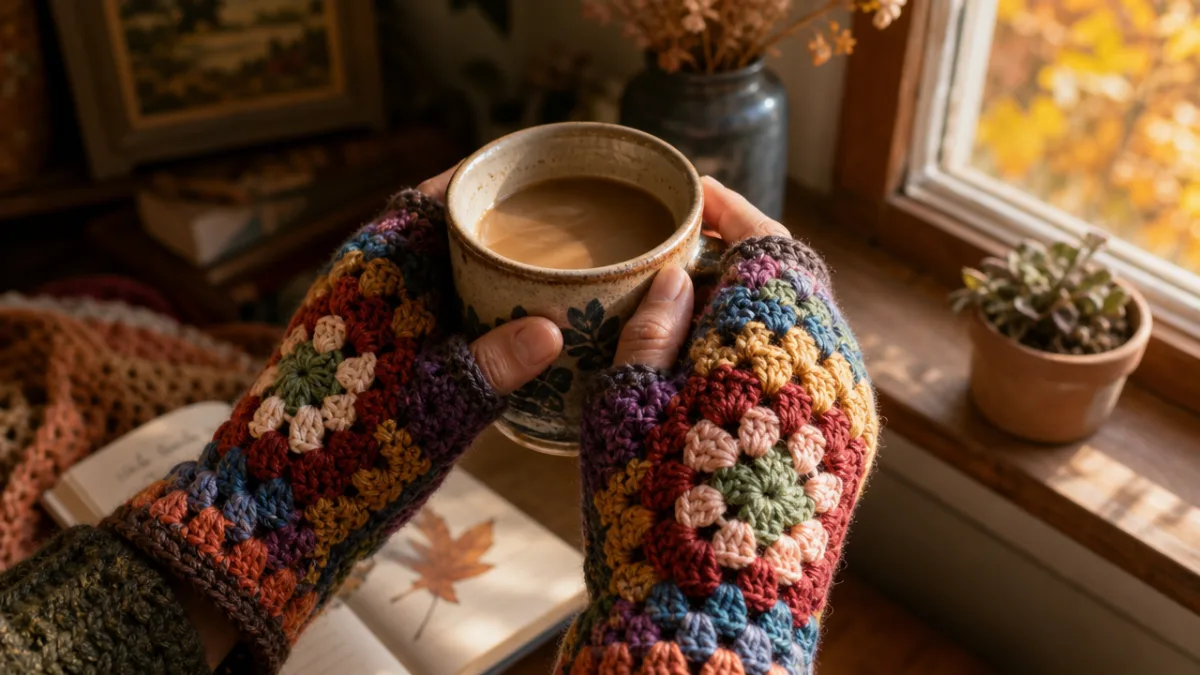
Granny square mitts are one of those projects that just makes sense — they take the classic granny square motif we all know and love from grandma’s blankets and afghans and turn it into something you’ll actually reach for every day. As fingerless gloves, they keep your hands warm without getting in the way of, well, life. Typing, scrolling, wrapping your hands around a hot coffee mug on a cold morning — granny square mitts handle all of it beautifully.
Granny squares have had a real moment over the past decade — and honestly, it’s easy to see why. Designers and makers have found all kinds of new ways to use them: clothing, bags, wall art, and of course, accessories like these mitts. The geometric, almost floral structure of a granny square naturally suits the shape of a hand covering, so once you get the hang of the basic motif, the construction clicks into place pretty intuitively.
What’s also great about this project is how approachable it is at any skill level. If you’re newer to crochet, a pair of mitts is a fantastic way to really nail the granny square before moving on to bigger projects. If you’ve been crocheting for years, there’s still plenty of room to play — with color combinations, stitch variations, and joining techniques that can turn a simple pair of mitts into something genuinely impressive. And because they’re small, even a beginner can finish a pair over a weekend. That quick, satisfying finish is hard to beat, especially when you’re making them as gifts.
Materials and Tools You Will Need
Yarn choice makes a bigger difference than you might expect with a project this small. For mitts that hold their shape, stay warm, and feel good against your skin, a worsted or DK weight yarn is your best bet. Natural fibers like wool, alpaca, or cotton are all lovely options — breathable and durable. That said, a wool-acrylic blend is probably the most popular choice among crafters, and for good reason: you get the warmth and stretch of wool with the easy-care practicality of acrylic, which usually means machine washing is totally fine.
Color is really where granny square mitts let you have fun. The traditional look uses multiple colors in concentric rounds, and that carries over beautifully to mitts. You could go with three or four coordinating shades for a classic, cheerful feel, or keep it to a single color for something more modern and minimal. Scrappy mitts made from whatever’s left in your yarn stash are also a popular choice — they have that joyful, eclectic energy that granny squares have always been known for. Just think about what you’ll actually wear and go from there, since these are likely to become a cold-weather staple once you finish them.
On the tools side, you’ll want a crochet hook that matches your yarn — usually somewhere in the 4mm to 5mm range for worsted weight, though your gauge swatch will tell you for sure. Beyond that, a yarn needle for weaving in ends and seaming, scissors, stitch markers, and a tape measure are all you really need. A row counter or a simple notebook can also be handy if you’re tracking multiple motifs that need to match up in size.
- Worsted or DK weight yarn in your chosen colors (approximately 100–150 yards total per mitt)
- Crochet hook sized 4mm–5mm depending on yarn weight and personal tension
- Yarn needle for finishing and seaming
- Scissors and a tape measure
- Stitch markers to keep your place in complex rounds
- Optional: row counter or notebook for tracking repeats
Understanding the Granny Square Construction
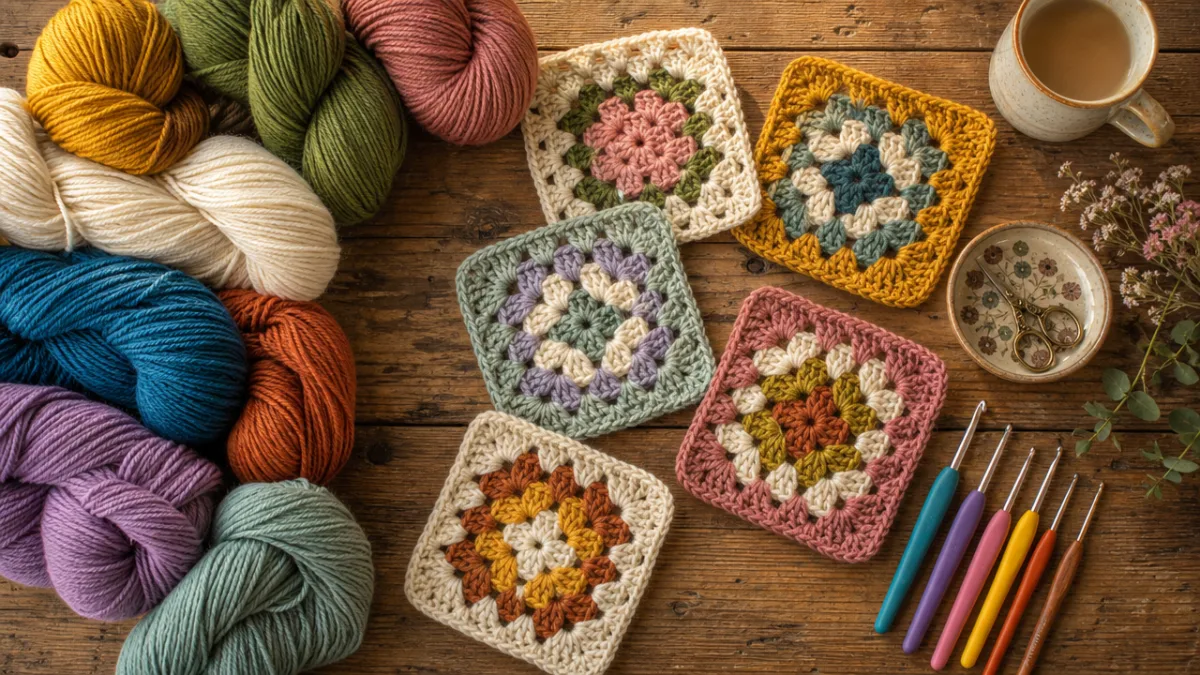
Before you dive into making the mitts themselves, it helps to really understand how a granny square is built. Every classic granny square starts at the center — either a magic ring or a small foundation chain joined into a loop. From there, you work clusters of double crochet stitches separated by chain spaces, building outward round by round. That open, layered structure is what gives granny squares their characteristic look, and the great thing about it is how modular it is. Every square follows the same basic logic, just worked outward for more or fewer rounds depending on how large you want it.
Those iconic corners are what really define the shape. Each corner is made by working two clusters of double crochet with a chain-two or chain-three space between them, which allows the fabric to turn naturally at a right angle. Once you understand how the corners work, assembly starts to make a lot more sense — because those corner spaces and the side spaces between them are exactly what you’ll use to create the thumb opening and join your squares together if the pattern calls for more than one motif per mitt.
Speaking of construction, there are a few different ways granny square mitts can be put together. Some patterns use a single large square that gets folded and seamed along one edge to form a tube, with the thumb hole left open during seaming or added with a short bridge of chain stitches. Others join two or more smaller squares, using the seam lines as natural shaping points. And some patterns mix a granny square with rows of single or half-double crochet at the wrist to create a cuff that adds warmth and keeps the mitt snug on your hand. All of these approaches work well — it really just comes down to the pattern you’re following and your own preference.
Step-by-Step Pattern Instructions
Start with your foundation granny square. Make a magic ring and chain six — that counts as your first double crochet and your first chain-three corner space. Work two more double crochets into the ring, then chain three. Repeat that cluster-and-chain sequence three more times so you end up with four clusters evenly spaced around the ring, then join with a slip stitch to the top of your starting chain. That’s Round One done — you’ve got your four corners established and the skeleton of your square in place.
For Round Two, slip stitch into that first corner chain-three space and start your working chain. Complete your first corner by working two double crochets, chaining three, then working three more double crochets into the same space. Chain one, move to the next corner space, and repeat. Work all four corners this way, with a single chain-one space on each side between corners, and join to close the round. At this point you’ll really be able to see the square taking shape — four clean corners and four side spaces that will grow with each subsequent round. Keep working outward from here until your square reaches the dimensions your pattern calls for.
Once your square or squares are the right size — usually somewhere between three and five inches across, depending on your hand size and yarn weight — you’re ready to assemble. Fold the square so two opposite edges line up, and seam them together using a whipstitch or a slip stitch join through the outer loops. Leave about an inch to an inch and a half open for your thumb, typically sitting about a third of the way down from the finger edge. After seaming, work a round of single crochet around the finger opening, the thumb hole, and the wrist edge to clean everything up and give the mitt a neat, finished look.
- Create your foundation magic ring and work Round One clusters and corner chain spaces.
- Continue working outward rounds, adding side clusters and corner sequences, until square reaches pattern dimensions.
- Block your completed square lightly if using a natural fiber yarn to even out stitches.
- Fold the square and seam two opposite edges together, leaving a thumb gap as specified.
- Work a finishing round of single crochet around all openings to stabilize and neaten edges.
- Weave in all ends securely using a yarn needle.
- Repeat the entire process to create the second mitt.
Sizing, Gauge, and Customization Tips
Sizing is one area where you really do want to pay attention to gauge. Unlike a blanket where being off by half an inch doesn’t matter much, mitts need to actually fit — snug enough to stay in place, loose enough to be comfortable. Your gauge (the number of stitches and rows per inch your particular yarn, hook, and tension produces) is what controls that fit. Always crochet a test square before starting the real thing, measure it, and compare it to your pattern’s target dimensions. If it’s too big, go down a hook size; if it’s too small, go up. It’s a small extra step that saves a lot of frustration later.
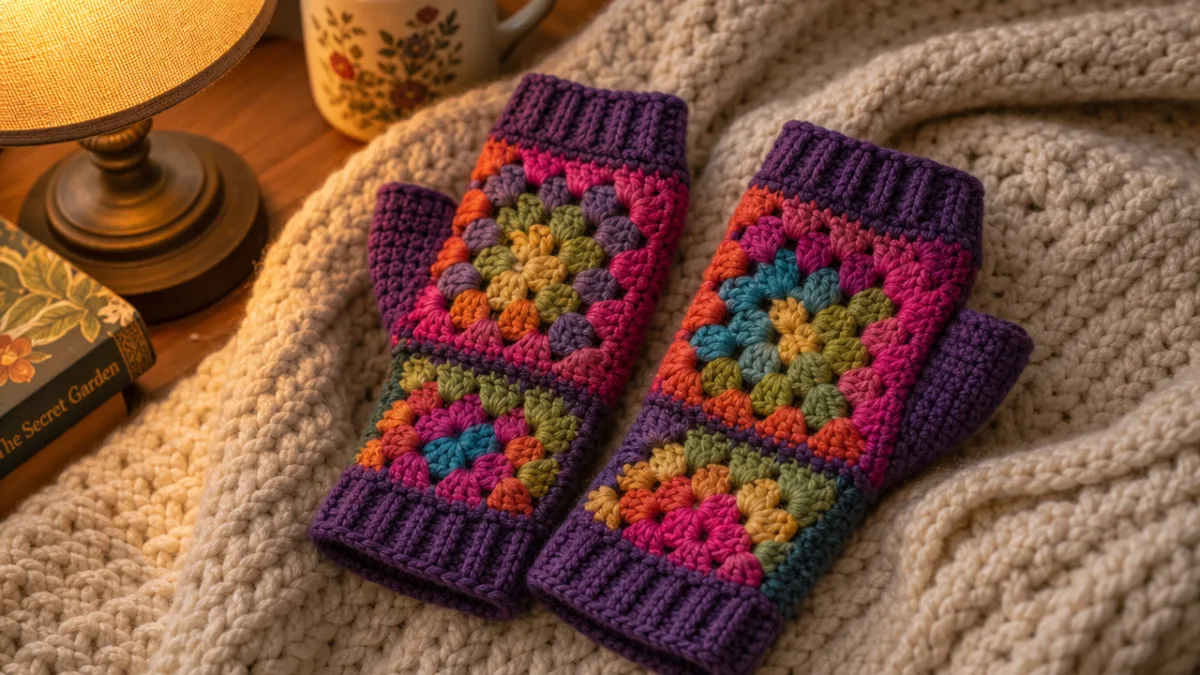
One of the genuinely nice things about granny square construction is how easy it is to resize for different hands. Need something bigger? Just work an extra round or two before assembling. Making them for a child or someone with small hands? Stop a round early and adjust the thumb opening to match. You can also add or skip rows of cuff stitches at the wrist after assembly to change how much coverage the mitt provides — anywhere from a quick hand warmer that barely covers the palm to a longer gauntlet-style mitt that reaches well up the forearm.
Color customization is where you can really go wild. The classic three-color granny square — a bright center, a coordinating body, and a deep or neutral edging — is classic for a reason, but it’s far from your only option. Solid-color mitts have a clean, graphic look that feels very current. Gradient colorways, where each round shifts slightly in shade, can be absolutely stunning. And if you want color variation without any yarn changes at all, try a variegated or self-striping yarn that does the work for you. Every approach produces something completely different, which is a big part of why this is such a fun project to come back to again and again.
Finishing Techniques and Care Instructions
Finishing is where your project stops being a pile of crocheted fabric and becomes an actual thing you’d be happy to wear or give as a gift. The most important step is weaving in your ends well. Don’t just tuck them under a few stitches and call it done — thread each tail through at least an inch of stitches in multiple directions, doubling back to lock it in place before trimming. This matters especially at color change points, which tend to pile up quickly in a multicolor project. Ends that aren’t secured properly will work their way out with washing and wear, and nobody wants that.
Blocking is worth the extra time, especially with natural fiber yarns. Wet blocking — submerging the finished mitt in cool water, gently squeezing out the excess without wringing, and then pinning it to a foam mat in the right shape while it dries — does wonders for opening up the granny square structure and smoothing out tension inconsistencies. Let the mitts dry completely before removing the pins. The difference between blocked and unblocked can be pretty dramatic, and it gives your work a much more polished, intentional look.
For ongoing care, check your yarn label before washing anything — fiber content determines a lot. Most wool-acrylic blends do well hand washed in cool water with a gentle detergent, then laid flat to dry. Pure acrylic can often go in the machine on a gentle cycle. Either way, avoid wringing or twisting the mitts when they’re wet, which can stretch and distort the stitches. Store them folded flat rather than hanging — hanging can pull the fabric out of shape over time. Take care of them and a good pair of granny square mitts will easily last for years.
Inspiration, Variations, and Where to Share Your Work
Once you’ve got the basic mitt down, there’s a lot of room to explore. You might try hexagonal or triangular motifs instead of the traditional square for a more unexpected look. Raised front-post double crochets can add a sculptural, dimensional texture to the granny square format that looks as impressive as it sounds. On the opposite end of the spectrum, a delicate lace-style granny square worked in fine cotton or a silk blend makes an elegant mitt for warmer weather or dressier occasions, while chunky squares in super-bulky yarn produce cozy winter mitts that practically work themselves.
Granny square mitts also make some of the best handmade gifts around, particularly during the holidays. They’re quick enough that you can realistically make several pairs without burning out — just ask each person for their favorite colors and customize from there. A few small additions can make each pair feel really special too: a sewn-on button, a little embroidered detail, or a crocheted flower on the wrist. Those finishing touches are what make a handmade gift feel thoughtful rather than just fast.
And when you’re done, share your work! Platforms like Pinterest, Instagram, and Ravelry are full of crafters who love seeing finished objects, and the granny square community in particular is a warm and enthusiastic one. When you post your mitts, share a few details — what yarn you used, your hook size, any tweaks you made to the pattern. You never know who might be on the fence about trying their first pair of granny square mitts, and your photo and a bit of honest enthusiasm might be exactly what pushes them to pick up their hook and go for it.








What do you think?
It is nice to know your opinion. Leave a comment.