










Free Crochet Water Bottle Holder Pattern: Your Complete Guide to a Stylish and Functional Accessory
Whether you’re heading to the gym, out on a hike, or just running errands, having your water bottle easy to grab makes a surprisingly big difference. A handmade crochet water bottle holder does exactly that — it’s snug, a little stretchy, and honestly just really cute. Plus, this pattern is totally free, great for beginners, and easy to tweak so it feels like yours.
Crochet accessories have gotten really popular lately, and honestly it makes total sense. They mix function with a kind of handmade charm that you just can’t get from something mass-produced. A crocheted water bottle holder isn’t just useful — it says something about you. Match it to your outfit, your bag, your vibe — the color and texture options are basically endless. And there’s something about holding a finished crochet piece that just feels good in your hands, especially compared to a cold plastic sleeve or floppy neoprene.
This guide covers everything from picking your materials and learning the stitches, to finishing your project neatly and making it your own with some fun variations. Whether you’ve been crocheting for years or just picked up a hook recently, this pattern is written to be clear, thorough, and genuinely enjoyable to work through.
Materials and Tools You Will Need
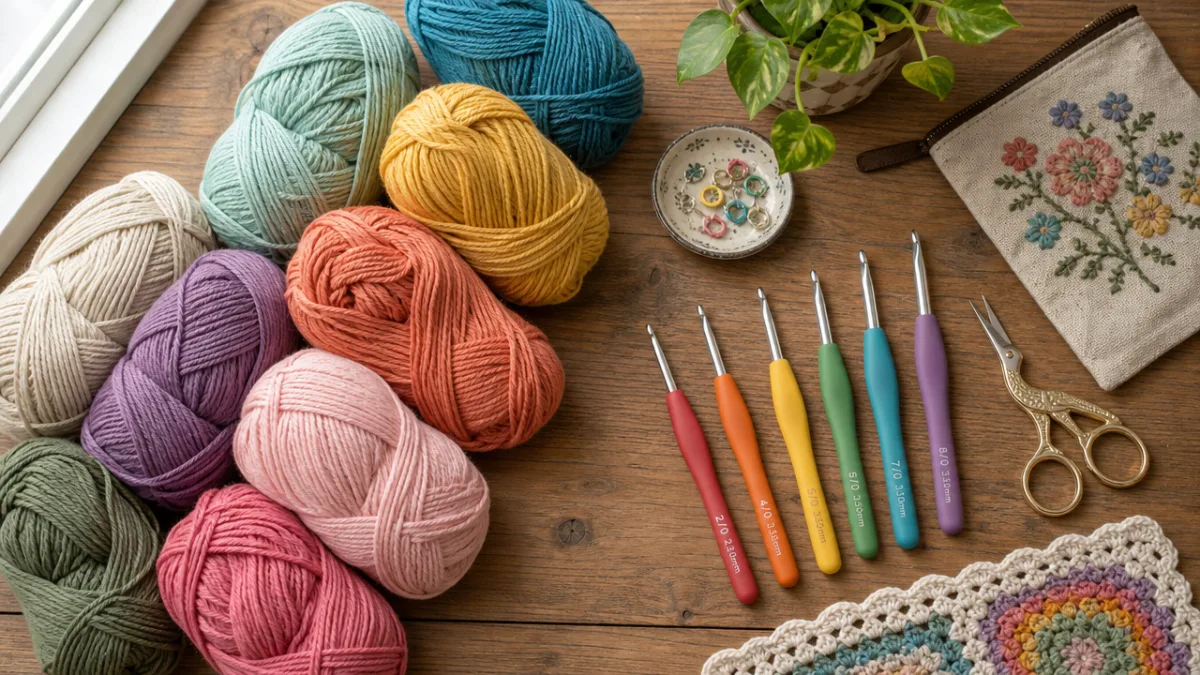
One of the best things about this project is how little you actually need to get started. Since the finished holder is pretty small, you won’t even use a full skein of yarn — which makes this a perfect stash-busting project. There’s a good chance you’ve already got most of this stuff sitting in a drawer or craft basket somewhere.
For yarn, go with a medium weight — worsted weight or size 4 — and cotton is the crowd favorite for a reason. It’s durable, washable, and has just enough stretch to hug your bottle securely. Acrylic works great too and tends to be easier on the wallet, while a cotton-acrylic blend gives you a nice middle ground: breathable but with a little extra give. You’ll need somewhere between 50 and 100 yards depending on how big your bottle is.
For tools, a 5mm hook is the standard go-to for worsted weight cotton, but feel free to size up or down a little depending on how tight or loose your tension tends to run. You’ll also need a yarn needle to weave in ends, a pair of sharp scissors, and a tape measure to check your dimensions as you go. Stitch markers are optional but really handy for keeping track of your rounds, and a binder clip is great for holding your work in place when you need to take a break.
- Worsted weight cotton or cotton-blend yarn (50–100 yards in your chosen color)
- 5mm crochet hook (adjust as needed for your tension)
- Yarn needle for weaving in ends
- Sharp scissors
- Tape measure or ruler
- Stitch markers (optional but recommended)
- Water bottle to test sizing as you go
Understanding the Stitches and Abbreviations
Before jumping into the pattern, it’s worth getting comfortable with the stitches you’ll be using. The good news is this pattern sticks to the basics — nothing fancy or intimidating. If you’re brand new to crochet, spending even twenty or thirty minutes practicing on a little swatch will do wonders for your tension and confidence before you start the real thing.
The stitches you’ll use most are the chain stitch (ch), slip stitch (sl st), single crochet (sc), and half double crochet (hdc). The chain stitch creates your foundation and also forms the drawstring channel near the top. The slip stitch joins your rounds together for a clean, seamless look. Single crochet makes up the bulk of the body, giving it that firm, structured feel, and half double crochet shows up in certain spots to add a touch of height and softer drape.
You’ll also see the magic ring mentioned — sometimes called a magic circle — which is how you start crocheting in the round without leaving a hole in the center. That’s especially important for the bottom of the holder, since any gap would let your bottle slip right through. If the magic ring gives you trouble, no worries: a chain ring of four stitches joined with a slip stitch works just as well, and plenty of experienced crocheters prefer it anyway.
- ch — chain stitch
- sl st — slip stitch
- sc — single crochet
- hdc — half double crochet
- MR — magic ring
- inc — increase (two stitches in one)
- rep — repeat
- rnd — round
Step-by-Step Pattern Instructions
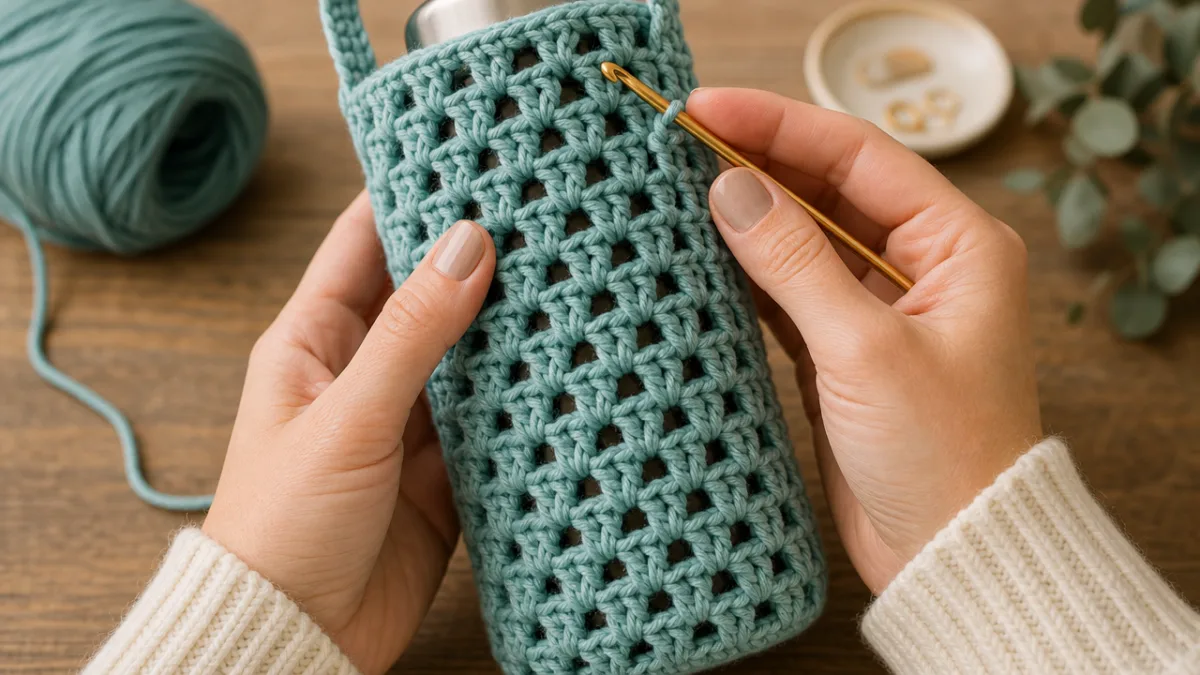
Alright, materials ready, stitches refreshed — let’s actually make this thing. The holder is worked in continuous rounds starting from the bottom, so you’ll build the base first and then work your way up the sides. Working in the round gives you that seamless, tube-like shape that fits snugly around a standard water bottle — usually 16 to 24 ounces — though you can easily scale it up or down as needed.
Start with a magic ring and single crochet six stitches into it. Pull the tail to close the ring tight, then drop a stitch marker in the first stitch so you can track where each round begins. Round two is all increases — work two stitches into every stitch for a total of twelve. Round three alternates one single crochet with one increase, bringing you to eighteen stitches. Keep adding six stitches per round this way until the base measures roughly the diameter of your bottle’s bottom, which is usually around three to three and a half inches across.
Once your base is the right size, stop increasing and just single crochet evenly in every stitch to build up the sides. Keep going in straight rounds until the body is about four to five inches tall, or roughly two-thirds the height of your bottle. Then it’s time for the drawstring channel: work a row of chain-two spaces alternating with single crochets to create a series of small eyelets all the way around. After that, work two more plain rounds of single crochet to finish the top edge, then fasten off and weave in your ends.
For the drawstring, cut a piece of yarn about 24 to 30 inches long — or use a pre-made cord, a ribbon, or even a strip of leather lacing if you want a more polished look. Thread it through the eyelets with your yarn needle, weaving in and out all the way around. Tie the ends in a secure knot, or thread on a couple of small wooden beads or toggles to keep the cord from pulling back through. Cinch it tight around the neck of your bottle, and you’re done.
Sizing and Fit Adjustments
Here’s the thing about bottle holders: bottles come in wildly different shapes and sizes. A tall slim tumbler is a completely different beast from a wide-mouth mason jar or a chunky 32-ounce Hydro Flask. But that’s actually one of the great things about crochet — it’s flexible in every sense of the word, and this pattern adjusts pretty easily without needing any advanced skills.
If you need a wider base, just keep doing your increase rounds for one or two more rounds before switching to straight single crochet. Each extra increase round adds roughly half an inch of diameter, so it doesn’t take much to make room for a chunkier bottle. Going the other direction, if your holder is coming out too loose for a slimmer bottle, cut one or two of those final increase rounds. You can also try a slightly smaller hook to tighten up the fabric overall — handy for thin-necked bottles like sports squeeze bottles or glass infuser bottles.
Height is just as easy to dial in. Measure your bottle beforehand and aim for the body of the holder to hit about two-thirds to three-quarters of the way up before you add the drawstring channel. A shorter holder suits bottles with a pronounced neck taper, while a taller one is better for straight-sided designs. Honestly, the best approach is to slip your actual bottle into the work-in-progress every few rounds rather than relying entirely on measurements — yarn stretch and personal tension can make the numbers vary quite a bit from one crafter to the next.
Creative Variations and Personalization Ideas
Once you’ve got the basic pattern down, that’s when it really gets fun. Crochet is such an expressive craft — even a simple color change or a slightly different stitch can give your holder a totally different personality. Fair warning: once you start making these in different colorways, it’s hard to stop at just one.
Color blocking is probably the easiest way to make it your own. Just switch yarn colors at the start of a new round somewhere in the body section, and you’ve instantly got a bold two-tone look. For a softer, more gradual transition, try self-striping yarn — it does all the color-change work for you as you go. Alternating two or three colors every few rounds for classic stripes is another great option, especially for kids’ holders or gym accessories where you want something a little energetic and fun.
Texture is another great way to mix things up. Swapping plain single crochet for a moss stitch or linen stitch creates this lovely woven, checkered look that’s actually much easier than it appears. A shell stitch border along the top gives a decorative, almost lacy finish, while working the body in back-loop-only single crochet creates a ribbed, sporty texture. And if you love a good embellishment, small crocheted flowers, appliqués, or even embroidered initials turn the finished piece into a really personal gift or keepsake.
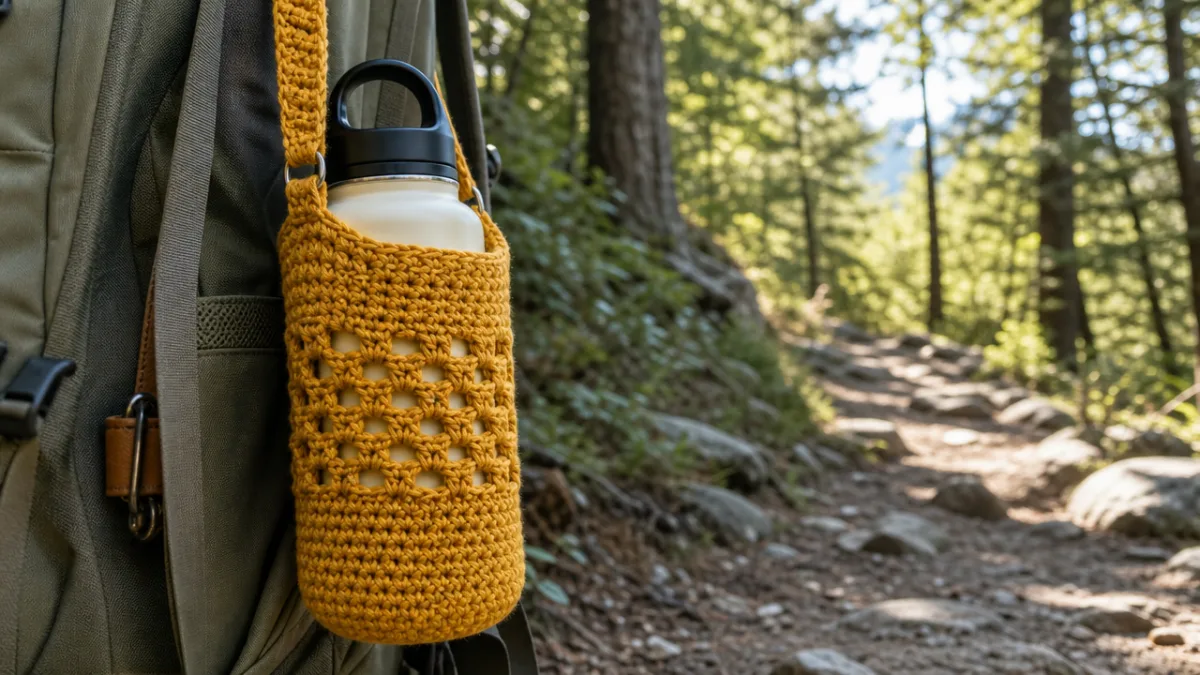
- Add a wrist loop or carabiner clip loop at the base for hands-free carrying
- Crochet a small pocket onto the side for storing keys or cards
- Use glow-in-the-dark yarn for a fun nighttime hiking or camping version
- Substitute macramé cord for a boho-inspired, beachy aesthetic
- Create a matching set in coordinating colors as a thoughtful handmade gift
- Work in a row of bobble stitches for a bumpy, grippable texture on the outside
Care Instructions and Longevity Tips
With a little care, a well-made crochet holder can last for years — seriously. How you wash and store it makes a real difference in keeping the shape and color looking good over time. The specifics depend on your yarn’s fiber content, so it’s worth checking the label before your first wash. Most cotton and cotton-blend yarns are machine washable, which is a huge practical win for something that’s going to see sweaty hands, splashes, and the occasional mystery spill.
For cotton holders, a gentle or delicate cycle in cool or lukewarm water works great. Use a mild detergent and skip anything with bleach — it weakens cotton fibers and fades colors faster than you’d expect. Once it’s washed, reshape it by hand while it’s still damp. Slide it back over your bottle or any similarly shaped cylindrical object and let it dry that way. Air drying is really the way to go here, since high heat in the dryer can cause some cotton yarns to shrink a bit.
Acrylic holders handle machine washing just as well and can tolerate slightly warmer water, but still keep them away from high dryer heat — acrylic and heat are not friends, and you can end up with permanently warped or melted fibers. For storage, keep your holders somewhere cool and dry, out of direct sunlight for long periods, since UV exposure fades colors over time regardless of fiber type. Treat it well and this little handmade accessory will hold up through plenty of adventures.
Why Handmade Matters: The Joy of Making Your Own Accessories
There’s something really special about using something you made yourself. Every time you reach for your water bottle and feel those stitches under your fingers, there’s this quiet little reminder that you made that — stitch by stitch, with your own patience and creativity. No store-bought sleeve is ever going to give you that feeling.
There’s also a real sustainability angle worth mentioning. Fast fashion and mass-produced accessories burn through resources and generate a lot of waste. Crocheting a bottle holder from natural cotton yarn is a genuinely lower-impact choice, especially if you’re reaching for sustainable or organic yarn. And because a well-made crochet piece can last years — sometimes a decade or more — it’s a much better investment than a disposable neoprene sleeve that ends up in a landfill after one season.
Crochet is also just a wonderfully communal craft. Sharing free patterns like this one is a tradition that goes back generations in the fiber arts world — a kind of generous, ongoing knowledge-share that connects makers across all kinds of distances and differences. When you follow a free pattern, you’re joining a long creative lineage. And when you post your finished project, tag it, or hand it to someone you love, you’re passing a little piece of that community forward. That’s a pretty meaningful thing for a water bottle holder to do.








What do you think?
It is nice to know your opinion. Leave a comment.