










Crochet Caps Patterns Featuring Cozy Ribbed Beanies
The Timeless Appeal of Crochet Beanies
Crochet beanies have been a beloved staple of handmade accessories for generations, and honestly, it’s pretty easy to see why. There’s something so satisfying about turning a single strand of yarn and a hook into a warm, wearable hat. Whether you’ve been crocheting for years or you’re just picking up the craft for the first time, a beanie is one of those projects that pays off quickly — you end up with something you’ll actually reach for on a cold morning.
Among all the crochet cap styles out there, the ribbed beanie keeps coming back as a fan favorite. Those clean vertical ridges give the hat a classic, put-together look that works just as well on a ski slope as it does on a daily commute. The natural stretch that ribbing creates also means the hat fits a wide range of head sizes, which makes it a great go-to when you’re making something as a gift and aren’t 100% sure of someone’s measurements.
What crocheters tend to love about ribbed beanies is how well they show off yarn. The ridges catch light at different angles depending on the fiber and color you’re working with, giving the finished hat a layered, dynamic look that honestly seems more complicated than it is to make. Take a skein of chunky wool in a deep jewel tone or a soft heathered gray, work it into a ribbed pattern, and suddenly you’ve got something that looks and feels genuinely special — not just “handmade” in the humble sense, but truly crafted.
Understanding Ribbing Techniques in Crochet
Before jumping into patterns, it’s worth taking a minute to understand how crochet ribbing actually works. In knitting, you get ribbing by alternating knit and purl stitches, but crochet takes a different approach — working into the back loop only, the front loop only, or using stitches like the extended single crochet or the half double crochet through the third loop. Each method gives you a slightly different texture and amount of stretch, so knowing what your pattern calls for really does make a difference in your finished hat.
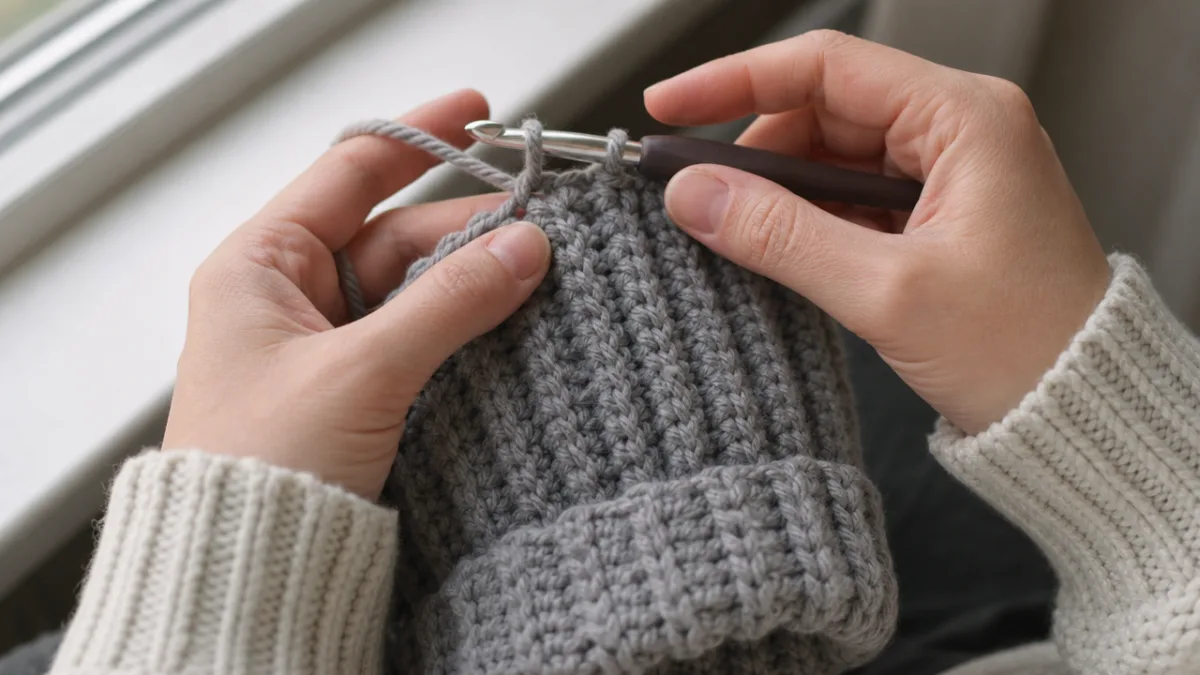
The back loop only method — you’ll see it written as BLO in most patterns — is probably the most common way to get that ribbed look in crochet. When you insert your hook into just the back loop instead of both loops, the unworked front loop pops up as a raised ridge on the surface of your fabric. Work enough rows or rounds of this and you end up with something wonderfully stretchy and textured that does a convincing impression of knitted ribbing. It’s become a go-to technique for hat makers for good reason.
Another approach that a lot of crocheters love is working rows lengthwise and then seaming or joining them into a tube — sometimes called a vertical ribbing or side-to-side construction. This creates true vertical ribs running from brim to crown. Because you’re essentially making a long strip and connecting the ends, the stretch wraps horizontally around the head, which many people find gives a really comfortable, secure fit. It also opens up some fun design possibilities, like changing colors so stripes run horizontally across the finished hat.
Choosing the Right Yarn for Your Ribbed Beanie
The yarn you pick will shape everything about your finished beanie — how it looks, how it feels, how long the project takes, and how well the ribbing shows up. If you’re newer to crochet, starting with a smooth, light-colored yarn in a medium or bulky weight is usually a smart move. Smooth yarn lets you see your stitches clearly so you’re less likely to split the yarn or miss a loop, and lighter colors are much easier to check under regular home lighting.
Fiber content matters a lot for ribbed beanies specifically. Wool and wool blends are perennially popular because natural wool has memory — meaning the ribbing bounces back into shape after being stretched rather than going limp. That elasticity is exactly what you want in a hat that needs to stay put on someone’s head without drooping over time. Merino wool is a particularly good pick for its softness, since beanies sit right against the face and ears where rougher fibers can feel scratchy and uncomfortable.
Acrylic yarns are a great option too, especially for anyone with wool sensitivities or for hats meant for kids. Modern acrylics have come a long way — plenty of premium options now have a softness and subtle sheen that can genuinely rival natural fibers, and most of them are machine washable, which is a big practical win for something worn as often as a beanie. Whatever fiber you go with, look for labels that mention good stretch recovery, and always double-check the recommended hook size against the gauge in your pattern before you cast on.
Step-by-Step Guide to a Classic Ribbed Beanie Pattern
Your first ribbed beanie is such a satisfying project, and with a solid pattern to follow, it’s a lot more approachable than it might look. The steps below walk through a basic side-to-side ribbed beanie sized for an adult head measuring roughly 21 to 23 inches around. You’ll need about 100 to 150 yards of bulky weight yarn and a 6mm hook, plus a yarn needle for finishing and a stitch marker if you like to keep track of your rounds.
Start with a foundation chain of about 15 stitches — this becomes the height of your ribbing strip. Work rows of half double crochet through the back loop only, turning at the end of each row. Keep going until your strip is long enough to wrap snugly around the head with a little stretch to spare. The exact row count depends on your gauge, so it’s worth working a small swatch and measuring before you commit. Once the strip is the right length, join the two short ends together with a slip stitch or a flat seam using your yarn needle.
With your ribbed tube done, it’s time to work the crown. Join your yarn at the top edge of the tube and work single crochets evenly around the opening. From there, you can decrease gradually over several rounds for a snug, rounded crown, or pull things in more quickly for a flatter or slightly slouchy top. A lot of crocheters like to thread the yarn tail through the remaining live stitches and pull tight to close — it creates a lovely gathered look at the crown. Weave in your ends well, give the hat a gentle steam block if your yarn can handle it, and you’ve got a finished beanie ready to wear.
- Use stitch markers to track the beginning of each round so you don’t lose count as you work your way through the crown decreases.
- Block your finished beanie over a balloon or a bowl that’s the right size to help it hold a nice rounded shape as it dries.
- Always check your gauge before starting — even being off by half a stitch per inch can throw off the final circumference of your hat more than you’d expect.
- When seaming the ribbed strip, take your time matching up the ridges so the join is nearly invisible in the finished hat.
- A pom-pom on the crown is an easy, fun finishing touch that you can attach loosely so it comes off for washing.
Creative Variations and Design Ideas for Ribbed Beanies
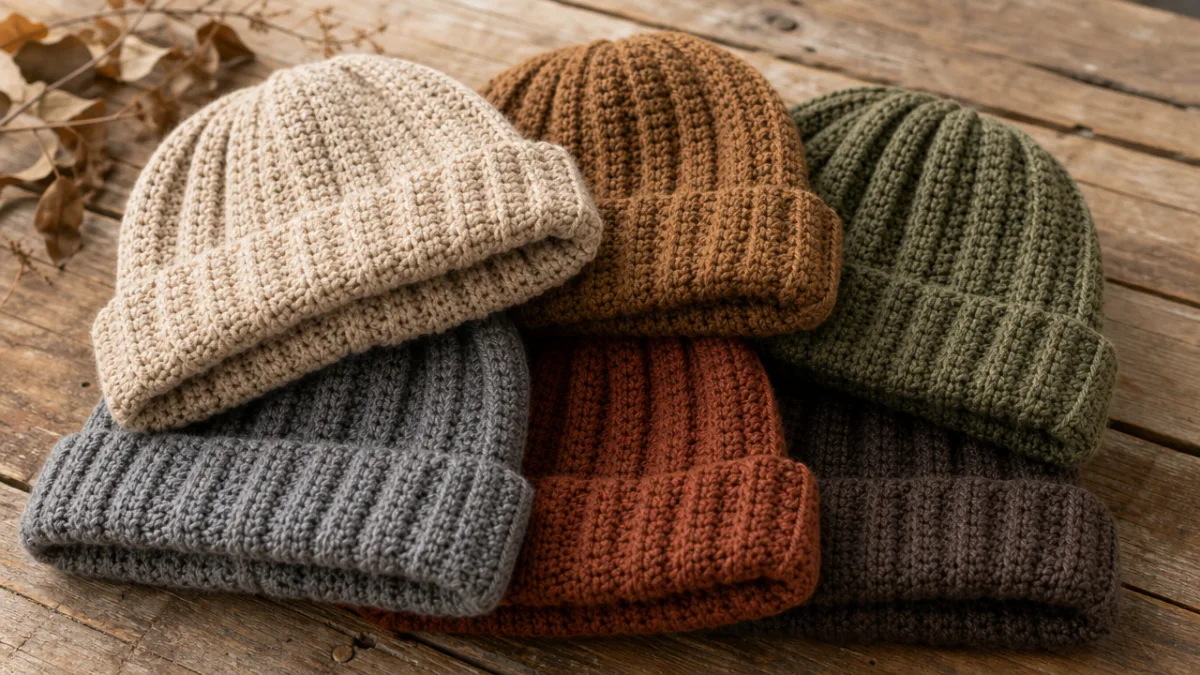
Once you’ve got the basic construction down, there are so many fun directions you can take it. Color is one of the simplest ways to make a ribbed beanie feel totally your own. A two-tone hat with alternating rows of contrasting colors creates a bold stripe that reads as polished rather than busy when you choose shades that work well together. Deep navy and warm camel, forest green and cream, burgundy and dusty rose — these kinds of combinations always turn out striking.
Texture is another area worth playing around with. The standard BLO half double crochet produces beautiful ribbing, but other stitches open up different ridge profiles worth exploring. Extended single crochet in back loops gives you something a bit flatter and more subtle. Front post and back post double crochet together creates very pronounced, rounded ribs that look almost like the ones you’d find on a hand-knit fisherman sweater. You can even mix techniques within a single hat — using standard BLO ribbing at the brim and post stitches through the body, for instance — and end up with something that feels genuinely one-of-a-kind.
Slouchy ribbed beanies have stayed popular for a while now, and they’re a natural evolution of the classic fitted style. You really just need to work more rows in the body of the hat before starting your crown decreases, letting the extra fabric gather at the top of the head for that relaxed, laid-back look. The trick to a great slouchy beanie is keeping your tension consistent throughout and making sure the brim stays snug even as the body loosens up — which good ribbing construction tends to handle pretty naturally on its own.
Gifting Handmade Ribbed Beanies and Pattern Resources
A handmade ribbed beanie might honestly be one of the best gifts you can give from your crochet project bag. Unlike decorative items that may or may not fit someone’s home or style, a well-made hat is something almost anyone can use, and the fact that it was made by hand adds a layer of care that you just can’t buy. When you’re gifting one, tuck in a small card with the fiber content and care instructions — it’s a thoughtful detail that the recipient will genuinely appreciate when wash day comes around.
Sizing is probably the trickiest part of making a beanie as a gift. Standard adult sizing covers a lot of ground, but heads really do vary, and a hat that’s too tight is uncomfortable while one that’s too loose won’t stay put. If you can sneakily find out the recipient’s head circumference, great — but if not, erring slightly larger and letting the ribbing do the stretching usually works out fine. For kids, it helps to know their age and roughly whether they run big or small for that age, since children’s sizing can vary quite a bit.
The crochet community is wonderfully generous about sharing patterns, and ribbed beanies are particularly well-represented across platforms like Ravelry, Pinterest, and individual craft blogs. Plenty of talented designers share their patterns for free as a way of giving back and building community. Paid patterns from professional designers often come with extra support, step-by-step photo tutorials, and multiple size options that can make the cost well worth it — especially if you’re trying a new construction method for the first time. Building up a personal library of reliable beanie patterns in different sizes and styles is one of the most useful things you can do as a crochet enthusiast.
- Ravelry is still the gold standard for finding, saving, and organizing crochet patterns, with thousands of free and paid ribbed beanie options you can filter by yarn weight, difficulty level, and construction method.
- Pinterest is great for visual browsing and discovering inspiration before you commit to a specific project — just follow the links through to the original pattern sources.
- YouTube crochet channels hosted by experienced makers are invaluable for actually seeing ribbing techniques in action, with the added bonus of being able to pause and rewind whenever you need to.
- Many local yarn shops have blogs or run in-store workshops where you can learn ribbing techniques in person and get hands-on guidance from experienced crafters right in your community.
Caring for Your Handmade Ribbed Beanie
A handmade beanie represents real time, skill, and materials, and taking care of it properly means you’ll get many seasons of wear out of it. The most important thing is always to check the care instructions for the specific yarn you used. Wool and wool blends generally need gentle hand washing in cool water with a wool-safe detergent, while most acrylics and acrylic blends can go through a gentle machine wash cycle. Skipping this step — especially with wool — risks felting or shrinkage that can’t be undone.
When you do wash a ribbed beanie, don’t wring or twist it. That’s a quick way to distort the ribbing and stretch the hat out of shape. Instead, gently press the water out against the side of the sink, then roll the hat up in a clean towel to pull out the remaining moisture. Lay it flat to dry, reshaping it gently if needed. Hanging a wet crochet hat is a bad idea — the weight of the water will drag the fabric down and stretch it in ways that are hard to fix once it dries.
How you store your beanies between seasons matters more than most people realize. Hats that are cleaned before storage and kept in breathable cotton bags or folded neatly in a drawer stay in much better shape than ones stuffed into plastic bags or squashed under heavier items. If you’re storing natural fiber hats, a cedar block or a lavender sachet nearby can help keep moths away — they’re especially fond of wool. Treat your ribbed crochet beanies well, and they can honestly last for years, maybe even decades, as cold-weather wardrobe staples you keep coming back to.








What do you think?
It is nice to know your opinion. Leave a comment.