










Chevron Crochet Blanket Pattern: Your Complete Guide to Easy Crochet Mastery
Introduction to the Chevron Crochet Blanket
If there’s one crochet pattern that truly never goes out of style, it’s the chevron blanket. That classic zigzag design — all those satisfying peaks and valleys rippling across the fabric — has been winning over crafters for generations, and honestly, it’s not hard to see why. Whether you’ve never picked up a crochet hook before or you’ve got a dozen finished projects already tucked in a closet, the chevron pattern hits a really sweet spot between being easy enough to enjoy and interesting enough to keep you hooked (pun fully intended).
What I love most about the chevron is how it tricks people. It looks intricate and impressive, but the secret is that it’s really just regular stitches with increases and decreases placed at the right spots. Once your hands find the rhythm of the repeat, you barely have to think about it — a lot of crocheters describe it as almost meditative, the kind of project you can settle into while watching a movie or just unwinding after a long day.
And then there’s the personalization factor, which is genuinely one of the best things about this pattern. Want something sleek and modern? Work it in a single bold color. Got a pile of leftover yarn sitting around? A striped chevron blanket is basically the perfect stash-buster. You can scale the size up or down depending on whether you’re making a sweet baby gift, a cozy throw for the couch, or a statement piece for a guest bedroom. The options really are endless.
Materials and Tools You Will Need
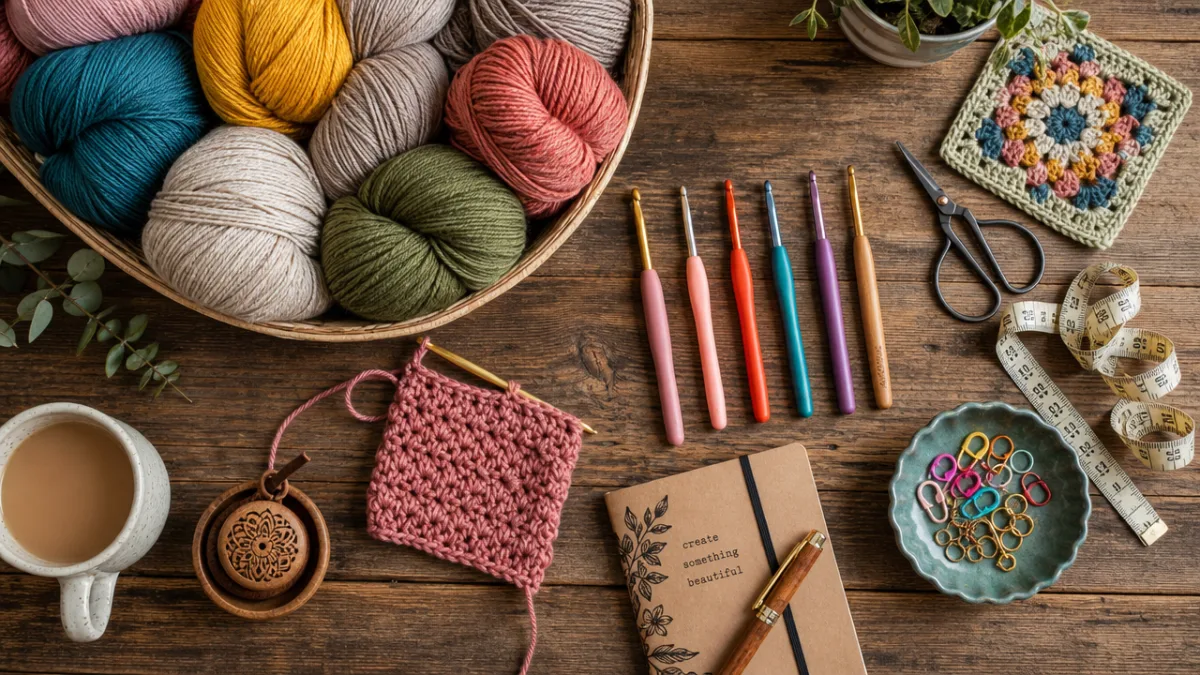
Before you dive in, it’s worth taking a few minutes to gather everything you need — trust me, it makes the whole experience so much more enjoyable when you’re not stopping every ten minutes to track something down. Your biggest decision is going to be yarn. For a classic cozy throw, a medium-weight worsted yarn in 100% acrylic or an acrylic-wool blend is a great starting point. It’s easy to find, comes in basically every color imaginable, holds up well to washing, and works up at a satisfying pace. For a standard lap blanket, plan on roughly 1,000 to 1,500 yards, though that’ll shift depending on how big you want to go.
Hook size matters more than people sometimes realize. For worsted weight yarn, a 5mm or 5.5mm hook is usually the right call, but before you start your actual blanket, please make a gauge swatch. I know, I know — it feels like a chore. But it genuinely takes just a few minutes and it can save you from finishing an entire blanket only to discover it’s the wrong size. It’s one of those small steps that’s really easy to skip and really easy to regret skipping.
Beyond yarn and a hook, there are a few other things that’ll make your life easier along the way. A yarn needle is a must for weaving in ends, especially if you’re doing color stripes (you’ll accumulate a lot of tails). Sharp scissors, a measuring tape, and some stitch markers round out the essentials. If you want to give your finished blanket a really polished look, blocking mats and rust-proof pins are worth having, though for most everyday chevron blankets you can honestly skip that step without any regrets.
- Worsted weight yarn in your chosen colors (1,000–1,500 yards for a lap blanket)
- 5mm or 5.5mm crochet hook
- Yarn needle for weaving in ends
- Sharp scissors
- Stitch markers
- Measuring tape
- Optional: blocking mats and rust-proof pins
Understanding the Chevron Stitch Pattern
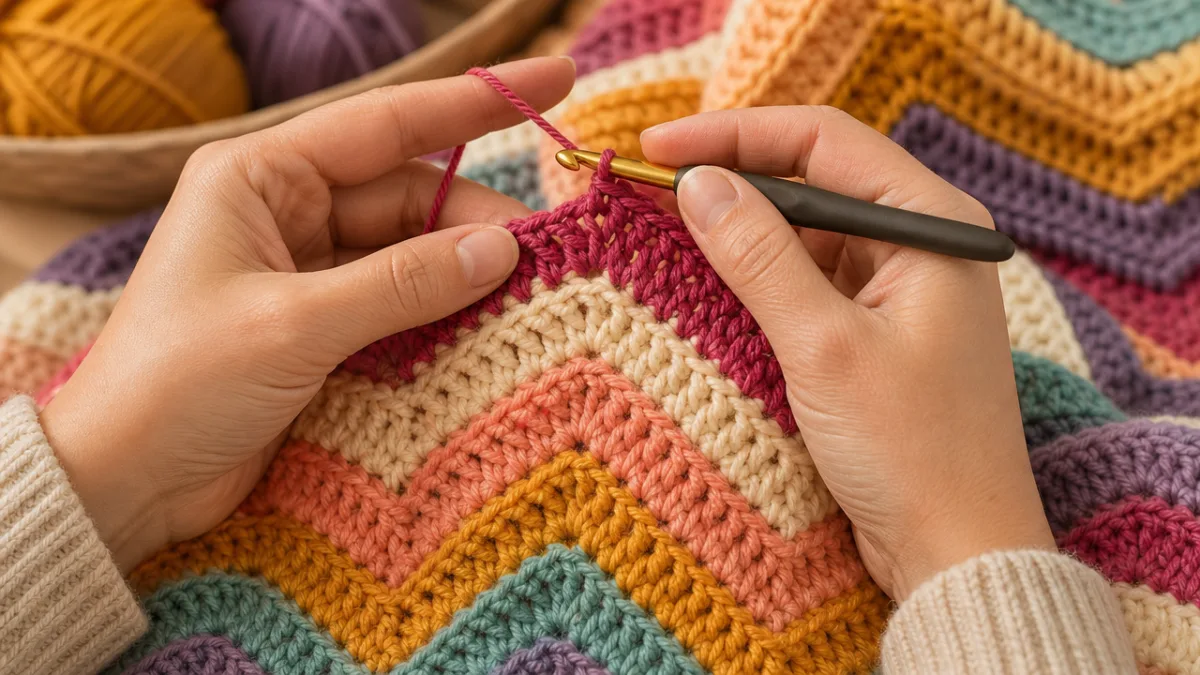
At its core, the chevron pattern is built on a really simple idea: add stitches in some spots, take them away in others. Most versions use double crochet stitches as the building block, which is great because they work up quickly and give the finished fabric a nice drape. When you cram several stitches into a single point, you get a peak that pushes upward. When you skip stitches or crochet them together at a valley point, you get the corresponding dip. That’s the whole secret to the zigzag. Once that logic clicks, you’ll find it much easier to figure out where things went wrong if your stitch count ever gets off.
A typical chevron repeat usually goes something like: work a set number of double crochets, then work three stitches into one spot to form a peak, continue with more double crochets, then decrease at the valley, and repeat across the row. The exact numbers inside each repeat can vary quite a bit from pattern to pattern, which is actually why chevron blankets can look so different from one another even though they’re all following the same basic logic. Wider repeats give you those long, flowing waves, while narrower ones produce tighter, more graphic zigzags.
One habit that will genuinely save your sanity: count your stitches at the end of every row. Because you’re adding and removing stitches on purpose within the pattern, it’s surprisingly easy to slip up by one stitch, and that kind of small error compounds fast. A few rows in, your chevrons start drifting out of alignment and things get messy quickly. Lots of experienced crocheters pop a stitch marker at every peak and valley so they can do a quick visual check without having to count the whole row from scratch. It sounds fussy, but it becomes second nature fast and makes such a difference in the finished result.
Step-by-Step Instructions for Beginners
Everything starts with your foundation chain, which sets the width of your blanket. To figure out how many chains to start with, you’ll need to know your stitch repeat count and decide how many repeats you want across the width. For a typical lap blanket, somewhere between six and ten full chevron repeats tends to work well depending on the size of your repeat. Add whatever turning chains your pattern calls for, then work your first row across, making sure your peaks and valleys land exactly where they’re supposed to.
When you finish that first row and turn to start the second, something really satisfying happens — those peaks and valleys you just created become your roadmap. Your increases should stack directly on top of the previous row’s increases, and your decreases should line up right over the previous row’s decreases. That consistent stacking is what builds those clean, flowing zigzag columns. If something looks off and the peaks and valleys aren’t lining up, stop and recount before moving on. A mistake caught after two rows is a five-minute fix; a mistake caught after twenty rows is a much bigger headache.
Changing colors is one of the most fun parts of the whole project, and it’s easier than it sounds. When you’re ready to switch, work the last stitch of your current color until just two loops are left on the hook, then pull your new color through those two loops to finish the stitch. That’s it — color changed. If you’re coming back to the old color in a few rows, you can carry it loosely along the top of your stitches rather than cutting it. If you’re done with it, cut it and weave in the end. A tip that’ll save you a lot of grief at the end: weave in your ends as you go rather than leaving them all for the finish line. Future you will be very grateful.
- Create your foundation chain to your desired width, accounting for stitch repeats and turning chains.
- Work your first row, placing increases at peak points and decreases at valley points as directed.
- Turn your work and begin the second row, carefully aligning peaks and valleys with the previous row.
- Continue working rows, changing colors as desired for a striped effect.
- When you reach your desired length, fasten off and weave in all remaining ends securely.
- Optional: block your finished blanket for a more even, professional appearance.
Color Combinations and Design Inspiration
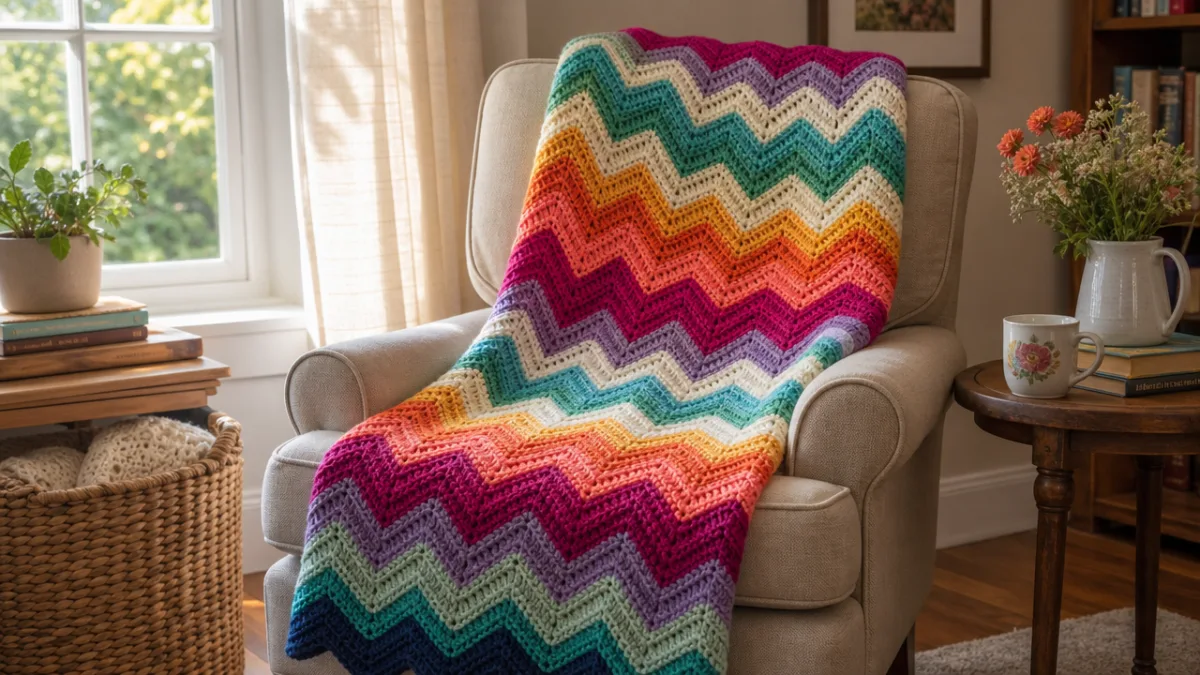
Honestly, choosing colors might be the most fun part of this whole project. The chevron structure has this great quality where it makes colors interact in really dynamic ways, so even a simple two-color combination can feel bold and intentional. Navy and crisp white gives you that classic nautical vibe that looks gorgeous in a coastal-inspired room. Creams, tans, and warm browns create something earthy and organic that feels right at home almost anywhere. And if you want something with real personality, a full rainbow stripe chevron has that joyful, retro energy that never fails to make people smile.
If you want to get a little more ambitious, a gradient or ombre effect is absolutely worth trying. You can take the easy route and use a self-striping gradient yarn that shifts color on its own, or you can hand-pick a sequence of related colors that move from light to dark or across a spectrum. Going from pale lavender through medium violet to deep plum, for instance, produces this rich, jewel-toned blanket that looks incredibly sophisticated but isn’t any harder than a regular striped chevron. The combination of the zigzag structure and the shifting colors creates this almost three-dimensional visual effect that people consistently find mesmerizing.
Before you start crocheting, it’s really worth laying your yarn skeins out side by side to see how they’ll actually play together. Colors can surprise you — some combinations that look a little unexpected together in skein form end up working beautifully in stripes because the rhythm of the chevron harmonizes things. On the flip side, colors that seem like a perfect match can actually blend together and lose contrast in the finished fabric if their values are too similar. Spending ten minutes previewing your palette, or even crocheting a little test swatch, gives you so much more confidence when you sit down to start the real thing.
Finishing Techniques and Care Instructions
You’ve finished your last row and fastened off — congratulations! Now comes the part that takes your project from “a long piece of crocheted fabric” to an actual finished blanket. The most important thing is weaving in your ends properly so they don’t work themselves loose over time. Thread each tail onto your yarn needle and weave it back and forth through the stitches on the wrong side, going in a few different directions and working through at least a couple of inches of fabric before you trim. That back-and-forth in multiple directions is what keeps ends from creeping out even after many washes.
Adding a border is optional, but if you’ve never tried it I’d really encourage you to give it a shot — it makes such a difference. Even a simple single crochet border worked all the way around the blanket gives the edges a clean, intentional look and helps everything lie flat. If you want to get a little fancier, a shell stitch border or a picot edge both look lovely, and adding a contrasting color border that echoes one of the colors from the body of the blanket is a really nice finishing touch. Whatever you choose, the goal is an even tension that doesn’t pull the edges in or push them out — that’s the difference between a border that looks polished and one that looks a bit wobbly.
Taking care of your blanket properly means it’ll stay looking great for years rather than just months. Acrylic yarn is generally machine washable and dryable, which makes it wonderfully practical — especially if you’re gifting it to someone with kids or pets. That said, always double-check the care label on your specific yarn before tossing anything in the machine, because some blends with wool or other natural fibers need more gentle treatment, like a cool hand wash or laying flat to dry. When you store it, folding or rolling neatly (rather than cramming it into a corner) helps it keep its shape, and keeping it out of direct sunlight for long stretches will protect those colors from fading.
Tips for Success and Common Mistakes to Avoid
Even people who’ve been crocheting for years can find the chevron pattern a little humbling the first time through, so don’t worry if it takes a little while to feel natural. The most common thing that trips beginners up is an inconsistent stitch count that throws the chevrons out of alignment after a few rows. The single best thing you can do to prevent this is to count your stitches at the end of every row until the pattern rhythm feels completely automatic. It adds maybe fifteen seconds per row and gives you the confidence to crochet without that nagging feeling that something might be going wrong.
Tension is another place where the chevron pattern tends to expose any habits you didn’t even know you had. Crocheting too tightly gives you a stiff, dense fabric that doesn’t drape well and often curls at the edges; too loosely and the stitches look sloppy and the chevrons lose their definition. Get in the habit of pausing occasionally to feel your fabric and compare it to your gauge swatch. And if you notice your tension creeping tighter when you’re stressed or tired — which is really common — it’s genuinely okay to put the project down and come back to it. Crochet really does produce its best results when you’re relaxed and not rushing.
Last thing: don’t overlook the crochet community as a resource. Online forums, dedicated social media groups, and YouTube tutorials offer an incredible amount of help that written instructions alone often can’t match. Watching someone actually work a chevron increase and decrease in real time has a way of clearing up confusion that paragraphs of explanation just can’t. And when you finish your blanket, share it! Post a photo, show it off, let people see what you made. You’ll contribute something genuinely encouraging to a community full of people at the very beginning of their own chevron journeys — and that’s a pretty great feeling.








What do you think?
It is nice to know your opinion. Leave a comment.