










Blocking Crochet: 3 Easy Methods to Perfect Your Projects
What Is Blocking and Why Does It Matter?
Blocking is one of those finishing steps that can genuinely transform a crochet project — it’s the difference between something that looks polished and something that looks, well, a little rough around the edges. In simple terms, blocking means wetting, shaping, and drying your finished piece so it holds the right form, smooths out uneven stitches, and lets lace patterns open up the way they were meant to. A surprising number of crocheters skip this step entirely, which is a shame, because it can take something lumpy and misshapen and make it look like it came from a boutique.
When you crochet, your tension naturally shifts as you work — some rows come out tighter, others a bit looser, and the edges have a frustrating habit of curling or pulling no matter what you do. Blocking tackles all of that at once by relaxing the fibers so you can gently coax the fabric into the right dimensions. Once it dries in that new position, it holds beautifully, giving you clean edges, consistent stitch definition, and the exact measurements your pattern intended.
Blocking also becomes a practical necessity when you’re joining granny squares or motifs into a bigger piece. Even with careful technique, individual squares often come off the hook at slightly different sizes, and seaming them together without blocking first results in a lumpy, uneven finish. Block every square to the same dimensions beforehand, though, and everything lines up perfectly. Whether you’re making a delicate lace shawl or a simple cotton dishcloth, knowing your blocking options gives you a lot more control over how things turn out in the end.
Understanding Your Yarn Before You Block
Not every yarn responds to blocking the same way, so knowing your fiber content before you start really matters. Natural protein fibers like wool, alpaca, and mohair are the all-stars of blocking — they love getting wet. These fibers have tiny microscopic scales along the shaft that open up when they absorb water and then lock into place as they dry, which means the shape you block in stays put. This is what people mean when they talk about wool having “memory.”
Plant-based fibers like cotton, linen, and bamboo also block well, though they work a little differently. Because they don’t have those same scale structures, they tend to relax and soften rather than truly “set” the way wool does. That said, blocking can still make a huge difference for things like cotton dishcloths or linen table runners, where you’re after crisp edges and a nice flat surface. The shape just might not hold quite as permanently, but a quick spritz and re-pin after washing is all it takes to freshen things up.
Synthetics are where you need to be more careful. Acrylic, nylon, and polyester don’t respond to traditional wet blocking the way natural fibers do. There is a technique sometimes called “killing” acrylic, where steam is used to permanently relax and flatten the fibers — but it’s irreversible, and going too far can strip the yarn of its bounce and structure. Blended yarns land somewhere in between. As a general rule, if you’re ever unsure how a yarn will react, block a small test swatch first before committing your entire finished project to it.
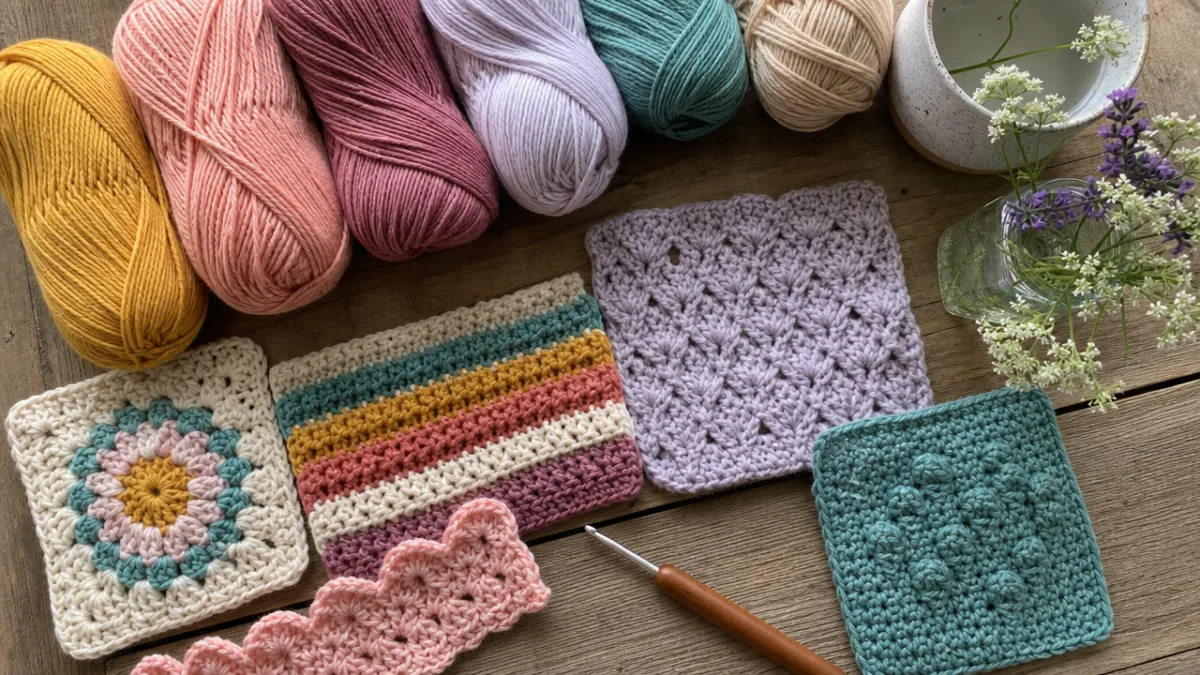
Method One: Wet Blocking
Wet blocking is the most thorough method out there, and it’s the go-to choice for natural fiber yarns that need real reshaping or size adjustment. You start by fully submerging your finished piece in a basin or sink of cool to lukewarm water, letting it soak for at least fifteen to twenty minutes so the fibers have time to absorb the water and fully relax. Some people like to add a small splash of gentle wool wash or even a bit of hair conditioner to the water — both help soften the fibers and make them easier to manipulate into shape.
Getting the piece out of the water requires a little care. Don’t wring or twist it — that can distort the fabric permanently, and with wool there’s always the risk of felting if you’re too rough with it. Instead, support the whole piece with both hands as you lift it out, then lay it on a clean dry towel spread out on a flat surface. Roll the piece up inside the towel and press firmly to squeeze out as much moisture as you can, then unroll it and transfer it to your blocking surface.
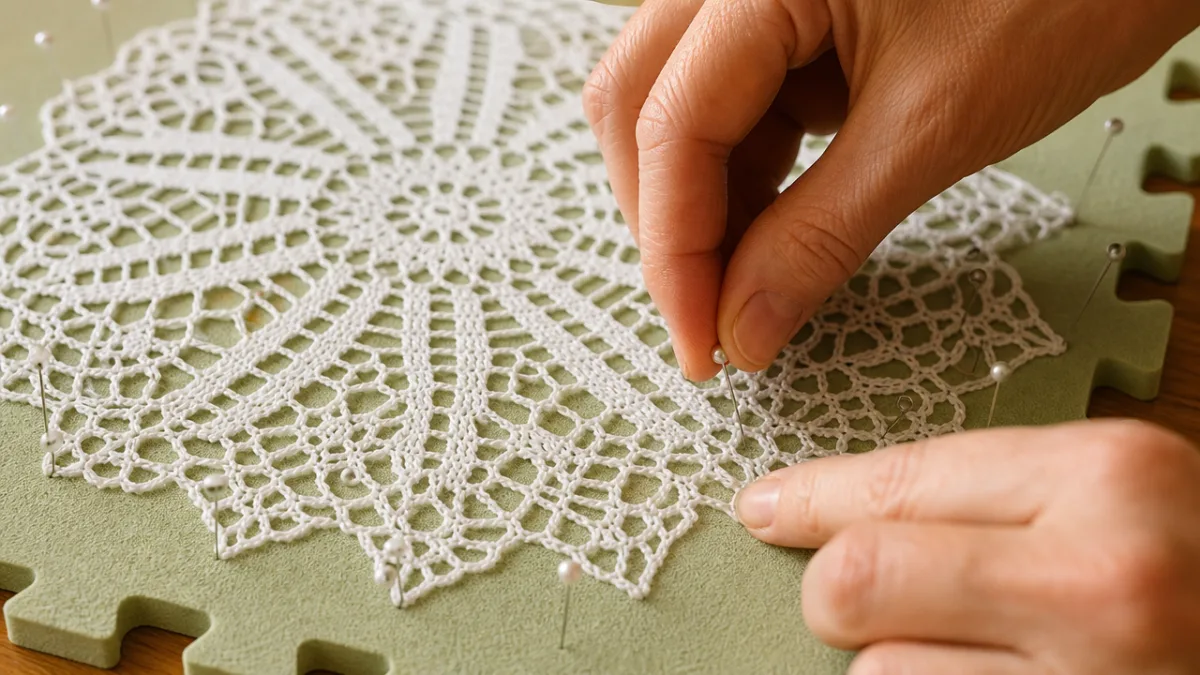
Your blocking surface can be purpose-made interlocking foam mats, a folded towel on a flat bed, or a dedicated blocking board. Use rust-proof T-pins to pin the piece to your target dimensions, keeping your pattern’s finished measurements close by for reference. For lace, this is where the real magic happens — as you pin out each point and loop, the whole pattern suddenly opens up and becomes visible in a way it simply wasn’t before blocking. Then comes the hardest part: waiting. Depending on the fiber and thickness of your project, drying can take anywhere from a few hours to a full day, so leave the pins in place until everything is completely dry.
Method Two: Spray Blocking
Spray blocking — sometimes called mist blocking — is a gentler, quicker option that works really well for pieces that only need minor adjustments rather than a major overhaul. The idea is simple: you pin your piece to your blocking surface first, arranging it into the shape and dimensions you want, and then use a spray bottle filled with clean water to mist the fabric evenly until it’s damp all the way through. Because you’re shaping the piece before adding any moisture, you have full control over the final layout from the start, which is especially nice for intricate lace patterns.
One of the best things about spray blocking is that it’s far less intimidating than dunking your whole finished project in water. If you’re new to blocking, or if you’re working with a yarn you’re not totally sure about, spray blocking lets you ease in without taking a big leap. It also dries considerably faster since you’re using much less moisture overall — many blocked pieces are ready to use within just a few hours rather than needing to sit overnight.
Spray blocking is a great fit for cotton and linen projects, garments that just need their edges tamed, and colorwork pieces where you’d rather not risk any color bleeding. It’s also the method a lot of experienced crocheters prefer for large blankets — because honestly, hauling a waterlogged blanket out of the bathtub and across the house is nobody’s idea of a good time. All you really need beyond your pins and blocking surface is a decent spray bottle with an adjustable nozzle that gives you a fine, even mist.
Method Three: Steam Blocking
Steam blocking combines heat and moisture to set fibers into shape, and it’s one of the most powerful methods you can use. You can do it with a household steam iron or a garment steamer — the important thing either way is that you never let the iron or steamer actually touch the yarn. You hover it above your pinned piece, let the hot steam do the work, and as the piece cools it sets firmly into its new shape. The results can be really impressive, especially with wool and wool-blend yarns.
Steam blocking is also the method of choice when you’re working with acrylic yarn and want a softer, flatter finish. When steam hits acrylic fibers at the right temperature, it relaxes them in a lasting way — this is that “killing the acrylic” process you may have heard about, which sounds more dramatic than it is. The yarn ends up softer, flatter, and with much better drape, which can make a real difference for garments and accessories. Just know that this change is permanent, so always test on a swatch before you steam your whole finished piece.
Safety matters more with steam blocking than with the other methods, so it’s worth being mindful of a few things. Keep the iron or steamer moving constantly and never let it sit in one spot over your work, since concentrated heat can scorch or even melt fibers. Maintain at least an inch or two of distance between the steam source and the surface of your crochet at all times. If you’re uncertain about a yarn’s heat tolerance, lay a pressing cloth between the iron and the piece just to be safe. Work in a well-ventilated space, and let everything cool and dry completely before you remove the pins — pulling them too soon can cause the piece to lose some of its shape.
Essential Tools and Tips for Blocking Success
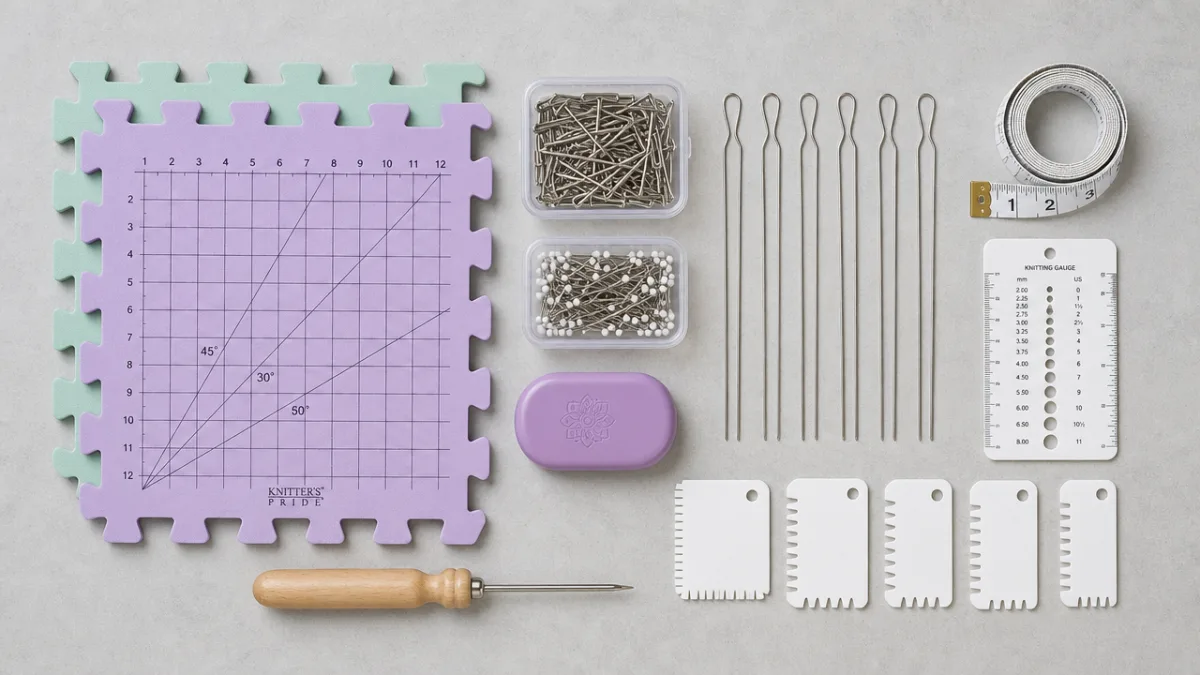
Having the right tools ready before you start makes blocking so much smoother and more satisfying. You can absolutely improvise with things you already have around the house, but a small investment in proper blocking supplies will pay off across dozens of future projects. The foundation is a good blocking surface, and for most dedicated crocheters that means interlocking foam mats — they can be assembled into any size you need, accommodate everything from tiny motifs to full-size blankets, and stack away neatly when you’re done.
Pins are the other essential, and this is one area where you really don’t want to cut corners. Regular sewing pins or safety pins will rust when they come into contact with wet yarn, leaving permanent orange stains on your work that are next to impossible to get out. Look specifically for nickel-plated or stainless steel T-pins, which are long enough to hold firmly in the foam and have a flat top that won’t snag delicate yarn. Blocking wires are also worth picking up if you regularly work on pieces with long straight edges or smooth curves — running a wire along an entire edge and pinning the wire rather than the yarn directly gives you a perfectly smooth, even line with a fraction of the effort.
Beyond the tools, a few simple habits will make a noticeable difference in your results. Always swatch and block your test swatch before starting a new project so you know how much the yarn will grow or shrink — no unpleasant surprises at the end. Keep a tape measure nearby while you’re pinning and check your dimensions against the pattern measurements often. You can even mark your target dimensions directly on the foam mat with a piece of tape before you start pinning, which makes it much easier to stay accurate. And perhaps most importantly: be patient. Letting a piece dry completely before unpinning is one of the single most important steps in the whole process.
- Invest in interlocking foam mats that can be configured to any project size and stored easily between uses.
- Always use rust-proof T-pins or stainless steel blocking pins to avoid staining your finished work.
- Blocking wires create beautifully smooth edges on shawls, scarves, and any piece with long straight or curved sides.
- A dedicated spray bottle, a clean basin, and a supply of soft towels round out your essential blocking kit.
- Keep your pattern nearby while blocking so you can reference the correct finished measurements at every step.
Caring for Blocked Pieces After Finishing
After putting all that effort into blocking, you’ll want that beautiful shape to stick around for as long as possible. The good news is that a well-blocked piece — especially one made from wool or another natural protein fiber — will hold up through plenty of use and washing, as long as you treat it gently. The golden rule is to always wash your crochet by hand or on a delicate machine cycle using cool water and a mild detergent formulated for delicate fibers, like a dedicated wool wash.
After washing, skip the wringing and twisting just like you did during blocking. Press the piece gently between two clean towels to soak up the excess water, then lay it flat to dry. For anything that was blocked to precise dimensions — garment pieces, granny square components, that kind of thing — you might want to re-pin it while it dries to keep the shape true. Cotton and linen pieces may need this refresh more regularly than wool, since plant-based fibers don’t hold a set shape quite as permanently and can benefit from a quick spritz and re-pin every few washes.
How you store your finished pieces matters too. Fold items loosely rather than tightly, or roll them if you can, to avoid sharp creases that can distort the fabric over time. Keep your crochet away from direct sunlight during storage — prolonged UV exposure fades even bright, vibrant yarn colors and can weaken fibers over time. With just a little mindful care, your blocked pieces will stay looking wonderful for years, and all the effort you put into blocking will keep paying off with every wash and wearing for the life of the item.








What do you think?
It is nice to know your opinion. Leave a comment.