










7 Free Backpack Crochet Patterns For Easy Making: Your Complete Guide
Why Crocheted Backpacks Are the Perfect Next Project
If you’ve been hunting for a crochet project that’s actually useful, a handmade backpack might be just what you’ve been missing. Unlike hats or dishcloths that get tucked away in a drawer, a crocheted backpack goes everywhere with you — showing off your work while carrying your stuff. There’s something really satisfying about finishing a project you can actually wear, and backpacks deliver that feeling big time.
What’s great is that crochet backpacks are more approachable than you might think, even if you’re still building your skills. A lot of the free patterns out there today come with clear stitch counts, photo tutorials, and beginner-friendly construction steps. You don’t have to be an expert to end up with a bag that looks polished and put-together. With the right yarn and a little patience, you can make something that honestly holds its own against bags from a store.
And beyond everyday use, crocheted backpacks make really thoughtful gifts. Birthdays, graduations, back-to-school, holidays — there’s rarely a bad time to give someone a handmade bag. You get to pick the colors, textures, and little details that match the person you’re making it for, which means every bag is genuinely one of a kind. It’s never just a bag; it’s the time and care you put into it made tangible.
Essential Materials and Tools You Will Need
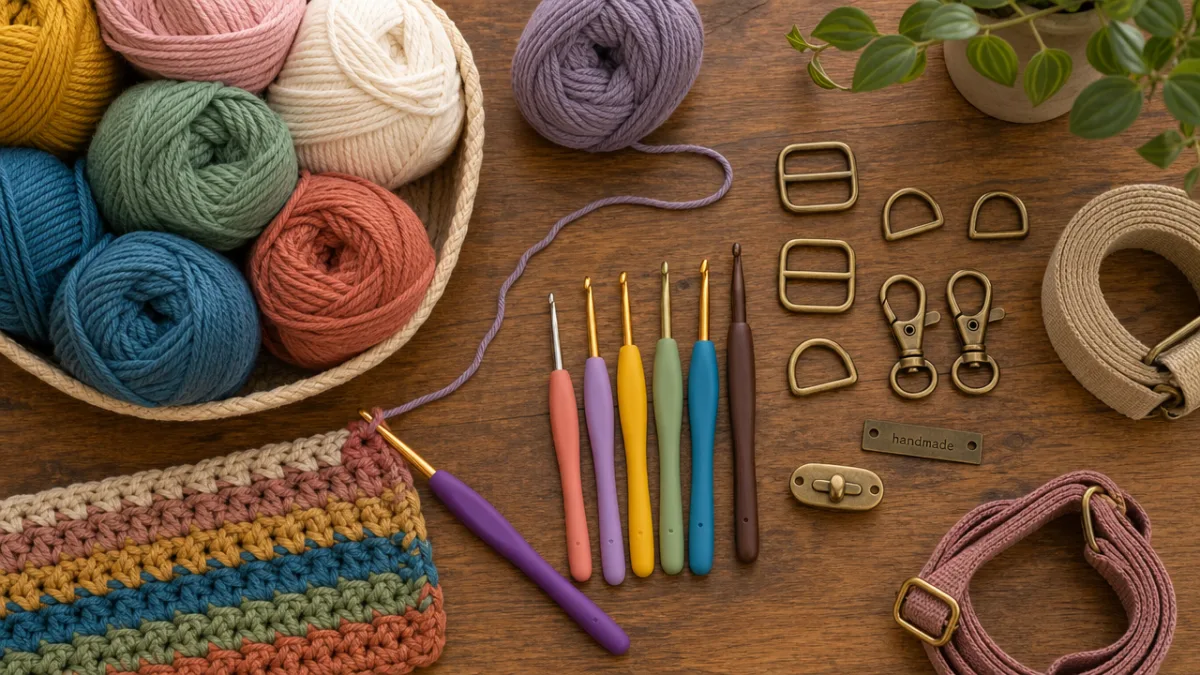
Before you dive into a pattern, it’s worth taking a moment to gather the right materials. Your yarn choice matters more here than it does for something like a dishcloth, because a backpack needs to hold up under real daily use. A sturdy cotton yarn or a cotton-acrylic blend is usually your best bet — these fibers keep their shape under the weight of your stuff, don’t stretch out over time, and are easy to toss in the wash when needed.
For hook size, most backpack patterns land somewhere between 4.0mm and 6.0mm depending on the yarn weight they call for. A 5.0mm hook is a solid middle-ground option that plays nicely with worsted weight cotton. One thing worth doing before you start: crochet a quick gauge swatch. It sounds like a small thing, but if your gauge is off, you could end up with a bag that’s way too small for your laptop or so big it flops around on your back. A few minutes spent checking gauge can save a lot of frustration later.
You’ll also want a few other supplies within reach: stitch markers, a yarn needle for weaving in ends, sharp scissors, and any hardware your pattern calls for. A lot of backpack patterns use rings, swivel clasps, adjustable sliders, and some kind of webbing or cord for the straps. Some people love crocheting their own straps, while others prefer pre-made nylon webbing for the extra strength and adjustability. Adding a fabric lining is another nice option — it gives the bag more structure and keeps smaller items from slipping through any open stitches.
The Top 7 Free Backpack Crochet Patterns to Try
There’s a genuinely impressive range of free crochet backpack patterns online — everything from simple drawstring pouches to structured, fully lined bags with multiple pockets. Each one has its own vibe, stitch style, and construction approach, so there’s a lot of variety to dig into. Whether you’re drawn to a boho market bag, a clean minimalist daypack, or a fun kids’ backpack, something out there is waiting to be made.
The Classic Drawstring Backpack is probably the most popular and widely shared free pattern in this category. It’s built using simple round construction and basic single or half-double crochet stitches, which makes it great for anyone who’s newer to crochet. The drawstring closure is both practical and charming, giving the bag a laid-back, casual feel. It looks great in a single bold color or in stripes, and it’s one of the faster backpack patterns to finish — totally doable in a weekend.
The Boho Market Backpack is another fan favorite, featuring an open mesh design made with chain spaces and double crochet stitches. It’s light, stretchy, and has that breezy festival-ready feel that works perfectly for beach days, farmers markets, or summer errands. Most versions include a drawstring top and some optional tassels or fringe. Work it up in natural jute or cotton twine and it takes on a really lovely earthy, handcrafted quality.
If you want something with more structure, the Modern Zipper Backpack is worth a look. This one has a flat rectangular base and straight sides that give it a boxy, contemporary shape. The pattern walks you through adding a zipper closure and adjustable straps, so the finished bag actually functions a lot like a regular fabric backpack. Many versions also include a front exterior pocket, which adds a practical detail that really pulls the whole design together.
The Mini Backpack Purse has had a real moment lately, riding the wave of the mini bag trend. These little guys are just big enough for your phone, wallet, keys, and a few small things — perfect for concerts, festivals, or a night out when you don’t want to lug much around. Free patterns for this style often use finer yarn and a smaller hook to get a denser fabric that holds the bag’s shape. They’re also a great way to use up leftovers from other projects since you don’t need much yarn at all.
Children’s Character Backpacks are their own delightful category. These bags are sized for kids and usually feature animal faces, fun embellishments, and playful proportions. You can find free patterns for bear backpacks, cat backpacks, dinosaur bags, and more. They make wonderful handmade birthday or holiday gifts, and kids genuinely love knowing that someone made something just for them.
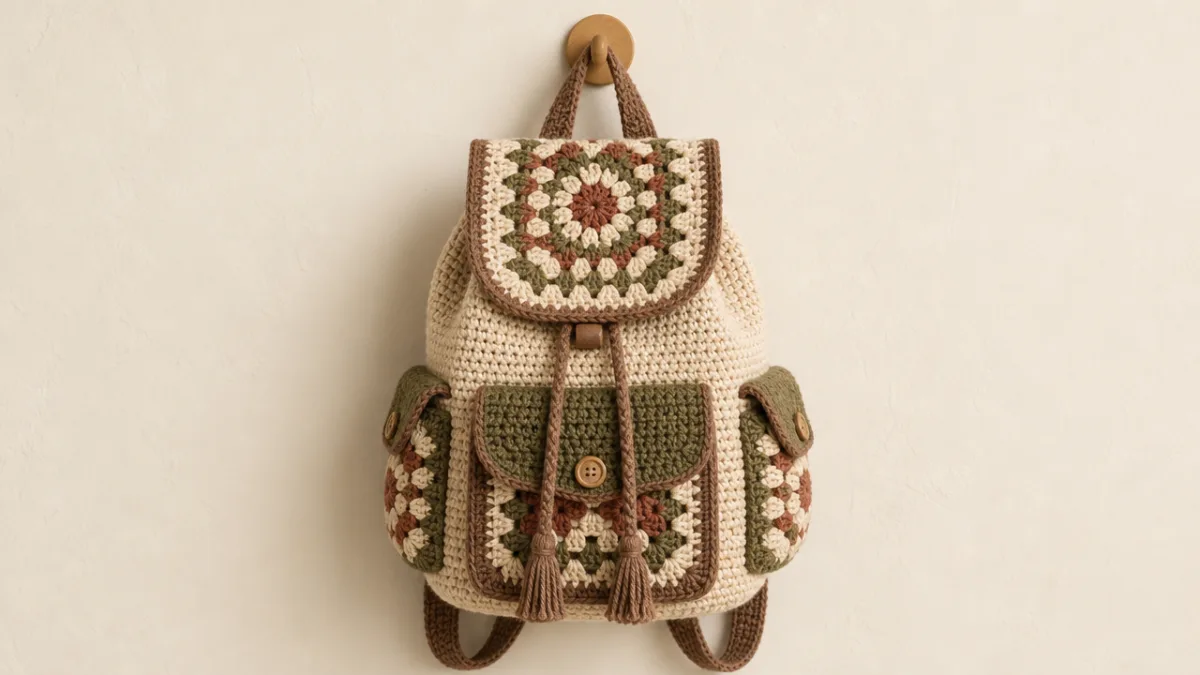
The Granny Square Backpack is a great pick if you already know how to make granny squares and want to put that skill to use on a bigger project. Most free patterns in this style have you make a set number of squares, join them together, then add straps and a closure. The patchwork look of multicolored squares gives the finished bag a nostalgic, vintage feel that’s hard not to love — and it’s an excellent stash-busting project too.
Finally, the Textured Stitch Backpack category covers patterns that show off stitches like the waistcoat stitch, moss stitch, or basket weave, resulting in bags with gorgeous surface texture and real visual depth. These patterns are generally better suited for intermediate or advanced crocheters since the stitches require more focus to maintain consistently. But the payoff is stunning — finished bags that look more like woven goods or structured leather than anything you’d typically associate with crochet.
Tips for Customizing Your Crochet Backpack
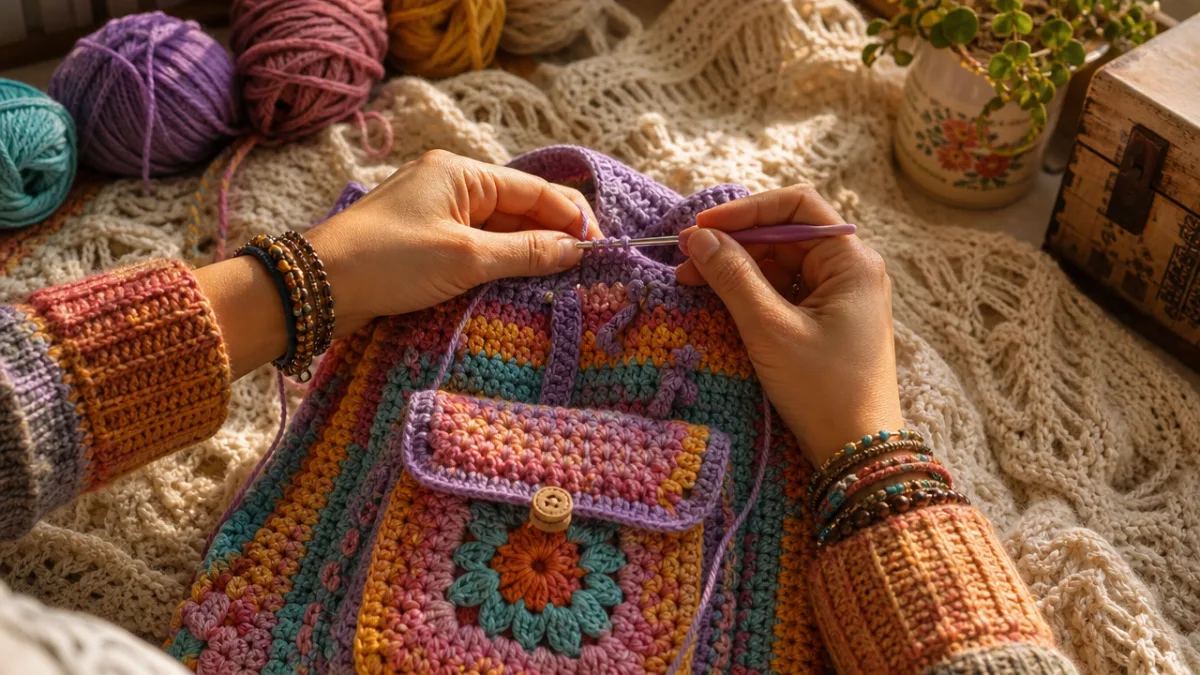
One of the best parts of making your own backpack is getting to personalize it in ways a store-bought bag never could be. Color is the most obvious place to start. You could go monochromatic — different shades of the same color family for a sophisticated, put-together look — or go bold with high-contrast color blocking if you want something that really stands out. Stripes are easy to work into almost any pattern by just switching yarn colors at the start of each round or row.
Stitch substitution is another tool worth experimenting with. A lot of backpack patterns are written with basic stitches, but you can often swap in a textured stitch without throwing off the gauge or proportions too much. Trading a plain single crochet fabric for a waistcoat stitch or linen stitch, for example, adds visual interest and a slightly denser, more structured feel. Just swatch your alternative stitch first to make sure your gauge still lines up with the original pattern before committing to the whole project.
Embellishments can take a simple backpack to a whole other level. Consider adding any of the following personalized touches to make your bag uniquely yours:
- Crochet flowers or leaves stitched onto the front panel
- Leather or faux leather patches for a boho-chic look
- Decorative buttons or wooden beads along the closure
- Woven fabric lining in a complementary print
- Tassels or fringe along the bottom edge
- Embroidered motifs stitched through the crochet fabric
- Pom-poms in contrasting colors attached to the zipper pull or drawstring
Hardware is one of those small details that makes a surprisingly big difference. Swapping out basic plastic rings for antique brass or matte black metal hardware instantly makes your bag look more finished and intentional. Craft stores and online retailers carry a solid range of bag-making hardware in different finishes, so it’s not hard to find something that fits your style. It’s a small investment that pays off in both the look and the lifespan of your finished backpack.
Caring for Your Finished Crochet Backpack
After putting all that time and creativity into your backpack, the last thing you want is for it to fall apart after a few uses. How you care for it will mostly depend on what yarn you used. Cotton and cotton-blend yarns are pretty tough and can usually handle a gentle machine wash in cold water without any trouble. Just check your yarn label first to confirm — care instructions vary, and it’s always better to double-check before tossing something handmade into the machine.
Acrylic yarn is also generally machine-wash friendly, which is a big part of why it’s such a popular choice for practical items. The one thing to avoid with acrylic is heat — putting it in a hot dryer can warp the fibers or cause your bag to lose its shape for good. For almost any crochet project, laying it flat on a clean towel to dry is the safest move. It lets things dry evenly without stretching out, and if you reshape the bag while it’s still damp, it’ll hold its intended dimensions much better.
For small stains and everyday grime, spot cleaning is often all you need. A little mild dish soap or laundry detergent worked in with a soft cloth or an old toothbrush can handle most surface stains without a full wash. If your bag has hardware, a lining, or any embellishments, hand washing in a basin of cool water is usually the gentlest option. Taking a little extra care with your handmade bag goes a long way — treat it well and it’ll be something you reach for every day for years.
Where to Find the Best Free Crochet Backpack Patterns
Finding good free crochet patterns has never really been easier. Ravelry is one of the best places to start — it’s a massive database of crochet and knitting patterns where you can filter by project type, yarn weight, skill level, and price. Filtering for free backpack patterns that match what you have in your stash takes about two minutes. Lots of designers also post free patterns there as a way to share their work and connect with the crochet community.
Crochet blogs and independent designer websites are another goldmine. Many talented designers post full tutorials right on their personal sites, often with detailed step-by-step photos and links to video walkthroughs on YouTube. If you search for something like “free crochet backpack pattern” or “crochet bag tutorial” on YouTube, you’ll find hundreds of videos that walk you through the whole process in real time. For anyone who learns better by watching than reading, those video tutorials are genuinely invaluable.
Pinterest is also a great discovery tool — designers and crafters pin their patterns constantly, and browsing crochet backpack patterns there gives you a nice visual overview of what’s out there, with links back to the original free sources. Instagram and Facebook are worth checking out too. Joining crochet groups and communities on those platforms connects you with other makers who share pattern recommendations, post finished project photos, and offer helpful tips on the regular.
Whatever pattern you end up choosing, the most important thing is just to start. The skills you pick up making your first crochet backpack will carry you through every project after it, and that feeling when you pull a finished bag onto your shoulders for the first time? No amount of shopping comes close to that. So grab your hook, pick out your yarn, and make something that’s practical, creative, and completely yours.








What do you think?
It is nice to know your opinion. Leave a comment.