










Organizer Bag Sewing Tutorial: Create Your Perfect Handmade Storage Companion
Introduction to Organizer Bag Sewing
Sewing your own organizer bag is one of the most rewarding projects a home crafter can undertake. Unlike store-bought alternatives that rarely fit your exact needs, a handmade organizer bag can be customized in every dimension — from the number of pockets to the choice of fabric, zipper colors, and overall size. Whether you need something to tame the chaos in your handbag, keep your crafting supplies in order, or organize toiletries for travel, a sewn-from-scratch organizer bag delivers function and personal flair in equal measure.
The beauty of this type of project lies in its accessibility. Even sewists who consider themselves beginners can complete a basic organizer bag with a modest skill set and a few hours of dedicated time. The techniques involved — cutting fabric, sewing straight seams, installing zippers, and creating pockets — are foundational skills that will serve you well across dozens of future sewing projects. Once you’ve made your first organizer bag, you’ll find yourself reaching for this pattern again and again, tweaking the design each time to suit a new purpose.
Before diving into the tutorial steps, it helps to spend a little time thinking about what you actually want from your finished bag. Consider how you plan to use it: Will it live inside a larger tote, sit on a bathroom counter, or travel with you in a carry-on? The answers to these questions will shape your fabric choices, your pocket layout, and the overall dimensions you cut. Planning ahead saves fabric, time, and the frustration of finishing a bag that doesn’t quite work for your lifestyle. A thoughtful beginning truly makes all the difference in the outcome of any sewing project.
Materials and Tools You Will Need
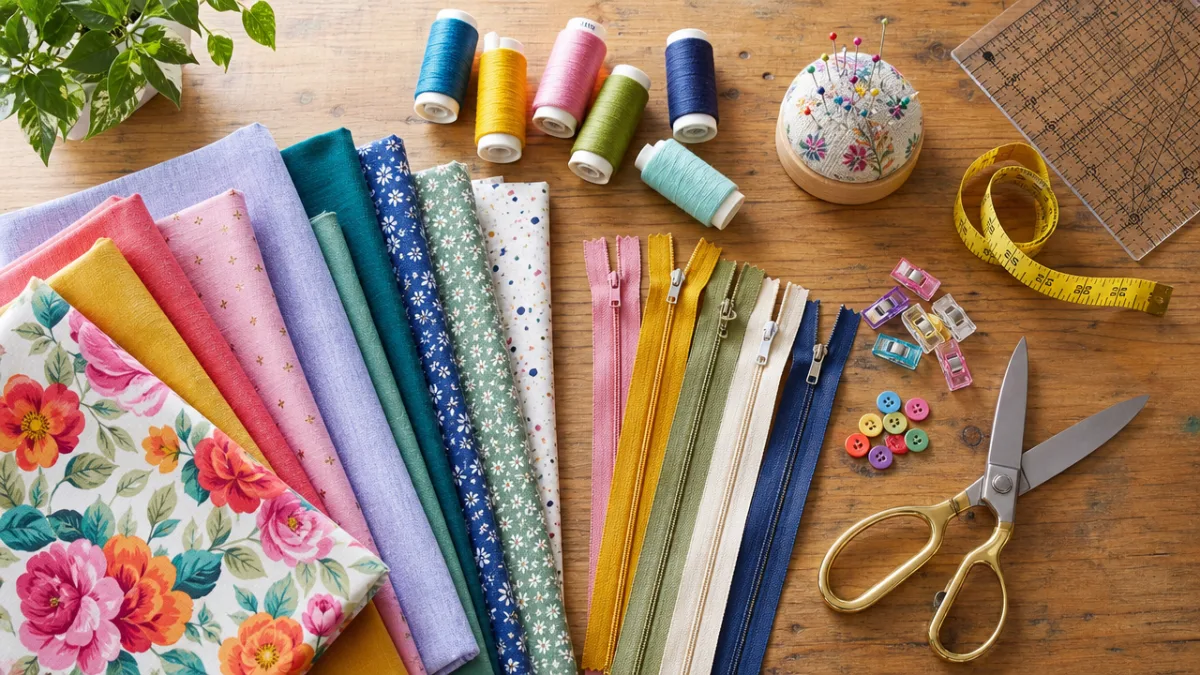
Gathering your supplies before you begin is a step that experienced sewists swear by, and for good reason. Running out of thread mid-seam or discovering you don’t have the right interfacing after cutting can derail a project completely. For an organizer bag, your material list is relatively short but each item plays an important role in the finished product’s durability and appearance. Taking a few minutes to lay everything out on your cutting table before you begin will make the sewing process smooth and enjoyable.
For a standard organizer bag measuring approximately 10 inches wide by 7 inches tall, you will need the following materials and tools. The outer fabric is your primary design statement, so choose something that reflects your personality and that is sturdy enough to hold its shape — quilting cotton, canvas, and linen blends all work beautifully. The lining fabric should complement the outer but can be a lighter weight since it won’t bear as much stress. Interfacing is the unsung hero of the project, giving the bag its structure and preventing the fabric from going limp over time.
- Half a yard of outer fabric (canvas, quilting cotton, or linen blend recommended)
- Half a yard of lining fabric in a coordinating print or solid
- Half a yard of medium-weight fusible interfacing
- One 10-inch zipper in a color that complements your fabric
- Two 7-inch zippers for interior pocket closures (optional but highly recommended)
- Matching thread and a universal sewing machine needle
- Sharp fabric scissors or a rotary cutter and self-healing cutting mat
- Fabric marking pen or tailor’s chalk
- Ruler and measuring tape
- Iron and ironing board
- Pins or wonder clips to hold fabric layers together
- Zipper foot attachment for your sewing machine
One material worth discussing in more detail is interfacing, since it can be confusing for newer sewists. Fusible interfacing bonds to your fabric using heat from an iron, creating a stable, firm layer that prevents stretching and adds body to the finished bag. For an organizer bag, medium-weight interfacing is ideal — heavy interfacing can make the bag stiff and difficult to work with, while light interfacing may not provide enough structure. Always press your interfacing with a damp pressing cloth rather than directly with the iron to prevent scorching and ensure a secure bond across the entire piece.
Cutting and Preparing Your Fabric Pieces
Precise cutting is the foundation of a professional-looking finished bag. Even small inaccuracies in cutting can result in seams that don’t align properly or panels that pucker and pull in the finished product. Before you make a single cut, press your fabric thoroughly with a hot iron to remove any wrinkles or fold lines. Wrinkled fabric does not lie flat and therefore cannot be cut accurately. This step takes only a few minutes but pays dividends throughout the rest of the project by ensuring that every piece you cut is the exact size and shape you intended.
For the main body of the bag, cut two rectangles of outer fabric and two matching rectangles of lining fabric, each measuring 11 inches wide by 8 inches tall. These dimensions include a half-inch seam allowance on all sides, giving you a finished bag panel of 10 inches by 7 inches. Cut matching pieces of fusible interfacing and press them to the wrong side of each outer fabric piece following the manufacturer’s instructions. If you plan to include exterior pockets, cut an additional rectangle of outer fabric measuring 11 inches wide by 5 inches tall, and interface it as well.
For the interior pockets, which are one of the most useful features of any organizer bag, cut your pocket pieces generously. A single large open pocket cut from lining fabric at 10 inches wide by 6 inches tall gives you a versatile storage area. For divided pockets — particularly useful for pens, markers, or slim tools — cut a longer piece and plan your dividing stitching lines before you begin. It is always easier to sew pocket dividers while the pocket piece is still flat and unattached to the main bag body. Mark your dividing lines clearly with a fabric marker before you sit down at your machine.
Sewing the Pockets and Interior Assembly
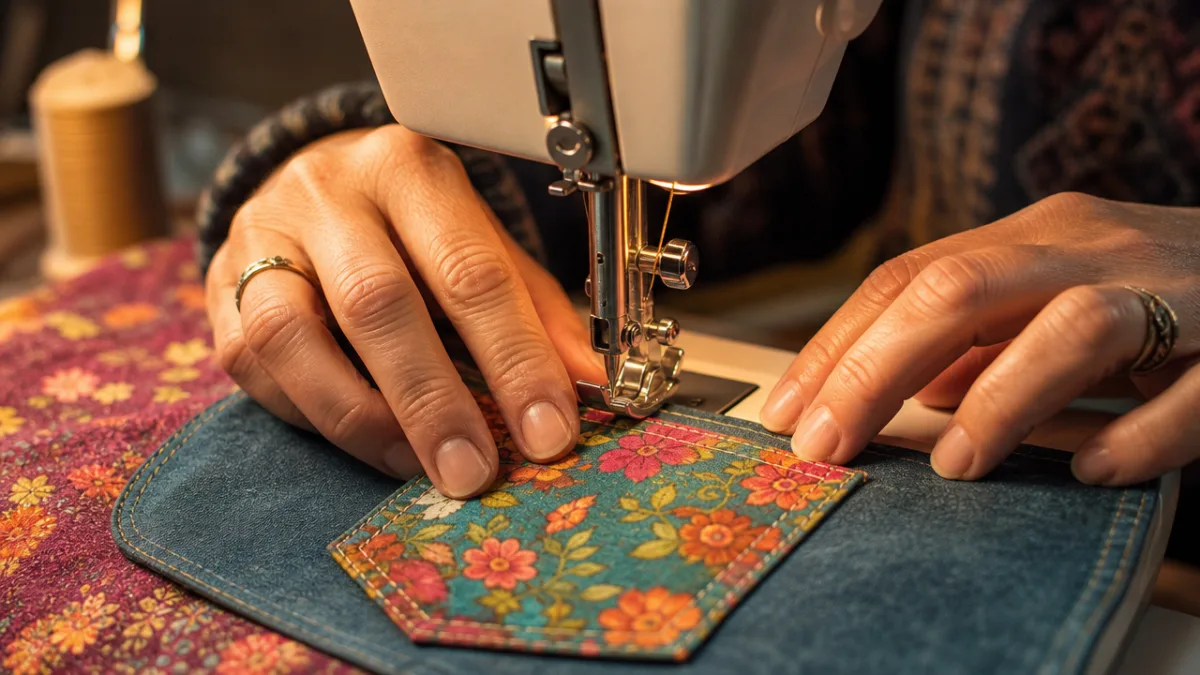
The interior of your organizer bag is what makes it truly functional, and investing time in careful pocket construction will pay off every single day you use the finished bag. Begin with the interior pockets by folding the top edge of each pocket piece down by a quarter inch and pressing, then folding down again by a half inch and pressing once more. This double-fold hem creates a clean, durable top edge that won’t fray with repeated use. Stitch this hem in place close to the fold using a matching thread, then press the finished edge flat before proceeding.
Pin your prepared pocket piece to one of the lining rectangles, aligning the raw bottom and side edges. The top hemmed edge of the pocket should face upward and be positioned approximately two inches from the bottom of the lining panel. Stitch along the bottom and sides of the pocket piece using a quarter-inch seam, backstitching at the beginning and end of each seam for reinforcement. If you are adding pocket dividers, now is the time to mark and sew those vertical lines through both the pocket fabric and the lining underneath. Sew slowly and use a ruler to ensure your dividing lines are perfectly straight.
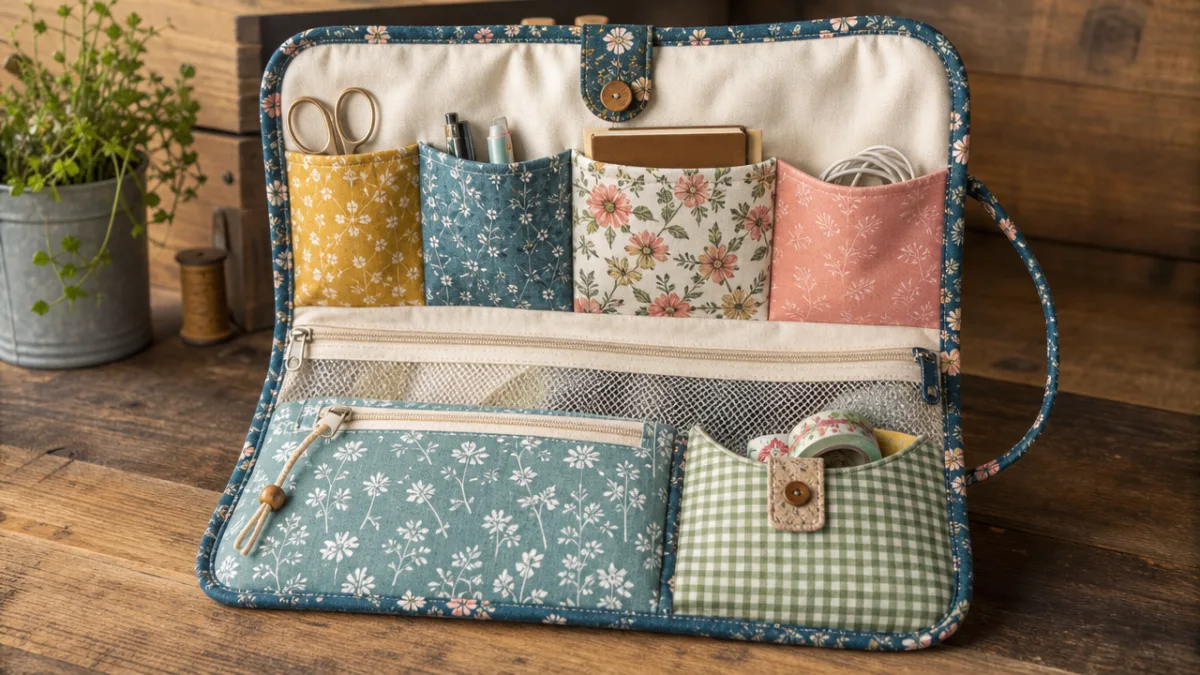
If you’ve opted to include zippered interior pockets, install the zipper before attaching the pocket to the lining. This technique, sometimes called a zipper pouch pocket, creates a hidden compartment that is perfect for valuables, medications, or anything you want to keep secure inside the organizer. Place the zipper tape face down along the top edge of the pocket piece, stitch it in place with your zipper foot, then fold the fabric back and topstitch neatly. The second layer of the zippered pocket attaches behind the lining panel, creating a complete enclosed pocket. While this technique requires a little patience to master, the result is a truly polished interior that rivals bags sold in boutique shops.
Tips for Clean Pocket Corners
One of the most common challenges sewists encounter when adding pockets to bags is achieving crisp, clean corners where the pocket meets the main panel. Several small techniques used together make a significant difference. First, pivot your presser foot carefully at corners rather than lifting and repositioning the fabric, which can cause the layers to shift. Second, stitch a small triangle of reinforcement stitching at the upper corners of each pocket to prevent tearing with heavy use. Third, press every seam as you complete it, using the tip of your iron to get right into the corner areas. These habits, practiced consistently, result in interior work that looks as good as the exterior.
Assembling the Outer Bag and Installing the Zipper
With your lining panels complete, it is time to turn your attention to the outer bag and the main zipper installation, which is the most technically demanding part of this project. Many sewists feel apprehensive about zippers, but with the right approach they become far less intimidating. The key to a beautiful zipper installation is working slowly, pressing carefully at each stage, and using your zipper foot consistently. A well-installed zipper not only functions perfectly but also adds a professional design element that elevates the entire appearance of the finished bag.
Begin by placing one outer fabric panel face up on your work surface. Lay the zipper face down along the top edge, aligning the zipper tape with the raw edge of the fabric. Place one lining panel face down on top of this stack, sandwiching the zipper between the two fabric layers. Pin or clip the layers together carefully, making sure the zipper doesn’t shift. Using your zipper foot, stitch through all three layers along the top edge. Fold the outer fabric and lining away from the zipper and press the seam flat, then topstitch close to the zipper teeth to keep the fabric from being caught in the zipper during use.
Repeat this process to attach the second outer and lining panels to the other side of the zipper. When both sides are attached, you’ll have what looks like a long flat piece with the zipper running down the center and fabric panels on either side. Before proceeding, partially open the zipper — this is a crucial step that many beginners forget, and skipping it means you’ll have no way to turn the bag right-side out once the remaining seams are sewn. With the zipper open partway, pin the outer panels right sides together and the lining panels right sides together, aligning all raw edges carefully.
Sewing the Final Seams
Stitch around the perimeter of the bag using a half-inch seam allowance, leaving a four-inch gap along the bottom of the lining for turning. This turning gap is your escape hatch — without it the bag remains permanently inside out. As you sew around the zipper ends, go slowly and use your hand wheel to walk the needle through the thicker layers stitch by stitch if necessary. Sew the corners of the outer bag with a subtle curve rather than a sharp right angle; this prevents the corners from bunching and creates a cleaner finished shape when the bag is turned right-side out.
Once all seams are sewn, trim the seam allowances at the corners by cutting diagonally across each corner point, being careful not to cut through your stitching. This step reduces bulk and allows the corners to lie flat and crisp when turned. Reach through the zipper opening and the turning gap to gently pull the bag right-side out, working the corners out carefully with a blunt tool such as a chopstick or a dedicated point turner. Take your time with this step — aggressive pulling can stress the seams and distort the shape of the bag.
Finishing Touches and Customization Ideas
After turning the bag right-side out and pressing it thoroughly, you’re in the home stretch. Fold the raw edges of the turning gap in the lining to the inside by half an inch, pin them in place, and slip stitch the gap closed by hand using a needle and thread. This small act of hand sewing is one of those finishing details that separates a truly well-made bag from a rushed one. Alternatively, you can machine stitch the gap closed by topstitching very close to the folded edge, which is faster and nearly as neat in appearance. Tuck the finished lining inside the bag and press the top edges one final time so everything sits perfectly flat and even.
Customization is where your organizer bag truly becomes your own, and the possibilities extend well beyond the basic construction. Consider adding a wrist strap by attaching a loop of webbing or ribbon to one end of the zipper for easy retrieval from a larger bag. An exterior slip pocket on one of the outer panels is a useful addition for items you need to access without opening the zipper, such as a transit card or a lip balm. Labels made from cotton twill tape and stamped with fabric ink give the bag a boutique feel and are particularly sweet if you’re making the bag as a gift.
Fabric combinations offer another rich avenue for personalization. Pairing a bold geometric print outer fabric with a solid or subtly patterned lining creates a sophisticated look that feels intentional and designed. For a more playful aesthetic, mix a novelty print outer fabric with a coordinating stripe or polka dot lining. Hardware choices also matter: a gold zipper reads as elegant and modern, while an antique brass zipper brings a vintage charm, and a colorful nylon zipper gives the bag a sporty, casual energy. Even the thread color can be a design choice — matching thread creates a sleek, unified look, while contrasting thread makes each stitch a deliberate detail.
Care, Maintenance, and Making Multiple Bags
Once your organizer bag is complete, knowing how to care for it properly will keep it looking beautiful for years. Most quilting cotton and linen blend bags can be hand washed in cool water with a small amount of gentle detergent, then reshaped and laid flat to dry. Avoid machine washing unless you’ve pre-washed all your fabrics before cutting, as unshrunk fabric can distort the shape of the finished bag. Canvas bags may be spot cleaned with a damp cloth for light soiling, which is often all that’s needed to keep them fresh between deeper cleanings. Always check the care instructions for any interfacing you’ve used, as some types are not intended for submersion in water.
If your bag begins to show wear at the pocket corners or along the zipper seams after extended use, a few minutes of hand stitching with a strong thread can reinforce these areas and extend the life of the bag significantly. One of the great advantages of making your own bags is that you understand exactly how they’re constructed and can therefore repair them with confidence. Keep a small swatch of your outer and lining fabrics stored with your sewing notions so you always have a matching patch on hand if a small repair becomes necessary in the future.
Once you’ve made one organizer bag and feel comfortable with the process, making multiples becomes a genuinely enjoyable production-line experience. Many crafters cut all their pieces for three or four bags at once, then work through each step on all bags before moving to the next step. This batch-sewing approach is efficient and ensures consistency across all the bags, which is especially useful if you’re making them as gifts or planning to sell them. Organizer bags in coordinating fabrics make wonderful sets — a larger version for general use paired with a smaller one sized specifically for cosmetics or jewelry creates a gift set that any recipient would love.
Scaling the Pattern Up or Down
One of the most appealing aspects of this organizer bag pattern is how easily it scales to different sizes. To make a mini version for earbuds, a charger cable, or small cosmetics, simply reduce all dimensions by thirty to forty percent and use a shorter zipper. A jumbo version for toiletry storage or crafting supplies can be created by increasing the dimensions and using a heavier canvas outer fabric to support the additional weight the bag will carry. As you scale the pattern, the pocket proportions should be adjusted accordingly — pockets that are too large relative to the bag body tend to sag and bunch, while pockets that are too small lose their usefulness. A little planning with paper and pencil before cutting fabric saves considerable frustration during the sewing process.
Whatever size or configuration you choose, the fundamental techniques remain the same: precise cutting, careful pressing at every stage, steady stitching, and attention to the small finishing details that distinguish a handmade bag of quality from a quickly assembled one. Sewing is a skill that compounds — every bag you make teaches you something that makes the next one better, faster, and more satisfying to produce. The organizer bag is an ideal project to return to repeatedly throughout your sewing journey, each time bringing a little more skill and confidence to the work and walking away with something beautiful, functional, and entirely your own.








What do you think?
It is nice to know your opinion. Leave a comment.