










How to Sew a Bandana: A Complete Sewing Tutorial for Beginners
Sewing your own bandana is one of the most satisfying beginner projects you can take on. It requires minimal materials, produces a genuinely useful finished product, and teaches you several foundational techniques that will serve you well as your sewing skills grow. Whether you want a classic Western-style square bandana, a trendy neck scarf, or a pet bandana for your furry companion, this guide walks you through every step of the process with clarity and confidence. By the time you finish, you will have a handmade accessory to be proud of.
Understanding Bandana Basics: Fabric, Size, and Style
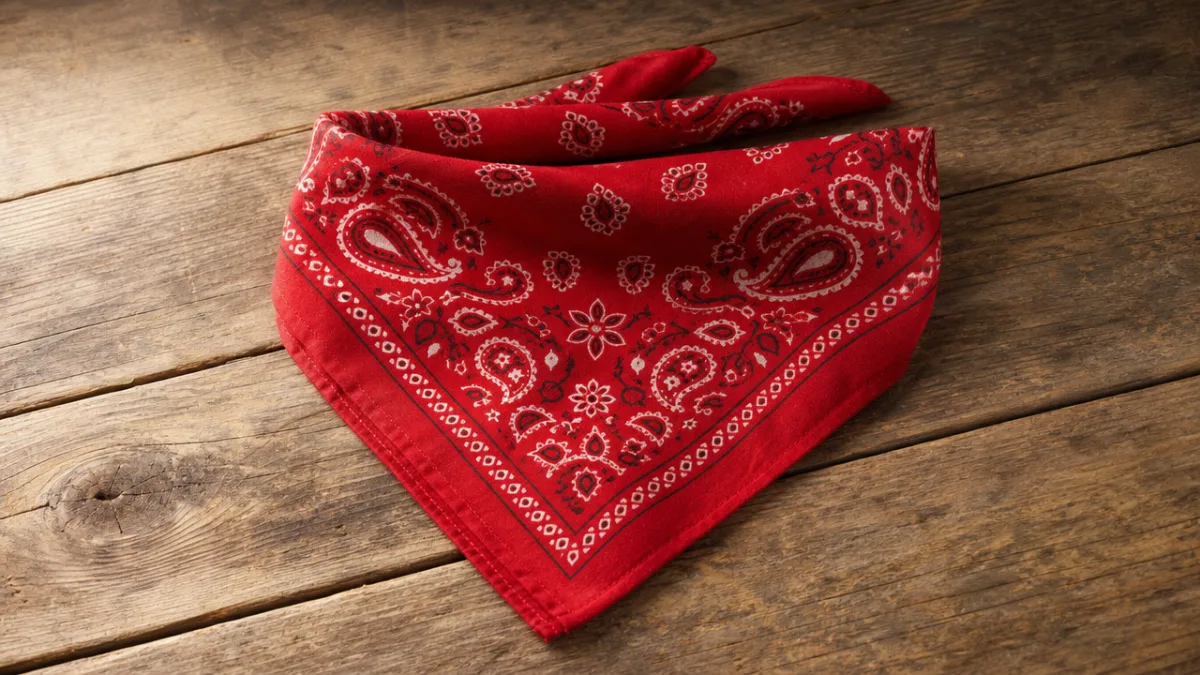
Before you thread your needle or plug in your sewing machine, it helps to understand what makes a great bandana. Traditional bandanas measure 22 inches by 22 inches, though you can size yours anywhere between 18 and 27 inches depending on how you plan to use it. A smaller square works beautifully as a pocket square or hair tie, while a larger one folds into a full face covering or stylish headscarf. Knowing your intended use before you cut your fabric saves both time and material in the long run.
Fabric choice has a huge impact on how your finished bandana looks, feels, and functions. Cotton is the classic choice because it is breathable, washable, easy to press with an iron, and widely available at any fabric shop. Quilting cotton, cotton lawn, and cotton voile all work wonderfully, each offering a slightly different drape and weight. Avoid stretchy knit fabrics for your first bandana, as they require different handling techniques and can frustrate beginners. Stick to a woven fabric with a tight, stable weave until you feel comfortable with the basics.
Print and color selection is entirely personal, but a few tips will help you make a satisfying choice. Large-scale prints can look choppy when cut into a small square, so medium or small prints tend to photograph and wear better. Traditional paisley, bandana-print cotton, gingham, and solid colors are all enduring favorites. If you plan to make a pet bandana, choose something playful and machine-washable. If the bandana is for yourself, hold the fabric up near your face in the shop and see how the color makes you feel. That first instinct is almost always the right one.
- Quilting cotton: crisp, easy to press, ideal for structured bandanas
- Cotton lawn: lightweight and drapey, perfect for neck scarves
- Cotton voile: semi-sheer and delicate, beautiful for hair scarves
- Cotton muslin: inexpensive practice fabric, great for test runs
- Flannel: cozy and warm, excellent for cold-weather or pet bandanas
Gathering Your Tools and Materials
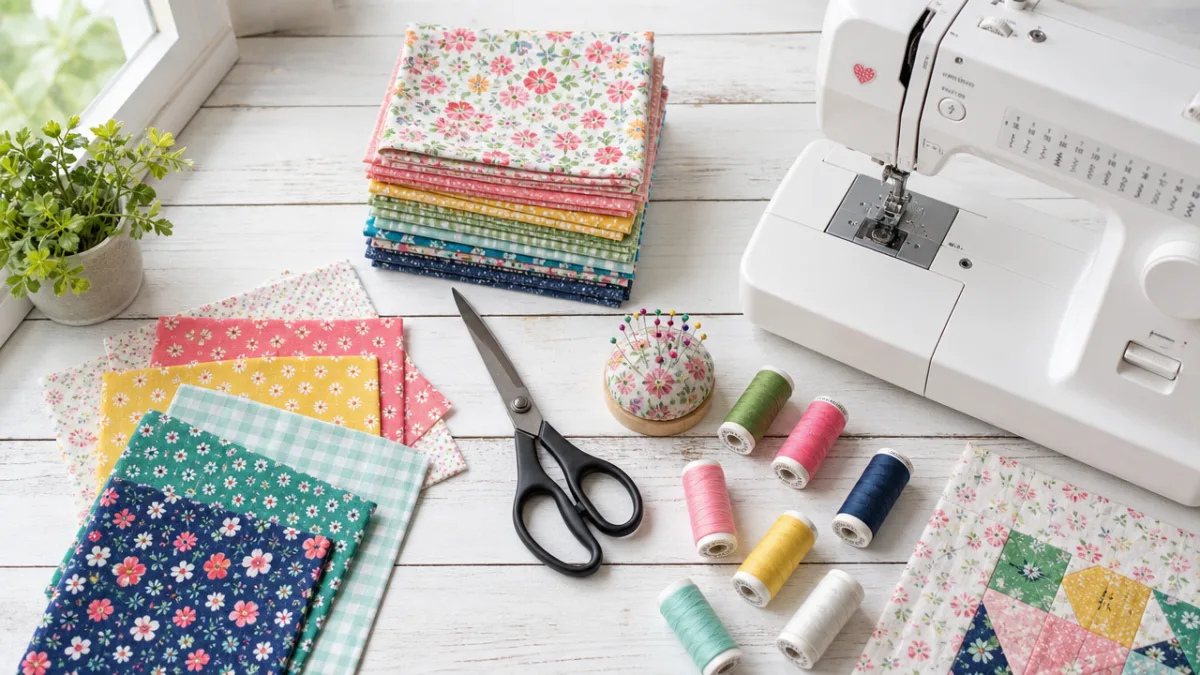
One of the most appealing things about this project is how few supplies you actually need. A sewing machine makes the work faster and produces a more durable stitch, but the entire bandana can also be sewn by hand if that is what you have available. At minimum, you need your chosen fabric, matching thread, scissors or a rotary cutter, a ruler, and pins or wonder clips to hold things in place while you sew. An iron and ironing board are not strictly required, but pressing your seams as you go makes an enormous difference in the professional appearance of the final product.
If you are using a sewing machine, set it up with a fresh needle before you begin. A universal needle in size 80/12 handles most woven cotton fabrics perfectly. Thread the machine with thread that closely matches your fabric, or choose a contrasting color if you want the stitching itself to be a design element. Set your stitch length to about 2.5 millimeters for standard seams. If your machine has a backstitch button, make sure you know where it is, because you will use it at the beginning and end of every seam to lock your stitches and prevent unraveling.
Measuring and cutting accurately is the single most important preparation step in any sewing project. Use a quilting ruler and a self-healing cutting mat if you have them, as these tools make clean, straight cuts dramatically easier. Measure your fabric twice before you cut once — this old advice holds absolutely true. For a standard bandana, you will cut two squares of fabric each measuring 22 inches by 22 inches. If you want to make a reversible bandana, choose two complementary fabrics for a project that gives you twice the versatility for only a small amount of extra effort and cost.
- Prewash and dry your fabric to prevent shrinkage after the bandana is finished
- Press the fabric flat with an iron before cutting to ensure accurate measurements
- Mark your cutting lines with a fabric marker or chalk pencil
- Cut both fabric squares at the same time by layering them together
- Check that your corners are perfectly square using the corner of your ruler
Step-by-Step Sewing Instructions
With your fabric cut and your tools assembled, you are ready to begin the actual sewing process. Place your two fabric squares together with the right sides facing each other — this means the printed or finished sides of the fabric are touching on the inside, and you are looking at the plain or wrong sides on the outside. Pin or clip around the perimeter of the square every few inches to hold the layers together securely while you sew. This right-sides-together method is one of the most fundamental techniques in garment and accessory sewing, and mastering it here will pay dividends in every future project.
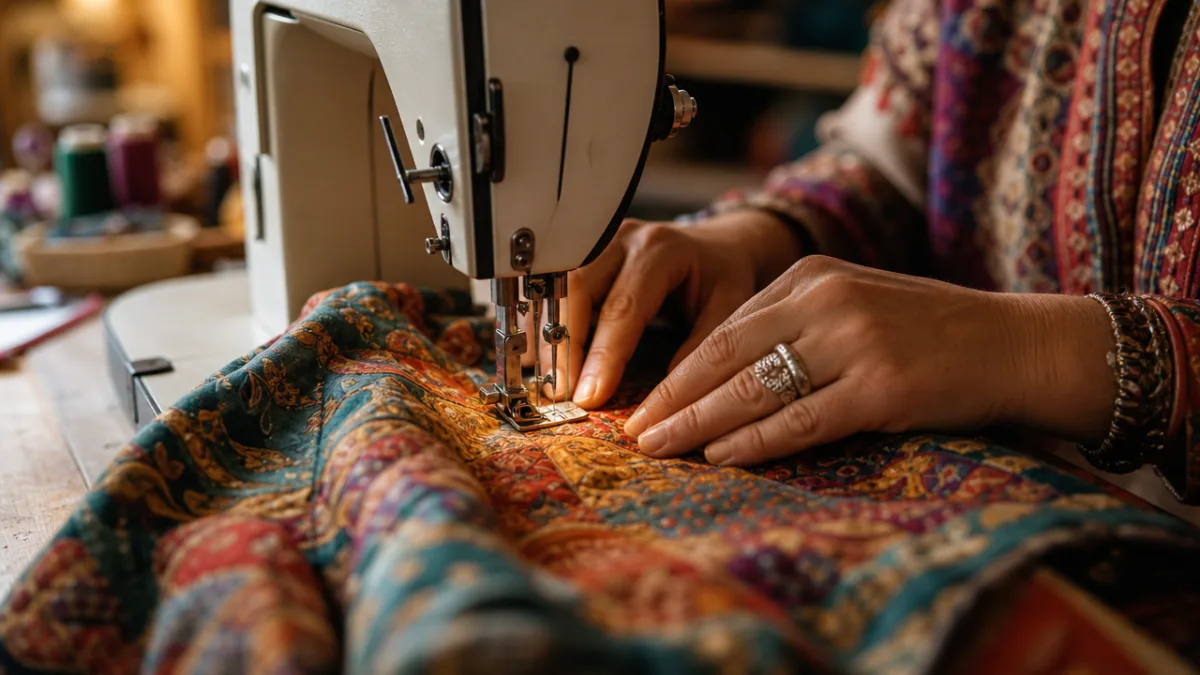
Sew around the perimeter of the pinned square using a half-inch seam allowance, which means your needle should be stitching exactly half an inch in from the raw edge of the fabric. Start about three inches from one corner rather than at the corner itself, and remember to backstitch at the very beginning to lock your thread. Continue sewing all the way around, pivoting carefully at each corner by stopping with the needle in the down position, lifting the presser foot, rotating the fabric ninety degrees, lowering the foot, and continuing. Stop three to four inches before you reach your starting point, leaving a gap in the seam. This opening is how you will turn the bandana right side out.
Trimming and clipping your seam allowances before turning is a step that beginners sometimes skip, but it makes a significant difference in how clean and flat the finished bandana lies. Trim the seam allowance down to about a quarter inch all the way around the sewn perimeter. Then, at each of the four corners, cut diagonally across the seam allowance very close to your stitching — without cutting through it — to remove the bulk of fabric that would otherwise create a lumpy, rounded corner instead of a sharp, crisp point. These small diagonal cuts are called mitering or clipping the corners, and they are worth the extra thirty seconds they require.
Reach through the opening you left in the seam and gently pull the bandana right side out. Use a blunt point — a chopstick, a knitting needle, or a dedicated turning tool — to carefully push the corners out from the inside until they form clean right angles. Press the entire bandana flat with a hot iron, folding in the raw edges of the opening neatly as you do so, so they align with the sewn seam on either side. This pressing step transforms a wrinkled, slightly shapeless piece of fabric into a crisp, polished square that already looks finished and intentional.
Closing the Opening and Adding the Final Topstitch
Now that your bandana is turned right side out and pressed flat, you need to close the opening you left for turning. There are two reliable ways to do this, and both produce professional results. The first option is to sew the opening closed by hand using a blind stitch or ladder stitch, which is a technique that creates an invisible seam on the outside of the fabric. Thread a hand-sewing needle with thread matching your fabric, knot the end, and work small alternating stitches from one folded edge to the other, pulling gently as you go to draw the two sides together invisibly. This method is slow but produces the most polished result.
The second option — and the one most beginners find easier and faster — is to close the opening with a topstitch that runs around the entire perimeter of the bandana. Return to your sewing machine and sew a straight stitch about an eighth of an inch from the edge of the bandana, starting at one side of the opening and sewing all the way around the square until you return to the other side of the opening. This single line of topstitching simultaneously closes the gap and adds a decorative frame around the entire bandana, giving it a finished, intentional appearance. Make sure your folded opening edges are tucked in neatly before you begin this step so they get caught in the stitch.
Topstitching has the added benefit of keeping the seam flat and preventing the inner layer of fabric from rolling to the outside edge over time and with repeated washing. You can do a single line of topstitching for a clean, minimal look, or add a second parallel line one quarter inch inside the first for a more decorative double-topstitch effect that echoes the style of classic manufactured bandanas. Backstitch at the beginning and end of your topstitching, then snip your threads close to the surface. Give the finished bandana one final press with a hot iron to set all the stitches and flatten any remaining puckering, and you are completely done.
- Blind stitch by hand for an invisible seam with no topstitching
- Single topstitch for a clean, modern finish
- Double topstitch for a classic, traditional bandana look
- Decorative machine stitch (zigzag, scallop) for a personalized touch
Fun Variations and Customization Ideas
Once you have mastered the basic bandana construction, a world of creative variations opens up before you. One of the most popular alternatives is the single-layer bandana with hemmed edges, which uses just one piece of fabric and produces a lighter, more flowing result. To make this version, cut your single fabric square an inch larger than your desired finished size to account for the hem. Fold each edge over a quarter inch, press, fold over another quarter inch, press again, and topstitch each hem in place. This double-fold hem technique keeps all raw edges hidden and produces a beautiful, thin border around the bandana that drapes more softly than the two-layer version.
Pet bandanas are a perennially beloved variation that make wonderful handmade gifts for dog and cat owners. The simplest pet bandana is just a small triangle — fold your finished square diagonally in half, press, and you have an instant triangle bandana ready to tie around a collar. For a more polished pet bandana, sew a small tube of fabric that slides directly onto the collar, so the bandana stays neatly in place even with an active dog. You can embroider a pet’s name onto the fabric before sewing, use iron-on vinyl letters, or choose a fabric printed with paw prints, bones, or the pet’s favorite theme for a truly personalized result.
Embellishment opens up yet another dimension of creativity for your handmade bandanas. Hand embroidery worked in simple stitches — running stitch, backstitch, French knots — adds color and texture that elevates a plain fabric into a genuine art object. Fabric paint or block printing with carved erasers lets you add custom designs without any embroidery experience. Iron-on patches, lace trim sewn along one edge, or a row of small buttons along the border are all quick additions that give your bandana a distinctive personality. The beauty of making your own accessories is that every single one can be entirely unique, reflecting your own aesthetic sensibility and creative voice.
Gifting handmade bandanas is a lovely way to share your new skill with people you care about. A set of three bandanas in coordinating prints, folded neatly and tied with a ribbon, makes a thoughtful and personal present for birthdays, holidays, or housewarmings. Teachers appreciate bandanas in school colors. New parents love soft cotton bandanas that double as burp cloths or bibs. gardeners, hikers, and outdoor enthusiasts all use bandanas constantly for sun protection, sweat management, and impromptu equipment. Because each bandana costs very little in materials and takes under an hour to make, you can produce a generous quantity of gifts without straining your budget or your schedule.
Troubleshooting Common Beginner Mistakes
Even the most careful beginner encounters small problems along the way, and knowing how to recognize and correct them is part of building genuine skill. One of the most common issues is puckering along the seams, which happens when the thread tension on your sewing machine is not correctly balanced. If the fabric bunches or gathers slightly along a stitched line, check that both your upper thread and your bobbin thread are correctly seated in their guides and tensions. Running a test seam on a scrap of the same fabric before you sew your actual bandana is always a good habit that catches tension problems before they affect your finished piece.
Uneven corners are another common challenge that discourages beginners, but they are almost always the result of one fixable problem: rushing through the pivot. When you reach a corner, slow your machine down significantly, stop with the needle fully inserted into the fabric, and only then lift the presser foot and rotate the fabric. If you try to pivot while the machine is still moving, even slightly, the corner will be rounded or skewed rather than sharp. Pressing the corner firmly with an iron after turning, and using that chopstick or turning tool patiently, also contributes substantially to a clean, crisp ninety-degree corner on the finished bandana.
Skipped stitches — where the machine sews for a moment and then jumps, leaving a gap in the seam — are usually caused by a dull or incorrectly installed needle. Sewing machine needles are consumable items that should be replaced after every eight to ten hours of sewing time, or any time you notice stitch quality deteriorating. Make sure the flat side of the needle shank is facing away from you when you install it, and push it all the way up into the clamp before tightening the screw. A fresh needle costs almost nothing and instantly solves the majority of stitch quality problems that frustrate beginners who assume something more serious is wrong with their machine.
Thread breaking mid-seam can be alarming but is almost always a threading problem rather than an equipment failure. Rethread your machine completely from scratch, making sure the thread passes through every single guide in the correct order, that the take-up lever is properly engaged, and that the thread unwinds freely from the spool without any tangles. Many machines require you to thread them with the presser foot raised, because this opens the tension discs and allows the thread to seat itself correctly. Consult your machine’s manual for the specific threading path if you are unsure, as even experienced sewists occasionally discover they have been threading their machines slightly incorrectly for years.
- Puckering seams: check thread tension and rethread if necessary
- Rounded corners: slow down at pivots and use a turning tool carefully
- Skipped stitches: replace the needle with a fresh universal size 80/12
- Breaking thread: rethread entirely with presser foot raised
- Uneven seam allowance: use a seam guide or tape on your machine bed
Building on Your Bandana Skills
Completing your first bandana is genuinely worth celebrating, not just because the finished product is useful and attractive, but because of everything the process taught you. You practiced measuring and cutting accurately, learned to work with right sides together, navigated corners with a sewing machine, trimmed and clipped seam allowances, turned fabric right side out, pressed seams with an iron, and closed an opening neatly. That is an impressive collection of skills for a single small project, and every one of them transfers directly to more complex sewing endeavors waiting for you in the future.
From bandanas, a natural next step is to explore other flat, square, or rectangular projects that build on the same construction logic. Cloth napkins, table runners, simple tote bags, and pillowcase-style cushion covers all use the same right-sides-together method and the same corner techniques you practiced here. Each new project introduces one or two additional techniques — a zipper, a handle, a curved edge — without overwhelming you by changing everything at once. This incremental approach to building sewing skills is far more sustainable and enjoyable than attempting an advanced project before you have a foundation of confidence and muscle memory to stand on.
Consider keeping a small sewing journal where you note what fabric you used, what you would change next time, and any tips you discovered along the way. Glue a small swatch of the fabric in the margin next to each entry. This practice turns each project into a learning document you can return to whenever you attempt something similar, and over time it becomes a genuinely meaningful record of your growth as a maker. The sewing community is also exceptionally welcoming and generous — online forums, local guilds, and social media groups are full of experienced sewists who remember exactly how you feel right now and are delighted to help you take your next step.
Most importantly, give yourself permission to make something imperfect and love it anyway. The bandana you just sewed with your own hands carries something no purchased accessory can ever have: the specific energy of your attention, your patience, and your effort. Wear it, gift it, use it every day, and let it remind you that making things with your hands is one of the most grounding and joyful activities available to any human being at any skill level. Every expert sewist you have ever admired started exactly where you are right now — with a square of fabric, a spool of thread, and the willingness to try.








What do you think?
It is nice to know your opinion. Leave a comment.