










Reversible Coffee Cup Cozy: The Complete Guide to Making Your Own Easy Tutorial
There’s something really lovely about wrapping your hands around a warm cup of coffee on a cool morning — and when that cup is wearing a cozy you made yourself, the whole experience feels a little more special. A reversible coffee cup cozy is one of those small sewing projects that punches way above its weight: it’s practical, it’s genuinely satisfying to make, and it works just as well for a total beginner as it does for someone who’s been sewing for years. These little fabric sleeves keep your hand safe from the heat of disposable cups while adding a splash of color and personality to your daily coffee routine. And the reversible design? That’s essentially two cozies for the price of one — flip it inside out and you’ve got a whole different look depending on your mood.
What I love most about this project is how approachable it is. You don’t need a sewing machine, though one will definitely speed things along. The whole cozy can be hand-sewn in an afternoon with basic stitches, and you really don’t need much in the way of materials — two pieces of coordinating fabric, some interfacing if you want a bit more structure, and the usual sewing odds and ends. If you’ve been hoarding fabric scraps in a basket wondering what to do with them, this is exactly the kind of project they’ve been waiting for.
A reversible cozy also makes a genuinely thoughtful gift. When you choose fabrics in someone’s favorite colors or patterns that speak to their interests, you’re putting real care into something they’ll use every day — and that comes through in a way a shop-bought gift just can’t replicate. Pair it with a bag of good coffee beans or a pretty mug, and you’ve got a present that feels personal and considered. This tutorial walks you through every step from gathering your supplies to sewing the final seam, so you’ll end up with something you’re proud to use or give.
Materials and Tools You Will Need
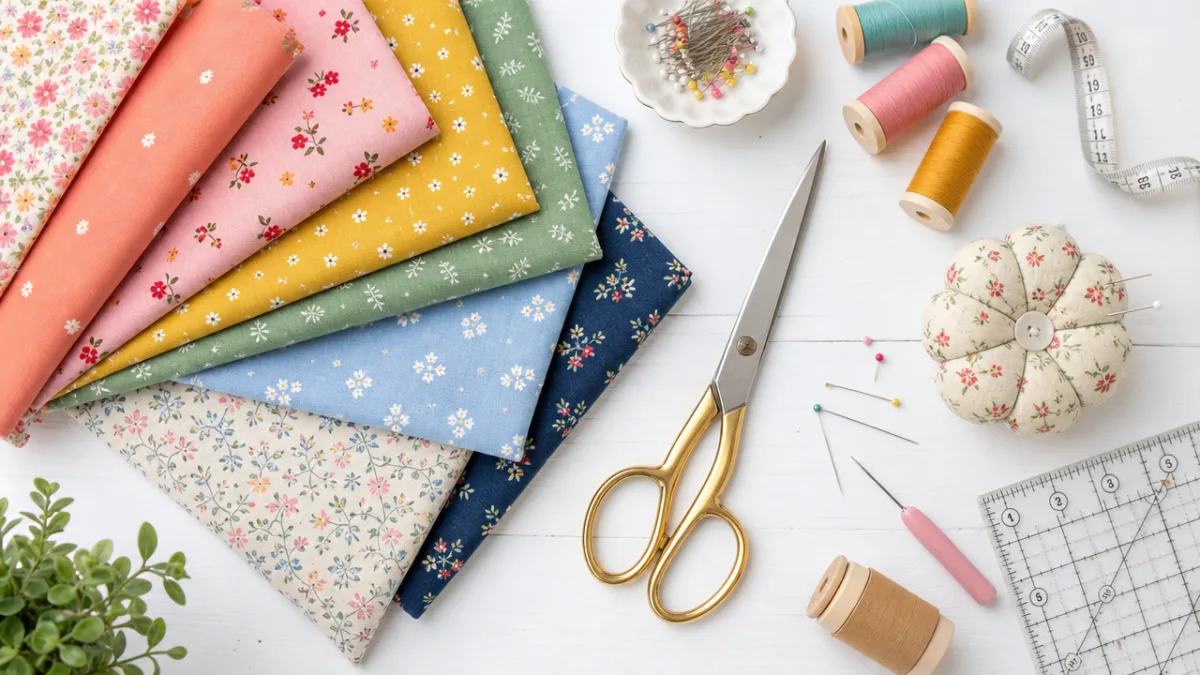
Before you start cutting anything, it’s worth taking a few minutes to gather everything together so the whole process flows smoothly. The two most important materials are your fabric choices — one for the outer layer, one for the inner. Cotton quilting fabric is the go-to here: it’s easy to find, comes in an incredible range of prints and solids, and it’s a dream to sew. Pick two pieces that coordinate nicely but have enough contrast that flipping the cozy inside out actually feels like a fun reveal rather than an afterthought.
You might also want to add a layer of fusible fleece or batting between the two fabric layers. This is entirely optional, but it gives the cozy a bit more thickness and insulation, which makes it more effective at protecting your hand and helps it hold its shape on the cup. Fusible fleece bonds to fabric with a warm iron, which keeps construction nice and simple. If you’d rather have a thinner, more flexible result, just skip this layer and sew the two pieces of fabric together right-sides-facing — it still works beautifully and looks just as good.
Here’s a quick checklist of everything you’ll want to have on hand before you sit down to sew:
- Two coordinating cotton fabric pieces, each approximately 12 inches by 5 inches
- Fusible fleece or batting (optional, same size as fabric pieces)
- Sharp fabric scissors or a rotary cutter and cutting mat
- Sewing machine or hand-sewing needle
- Thread in a neutral color that blends with both fabrics
- Pins or fabric clips to hold layers together
- An iron and ironing board for pressing seams
- A ruler or measuring tape for accurate cutting
- A paper template or the cup itself to check sizing
Having everything laid out before you start turns what could be a frustrating scramble into a genuinely relaxing, meditative process. And while you’re at it, take a couple of minutes to press both fabric pieces with a warm iron before you cut anything. Wrinkle-free fabric is so much easier to cut accurately and sew cleanly — and pressing as you go is honestly one of those habits that makes the single biggest difference between a finished piece that looks polished and one that looks a little rushed.
Creating and Cutting Your Pattern Pieces
A coffee cup cozy has that distinctive trapezoid shape — wider at the top, narrower at the bottom — which mirrors the taper of most disposable cups. Getting this shape right is what allows the cozy to sit snugly on the cup without sliding up or bunching. The easiest way to make your template is to grab a clean paper sleeve from your local café, carefully unfold it along the seam, lay it flat on a piece of card stock, trace around it, and cut it out. It’s a perfectly sized template pulled straight from the real thing — hard to beat that.
If you don’t have a paper sleeve lying around, you can draw one from scratch. Most standard 12-to-16-ounce cups need a cozy that’s roughly 3.5 inches tall on one side, 4 inches tall on the other, and about 9 to 10 inches long when measured flat. Draw that trapezoid on your paper, add a quarter-inch seam allowance all the way around, and you’re good to go. Note “CUT 2 ON FOLD” on it, or trace it twice individually to make sure both pieces come out symmetrical.
Once your template is ready, pin it to your fabric and cut carefully around the edges. You’ll cut this shape twice from your outer fabric and twice from your inner fabric — four pieces total if you’re skipping the fleece. If you are using fusible fleece, cut two pieces of that as well and fuse them to the wrong side of each outer fabric piece before you move on, following the manufacturer’s instructions. Take your time cutting, especially around the angled edges — clean cuts make the whole construction process easier and the finished seams look so much neater.
Sewing the Cozy Together: Step-by-Step Instructions
Here’s where things get fun. Start by placing one outer fabric piece and one inner fabric piece with their right sides facing each other — that means the pretty, printed sides are touching in the middle and you’re looking at the plain wrong sides on the outside. Pin or clip all the way around the edges, taking care to line up the corners precisely. The more accurate you are at this stage, the crisper and more professional everything looks once you turn it right-side-out.
Sew around three of the four sides using a quarter-inch seam allowance, leaving one short end open for turning. Backstitch at the start and finish to lock your stitching in place, and go slowly around any corners or angles to keep that seam allowance even. If you’re sewing by hand, a neat backstitch works perfectly — just keep your stitches small and consistent. Once you’ve sewn those three sides, clip the corners diagonally close to (but not through) the stitching. This reduces bulk and helps those corners turn out nice and sharp.
Turn the piece right-side-out through the opening, easing the corners out gently with a blunt tool — a chopstick or the eraser end of a pencil is ideal. Press it flat with a warm iron, folding in the raw edges of the open end so they sit flush with the rest of the seam. Then repeat the whole process with your second pair of fabric pieces. At this point you’ll have two flat, pressed fabric panels that look a bit like fabric rectangles rather than cozies — but the shaping comes in just a moment.
To assemble the final cozy, place the two panels together with the outer fabrics facing each other, then topstitch across both short ends close to the edge. This closes those turning openings and gives you a neat, finished edge in one go. Now bring the two long open edges together, match the corners carefully, and sew them closed with a quarter-inch seam. This is the seam that takes everything from flat panels to a cylinder — the actual cozy shape. Press that seam open or to one side, and you’re very nearly done.
Finishing Techniques for a Polished Result
The difference between a cozy that looks homemade and one that looks like it came from a boutique almost always comes down to the finishing. A few extra minutes pressing and topstitching will genuinely transform the result. Once the cozy is in its cylindrical shape, press the whole thing thoroughly with a steam iron, paying particular attention to those short-end seams and the long joining seam. A well-pressed seam lies flat and smooth — it’s the detail that makes everything look clean and intentional rather than puckered and a bit rushed.
Adding a line of topstitching around the top and bottom edges is optional, but I’d really recommend it. Using thread that either matches your fabric or deliberately contrasts with it, stitch a clean line about an eighth of an inch from each edge. It reinforces the cozy so it holds its shape through lots of use and washing, and it gives the whole piece that satisfying store-quality finish. Use a slightly longer stitch length for topstitching than you did for the structural seams — it creates a more visible, decorative line that looks purposeful.
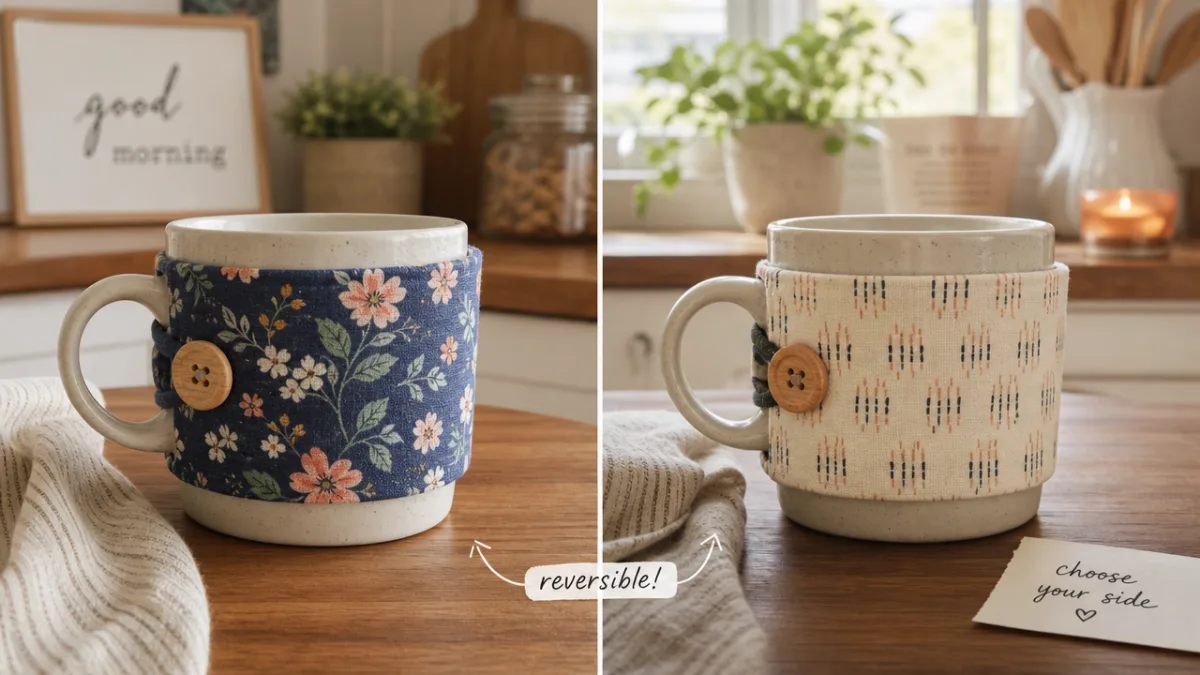
If you want to personalize your cozy further, the options are only limited by your imagination. A small button with a coordinating elastic loop makes for a clever little closure that lets you slide the cozy on and off easily — functional and charming. Embroidered initials, a tiny appliquéd heart or star, or a strip of ribbon or rickrack along the top edge are all lovely touches. Just make sure any embellishments are securely attached and don’t add so much bulk that the cozy becomes difficult to get on and off the cup.
Sizing Variations and Customization Ideas
One of the best things about making your own cozies is that you can tailor them to fit whatever cup you’re actually using. The template in this tutorial is sized for a standard 12-to-16-ounce disposable cup, but it’s easy to adapt. For a smaller 8-ounce cup, shorten the template by about 1.5 inches. For a big 20-ounce travel tumbler, you’ll need to increase both the length and the height. The most reliable approach is always to wrap your paper template around the actual cup and fiddle with it until it fits snugly but comfortably.
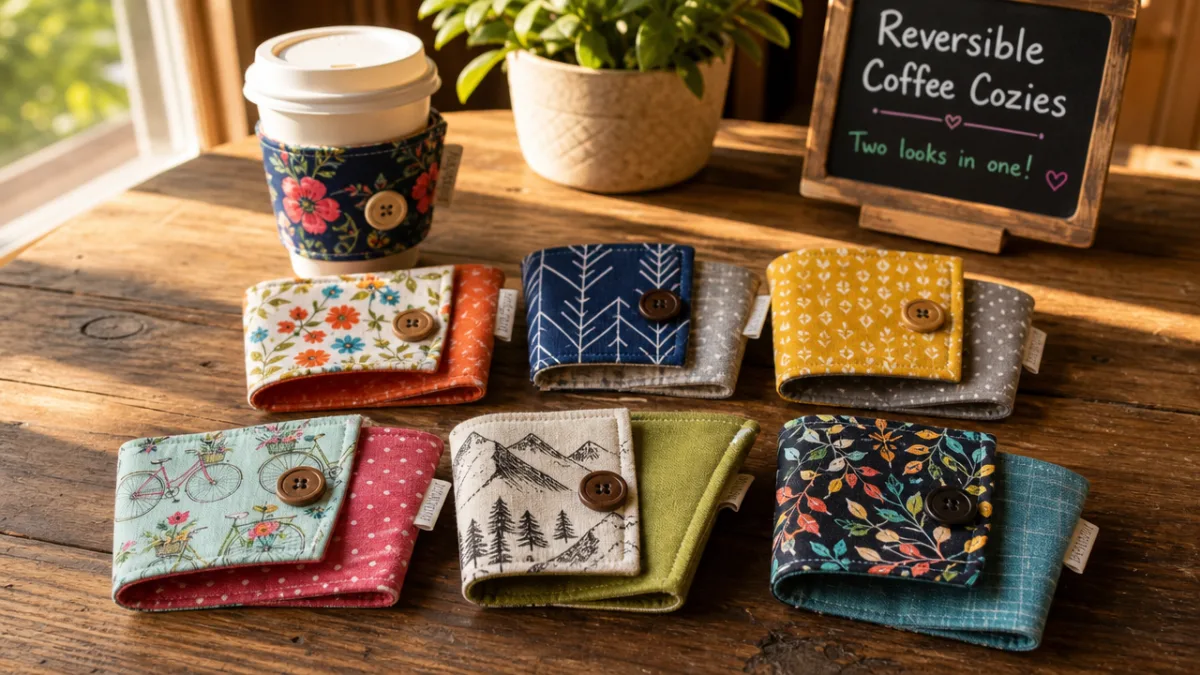
Fabric choice is really where your personality comes through. Because you’re working with such small pieces, this is the perfect excuse to use those special fabrics you love but never have quite enough of for a bigger project. Novelty prints — coffee cups, books, bikes, dogs, seasonal motifs — make wonderful gift cozies when you match them to the recipient’s interests. For a more refined look, try a bold geometric print paired with a coordinating solid. And if you want to really treat yourself, Liberty of London Tana Lawn makes an impossibly luxurious cozy for a surprisingly modest investment.
Making cozies in coordinated sets is another lovely idea, whether as a gift or just to bring a little cohesion to your own kitchen. Four cozies in fabrics that share a common color or print style look wonderful tucked into a gift box or basket. For a holiday basket, pair winter plaid and forest green prints with a small tin of cocoa and marshmallows. For a teacher gift, go with book-themed fabrics and add a café gift card. The cozy costs almost nothing to make but reads as genuinely thoughtful — which is exactly the kind of gift worth giving.
Care Instructions and Long-Term Maintenance
A well-made cozy will last for years with very little fuss, which is one of the things that makes cotton such a great choice for this project. It’s fully machine washable — no special handling required. Wash it in cold or warm water on a gentle cycle, then either tumble dry on low heat or lay it flat to air dry. Steer clear of hot dryer cycles, which can cause cotton to shrink over time and may distort the cozy’s shape, especially if you used fusible fleece in the construction.
If your cozy comes out of the wash looking a bit wrinkled — which is pretty normal with cotton — a quick press with a warm iron will have it looking crisp again in no time. This is especially worth doing if the cozy has been folded up in storage or gift wrapping. Where possible, store cozies flat or rolled rather than tightly folded to keep the ironing to a minimum. As a side note, the fusible fleece interlining tends to soften a little over time with repeated washing, which actually makes the cozy more flexible and pleasant to handle — so that’s a win, not a problem.
With good care, the main threat to your cozy’s longevity isn’t wear and tear — it’s fading. To keep your fabrics looking vibrant for as long as possible, wash the cozy inside-out, use a gentle detergent made for colors, and avoid leaving it sitting in direct sunlight for long stretches. If you notice any loose threads or tiny seam openings after washing, deal with them right away with a few hand stitches before they have a chance to grow. A small repair now really does save a much bigger one later, and keeping an eye on things means your cozy will keep looking its best.
Sharing Your Work and Building Your Skills
Once you finish your first cozy, there’s a very good chance you’ll want to make another one straight away — and then another after that. This is a project that genuinely gets better with repetition. By the time you’ve made four or five, your seams will be straighter, your corners sharper, and your construction time will have shrunk dramatically compared to that first attempt. Lots of experienced sewists will tell you that small, quick projects like this one were the foundation of their skills, and it makes sense: the feedback loop is so fast that you can try something new, finish the project, and see what worked all in the same afternoon.
Sharing your finished cozies on social media or crafting platforms is a great way to connect with other makers who get it — who understand that a small handmade object represents real time, thought, and skill. The encouragement of a supportive crafting community can be surprisingly motivating when you’re developing a new practice. It’s also worth looking into local sewing circles, craft guilds, or community center classes if that appeals to you. There’s something genuinely special about sitting with other makers, swapping tips, comparing fabric finds, and laughing together over a project.
And as your skills grow, this cozy template can be a real jumping-off point. Try adding a small outer pocket for a tea bag or sugar packet. Experiment with patchwork fabric pieced together from tiny scraps before cutting the cozy shape. Or scale the whole technique up to make a reversible wine bottle carrier, a bread basket liner, or a quilted placemat — all of which use the same core skills: right-sides-together construction, careful pressing, and clean topstitching. Every cozy you make builds the muscle memory and confidence to take on the next thing, and the next thing after that.








What do you think?
It is nice to know your opinion. Leave a comment.