










Free Spider Web Pillow Sewing Pattern – Cute DIY Halloween Decor
Introduction: Why a Spider Web Pillow Is the Perfect Halloween Craft
Halloween decorating is one of the most enjoyable seasonal traditions, and nothing captures the spirit of the holiday quite like handmade touches that feel personal and intentional. A spider web pillow sits at the perfect intersection of spooky and sweet — it’s festive enough to signal the season without overwhelming your existing home decor. Whether you’re a seasoned sewist or someone picking up a needle and thread for the first time, this project offers a satisfying creative experience with a result you’ll want to display year after year.
What makes this particular DIY project stand out from store-bought Halloween decorations is the quality and customization it allows. Mass-produced holiday pillows often use thin fabrics, poor stitching, and designs that feel generic. When you sew your own spider web pillow, you choose the fabric weight, the color palette, and the finishing details. You can keep things classic with black and white, go bold with orange and purple, or take a more sophisticated route with charcoal and silver for a grown-up aesthetic that works in a modern living room.
This article will walk you through everything you need to know to make your own spider web pillow from start to finish. We’ll cover the materials you’ll need, how to understand the pattern pieces, step-by-step construction techniques, tips for achieving clean results, and ideas for styling the finished pillow in your home. By the end, you’ll have all the information and confidence required to sit down at your sewing machine and create something genuinely beautiful for the Halloween season.
Materials and Tools You Will Need
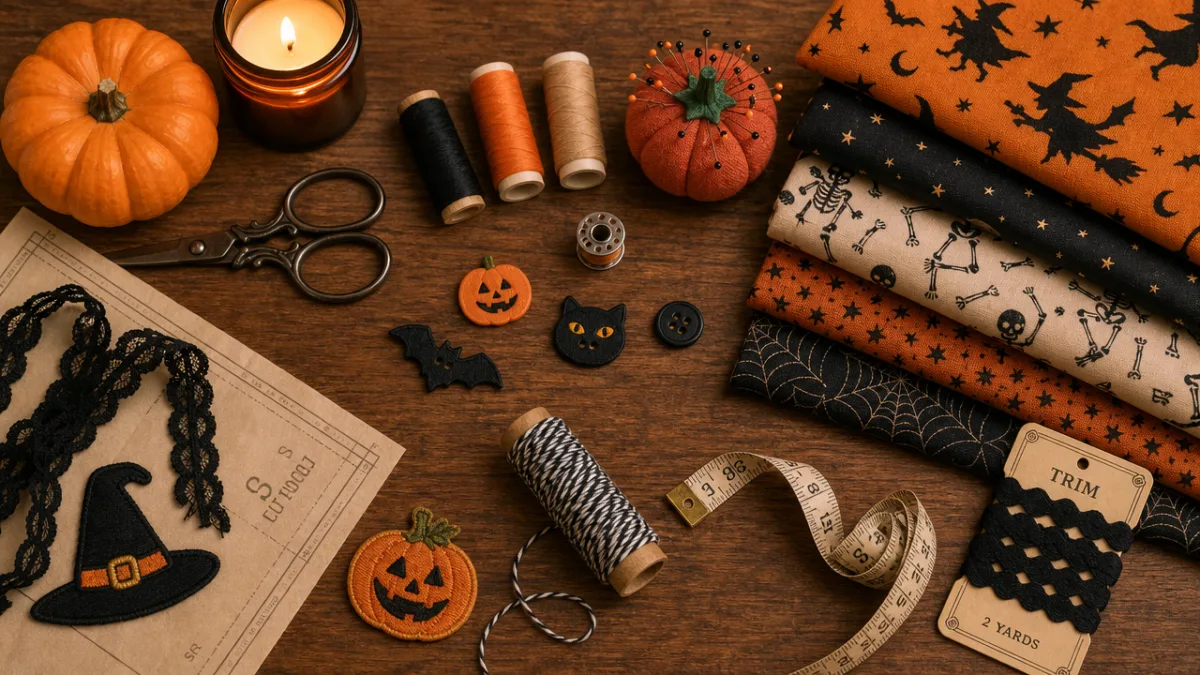
Before you begin cutting or stitching anything, gathering all your supplies is essential. There are few things more frustrating than getting halfway through a sewing project only to realize you’re missing a key notions item or that your fabric is a quarter yard short. For the spider web pillow, the materials list is refreshingly simple, making it an ideal project for beginners who don’t yet have an extensive craft stash. Most of what you need can be found at any fabric or craft store, and many items can be sourced affordably online.
The primary fabric for this pillow should be a medium-weight woven cotton or a cotton-linen blend. These fabrics are stable enough to handle appliqué work without stretching or puckering, and they hold their shape beautifully over time. For a standard 18-inch pillow, you’ll need approximately half a yard of your background fabric and smaller cuts of contrasting fabric for the spider web design itself. If you plan to use fusible webbing for the appliqué pieces, make sure your fabric is iron-safe and pre-wash everything before cutting to prevent shrinkage later.
Here is a complete list of materials and tools for this project:
- Half a yard of background fabric (black, white, orange, or your preferred color)
- Assorted fabric scraps or fat quarters in contrasting colors for the web design
- Fusible webbing (such as Heat’n Bond Lite or Wonder Under)
- 18-inch pillow insert or polyester fiberfill
- Matching or contrasting thread for topstitching
- Sharp fabric scissors or a rotary cutter and cutting mat
- Ruler and fabric marking pen or chalk
- Iron and ironing board
- Sewing machine with a standard presser foot
- Pins or sewing clips
- Optional: embroidery floss and needle for hand-stitched detail lines
One often-overlooked material is a pressing cloth, especially when working with fusible webbing. The adhesive from iron-on products can transfer to your iron’s soleplate if you’re not careful, creating a sticky mess that’s difficult to remove. A thin cotton pressing cloth placed between your iron and the fabric protects both surfaces and ensures a clean, professional bond. It’s a small addition to your toolkit that makes a noticeable difference in the quality of your finished appliqué work.
Understanding the Spider Web Pillow Pattern
The spider web pattern for this pillow is designed to be printed and cut at home, making it entirely free and accessible to anyone with a printer and basic cutting tools. The pattern typically consists of several geometric pieces that, when assembled, create the classic radiating lines and concentric arcs of a spider web. Understanding how the pattern pieces fit together before you begin cutting your fabric will save you considerable time and prevent the confusion that comes from cutting pieces in the wrong direction or forgetting to add seam allowances.
Most versions of this pattern use a simplified web design rather than a perfectly mathematically precise one, which is actually a design advantage. The slight irregularity of a hand-cut and hand-assembled web gives the pillow an organic, artisan quality that elevates it above machine-perfect prints. The pattern is usually divided into wedge sections, like the slices of a pie, each containing the curved arc lines of the web. These wedges are then sewn together at their straight edges to form the complete circular or square web design that becomes the front panel of your pillow.
When printing the pattern, pay close attention to the scale indicator usually included on the pattern sheet — often a one-inch square or a specific measurement line. Print the pattern at 100% scale without any scaling, shrinking, or fitting to page adjustments, and then measure the indicator to confirm your printer reproduced the pattern at the correct size. If the indicator measures correctly, your pattern pieces will be accurate. If it’s off, you may need to adjust your printer settings and reprint before cutting into your fabric.
Pattern pieces for an appliqué-style spider web pillow are typically traced onto the paper side of fusible webbing rather than directly onto the fabric. This is an important distinction because the fusible webbing backing means the pieces are essentially mirror images of the finished design. For symmetrical designs like a spider web, this usually doesn’t matter, but if you plan to add lettering or any asymmetrical elements, you’ll need to flip those templates before tracing. Taking a moment to think through this before cutting prevents the frustration of realizing your pieces are backwards after you’ve already ironed them down.
Step-by-Step Sewing Instructions
Begin the construction process by preparing your fabric panels. Cut your background fabric into two equal squares or rectangles depending on the pillow size you’ve chosen. For an 18-inch pillow, cut two pieces measuring 19 inches square to allow for a half-inch seam allowance on all sides. Press both pieces well so you’re working with smooth, wrinkle-free fabric from the start. A wrinkled background makes appliqué placement uneven and can cause your finished pillow front to look lumpy or misaligned once the pillow is stuffed.
Next, prepare your spider web appliqué pieces. Trace each pattern piece onto the paper side of your fusible webbing, cut them out roughly a quarter inch outside your traced lines, and then iron them onto the wrong side of your chosen web fabric. Once cooled, cut precisely along your traced lines. Peel the paper backing away from each piece and arrange them on your pillow front, using the pattern as a placement guide. The concentric arcs of the web should radiate out from a central point, and the radial lines should divide the web into even sections. Take your time positioning everything before pressing, because once the fusible webbing bonds to the background fabric, repositioning becomes very difficult.
When you’re satisfied with the placement, cover the pieces with a pressing cloth and apply firm, steady heat with your iron according to the fusible webbing manufacturer’s instructions. Work in sections rather than trying to press the entire design at once, and hold the iron in place for the full recommended time rather than moving it around, which can shift your pieces. Once all the appliqué pieces are bonded, finish the edges with a machine zigzag stitch, a blanket stitch, or a narrow satin stitch. This both secures the edges and adds a decorative element that enhances the handmade quality of the piece.
To assemble the pillow, place the decorated front panel and the plain back panel together with right sides facing. Pin or clip all the way around the perimeter. Stitch around all four sides using a half-inch seam allowance, leaving an eight-inch gap along the bottom edge for turning and stuffing. Clip the corners diagonally close to the stitching to reduce bulk, being careful not to cut into the seam itself. Turn the pillow cover right side out through the opening, pushing the corners out carefully with a blunt tool like a chopstick or a point turner. Press the entire pillow cover flat, turning under the seam allowance at the opening so the edges are neat and ready to be slip-stitched closed after stuffing.
Tips for Achieving Professional-Looking Results
One of the most common challenges with appliqué pillows is achieving crisp, sharp edges on the applied pieces, particularly on curves and tight corners. The key to clean curves is clipping or notching the seam allowance of curved pieces before the appliqué is ironed down — but since we’re using fusible webbing here, the technique shifts slightly. Instead, the sharpness comes from precise cutting after the webbing is fused to the fabric. Use very sharp scissors and cut slowly and deliberately, especially around the arcs of the web design. Dull scissors drag on the fabric and create ragged edges that are nearly impossible to disguise even with decorative stitching.
Thread choice has a significant impact on the finished look of your pillow. For a subtle, cohesive look, match your stitching thread to the appliqué fabric so the stitches blend in. For a more graphic, folk-art-inspired look, use a strongly contrasting thread color that makes the stitch line a visible design element. Black thread on white fabric or white thread on black fabric creates a striking, bold outline that enhances the Halloween aesthetic beautifully. If you’re using a satin stitch, test your tension and stitch width on a scrap of the same fabric layers before stitching on your actual pillow front, since satin stitches are particularly sensitive to tension settings.
Pressing throughout the construction process is the single most effective thing you can do to improve the quality of your finished project. Press the seams of your pillow after stitching the front to the back, press the turned-under edges at the opening before slip-stitching, and give the completed pillow a final press once it’s stuffed and closed. Each of these pressing steps smooths out any distortion introduced during sewing and gives the pillow that flat, tailored look that distinguishes a careful, skilled maker’s work from a rushed project. Keep your iron temperature appropriate for your fabric to avoid scorching or shine marks on darker fabrics.
- Always pre-wash fabric to prevent shrinkage after the pillow is complete
- Use a new needle for every project to ensure clean, skip-free stitching
- Check that your sewing machine’s feed dogs are clean and moving smoothly before beginning
- Keep seam allowances consistent by using a seam guide or a piece of tape on your machine’s throat plate
- Iron seams open when possible to reduce bulk in the pillow’s corners
- Stuff the pillow firmly but not so tightly that the seams are strained
Styling Your Spider Web Pillow in Your Home
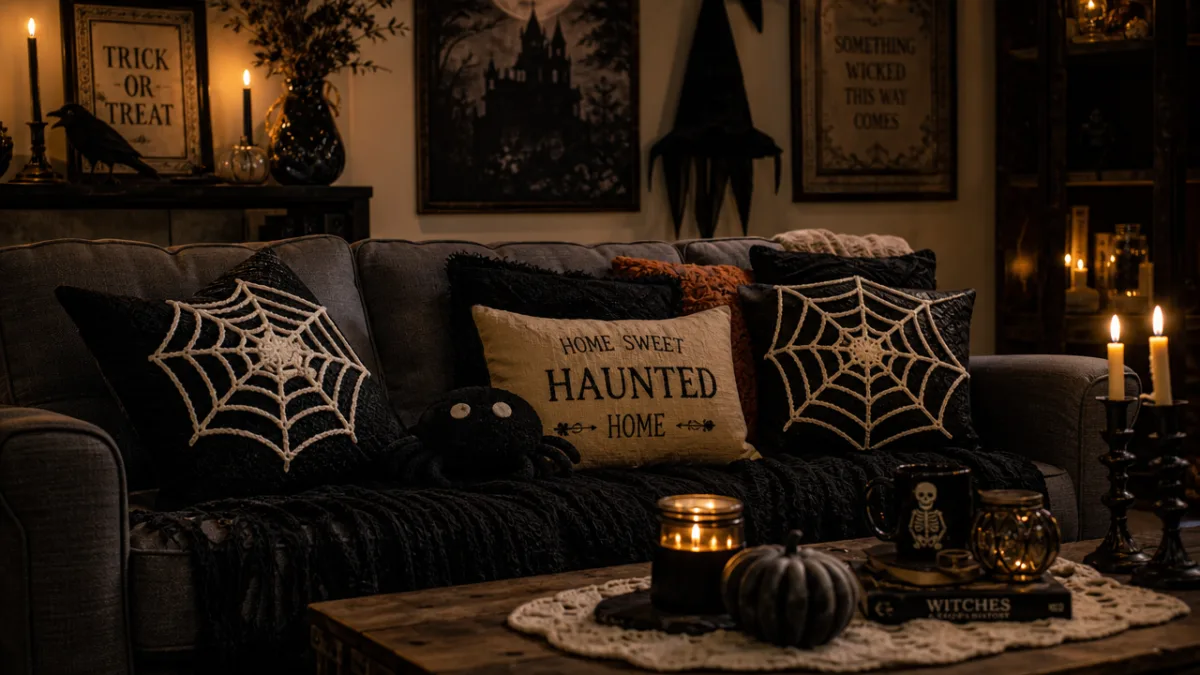
Once your spider web pillow is complete, the fun of incorporating it into your seasonal decor begins. The pillow works beautifully as part of a layered arrangement on a sofa or accent chair, paired with other Halloween-themed throw pillows in complementary colors. A simple pairing might include your spider web pillow alongside a solid deep-orange pillow and a striped pillow in black and cream. The varied textures and patterns create visual interest without the arrangement feeling cluttered or too themed. Keep the overall palette cohesive by limiting it to two or three colors throughout all the pillows in the grouping.
Beyond the living room, spider web pillows make wonderful accents in entryways, on window seats, or even as part of a Halloween-themed bed arrangement in a guest room. A reading nook with a cozy chair, a plaid blanket, some LED candles, and your handmade spider web pillow becomes an instant seasonal vignette that feels both inviting and festively spooky. The handmade quality of the pillow adds warmth that no store-bought decoration can replicate — guests will invariably notice and admire something made by hand, and it often becomes a conversation piece as much as a decorative element.
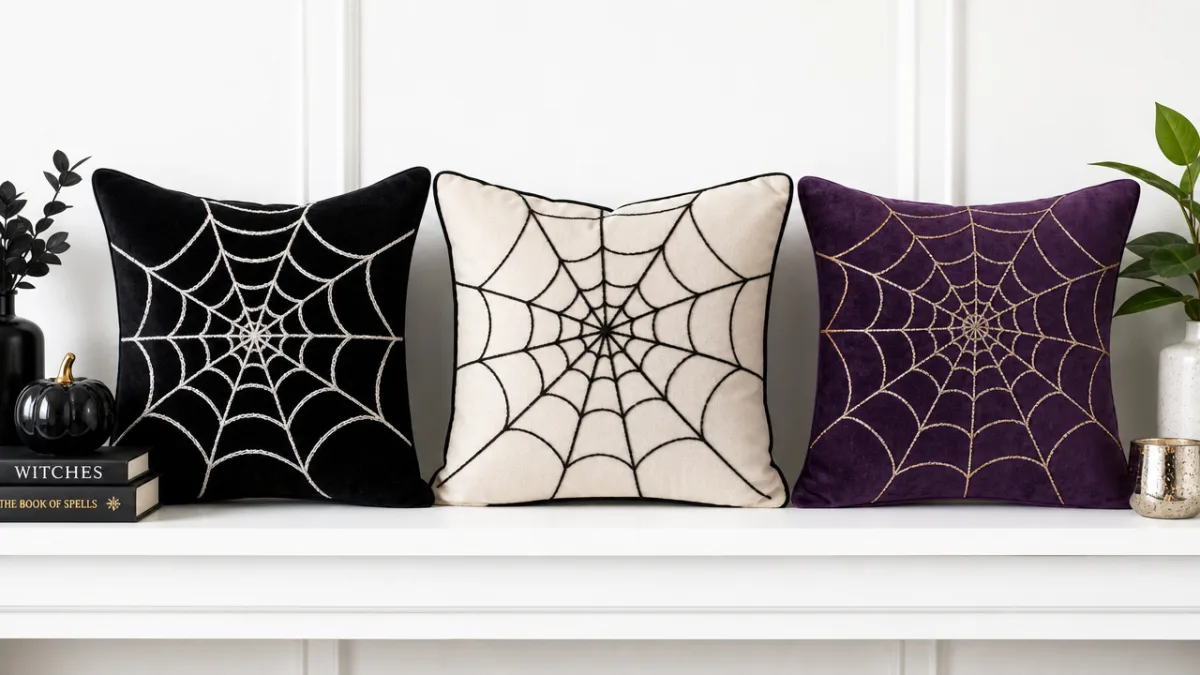
Consider making the spider web pillow in multiple colorways for different styling scenarios. A black background with white web looks dramatic and classic. A natural linen background with a white or cream web feels understated and sophisticated, appropriate even in a neutral, minimalist space. A white background with a black web offers maximum graphic contrast and pops brilliantly in a bright, modern room. By making the same pattern in two or three different fabric combinations, you give yourself a flexible set of decor options that can work in different rooms or be rotated based on your mood each Halloween season.
Storage, Care, and Reusing Your Halloween Pillow
One of the great advantages of investing time in a quality handmade pillow is the longevity it offers when properly cared for. Unlike cheap seasonal pillows that pill, fade, or lose their shape after a single season, a well-made cotton pillow with careful construction can last for many years. To extend the life of your spider web pillow, remove the pillow insert before storing the cover, and store the cover flat or loosely folded in a breathable cotton bag or pillowcase. Avoid storing it compressed under heavy items or in sealed plastic bags, which can trap moisture and cause mildew or yellowing over time.
For cleaning, most cotton pillow covers can be machine washed on a gentle cycle in cool water with a mild detergent. However, if you used fusible webbing for the appliqué and did not add any decorative stitching to secure the edges, it’s worth taking a bit more care, as repeated machine washing can eventually cause the bonded edges to lift. If your appliqué is secured with stitching all the way around each piece, machine washing is generally safe. Always air dry or tumble dry on low heat, and press with a warm iron while slightly damp to restore the cover’s smooth, flat appearance before putting it back into use the following Halloween.
At the end of the Halloween season, take a moment to inspect the pillow cover for any loose threads, lifted appliqué edges, or small repairs needed before you put it away. Making small fixes immediately rather than discovering them next October when you pull the pillow out again saves time and ensures the pillow is ready to use right away. Label your storage bag with the contents so you can find everything easily next year, and consider tucking a small sachet of cedar or lavender inside to keep the fabric fresh and deter moths or insects during the months of storage. With minimal effort, a handmade Halloween pillow becomes a treasured part of your seasonal traditions for many years to come.








What do you think?
It is nice to know your opinion. Leave a comment.