










DIY Paper Squishy Strawberry: Your Complete Guide to Making an Adorable Handmade Toy
What Is a Paper Squishy and Why Make One?
Paper squishies have taken the crafting world by storm, offering a delightful and budget-friendly alternative to the foam or polyurethane squishies you find in toy stores. A paper squishy is essentially a hollow paper sculpture built from layers of carefully folded and glued cardstock or thick paper, designed to have a satisfying, gentle give when squeezed. The strawberry design is one of the most beloved and beginner-friendly shapes to start with, combining a recognizable silhouette with cheerful colors that make the finished product irresistible to kids and adults alike.
One of the biggest appeals of making your own paper squishy is the sheer cost-effectiveness of the project. Commercial squishies can run anywhere from a few dollars to upwards of twenty dollars for licensed character designs, and they often wear out or tear after heavy use. By contrast, a paper squishy strawberry requires nothing more than cardstock, scissors, glue, and markers or paint — materials most crafters already have sitting in a drawer. The entire project can be completed in under two hours, making it an ideal weekend activity or a rainy-day craft session with children.
Beyond the economic argument, making paper squishies is genuinely educational. The process teaches spatial reasoning as you fold flat paper into three-dimensional forms, fine motor skills as you cut clean curves and apply glue precisely, and creative expression as you decorate the finished piece. For parents looking for screen-free activities that still feel exciting and modern, the paper squishy strawberry hits a sweet spot between traditional origami-style crafts and contemporary toy culture. Children feel enormous pride when they realize they have made something that looks store-bought — and better yet, something uniquely their own.
Materials You Will Need
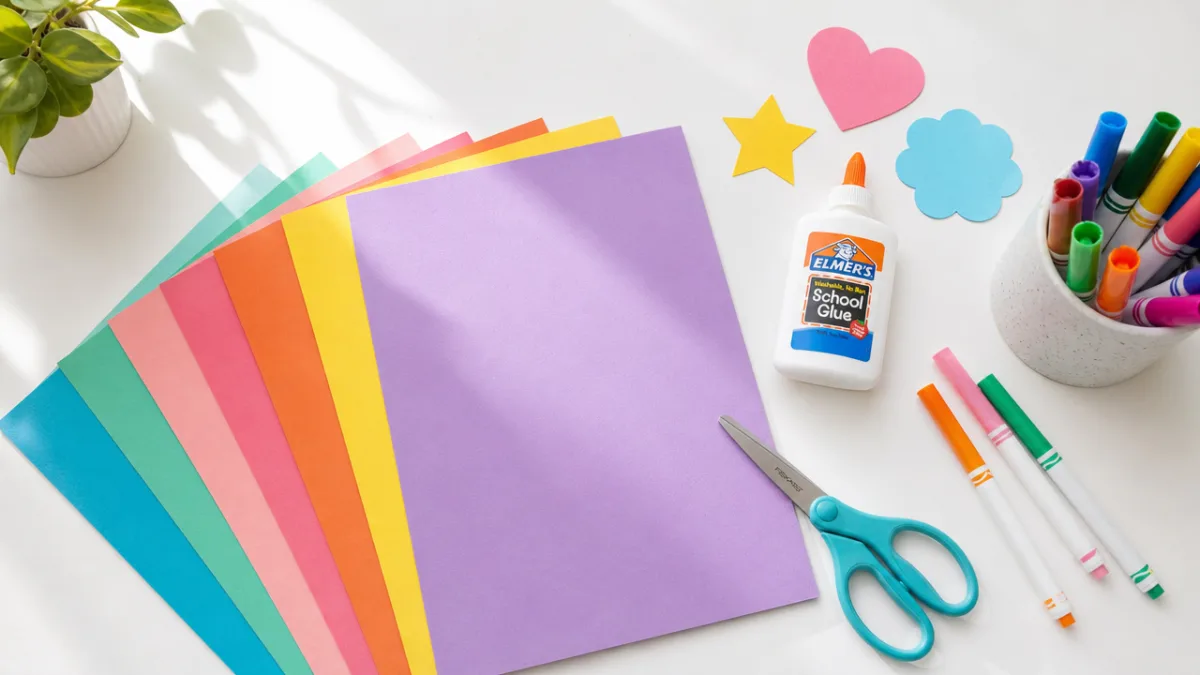
Gathering the right materials before you begin is half the battle with any craft project, and the paper squishy strawberry is no exception. The most critical ingredient is the paper itself. You will want cardstock in the 65 to 80 lb weight range — heavy enough to hold its shape and provide that satisfying squish resistance, but not so rigid that it cracks when compressed. Standard printer paper is far too thin and will crumple rather than spring back. Craft stores carry cardstock in convenient packs, or you can repurpose the covers of old notebooks or cereal boxes in a pinch.
For coloring your strawberry, you have a couple of excellent options. Markers with a broad chisel tip give vivid, even coverage and dry almost instantly, which is important when you are working with paper that can buckle from too much moisture. Alternatively, acrylic paint applied with a dry brush technique creates a more textured, painterly effect that can make your strawberry look genuinely dimensional and lifelike. Watercolors, however, are best avoided because they introduce too much water to the paper and will cause warping and weakening of your structure. Whichever coloring medium you choose, a thin coat of clear craft sealant spray applied at the end will protect your work and give it a subtle, appealing sheen.
The adhesive you use matters more than most beginner crafters expect. A strong PVA glue or a dedicated paper glue stick works well for laminating layers together, but for the final structural joins — sealing the strawberry body closed — a quick-setting craft glue or even a low-temperature hot glue gun provides much more reliable bonding. Keep a pair of small, sharp scissors on hand for detail cutting, and consider investing in a bone folder if you plan to make many of these, as it produces crisp folds without tearing the paper fibers. Rounding out your toolkit: a pencil for tracing templates, a ruler, and a cutting mat to protect your work surface.
- Red and green cardstock (65–80 lb weight recommended)
- Sharp scissors or a craft knife with cutting mat
- PVA glue or craft glue stick for layering
- Hot glue gun or strong quick-set craft glue for final sealing
- Red and green markers or acrylic paints with fine brush
- Black fine-tipped marker for drawing seeds
- Pencil and ruler for tracing templates
- Clear sealant spray or mod podge for finishing
- Bone folder (optional but helpful for clean folds)
Creating Your Templates and Cutting the Pieces
The template is the foundation of your paper squishy strawberry, and spending an extra few minutes getting it right will pay dividends throughout the rest of the project. A classic strawberry squishy shape consists of two main components: the body panels that form the plump red fruit, and the calyx — the leafy green crown that sits at the top. For the body, draw a rounded heart shape roughly four inches tall and three and a half inches wide at its widest point. The bottom should taper to a gentle, blunted point rather than a sharp one, which gives the strawberry its characteristic friendly, rounded silhouette. Trace this shape four times onto your red cardstock.
The calyx template is a separate piece that looks somewhat like a five-pointed star with softly curved, elongated points — imagine a small green crown. Draw it so that when attached to the top of your assembled strawberry body it looks proportionally natural, typically around one and a half to two inches across. You will need two of these calyx shapes. Additionally, cut a long, narrow rectangle from the red cardstock — approximately twelve inches long and half an inch wide — which will serve as the spine or gusset of your squishy, connecting the front and back panels and giving the piece its three-dimensional depth and squishiness. This gusset strip is the secret structural element that makes the whole thing work.
When cutting your pieces, take your time along the curved edges. Slow, steady scissor strokes following the pencil line produce far cleaner curves than quick, choppy cuts. If you have a craft knife, it can be particularly useful for cutting multiple layers at once — simply stack two or three pieces of cardstock, secure them with a small piece of tape, and cut through all layers simultaneously, saving you time and ensuring your panels are perfectly symmetrical. After cutting, compare your pieces against each other. If any panel is noticeably different in size or shape, use scissors to trim it down to match. Consistency between panels means your finished squishy will be symmetrical and professional-looking rather than lopsided.
Assembling the Paper Squishy Strawberry
Assembly is where your flat paper pieces transform into a wonderfully plump three-dimensional fruit, and the process is more straightforward than it might look. Begin by scoring and folding the long gusset strip every half inch along its length, accordion-style, using your bone folder or the blunt edge of a ruler. This creates the flexible spine of your squishy — those tiny pleats are what allow the paper to compress and spring back when squeezed, mimicking the behavior of foam squishies remarkably well. The more consistently spaced your accordion folds are, the more evenly the squishy will compress across its entire surface.
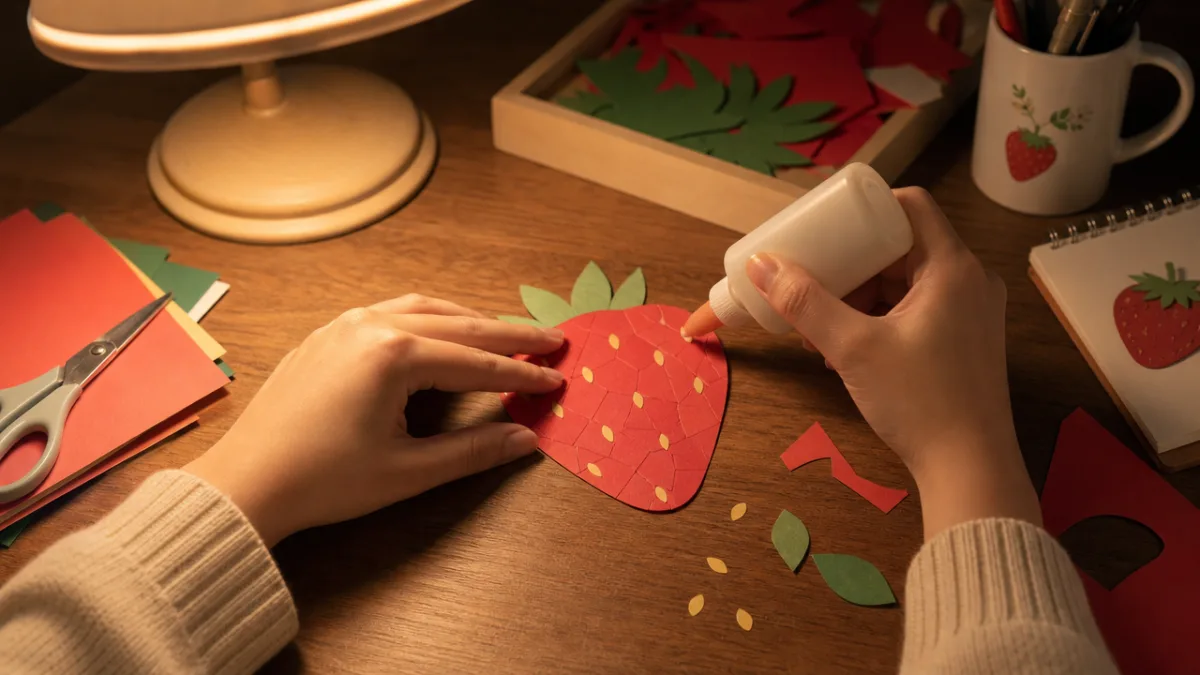
Next, apply a thin line of your PVA glue along one long edge of the accordion-folded gusset strip. Carefully align one edge of a front body panel with this glued edge and press firmly, holding for thirty seconds to allow the bond to set. Work slowly around the curved perimeter of the panel, applying small sections of glue and pressing the gusset strip into place as you go. This is the most technically demanding step of the project, as paper has a natural tendency to resist bending around tight curves — but take your time, use small dabs of glue, and let each section set before moving on. Once the gusset strip is fully attached to the front panel, repeat the process on the opposite edge to attach the back panel, leaving a small opening at the top where the calyx will be attached.
Before fully sealing the opening, you may optionally stuff the interior of your squishy with a small amount of tissue paper, cotton batting, or crumpled paper scraps. This internal stuffing is not strictly necessary — the accordion gusset creates squishiness on its own — but it adds a pleasing roundness and fullness to the finished shape, making it look more like a real plump strawberry and less like a flat, deflated one. Once you are satisfied with the shape, seal the top opening with a final application of glue, then attach your two calyx pieces back to back with a dab of glue between them, and affix the finished calyx unit to the top of the strawberry using your hot glue gun for a strong, durable bond.
- Score and accordion-fold the gusset strip every half inch for maximum squishiness.
- Glue the gusset strip edge to the perimeter of the front body panel, working in small sections around the curves.
- Attach the back body panel to the opposite edge of the gusset strip in the same manner.
- Optionally stuff the interior with tissue paper for extra fullness before sealing.
- Seal the top opening with glue, leaving space for the calyx attachment.
- Glue the two calyx pieces back to back, then hot-glue the calyx unit firmly to the top of the strawberry.
Decorating Your Paper Squishy Strawberry
Decoration is arguably the most enjoyable stage of the entire project, and it is where your paper strawberry truly comes to life. Start with the base coat of red across the entire strawberry body. If you are using markers, go over the surface in smooth, overlapping strokes to ensure even coverage without streaks. If you are painting, load a flat brush with just a small amount of acrylic paint and apply it in light, dry-brush passes — this technique not only prevents the paper from buckling due to excess moisture, but it also creates a slightly textured appearance that resembles the natural surface of a real strawberry. Apply two or three thin coats, allowing each to dry fully, rather than one thick coat.
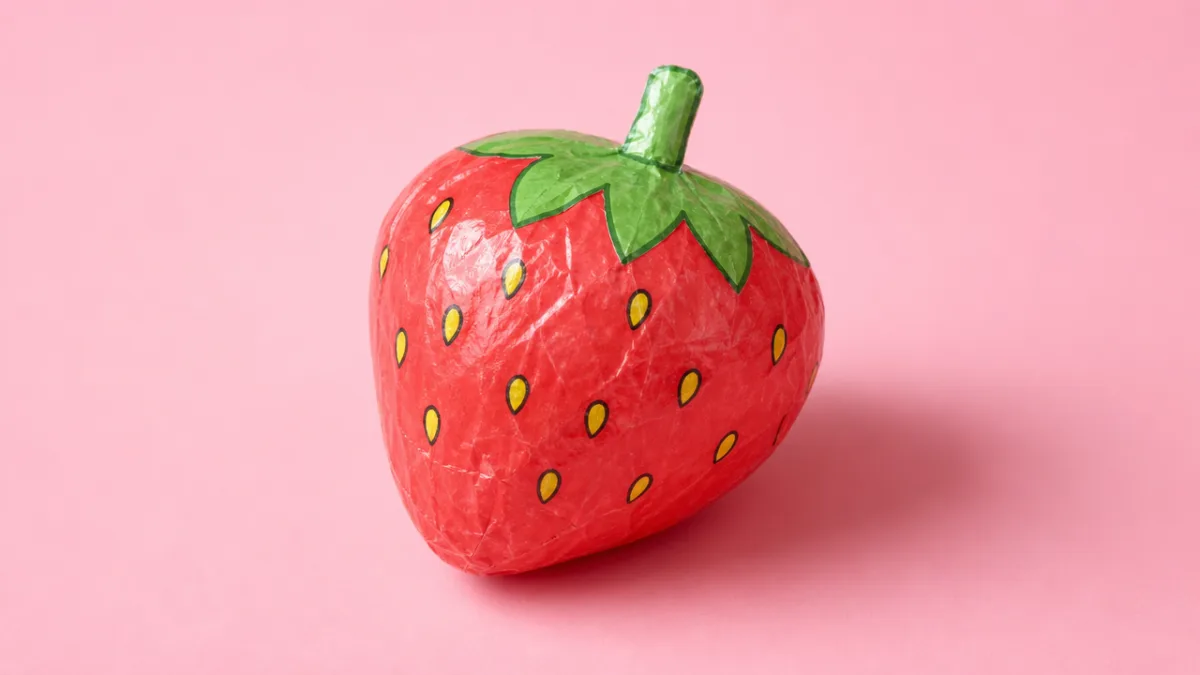
Once the base red coat is fully dry, it is time to add the characteristic seeds. Real strawberries have their seeds — technically called achenes — embedded on the outside of the fruit, and replicating them is what takes your paper squishy from looking like a generic red lozenge to an unmistakably strawberry shape. Use a fine-tipped black marker to draw small, teardrop or oval shapes scattered across both sides of the body, distributing them fairly evenly but with slight irregularity, as perfectly regular seeds look strangely mechanical. For extra dimension, add a tiny white highlight dot to one edge of each seed, and consider shading around each seed slightly with a darker red or maroon marker to create a subtle inset effect.
For the calyx, color both layers with bright green marker or paint, then use a slightly darker forest green on the underside of each leaf point to create shadow and dimension. A few fine veining lines drawn with a dark green pen add botanical realism. Once all your color work is complete and fully dry, finish the entire squishy with a light coat of clear sealant spray or a thin brushed-on layer of diluted mod podge. This seals and protects the colors, adds a lovely slight sheen, and — crucially — stiffens the paper surface just enough to improve the spring-back quality of your squishy, making it feel more satisfying and durable with every squeeze.
Tips, Variations, and Troubleshooting
Even with clear instructions, paper crafts have a way of presenting small surprises, and the paper squishy strawberry is no different. One of the most common issues beginners encounter is the gusset strip tearing or buckling unevenly during the attachment phase. If this happens, do not panic — simply cut a new strip and try again, this time making your accordion folds slightly smaller and more numerous, which distributes stress more evenly across the paper. Another frequent issue is the body panels warping slightly after painting. To prevent this, always apply paint or marker to both sides of each panel before assembly so that both surfaces absorb moisture at the same rate, keeping the panel flat and preventing one-sided warping.
Once you have mastered the basic strawberry, the template system opens up a world of variation. The same gusset-and-panel technique works beautifully for other fruit shapes — try a yellow lemon, a purple grape cluster panel, a round red apple, or even a pink donut squishy for variety. You can also scale your templates up or down: a giant twelve-inch strawberry squishy makes a wonderful decorative pillow-like object, while tiny one-inch versions can be threaded onto a keychain or charm bracelet. For a more advanced decorating challenge, try painting kawaii-style faces on your squishies — two simple closed semicircle eyes and a small blush circle on each cheek transforms a plain fruit into an adorable character beloved by the current generation of crafters.
Paper squishies make wonderful gifts and party favors, and the project scales easily for group crafting events. If you are planning a birthday party or classroom craft session, pre-cut the templates and pre-score the gusset strips in advance so that participants can jump straight to assembly and decoration. Consider setting up a decoration station with an array of markers, metallic pens, sticker gems, and glitter glue so everyone can personalize their strawberry. For added durability in a gift context, using slightly heavier cardstock — 90 lb or even thin illustration board — and applying two coats of mod podge will produce a squishy that holds up to repeated handling remarkably well, lasting months rather than days with proper care.
- Pre-cut templates in bulk for group crafting sessions to save time.
- Color both sides of each panel before assembly to prevent warping.
- Use heavier cardstock (90 lb) for squishies intended as gifts or toys for young children.
- Apply two coats of mod podge for maximum durability and a satisfying spring-back feel.
- Experiment with kawaii face designs for an extra charming, modern aesthetic.
- Scale templates up for decorative objects or down for keychains and charms.
- Try other fruit and food shapes using the same gusset-and-panel construction technique.
The paper squishy strawberry is more than a simple craft project — it is a gateway into the broader world of paper engineering and three-dimensional paper art. The skills you develop cutting clean curves, managing paper tension around bends, laminating layers for strength, and decorating with patience and attention to detail are all transferable to more ambitious projects like paper sculpture, pop-up cards, architectural models, and even set design. Start with your strawberry, enjoy the process fully, and let the satisfaction of that first satisfying squish remind you that the most rewarding things we own are often the ones we made ourselves.








What do you think?
It is nice to know your opinion. Leave a comment.