










DIY Flower Tealight: How to Create Beautiful Flower-Decorated Tea Light Candles
Introduction to Flower-Decorated Tea Light Candles
There’s something genuinely magical about the soft, flickering glow of a tea light — but add some delicate flowers into the mix, and you’ve got something really special. DIY flower tealights have taken off as one of the most beloved home crafting projects around, and it’s easy to see why. They’re a beautiful way to freshen up your decor, make a heartfelt handmade gift, or just set a lovely mood for an evening. And the best part? Whether you’ve been crafting for years or you’ve never melted a drop of wax in your life, this project is completely approachable.
What makes flower tealights so fun is how customizable they are. You get to decide everything — the flowers, the colors, the size, even the scent. Dried flowers, pressed petals, silk blooms, fresh seasonal picks — they all work beautifully. And the finished candles honestly look like something you’d find in a boutique, even though the process to make them is surprisingly simple. That gap between effort and result is what makes this craft so satisfying.
There’s also something nice about knowing exactly what went into the candles sitting in your home. A lot of store-bought candles rely on synthetic fragrances and paraffin wax, which isn’t everyone’s cup of tea. When you make your own, you can reach for beeswax, soy wax, or coconut wax, and scent them with essential oils you actually love. This guide covers everything you need to go from raw materials to a finished set of gorgeous flower tealights.
Materials and Tools You Will Need
Before you dive in, it’s worth taking a few minutes to get everything together. The good news is that most of what you need is easy to find at craft stores, online, or even at a well-stocked supermarket — no specialty hunting required. Having it all laid out before you start also makes the process feel much smoother, especially once the wax is melting and you need to move with a bit of purpose.
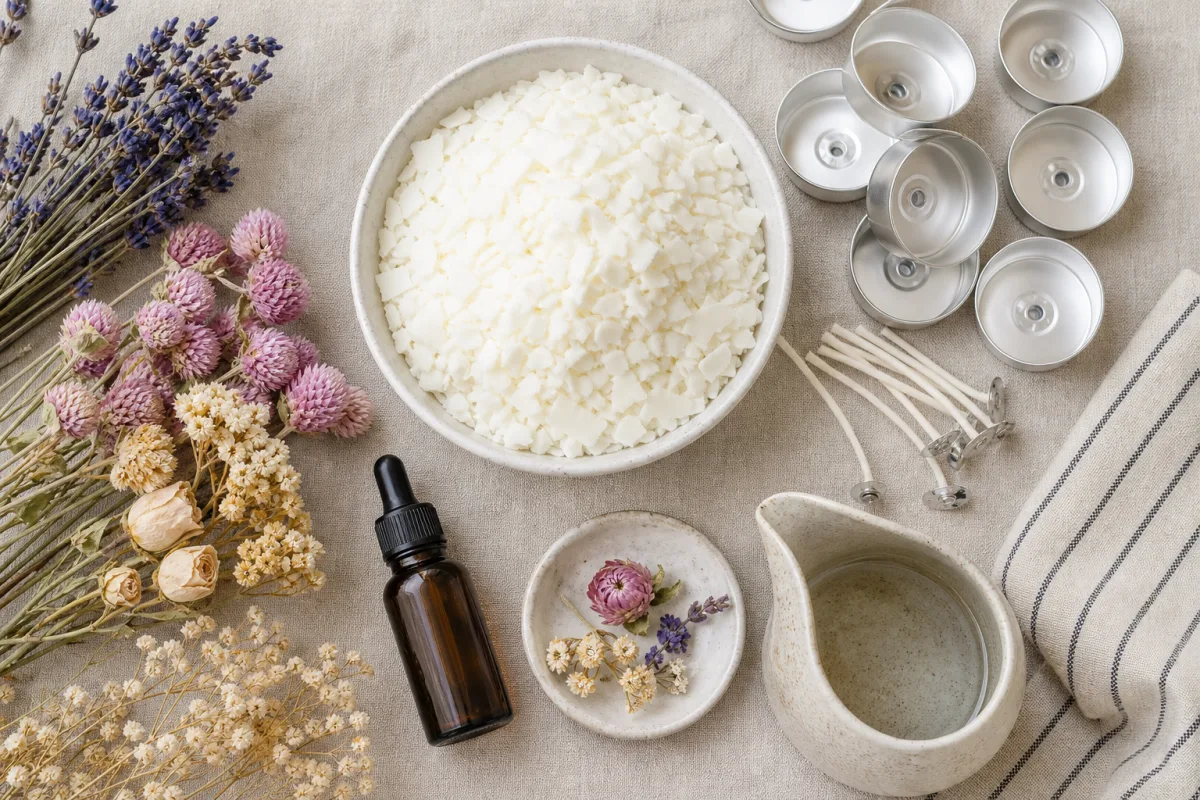
For the wax, soy wax flakes are a go-to for most DIY candle makers. They melt easily, have a lower melting point than paraffin, and give you a clean, long-lasting burn. You’ll also need pre-waxed cotton wicks with metal sustainer tabs — these help keep your wick standing straight and centered while you pour. Aluminum tealight cups are inexpensive and easy to find in bulk, and they serve as the mold. For melting the wax safely, a double boiler works great, or you can set a heat-safe pouring pitcher in a pot of simmering water.
Now for the fun part — the flowers. Your options here are genuinely wide open. A few great choices to consider:
- Dried lavender sprigs for a calming, aromatic touch
- Pressed rose petals in soft pinks, reds, or creamy whites
- Dried chamomile flowers for a cheerful, daisy-like appearance
- Dried eucalyptus leaves for a botanical, spa-inspired look
- Small silk flowers or fabric blooms for a more durable, reusable decoration
- Dried baby’s breath for a wispy, ethereal texture
You’ll also want a thermometer to keep an eye on your wax temperature, some chopsticks or wick centering tools to hold the wicks in place while everything sets, and a protected work surface — parchment paper or an old cutting board does the job perfectly. A few nice extras to have on hand: candle dye chips if you want to add color, and essential oils like lavender, rose, or jasmine to give your tealights a scent that really complements the floral look.
Step-by-Step Instructions for Making Flower Tealights
Once everything’s ready to go, set up your double boiler and add your soy wax flakes to the top vessel. Melt them gently over medium-low heat, stirring now and then with a heat-resistant spatula until you’ve got a smooth, clear liquid. Keep your thermometer in there and aim for somewhere between 170 and 180 degrees Fahrenheit — that’s the sweet spot for adding color and fragrance without losing any of their potency.
While the wax is doing its thing, prep your tealight cups. Drop a pre-waxed wick into the center of each one and use a tiny dot of hot glue or a wick sticker to anchor the metal tab to the bottom of the cup — this stops it from drifting when you pour. Then rest a chopstick or pencil across the top of the cup and wrap the wick loosely around it to keep everything upright and centered. Getting a few cups prepped at once makes the whole process feel much more relaxed.
Once your wax hits the target temperature, pull it off the heat and let it cool down to around 140 to 150 degrees Fahrenheit before stirring in your fragrance oil and dye. Mix gently for about two minutes — slow and steady keeps air bubbles out of the mix. Then pour the wax carefully into your prepared cups, stopping just below the rim. Let the candles cool at room temperature for at least four hours, though overnight is even better, before you move on to the decorating.
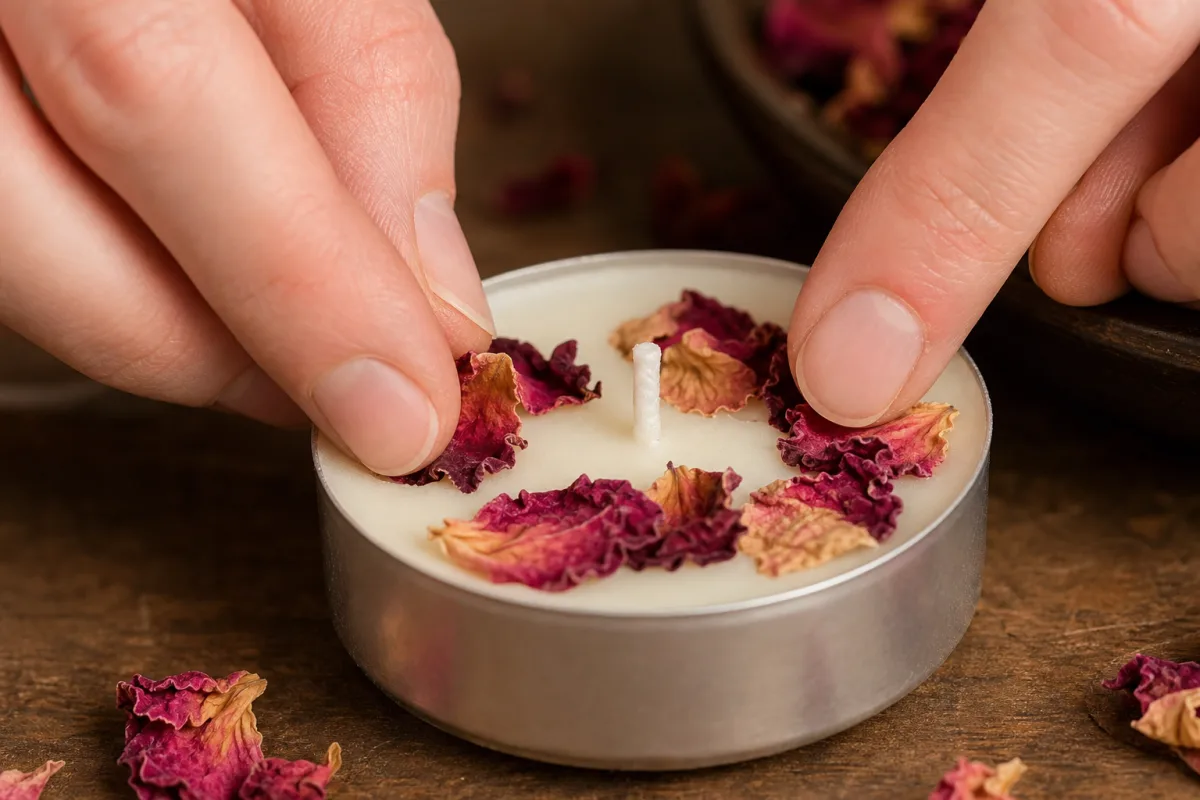
For attaching the flowers, you’ve got two solid options. The first is pressing dried blooms or petals directly onto the wax surface while it’s still slightly soft — roughly 30 to 45 minutes after pouring, before it’s completely set. The second method involves adding a thin top layer of clear candle gel or a light secondary pour of wax once the candle is fully cooled, which acts as both adhesive and sealant for your botanicals. Both work really well; it mostly comes down to the type of flowers you’re using and the finish you’re going for.
Creative Design Ideas and Variations
Once you’ve got the basic technique down, the real fun begins. The number of directions you can take these tealights is genuinely exciting. For a romantic Valentine’s Day feel, try layering red and pink rose petals over a softly pink-tinted wax scented with rose geranium oil. When the candle is lit and the flame shines through those translucent petal layers, the effect is really lovely — especially in a dimly lit room.
For something with a more rustic, farmhouse vibe, dried lavender paired with tiny rosemary sprigs and a soft sage green dye hits just the right note. This combination is especially popular for wedding favors and bridal shower decorations, and it makes a gorgeous gift for anyone who loves a natural, earthy look. Try arranging the lavender in a sunburst pattern radiating from the wick, or scatter it more freely across the surface for a wildflower feel. Tying a small raffia bow around the aluminum cup is a simple finishing touch that makes a big difference in how the final piece looks.
Seasonal themes are another great jumping-off point. Some ideas worth exploring:
- Spring Renewal: Cherry blossom petals, soft yellow wax, and a light citrus essential oil blend
- Summer Garden: Marigold petals, sunflower fragments, and a warm amber or honey-toned wax
- Autumn Harvest: Dried orange peel, small cinnamon sticks, and deep burgundy or rust-colored dye
- Winter Wonderland: White wax with dried white flowers, silver glitter accents, and a cool peppermint or pine fragrance
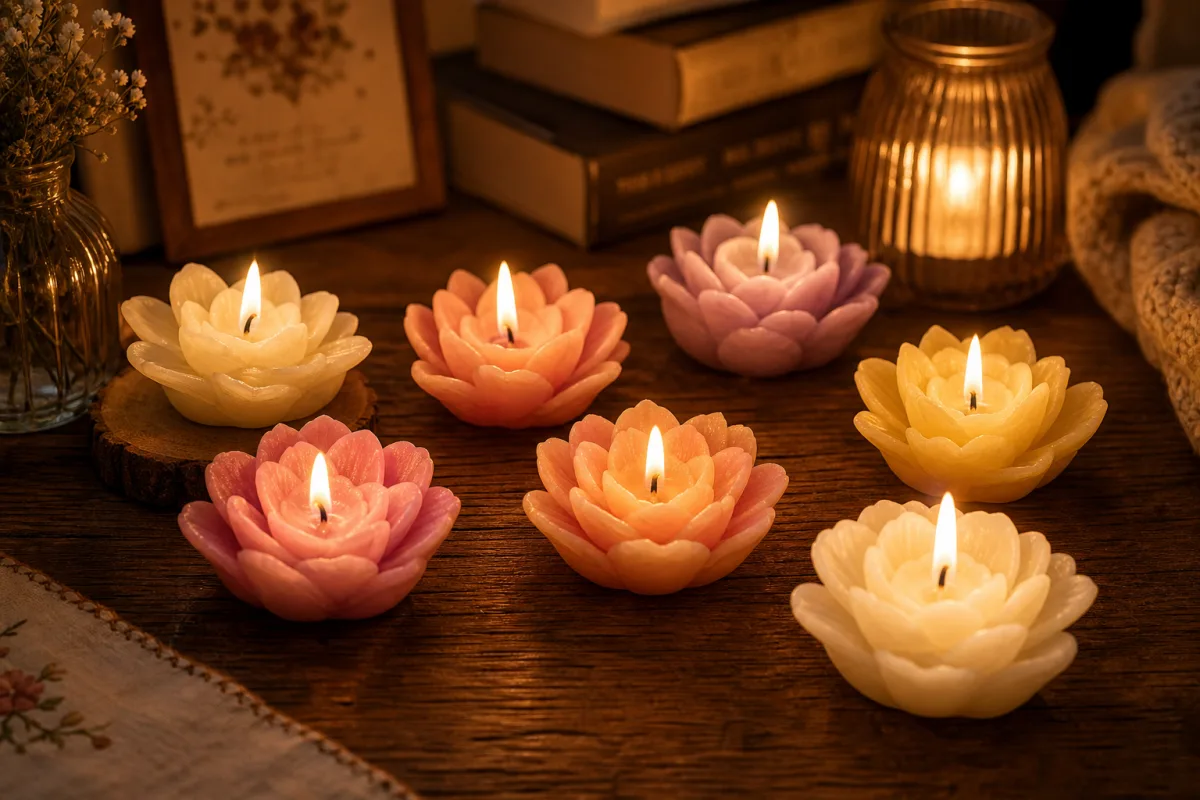
You can also think about making matched sets that work together as a group. A trio of tealights in pink, blush, and white — each with slightly different amounts of rose petal decoration — creates a beautiful ombre effect on a mantelpiece or dining table. It’s worth keeping in mind that grouping an odd number of candles together tends to look more intentional and visually balanced than even numbers. It’s a small design trick that makes a real difference.
Safety Tips and Best Practices
Working with hot wax isn’t complicated, but a little care goes a long way toward keeping things safe and stress-free. Always use a thermometer rather than guessing at the temperature — overheated wax can catch fire or lose quality fast. Keep a fire extinguisher or some baking soda within reach when you’re working with melted wax, and don’t step away from a double boiler that’s on the stove. It’s also a good idea to work in a well-ventilated space, since concentrated fragrance oil fumes can be a bit much in an enclosed area.
With botanical decorations, the main thing to be mindful of is how they behave near a flame. Always make sure your flowers and petals are embedded in or sealed under a layer of wax rather than sitting loose on the surface, where they could potentially ignite as the candle burns. Keep your floral elements toward the outer edges of the tealight, leaving at least a half-inch of clear space around the wick. And as with any candle, never leave it burning unattended, and extinguish it before the wax level gets within a quarter inch of the base.
Storing your finished tealights well will also help them stay looking their best for longer. Keep them out of direct sunlight, which fades both the wax color and the dried flowers over time, and store them somewhere cool and dry. A decorative box or container is ideal for keeping the surface free of dust. If you’re gifting them, wrapping each one in tissue paper or tucking them into a small organza bag protects the floral decorations during transport and gives the whole thing a polished, thoughtful presentation.
Gifting and Display Ideas for Your Flower Tealights
Honestly, flower tealights might be one of the best handmade gifts out there. They work for almost any occasion, and the fact that they’re made by hand adds a warmth that you just can’t replicate with something off a shelf. For a birthday, try making a set in the recipient’s favorite colors and incorporating flowers with a personal connection — like their birth month flower, or something meaningful to them. Nestle a few tealights into a small wooden crate or a pretty tin, add a handwritten note about what went into them, and you’ve got a gift that’s genuinely memorable.
Wedding favors are probably the most popular application for DIY flower tealights, and they’re ideal for it. You can produce them in larger batches without breaking the bank, match them perfectly to the wedding’s color palette, and send guests home with something practical they’ll actually use. For big batches, set up an assembly-line workspace and pour multiple candles at once to keep things efficient. A small tag with the couple’s names and wedding date — whether printed or handwritten in calligraphy — ties everything together beautifully.
For displaying them at home, there are so many lovely options. A cluster of tealights on a mirrored tray makes for a spa-like centerpiece in a bathroom or on a bedroom vanity. Lined up along a windowsill at dusk, where the last of the natural light mingles with their warm glow, they create an incredibly cozy atmosphere. Another idea: float the tealight cups in a shallow bowl of water surrounded by loose flower petals. It’s a simple setup that looks stunning and works just as well for a quiet weeknight dinner as it does for a special occasion.
Troubleshooting Common Issues
Even seasoned candle makers run into the occasional hiccup, so don’t be discouraged if something doesn’t look quite right on your first batch. One of the most common issues is a sinkhole or dip in the center of the cooled wax. This happens because wax contracts as it solidifies, pulling inward from the middle. The fix is easy: once the first pour is fully hardened, do a small second pour of wax heated to a slightly lower temperature to fill in the depression and level out the surface.
Frosting — that faint white, powdery film that sometimes appears on cooled soy wax — is another thing you might notice. It doesn’t affect how the candle burns or smells, but it can make your floral decorations a little harder to see. To reduce it, try pouring at a slightly higher temperature and warming your tealight cups beforehand, which slows down the cooling process and minimizes the crystallization that causes frosting. Some makers actually lean into it, noting on their labels that frosting is a natural characteristic of soy wax and a sign that no synthetic additives were used.
If your wick is smoking heavily or producing a flame that seems too large, it’s probably a size too thick for your tealight’s diameter. On the flip side, if the wick keeps drowning in the wax pool and going out early, it’s likely too thin. Most craft suppliers include a wick size guide that matches wick diameter to candle diameter, which is a handy reference when you’re choosing wicks for future batches. Keeping a simple log of your variables — wax type, fragrance load, wick size, pour temperature — makes it much easier to dial things in over time and land on a process that reliably turns out beautiful, well-burning flower tealights.








What do you think?
It is nice to know your opinion. Leave a comment.