










DIY Pumpkin Light Cover: Transform Your Home with Festive Autumn Glow
Introduction: The Magic of Handmade Pumpkin Lighting
There is something undeniably enchanting about the warm, amber glow that emanates from a carved or crafted pumpkin on a crisp autumn evening. DIY pumpkin light covers have become one of the most beloved seasonal decorating trends, allowing homeowners and crafters alike to infuse their living spaces with cozy, festive ambiance without spending a fortune at retail stores. Whether you line them along a porch railing, cluster them on a front stoop, or arrange them as a centerpiece on your dining table, pumpkin light covers bring an unmistakable charm that store-bought decorations simply cannot replicate.
The beauty of making your own pumpkin light cover lies in the complete creative freedom it affords you. You can choose colors that perfectly complement your existing home décor, select sizes that fit your specific space, and personalize each piece with unique facial expressions, patterns, or cutout designs. Unlike traditional jack-o’-lanterns that decay within days, a well-crafted DIY pumpkin light cover using durable materials like foam, papier-mâché, or even repurposed plastic containers can last for multiple seasons, making it a wonderfully sustainable and cost-effective decorating investment.
Beyond aesthetics, crafting your own pumpkin light cover is a deeply satisfying creative experience that can be enjoyed alone as a meditative weekend project or shared with family members of all ages. Children especially delight in helping to paint faces, choose colors, and see their creation come to life with the addition of a simple battery-operated LED puck light or string of fairy lights tucked inside. The entire process, from gathering materials to placing the finished glowing pumpkin in your window, takes only a few hours and requires tools and supplies that are largely already found around most homes.
Materials and Tools You Will Need
Before you begin your pumpkin light cover project, gathering the right materials is essential to ensure a smooth crafting experience and a polished final result. The base of your pumpkin can be constructed from several different materials depending on your skill level and available supplies. Foam balls or foam pumpkin forms purchased from a craft store are among the easiest options for beginners, as they come pre-shaped and require minimal structural work. Alternatively, papier-mâché over a balloon creates a wonderfully organic, slightly irregular shape that mimics the natural contours of a real pumpkin and gives the finished piece a rustic, handcrafted quality.
For those who prefer a more modern or durable approach, upcycling empty plastic jugs, large yogurt containers, or even thick cardboard tubes can yield surprisingly professional-looking results. The key advantage of using recycled materials is that they are free, eco-friendly, and often already have interesting shapes and textures to work with. Whichever base material you choose, you will want to ensure it is large enough to safely house your light source with adequate ventilation, particularly if you are using any type of bulb that generates heat, though LED options are always the safest and most recommended choice for enclosed decorative covers.
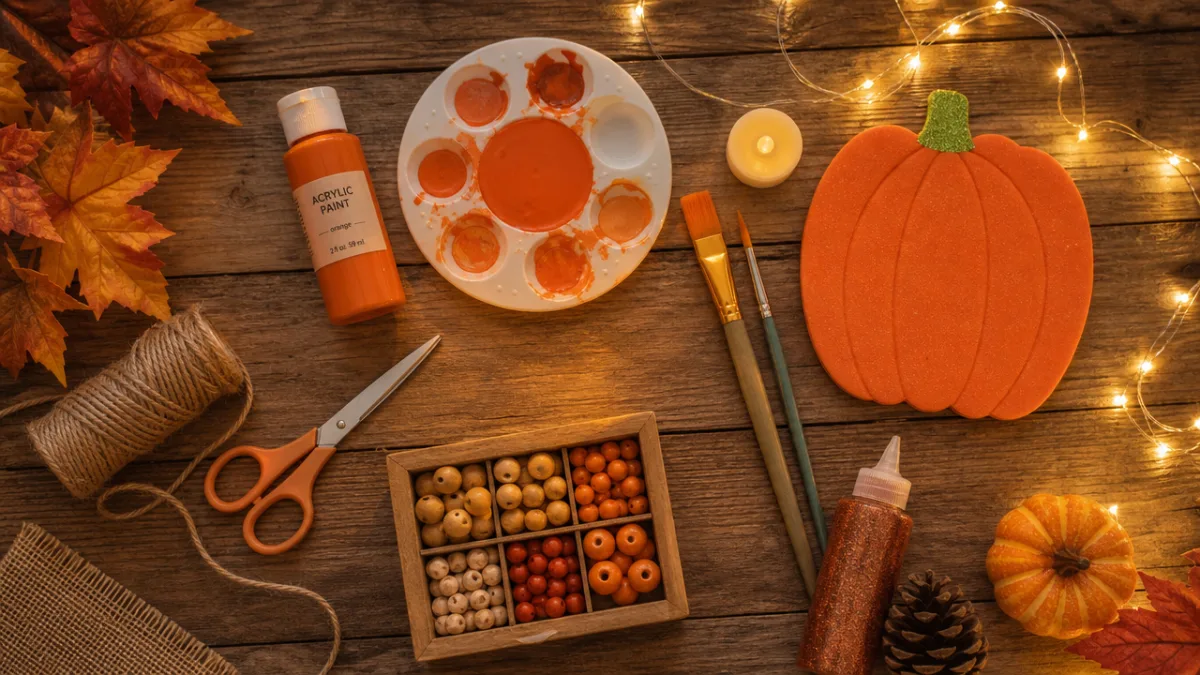
Here is a complete list of the core materials and tools you should gather before starting your project:
- Foam pumpkin form, large balloon, or chosen base material
- Orange and green acrylic craft paint
- Paintbrushes in various sizes including a fine detail brush
- Battery-operated LED puck light or fairy light string
- Craft knife or box cutter for cutting ventilation holes
- Black permanent marker or black paint for facial features
- Mod Podge or clear craft sealant for weatherproofing
- Hot glue gun and glue sticks
- Green Pipe Cleaners or floral wire for the stem and vines
- Sandpaper for smoothing rough edges if needed
Having all of your materials laid out and ready before you begin will streamline the process considerably and prevent frustrating mid-project interruptions. Set up your workspace on a covered table with newspaper or a plastic drop cloth, ensure you have good lighting so you can see fine details clearly, and keep a cup of water nearby for rinsing brushes. If you are working with children, this is a wonderful moment to assign age-appropriate tasks, such as painting large areas of orange or selecting which face design to use, while adults handle the cutting and hot glue components.
Step-by-Step Construction Guide
Begin by preparing your base form. If you are using a foam pumpkin, lightly sand any rough areas and wipe away the dust with a dry cloth before painting. For a balloon-based papier-mâché pumpkin, inflate your balloon to the desired size and tear newspaper into strips approximately one inch wide and five to six inches long. Mix equal parts white school glue and water in a bowl, dip each strip into the mixture, and layer them over the balloon in a crisscross pattern. Apply at least three layers, allowing each layer to dry completely before adding the next. Once the final layer is thoroughly dry, pop the balloon and trim the opening to accommodate your light source.
Once your base is prepared, apply two to three coats of orange acrylic paint, allowing each coat to dry fully between applications. This builds up a rich, opaque color that will look vibrant both in daylight and when illuminated from within. For added realism and depth, consider dry-brushing a slightly lighter shade of orange or even a soft yellow over the surface once the base color is dry. This technique, where you load a brush with a small amount of paint and drag it lightly over raised surfaces, creates the subtle tonal variation seen on real pumpkins and elevates your finished piece from simple to stunning.
Next, add the defining vertical ridge lines that give pumpkins their characteristic segmented appearance. Using a round brush and a slightly darker shade of orange or burnt sienna, paint gentle curved lines from the top stem area down to the bottom of the form, spacing them evenly around the circumference. These lines do not need to be perfectly symmetrical; slight variations actually make the piece look more natural and handcrafted. Once your pumpkin body is painted and the ridges are added, sketch your chosen facial design lightly in pencil before committing with black paint or a permanent marker, giving yourself the freedom to adjust the design before it becomes permanent.
For the stem, twist several green pipe cleaners together and bend them into a natural curved stem shape, then hot glue this firmly to the top of your pumpkin. Wind a few additional pipe cleaners loosely around a pencil to create curling tendrils, then attach these near the stem for a whimsical, garden-fresh look. Finally, cut or carve your light access opening in the bottom of the pumpkin (or rear if you prefer to hide the opening from the front view), place your LED light inside, and seal the exterior with one or two coats of Mod Podge or clear sealant to protect the paint and add a slight sheen reminiscent of a real pumpkin’s waxy skin.
Creative Design Variations and Customization Ideas
One of the greatest joys of making DIY pumpkin light covers is the virtually limitless range of designs you can create. Classic jack-o’-lantern faces with triangular eyes and toothy grins are perennially beloved and always look fantastic, but why stop there? Consider crafting a series of pumpkins with different expressions ranging from surprised to silly to sinister, then grouping them together for a dynamic and eye-catching display. You could also forego facial features entirely and instead focus on intricate geometric cutout patterns, floral motifs, or even monogrammed initials that cast beautiful shadow patterns on surrounding walls when lit from within.
Color is another exciting avenue for customization. While traditional orange is always a crowd-pleaser, consider painting your pumpkin light cover in unexpected hues to match your specific décor palette. Matte black pumpkins with metallic gold facial features create a sophisticated, gothic-chic aesthetic perfect for adult-oriented Halloween parties. Pale cream or white pumpkins painted with delicate watercolor-style floral designs exude an elegant, cottagecore charm that transitions beautifully from early autumn through Thanksgiving. Deep jewel tones like burgundy, forest green, or eggplant purple can be particularly striking when lit from within, casting a richly moody glow that feels distinctly grown-up and atmospheric.
Texture is an often-overlooked element that can dramatically elevate the visual interest of your pumpkin light cover. Before painting, consider applying a layer of texture paste or even mixing a small amount of sand into your paint to create a slightly rough, matte surface that mimics the bumpy texture of heirloom varieties like Cinderella or Hubbard pumpkins. Alternatively, use a sea sponge instead of a brush to stipple on your paint in uneven layers, creating a beautifully mottled effect. You can also add raised details like warts, leaf shapes, or decorative scrollwork using dimensional fabric paint or hot glue applied in thin lines and allowed to dry before painting over the entire surface.
Here are some specific design themes to inspire your next pumpkin light cover project:
- Classic Halloween: Bold triangular eyes, gap-toothed grin, bright orange with deep ridge shadows
- Harvest Elegant: Cream base, hand-painted autumn leaves in ochre and rust, no face cutouts
- Galaxy Pumpkin: Deep navy or black base, splattered metallic paint in gold, silver, and purple
- Sugar Skull: White base with colorful painted floral patterns around eye and cheek areas
- Minimalist Modern: Clean white or charcoal pumpkin with a single geometric eye cutout pattern
- Woodland Fairy: Green and brown mossy tones with tiny painted mushrooms and acorn details

Placement, Display, and Decorating with Pumpkin Light Covers
The way you display your finished pumpkin light covers can be just as impactful as the design itself. On a front porch or stoop, try arranging a cluster of varying sizes at different heights by elevating some on overturned terracotta pots, crates, or wooden boxes draped with burlap. This layered approach creates visual depth and draws the eye across the entire composition rather than resting on a single focal point. Intersperse your light covers with real or faux gourds, dried corn stalks, small haystacks, and potted mums in complementary autumn colors for a richly layered seasonal vignette that will impress every visitor who comes to your door.
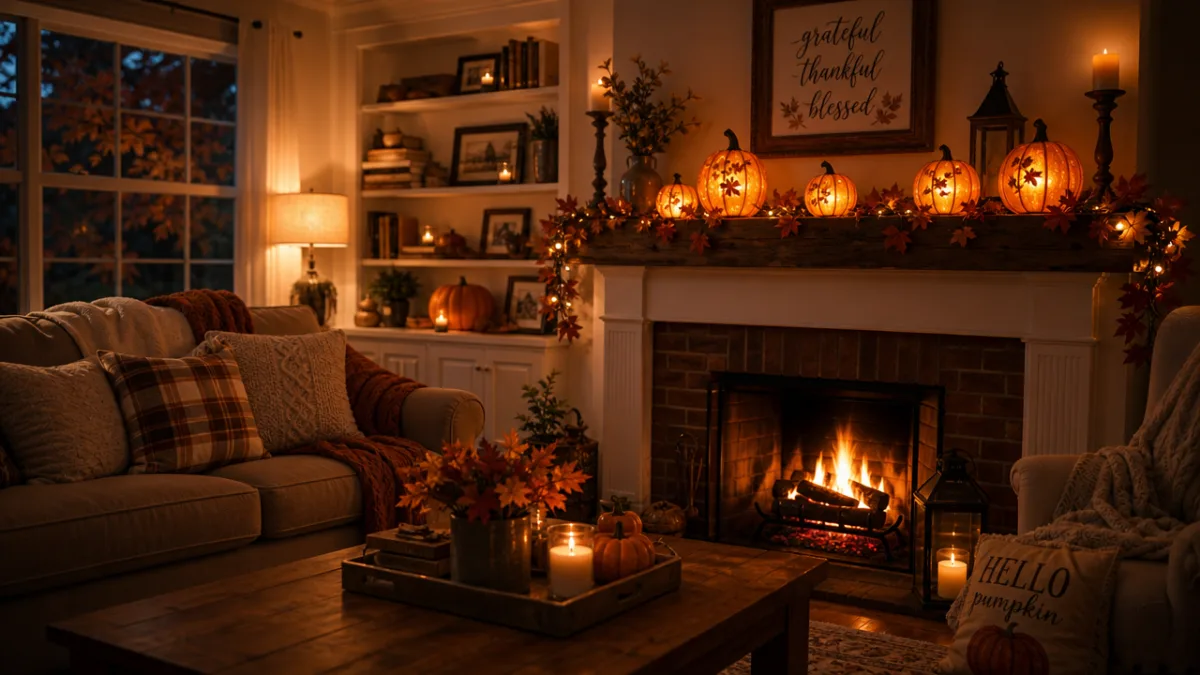
Indoors, pumpkin light covers make exceptional table centerpieces when grouped in odd numbers of three or five and surrounded by a ring of candles, acorns, pinecones, and autumn foliage. Placed on a dining table, mantelpiece, or console table in an entryway, they cast the most wonderfully warm, honeyed light in the evenings when overhead lights are dimmed, creating an atmosphere that feels genuinely magical. For a particularly striking effect in a darker room, position a pumpkin light cover on a mirror tray or near a mirror so the glow is reflected and amplified, making a single piece feel like an entire installation.
Window displays are another fantastic option, particularly for homes visible from the street. A pumpkin light cover placed on a windowsill glows warmly from inside while casting its patterned light onto curtains or blinds, creating a double display that can be enjoyed from both within and outside the home. Consider making multiple smaller pumpkin light covers and lining them up along a wide windowsill for a charming row effect, or place one large statement piece in a window as a welcoming beacon for trick-or-treaters and holiday guests. If you have young children, placing a pumpkin light cover in their bedroom serves as both a delightful decoration and a comforting nightlight throughout the autumn season.
Safety Tips and Long-Term Care
Safety should always be your first consideration when using any light source inside a decorative cover. Always choose battery-operated LED lights rather than traditional incandescent bulbs or real candles when using any enclosed pumpkin light cover made from foam, cardboard, papier-mâché, or other flammable materials. LED lights generate virtually no heat, eliminating the risk of fire, and their batteries typically last for many hours of continuous use, making them perfect for leaving on throughout an entire evening without worry. If you absolutely prefer the flickering warmth of candlelight, only use flameless LED tea lights that mimic the effect electronically, which are widely available and remarkably convincing in their replication of real candle movement.
Ensure that your pumpkin light cover has adequate ventilation, particularly if it is a fully enclosed design. Small holes drilled or poked into the bottom or lower sides allow air circulation that prevents any heat buildup and also helps prevent condensation inside the cover, which can affect the paint over time. If you intend to display your pumpkin light cover outdoors, make absolutely certain that any electrical components, including battery packs and wiring, are kept completely dry and sheltered from rain. Consider applying an additional protective coat of exterior-grade clear sealant to the outside of the pumpkin if it will be subjected to morning dew or light moisture, as this will significantly extend the life of the paint and the overall piece.
With proper care and storage, a well-constructed pumpkin light cover can last for many years, becoming a cherished seasonal decoration that you look forward to bringing out each autumn. At the end of the season, wrap each piece individually in tissue paper or bubble wrap and store them in a sealed container or box in a cool, dry location away from direct sunlight, which can fade paint colors over time. Before storing, check that all battery compartments are empty to prevent any potential leakage that could damage the piece. A quick touch-up with paint at the start of the following season can refresh any areas that have become slightly worn, ensuring your handmade pumpkin light cover continues to delight for seasons to come.
Here is a quick safety checklist to review before displaying your finished pumpkin light cover:
- Confirm only LED or battery-operated lights are used inside enclosed covers
- Check that ventilation holes are present and unobstructed
- Ensure the light source is stable and cannot tip or shift inside the cover
- Keep covers away from curtains, tablecloths, and other flammable materials
- Turn off or remove batteries when leaving home for extended periods
- Keep out of reach of very young children who might attempt to remove the light
- Inspect outdoor displays before each use for signs of moisture or damage
Sharing Your Craft and Building a Seasonal Tradition
One of the most rewarding aspects of any DIY project is the opportunity to share your creativity with others, and pumpkin light covers are particularly well-suited to becoming a beloved annual tradition. Consider hosting a pumpkin light cover crafting party in the weeks leading up to Halloween or Thanksgiving, inviting friends, neighbors, and family members to come together with their own materials and make an afternoon of it. Provide a central supply station stocked with communal paints, brushes, and light sources, put on a playlist of seasonal music, serve warm cider and seasonal snacks, and watch as a gathering of friends transforms into a vibrant, creative community event that everyone will want to repeat each year.
Documenting your process by taking photos at each stage of construction not only gives you a wonderful record of your creative journey but also makes for excellent content to share with online crafting communities, on social media platforms, or on a personal blog. Many crafters find that sharing their work inspires others to try the project themselves and opens up a community of exchange where people offer new design ideas, material suggestions, and troubleshooting tips. If you enjoy teaching, consider creating a simple step-by-step guide with your own photos to share with your local community center, school, or library as a free craft tutorial, spreading the joy of the project even further.
Pumpkin light covers also make genuinely heartfelt handmade gifts for friends, neighbors, teachers, and family members. A beautifully crafted and thoughtfully personalized pumpkin light cover, perhaps painted in the recipient’s favorite colors or featuring a design that reflects their personality, carries a warmth and intentionality that purchased gifts rarely match. Package it in a basket or box with a small bag of spare batteries, a handwritten card explaining how to use and care for it, and perhaps a few complementary autumn decorations like dried seed pods or a sprig of preserved eucalyptus, and you have a truly memorable seasonal gift that demonstrates genuine care and creativity. In this way, a simple afternoon craft project has the potential to strengthen relationships and create lasting, joyful memories that extend far beyond the autumn season itself.








What do you think?
It is nice to know your opinion. Leave a comment.