










DIY Fabric Record Coasters: A Complete Guide to Sewing Vinyl-Inspired Coasters
Introduction to Fabric Record Coasters
If you love music and you love crafting, this project was basically made for you. Fabric record coasters are exactly what they sound like — handmade coasters that look like tiny vinyl records, right down to that satisfying circular groove aesthetic, but sewn entirely from fabric scraps and a few basic supplies. Whether you’ve been sewing for years or you’re picking up a needle and thread for the very first time, this is one of those projects that’s surprisingly easy to pull off and looks way more impressive than the effort involved.
These coasters make such great gifts for the music lovers in your life, and they work just as well sitting on a sleek modern coffee table as they do in a cozy, vintage-inspired space. Because they’re fabric rather than cork or ceramic, they’re soft and flexible and won’t scratch up delicate surfaces. They’re also a fantastic way to finally do something with all those fabric scraps sitting in your stash — so this project is as wallet-friendly as it is fun.
And honestly? They actually work. A well-made fabric coaster with an absorbent inner layer will protect your furniture from condensation just as well as anything you’d buy in a store. By the end of this guide, you’ll have everything you need to cut, sew, and finish a full set of four or more fabric record coasters you’ll genuinely be proud to leave out on the table every day.
Materials and Tools You Will Need
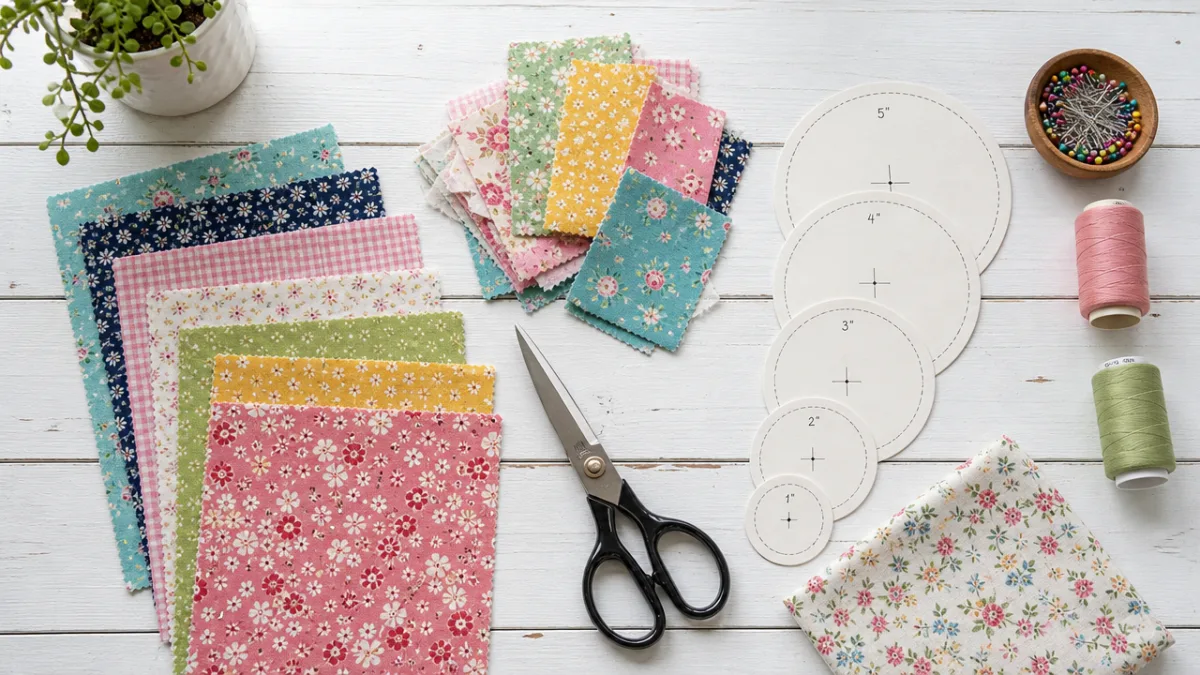
Getting everything together before you start makes such a difference, so let’s go through what you’ll need for a set of four coasters. You’ll want some black cotton or dark charcoal solid for the record body, a small amount of contrasting fabric for the center label, and a layer of absorbent batting or terry cloth for the moisture-wicking middle. Round that out with some coordinating thread, a sewing machine (or lots of patience for hand sewing), and your usual notions — pins, scissors, that kind of thing.
For the black fabric, try to find a medium-weight cotton with a bit of sheen or texture if you can — it really does look like a vinyl record. The center label is where you get to have fun. A cheerful floral, a retro geometric, a bold solid, or even a novelty print tied to a favorite band — all of it works beautifully. The label is tiny, so this is the perfect excuse to use up even the smallest scraps from other projects.
Here’s what you’ll want to have on hand tool-wise:
- Fabric scissors or a rotary cutter and cutting mat
- Circular templates in two sizes: roughly 4 inches for the full coaster and 1.5 inches for the center label
- Water-soluble fabric marker or tailor’s chalk for tracing
- Sewing machine with a standard presser foot (or needle and thread for hand sewing)
- Iron and ironing board for pressing seams
- Pins or fabric clips to hold the layers together
- A small turning tool or blunt pencil for pushing out curves
- Optional: decorative machine embroidery thread for stitching faux grooves
Having all of this ready before you sit down to sew keeps things flowing and enjoyable rather than stop-and-start frustrating. One thing worth doing before you cut anything: press your fabrics. Wrinkled fabric distorts your templates and gives you wonky circles that are a pain to sew. Two minutes with the iron at the start saves a lot of headaches later.
Cutting and Preparing Your Fabric Circles
Getting clean, consistent circles is honestly the trickiest part of this whole project. Unlike straight cuts, circles need a steady hand and a good template. The easiest approach — especially if you’re newer to sewing — is to grab something round from around the house. A small plate, a large jar lid, or even a CD works brilliantly (a CD is almost exactly the right size, as it turns out). Trace around your template on the wrong side of the fabric with your marker, then cut just inside that line so no ink ends up on your finished coaster.
For each coaster you’ll need to cut two circles from black fabric for the front and back, one circle from your batting or absorbent layer at the same size, and one smaller circle from your label fabric. The label gets applied to the front piece before everything is assembled. If you’re making a full set of four, cut all your pieces in one go — it keeps everything consistent and saves a lot of back-and-forth.
Once your circles are cut, clip small notches around the curved edges at roughly half-inch intervals. Don’t cut all the way to the seam line — just about a quarter inch in is plenty. It might feel fiddly, but please don’t skip this step. Those little clips are what allow the curves to lie smooth and flat once you turn the coaster right-side out. Unclipped curves will pucker and bunch, and no amount of pressing will fully fix that after the fact.
Sewing the Center Label and Assembling the Layers
Attaching the center label is the step that really makes these coasters look like records, so it’s worth taking your time here. Start by pressing a small hem of about a quarter inch all the way around your label circle to give it a clean finished edge that won’t fray. A helpful trick: run a basting stitch around the raw edge, pull the thread gently to gather the fabric into a smooth circle, then press it flat over a small cardboard circle template. It sounds fussy but it gives you a beautifully round shape every time.
Once your label is ready, center it on the right side of one of your black fabric circles. Pin it in place or use a tiny dab of fabric glue to hold it steady, then stitch it down close to the folded edge with a straight stitch or small zigzag. If you want to take things a step further, try stitching a few concentric circles radiating outward from the label using a slightly lighter thread — it creates that grooved record look and really elevates the whole thing. People notice it, and it’s one of those details that makes the coaster look like you put a lot more effort in than you actually did.
With your decorated front piece done, it’s time to put the layers together. Lay your batting circle flat on your work surface, place the back piece of black fabric on top with the right side facing up, then lay the decorated front piece on top of that with the right side facing down toward the back piece. So your two black fabric pieces are right sides together, with the batting sitting underneath. Pin all three layers carefully, making sure the edges line up all the way around before you start sewing.
Sew around the full circumference using a quarter-inch seam allowance, leaving about a two-inch gap for turning. Backstitch at both ends to lock your seam. Trim the seam allowance back a little, revisit those clips around the curves, then reach through the turning gap and carefully pull the whole coaster right-side out. Use your turning tool to gently coax the curved seam smooth from inside, then press the coaster flat, folding in and pressing the raw edges of the turning gap neatly as you go.
Finishing Techniques and Topstitching
The finishing stage is really what makes the difference between a coaster that looks polished and one that just looks… homemade. Once your coaster is pressed flat, your first job is to close up that turning gap. You can do it invisibly with a hand-sewn ladder stitch for a really clean finish, or you can simply catch it in your topstitching pass — faster, and totally fine for a casual, charming look. Both hold up well with regular use and washing.
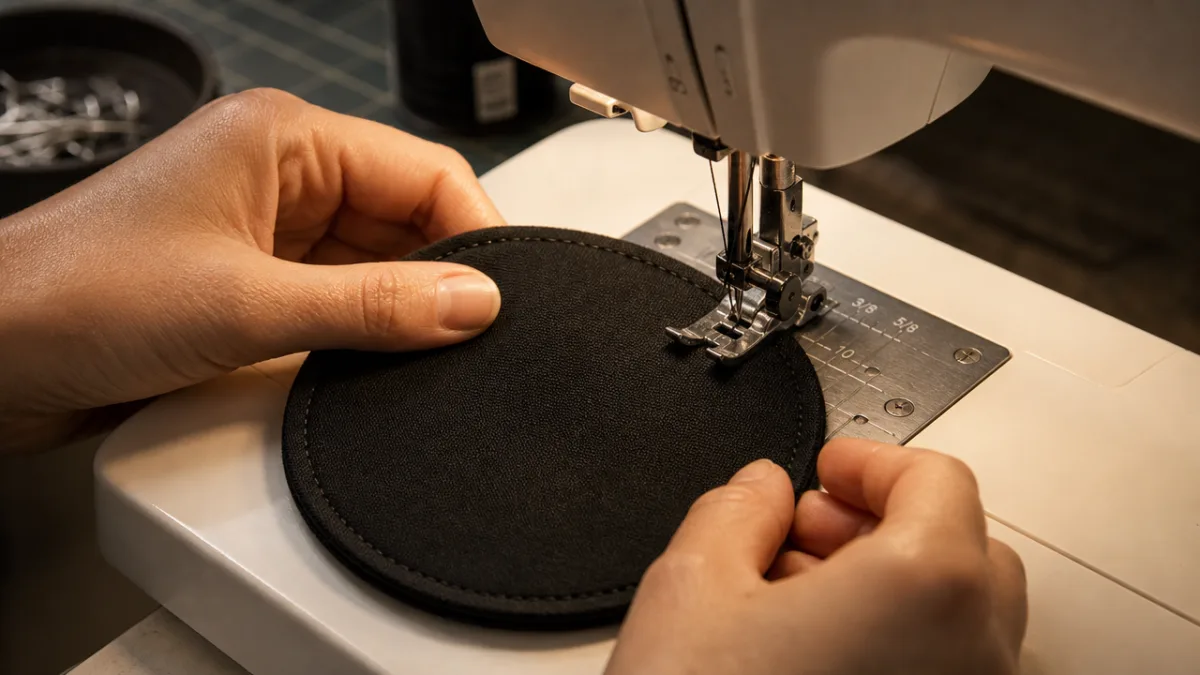
Topstitching does a lot of work here: it closes the coaster, flattens all the layers together, adds durability, and gives you one more chance to add a decorative touch. Sew a line of topstitching about an eighth of an inch from the outer edge all the way around. Then, if you want to lean into the record theme, add one or two more concentric circles moving inward toward the label. You can eyeball these freehand, or clip a quilting guide to your presser foot to keep the spacing consistent.
If your machine has decorative stitch options, this is a fun place to experiment. A simple wave stitch or subtle serpentine stitch in a slightly lighter gray thread adds lovely texture without overwhelming the design. The key is keeping it circular and radiating — that’s what reads as “record” — and subtle enough that the fabric and label still do the talking.
Care Instructions and Customization Ideas
One of the best things about fabric coasters over ceramic or stone ones is that you can just throw them in the wash. To keep them looking good long-term, machine wash on a gentle cycle in cold water. Hot water can shrink cotton and loosen topstitching over time, so it’s best avoided. Tumble dry on low or, even better, lay them flat to air dry — this keeps their circular shape and stops the batting from bunching up inside.
If they come out of the wash looking a little less than round, a quick press with a warm iron sorts that right out. A light spritz of starch before pressing gives them a crisper, firmer feel if you prefer that. And honestly, over many washes they’ll just get softer and more lovely — that beautiful broken-in quality is one of the best things about handmade textile items.
The customization possibilities with this pattern are genuinely exciting. Here are a few ideas to get you started:
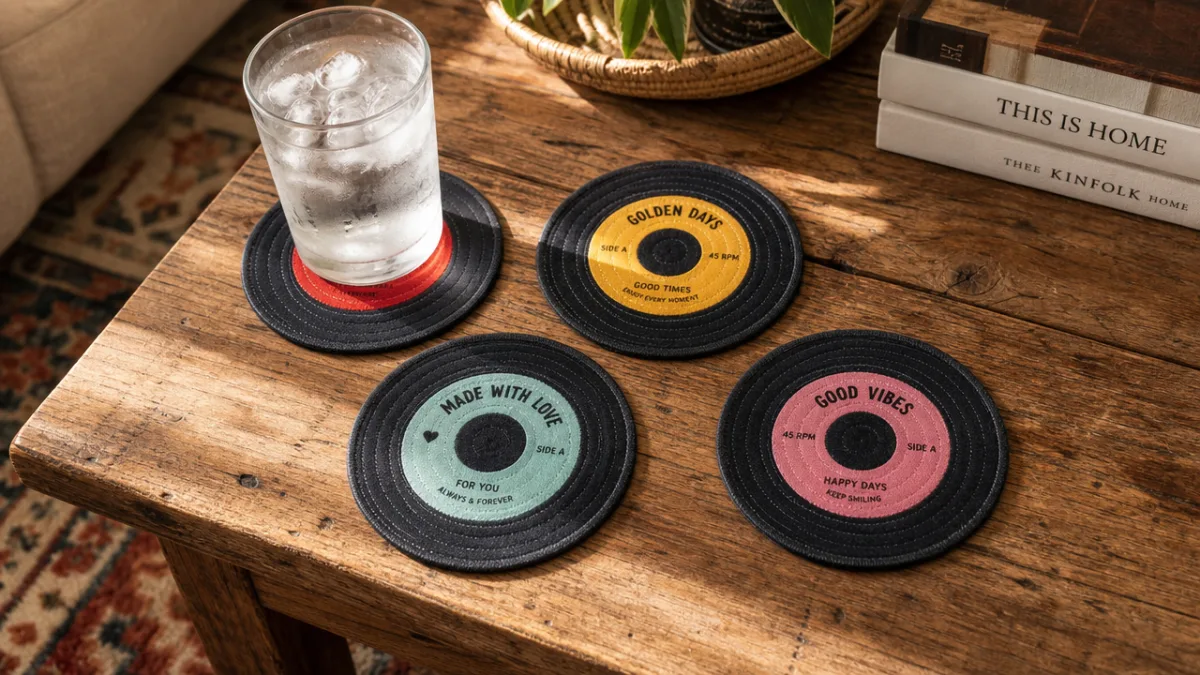
- Themed Label Sets: Make four coasters each with a different label fabric in coordinating colors for a set that looks intentional and curated when they’re all out together.
- Personalized Labels: Print custom iron-on labels with a band name, album title, or monogram on printable cotton fabric sheets (available at most craft stores) and use those as your center label pieces — makes an incredible personalized gift.
- Size Variations: Scale the pattern up for a record-shaped trivet that can handle hot dishes, or scale it down a touch for a set of petite espresso cup coasters that look adorable on a bar cart.
- Color Variations: Classic black is the most realistic, but deep navy, forest green, or burgundy all still read as vinyl records while coordinating beautifully with specific room color schemes.
- Embroidered Details: Add a bit of hand embroidery to the label circle — tiny musical notes, a favorite lyric, a simple floral — for a finishing touch that takes the gift potential of these coasters to a whole new level.
These coasters are also consistently popular at craft fairs and handmade markets, especially packaged as a set of four in a small muslin bag or wrapped up with a strip of kraft paper and twine. The mix of music nostalgia, vinyl culture, and handcraft appeals to a really broad audience — from teenagers discovering records for the first time to lifelong collectors who grew up with them. Once you’ve got your system down, they come together quickly, so the return on your time is genuinely solid.
Why This Project Is Perfect for Sewists of Every Level
What I love most about this pattern is that it genuinely works for everyone. A complete beginner can finish a coaster in an afternoon using nothing but straight stitches and basic cutting skills, while a more experienced sewist can turn the same pattern into a canvas for machine embroidery, free-motion quilting, or appliqué work. And because everything is small, if something goes wrong you haven’t lost much — just grab a fresh piece of fabric and try again, no big deal.
For kids learning to sew with adult supervision, this is a great starter project. The steps are logical, the stakes are low, and the finished result is something they’ll actually use and feel proud of. That sense of accomplishment matters so much when someone is just learning. The circular shape is also a genuinely useful early challenge — it builds confidence with curves at the sewing machine in a low-pressure setting.
For more experienced sewists, the project rewards the finer skills: precise circle cutting, smooth curve sewing, confident invisible hand stitching, free-motion quilting. It’s also an ideal scrap-buster, which makes it a natural fit for anyone trying to sew more sustainably and thoughtfully. In a world full of mass-produced stuff designed to be thrown away, there’s something quietly satisfying — even a little radical — about turning leftover fabric bits into something beautiful and functional that will actually stick around for years.








What do you think?
It is nice to know your opinion. Leave a comment.