










15 Genius Space-Saving Hacks for Shed Organization
Why Shed Organization Is Worth Your Time and Effort
A messy shed is more than just an eyesore — it genuinely gets in the way of getting things done. When your tools are buried under old equipment, random seasonal gear, and half-finished projects, something as simple as grabbing a rake or tracking down the right drill bit can eat up 20 frustrating minutes. Getting your shed properly organized turns it from a dumping ground into a space that actually works for you.
There’s also a practical case for organization that goes beyond convenience — it protects the money you’ve put into your tools. When things get tossed around haphazardly, they get damaged, go missing, or sit exposed to moisture until they rust. Keeping things in their proper place means sharp edges stay covered, liquids stay upright, and your nicer equipment isn’t getting crushed under something heavy. Those habits add years to the life of tools that weren’t cheap to begin with.
And honestly, there’s something to be said for the feeling of walking into a tidy shed. When everything has a home and you can actually find it, you start the job in a better headspace. It cuts down on prep time, clears away that low-grade mental fog of “where did I put that,” and makes the whole experience more enjoyable. A well-organized shed isn’t just neat — it’s a space that’s actually built to support the work you’re doing in it.
Maximizing Vertical Space with Wall-Mounted Solutions
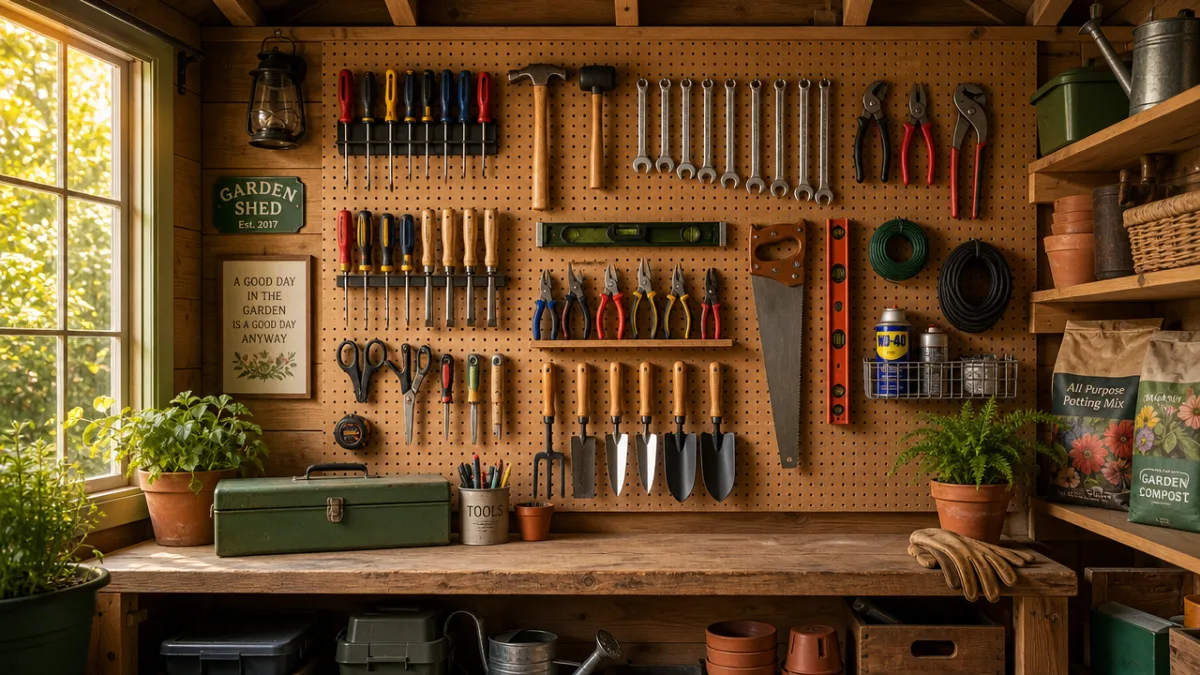
Here’s something a lot of people miss: your shed walls are storage space. Most folks pile things on the floor and leave huge stretches of wall completely empty. Putting up a pegboard, slat wall, or French cleat system changes that fast — you suddenly have a ton of storage without giving up a single square foot of floor space. These systems are also modular, so you can rearrange them as your needs shift from season to season.
Pegboards are a great starting point because they’re affordable, not that hard to install, and work with a huge range of hooks, baskets, and holders. You can hang hand tools, extension cords, small bins of screws and nails — pretty much whatever you need close at hand. A nice trick borrowed from professional workshops: paint an outline around each tool so it’s immediately obvious when something’s been taken and not put back. Simple, but it works surprisingly well.
If you want something a bit more heavy-duty, French cleats are worth the effort. The system uses interlocking beveled wood strips that let you hang custom shelves, holders, and brackets anywhere along the wall at whatever height makes sense. The best part is that you can rearrange everything without drilling new holes or patching old ones. Spend a weekend building a French cleat wall and you’ll have a storage setup you can keep tweaking for years without starting over.
- Cover at least one full wall with pegboard so hand tools, cords, and small accessories are always within reach and easy to see.
- Use magnetic tool strips for screwdrivers, chisels, and anything with a metal handle — they stay visible and you can grab them in a second.
- Mount bike hooks, ladder brackets, and hose hangers directly into wall studs so they can handle the weight without pulling out.
- Label each hook or holder so things actually get returned to the right spot — that’s what keeps the system working long-term.
Smart Ceiling Storage for Seasonal and Bulky Items
The ceiling is probably the most ignored storage zone in the average shed. Put it to work and you free up a surprising amount of floor and wall space — which you can then dedicate to the stuff you actually use every day. Overhead platforms and pulley systems are perfect for kayaks, ladders, holiday decorations, camping gear, and anything else that only comes down a few times a year.
A simple overhead platform built from plywood and lumber is one of the most cost-effective upgrades you can make. Frame a basic loft across the upper part of your shed and you’ve got a dedicated home for lightweight seasonal items. Clear plastic totes slide in and out easily, and since you can see through them, you don’t have to haul everything down just to find what’s inside. If your shed has decent ceiling height, a loft can come close to doubling your usable storage for a pretty modest amount of materials.
For bigger and heavier things — kayaks, surfboards, or even a motorcycle if you have a larger shed — a pulley system is genuinely impressive. You run ropes through pulleys to lift the item up to ceiling height, and locking mechanisms hold it there securely. Many commercial versions are rated for several hundred pounds, so this isn’t just a novelty. Once it’s set up, you can raise and lower things in seconds and reclaim all that floor space year-round.
Clever Tool Organization Strategies That Actually Work
Hand tools have a way of ending up everywhere no matter how organized you think you are. Screwdrivers, pliers, wrenches, chisels — they scatter and multiply. The real fix isn’t a bigger drawer, it’s giving each type of tool a visible, dedicated home. When tools are out in the open rather than buried in a box, you naturally put them back where they belong because doing so is just easier than tossing them in a pile.
PVC pipe is one of those surprisingly handy organization materials. Cut it into short sections, mount them to a board or shelf, and you’ve got individual holders for chisels, screwdrivers, files, and drill bits. Each tool stands upright and separated, which protects the cutting edges and keeps everything visible at a glance. You can even paint the pipes different colors to group tools by type or how often you use them — a small touch that makes the whole system feel more intuitive.
Power tools need their own approach. Instead of stacking drills, sanders, and jigsaws on a shelf and hoping for the best, think about a dedicated cabinet with foam cutouts shaped to each tool. It’s the same idea used in professional tool chests — the foam protects the tools, keeps them sorted by shape, and makes it instantly obvious if something’s been borrowed or gone missing. Throw in a charging station for your battery-powered tools and everything is topped up and ready to go whenever you need it.
- Start by sorting everything into categories — cutting, fastening, measuring, finishing — before you figure out where anything goes.
- Create a “grab zone” near the door for the tools you reach for daily or weekly so they’re never far from hand.
- Keep specialty tools you rarely use in labeled bins up on higher shelves so they’re not eating up the prime spots.
- Hang long-handled tools like rakes, shovels, and brooms vertically using spring-loaded clips or simple custom holders.
- Revisit your tool storage each season — what you need in spring isn’t necessarily what you need in fall.
Container Systems and Labeling for Long-Term Order
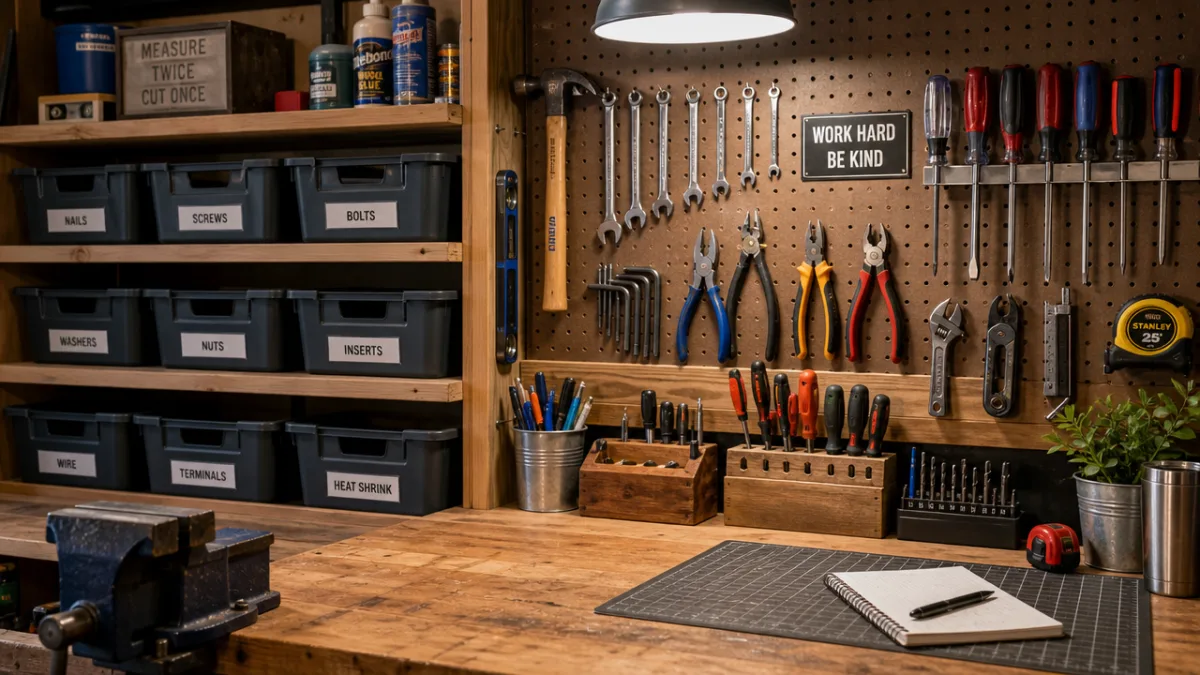
Any organization system will eventually fall apart if it’s annoying to maintain. What keeps a shed tidy long-term is having a container and labeling setup that makes where things go completely obvious. When every category of stuff has its own designated bin, shelf, or zone, putting things away stops being a decision and just becomes a habit. That’s the difference between a shed that stays organized and one that’s back to chaos within a month.
The containers you choose matter more than you might expect. Clear plastic bins are ideal since you can see what’s inside without opening them, though labels still help you find things fast from across the shed. Stackable, interlocking bins save shelf space and won’t topple over. For small hardware — screws, bolts, cable ties — a multi-drawer organizer is one of the best things you can add. It replaces a whole mess of jars and random bags with one tidy, accessible system.
When it comes to labeling, specific beats vague every time. “Garden” doesn’t tell you much. “Garden Fertilizers and Soil Amendments” tells you exactly what’s in there. The more precise your labels, the less time you spend opening the wrong bins. A label maker produces clean labels that stick well to plastic and are easy to read from a few feet away. For bins stored up high, put a label on both the front and the top — that way you can read them whether you’re looking straight at the shelf or down into it from a step stool.
Color coding on top of labels adds another layer that works almost automatically. Assign a bin color to each category — green for garden supplies, red for power tool accessories, blue for plumbing and electrical — and you can find what you need before you’ve even read a word. This is especially helpful in shared sheds where multiple people need to find things on their own. Once everyone gets used to the system, keeping it that way takes almost no effort at all.
Workbench Design and Workflow Optimization
Your workbench is the center of gravity in a functional shed, and how it’s set up shapes your entire experience of being in there. The ideal bench sits at the right height for your body — somewhere around 34 to 36 inches for most standing work, though it depends on what you’re doing and how tall you are — with enough surface area to spread out on your common projects without constantly shuffling things around. Too small and you’re always moving stuff; too big and it becomes a magnet for clutter.
One of the smartest things you can do is build storage right into the workbench. Drawers under the surface keep hand tools within arm’s reach without cluttering where you’re working. A pegboard at the back of the bench holds frequently used tools without eating into your work area. Shelves underneath are great for power tools, paint cans, and project materials. When you think of your bench as a complete work-and-storage system rather than just a flat surface, you squeeze a lot more value out of that part of the shed.
Workflow is worth thinking about too, beyond just where things physically go. If you position your most-used tools and materials in a loose semicircle around where you stand to work, you can grab almost anything without taking more than a step or two. It’s the same principle professional kitchens use, and it makes a real difference — less back-and-forth, less wasted motion, and a working rhythm that actually feels good. Think through the sequence of your typical projects and set the space up to follow that flow from start to finish.
Seasonal Rotation and Ongoing Maintenance of Your Shed System
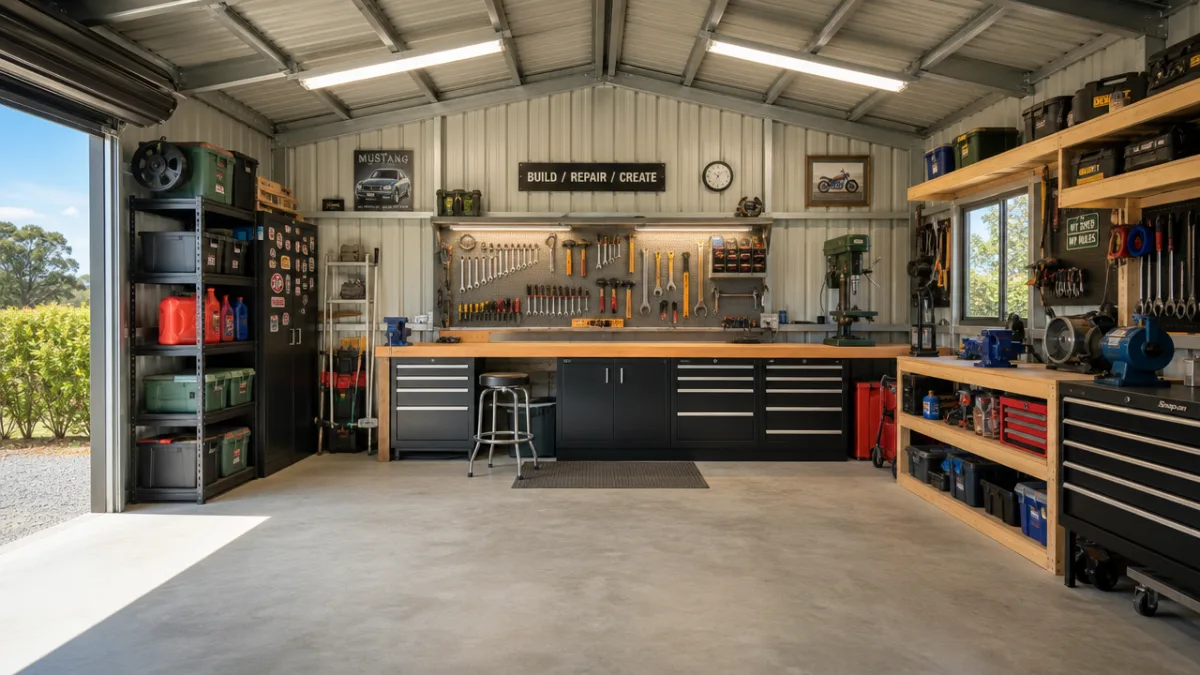
Even a beautifully organized shed will slowly drift back toward disorder without some regular attention. Twice a year — spring before the gardening season kicks off and fall as things start winding down — is the right time to do a proper review. Go through what’s being used, figure out what can be tossed or donated, and check whether your storage zones still match how you’re actually working. This rhythm is what keeps the slow creep of clutter from eventually taking over.
Seasonal rotation is really just moving the right stuff to the front at the right time. In spring, hoses, garden tools, and outdoor furniture cushions come forward; in fall, snow shovels and ice melt take their place. When you do this intentionally, you’re never digging past a pile of irrelevant stuff to get to what you actually need. It sounds simple, but it makes the shed noticeably more pleasant to use day to day.
A “one in, one out” mindset goes a long way toward preventing future pile-up. Every time something new comes into the shed, something old, broken, or redundant should leave. This matters especially for gardeners and DIY people who pick up a specialized tool for a single project and then never think about it again. Staying honest about what’s actually earning its place keeps the organization from quietly getting buried under new stuff over time.
Finally, get everyone who uses the shed on board with the system. A simple map or guide posted inside the door showing where each category belongs can make a big difference. And if something is awkward to return to its spot, it won’t get returned — so keep tweaking things based on how people actually use the space. A good shed organization system isn’t something you set once and lock in; it’s something you keep adjusting to fit real life. The more it matches how you actually work, the more effortlessly it holds together.








What do you think?
It is nice to know your opinion. Leave a comment.