










Bubble Wand Making Station: The Ultimate Guide to a Magical Kids’ Craft Activity
What Is a Bubble Wand Making Station?
A bubble wand making station is one of those surprisingly simple craft setups that punches way above its weight in terms of fun. The idea — popularized by creative family craft blogs like Red Ted Art — is basically just a table where kids can design and build their own bubble wands from scratch using basic materials. Instead of just snapping open a bottle of store-bought bubbles, kids get to make something entirely their own and then immediately put it to the test with bubble solution.
What makes it so great is how naturally it blends creativity with a little bit of science. Kids aren’t just making something cute — they’re also figuring out how different wand shapes affect the bubbles they blow. A wide loop makes big, dramatic bubbles that float lazily through the air, while a tiny loop produces little clusters of fast-moving spheres. It’s genuinely early STEM thinking, just wrapped in something that feels like pure play. That’s what makes it work so well for preschoolers all the way through early elementary age.
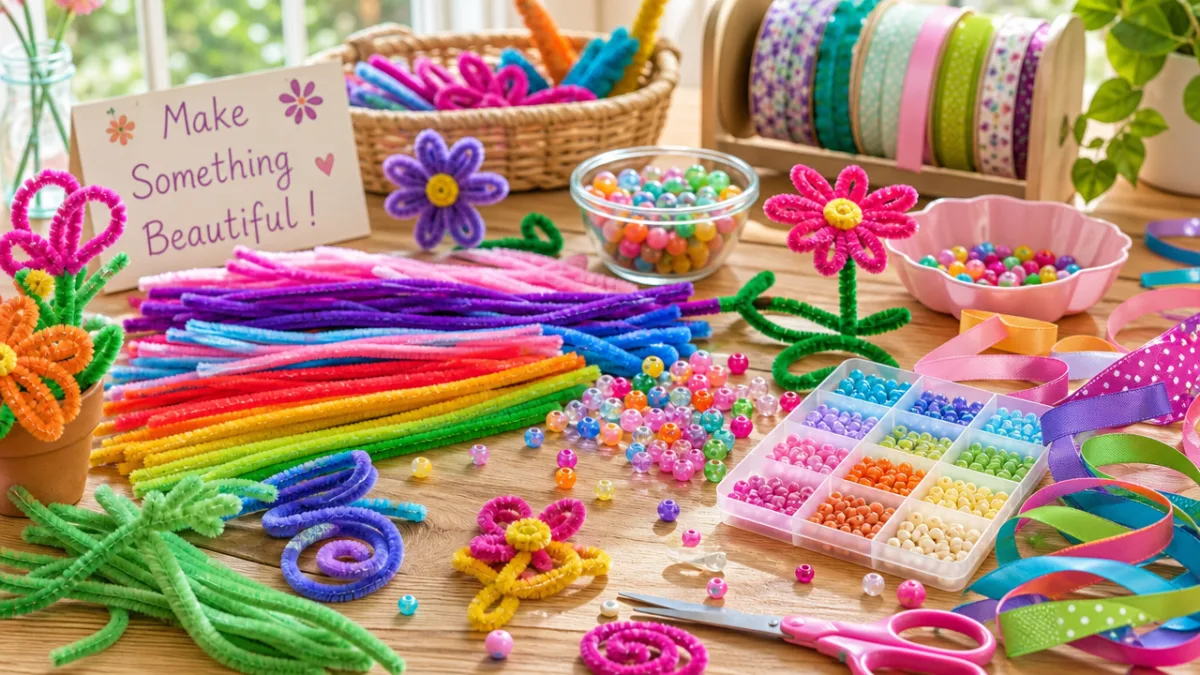
Setting up the station is honestly half the fun. The moment kids walk up to a table covered in colorful pipe cleaners, beads, ribbons, and jars of bubble solution, you can see the excitement click on. Having everything organized and within reach lets kids make their own choices about what to use and how — and that kind of child-led creativity is something educators and child development folks really champion as a way to build confidence, focus, and fine motor skills all at once.
Materials You Need to Set Up the Station
One of the best things about this activity is that you probably already have most of what you need. The materials are simple, inexpensive, and easy to grab at a dollar store or craft shop if anything’s missing. Getting everything laid out before the kids arrive makes a real difference — it keeps things running smoothly and means more time actually making stuff instead of hunting for supplies.
Pipe cleaners (also called chenille stems) are the heart of the whole thing. They’re flexible enough for little hands to twist and bend without help, but sturdy enough to hold their shape when you dip them in solution. You can form them into loops, spirals, stars, hearts — basically whatever shape a kid can dream up. Metallic ones are especially popular because the sparkle factor goes over really well. Stock up generously — somewhere around five to ten per child gives plenty of room to experiment and start over if needed.
Beyond pipe cleaners, here’s a handy list of everything worth having on hand:
- Pipe cleaners in multiple colors, including metallics and glow-in-the-dark varieties
- Plastic pony beads or wooden beads to thread onto the wand handles
- Thin ribbon or yarn for wrapping the handle
- Stickers, foam shapes, or small adhesive gems for decoration
- Shallow trays or bowls for the bubble solution
- Bubble solution (store-bought or homemade with dish soap, water, and a little glycerin)
- A smock or apron for each child
- Paper towels or a small towel for spills
Homemade bubble solution is surprisingly good and costs almost nothing to make. A reliable recipe is six cups of water, one cup of dish soap (Dawn or Fairy work particularly well), and one tablespoon of glycerin, which helps bubbles hold together a little longer before popping. Stir it gently so you don’t end up with a bowl of foam, then let it sit for a few hours or overnight if you can. In sunlight, the bubbles it produces are absolutely gorgeous.
How to Make Bubble Wands: Step-by-Step Instructions
The basic wand is simple enough for a three-year-old to put together with minimal help, but open-ended enough that an eight-year-old can still get genuinely absorbed in it. The core idea is just bending a pipe cleaner into a loop at one end for blowing bubbles and leaving the rest as a handle. Everything else is creative frosting on top of that basic concept.
Start by grabbing one or two pipe cleaners. Bend one end into a circle, leaving a few inches at the bottom as a handle, then twist the loose end around the base of the loop to hold it in place. That’s it — you’ve got a working bubble wand right there. For kids who want to go further, they can thread beads onto the handle before finishing it off, or wrap a bit of ribbon around it for a nicer look and feel.
For older or more adventurous crafters, experimenting with different shapes is where things really get fun. Here are a few variations worth trying:
- Heart wand: Bend the top of the loop into two bumps and pinch the bottom to a point before securing.
- Star wand: Use a second pipe cleaner to create a five-pointed star shape layered onto the loop.
- Double-loop wand: Create two side-by-side circles, which produce a stream of twin bubbles.
- Spiral wand: Wrap a pipe cleaner tightly around a pencil and slide it off to create a coiled, spring-like loop.
- Giant wand: Twist two or three pipe cleaners together end-to-end to make an oversized loop for enormous bubbles.
Once the wand is built and decorated, it’s time for the best part — actually blowing bubbles. Dip the loop slowly into the solution so the whole thing gets coated, lift it out gently, and blow a slow, steady stream of air through it. Encourage kids to play around with how hard they blow and how far they hold the wand from their face. This is where the science and the play really come together, and honestly it’s when most kids get the most animated. There’s something deeply satisfying about watching something you built actually work.
Why This Activity Is So Valuable for Child Development
On the surface, a bubble wand making station is just a really good time — and there’s nothing wrong with that being the whole point. But if you look a little closer, it’s also a surprisingly rich learning experience. When a kid builds something with their own hands and then watches it work, that connection between making and purpose is genuinely meaningful. The feeling of “I made this and it does something” is a real confidence builder, especially for young children.
From a fine motor standpoint, this activity is doing a lot of quiet work. Twisting pipe cleaners, threading beads, wrapping ribbon — all of it requires exactly the kind of precise finger movements that support handwriting and other school readiness skills. Occupational therapists often recommend this type of small, controlled hand work for kids building fine motor coordination. The beautiful thing about the bubble wand station is that kids get all that practice while thinking they’re just playing, which is honestly the best way for it to happen.
In a group setting, there’s also a really lovely social and emotional layer to this. Kids naturally start swapping ideas, checking out each other’s designs, helping each other with tricky bits, and negotiating over the good beads. All of that informal back-and-forth builds communication, empathy, and collaborative thinking in a totally organic way. When one kid makes a heart wand and three others immediately want to try one too, that’s peer-to-peer learning at its best — and it’s some of the most motivated learning that happens in early childhood. Testing the wands outside together at the end seals the whole experience with shared joy.
The science tucked into the activity is worth pointing out to curious parents and educators too. When a kid notices that their star-shaped wand still makes round bubbles and wants to know why, they’ve stumbled onto a real physics phenomenon. Surface tension always pulls a bubble into the most efficient shape possible, which is a sphere, regardless of what the wand looks like. Even a simple explanation of that — “the bubble always wants to be the roundest shape it can be” — plants a seed of scientific thinking that grew out of something the child made with their own hands.
Setting Up a Bubble Wand Station for a Party or Group Event
This activity was practically made for birthday parties, school events, summer camps, and playgroups. It scales really easily — two kids or twenty, it works either way with just a quantity adjustment on supplies. It’s also self-pacing in a way that makes it ideal for mixed ages and attention spans. Some kids will spend twenty minutes carefully crafting the most elaborate wand you’ve ever seen; others will finish in five and immediately bolt outside to blow bubbles. Both are completely fine, and that flexibility is a genuine gift for anyone running a group event.
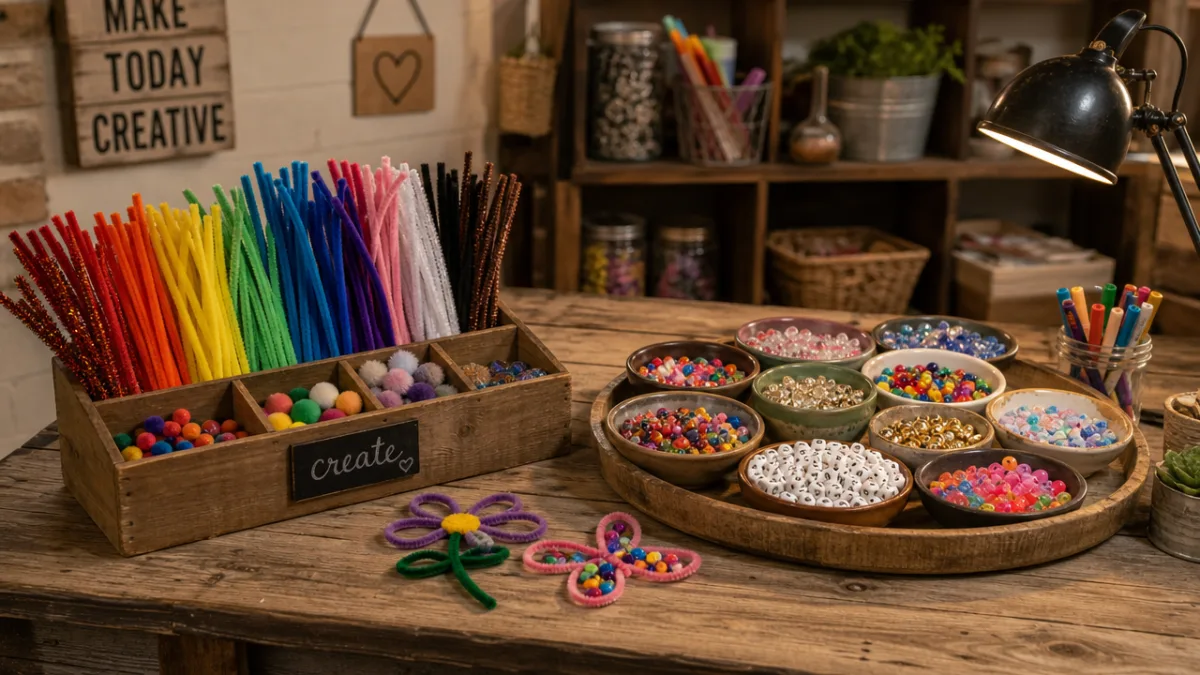
For a party, a little attention to presentation goes a long way. Fan the pipe cleaners out in a jar or cup in rainbow order so the colors show off. Sort beads into small bowls by color so kids can actually see what they’re choosing from. Set out a few pre-made example wands in a vase as inspiration. A simple hand-lettered “Make Your Own Bubble Wand!” sign adds a charming touch that kids love and parents will photograph. These small details make the station feel intentional and exciting rather than just a pile of stuff on a table.
It’s worth setting up the blowing and testing area separately from the making table — keeping the bubble solution away from the craft supplies prevents soggy pipe cleaners and general chaos. A table with a disposable plastic tablecloth or a patch of grass works perfectly as a testing station. Set out a few shallow trays of bubble solution and let kids cycle through as they finish their wands. This two-station flow naturally encourages kids to complete their wand before moving on, which gives the whole activity a satisfying rhythm.
Cleanup is genuinely low effort, which is always welcome after running a craft activity for a group. Bubble solution wipes up with a damp cloth, pipe cleaners can go back in the craft bin, and beads and ribbon sort back into their containers pretty quickly. The finished wands also make fantastic party favors — every kid goes home with something they actually made, which beats a generic goodie bag item every time. Toss out some small cellophane bags and ribbon near the exit so kids can package their wand up on the way out if they want to.
Creative Variations and Seasonal Adaptations
Once you’ve run a successful bubble wand station, it’s really easy to keep bringing it back throughout the year by tweaking the materials to fit different seasons and themes. The basic format stays the same — craft table, bubble solution, testing area — but the colors and embellishments shift to match the occasion. Kids who loved it last time will be just as excited the next time around, because the new materials make it feel fresh.
For spring or Easter, pastel pipe cleaners and floral foam stickers are perfect. Egg-shaped loop wands are simple to make and look really sweet in those soft colors. For a summer garden party, go bright and bold with primary colors and nature-themed beads like leaf shapes and greens. A Halloween version with glow-in-the-dark pipe cleaners and orange and black beads is genuinely brilliant — especially if you do the testing at dusk or in a slightly darkened space. The glowing bubbles floating through the air are absolutely thrilling to kids in a way that’s hard to overstate.
Winter holiday versions are always popular. Star-shaped wands from silver and gold pipe cleaners with little jingle bells woven in make a gorgeous December activity. Snowflake wands come together by overlapping three pipe cleaners into a six-pointed shape and securing the center with a small twist. These seasonal versions are low-effort to plan because the format is already proven — you’re really just swapping out the color palette and a few embellishments. That’s what makes this activity such a reliable one to have in your rotation.
For older kids and tweens who might side-eye the basic pipe cleaner wand as too young for them, offer upgraded materials that invite more complexity. Thin-gauge wire from a craft store opens up more intricate and architectural designs. Thermoplastic beads that can be melted into custom shapes add a material science element that genuinely interests older kids. You could also suggest that they build a complete bubble kit as a gift — designing the wand, mixing the solution, and packaging it all in a mason jar with a handwritten recipe card. That version of the activity starts to feel less like a kids’ craft and more like actual design thinking, which is exactly where you want older kids to land.
Tips for Making the Activity Run Smoothly
Even a well-planned craft activity benefits from a few practical tricks. One of the most useful things you can do before kids arrive is pre-twist some pipe cleaners together into double-thick lengths for anyone who wants to make a larger or more structured wand. It saves small hands a lot of frustration and makes more ambitious designs accessible to younger kids who don’t yet have the grip strength to do tight twists on their own. Having a few demo wands ready to show also helps kids who feel stuck on where to start — sometimes seeing one finished example is all the spark they need.
Managing the bubble solution is probably the trickiest logistical piece of the whole station. Pour a small amount into the testing trays and refill as needed rather than filling them to the brim — it limits big spills and keeps the solution fresher. If kids are testing on a hard surface like a patio or deck, even a little spilled solution can make things slippery, so keep towels nearby and mop up spills quickly. Testing on grass is actually the easiest option if you have it, since the solution just soaks in and there’s no slip hazard to manage at all.
Finally, it’s worth thinking about the sensory side of the activity for kids who might be more sensitive. Some children really dislike having bubble solution on their hands — and that’s completely valid. Offering a small dipping tool or a clothespin to hold the wand during testing means they can participate without touching the solution directly. If the smell of dish soap is an issue, an unscented variety takes care of that easily. These small adjustments don’t take much effort to put in place, but they can make the difference between a child who feels excluded and one who’s having the time of their life right alongside everyone else.








What do you think?
It is nice to know your opinion. Leave a comment.