










How to Practice Contrast Therapy at Home: A Complete Guide
What Is Contrast Therapy and Why Is It Gaining Popularity?
Contrast therapy is a wellness practice where you alternate between hot and cold temperatures to kick your body’s natural recovery and circulation into gear. It’s actually rooted in Scandinavian tradition — people have been moving between steaming saunas and frigid cold plunges for centuries. These days, athletes, biohackers, and everyday wellness enthusiasts are rediscovering what those Nordic cultures figured out long ago, and they’re finding ways to make it work at home. It’s become one of the fastest-growing recovery trends out there, and it’s not hard to see why.
The idea behind it is pretty intuitive once you understand the basic mechanics. Heat causes your blood vessels to open up, flooding your tissues with oxygen and nutrients. Cold does the opposite — it tightens everything down and flushes waste products out of your muscles while dialing back inflammation. When you flip rapidly between those two states, you create what a lot of practitioners describe as a “vascular workout,” a powerful pumping effect that trains your body to become more adaptive, more resilient, and better at handling physical stress.
A big part of why contrast therapy has taken off is that you don’t need a fancy spa membership to do it. Sure, Nordic spas and cryotherapy centers exist, but all you really need to get started is a shower, a bathtub, and a willingness to be briefly uncomfortable. As more people look for drug-free, natural ways to recover and feel better, contrast therapy keeps standing out — it’s affordable, it works, and the results tend to show up pretty quickly.
The Science-Backed Benefits of Hot and Cold Alternation
The research on contrast therapy has grown a lot over the past couple of decades, and the results are genuinely encouraging across several areas of health. Sports medicine studies have consistently found that contrast water therapy reduces delayed onset muscle soreness — you know, that painful stiffness that sets in a day or two after a hard workout — more effectively than just resting. Athletes who build regular contrast sessions into their recovery report bouncing back faster, feeling less wiped out, and training more consistently overall. If you do any kind of resistance training, endurance sport, or physically demanding work, that’s a pretty compelling case.
The mental health angle is worth paying attention to too. Cold exposure in particular triggers a meaningful spike in norepinephrine, a neurotransmitter tied to focus, energy, and emotional steadiness. Some researchers have looked at cold immersion as a complementary approach for people dealing with low mood or anxiety, and early results on self-reported wellbeing have been encouraging. The heat phase pulls its own weight on this front as well — it promotes relaxation through the parasympathetic nervous system and nudges the release of endorphins, leaving you with a calm, settled feeling that can stick around for hours.
Then there are the cardiovascular and immune benefits. Running your blood vessels through repeated cycles of dilation and constriction is essentially a training stimulus for them — over time, they get better at responding efficiently, which may translate to improved resting circulation and cardiovascular adaptability. There’s also some evidence that regular cold exposure boosts the activity of certain immune cells, potentially making you less susceptible to common bugs. Contrast therapy isn’t a medical treatment and shouldn’t replace professional care, but its cumulative effects on your body’s core systems make it a genuinely worthwhile addition to a health-focused lifestyle.
Essential Equipment for a Home Contrast Therapy Setup
You don’t need to drop thousands of dollars to practice contrast therapy effectively at home — though your options definitely expand as your budget does. At the most basic level, a regular shower with decent hot and cold water pressure is a perfectly good starting point. Just toggling between hot and cold while you shower, spending one to three minutes at each temperature, is enough to give your nervous and circulatory systems a real stimulus. Plenty of people start here before moving on to more elaborate setups, and some experienced practitioners stick with the shower method forever because it’s just so simple and quick.
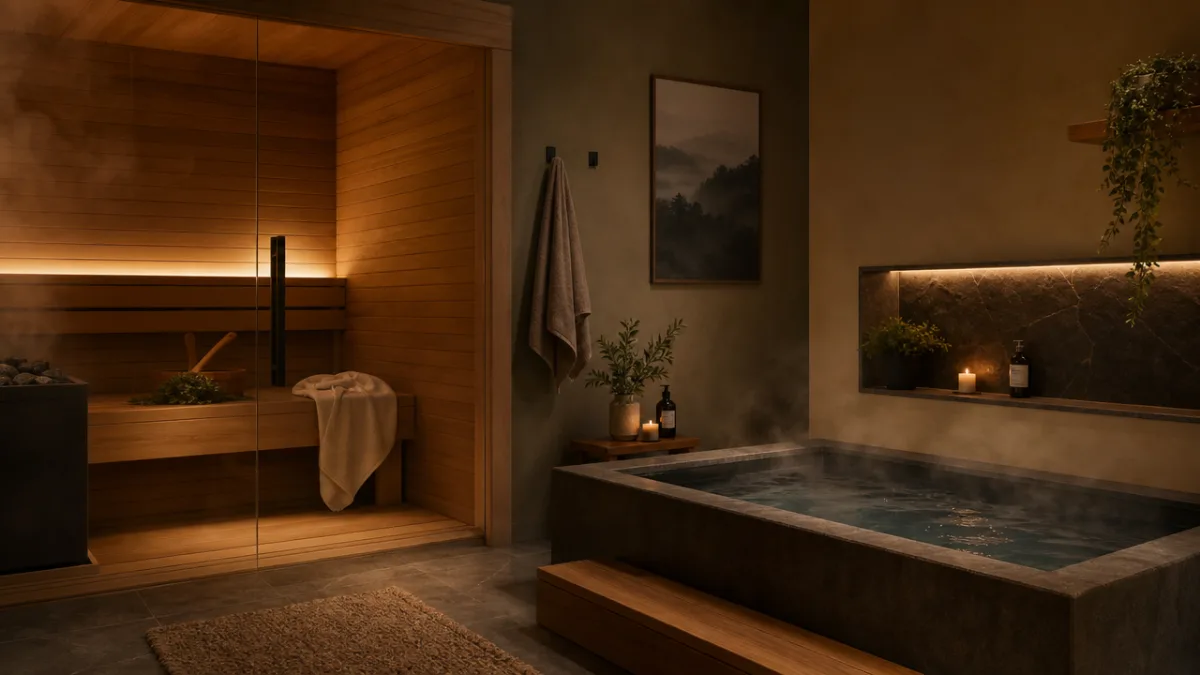
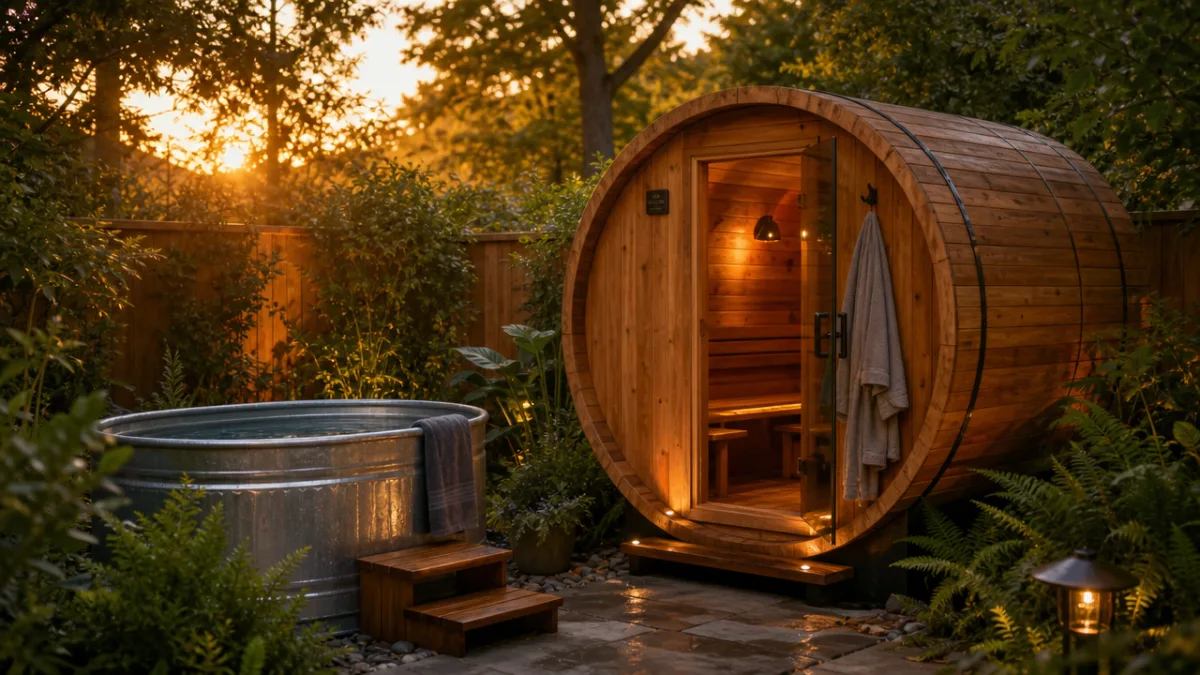
If you’re ready to go deeper, a dedicated cold plunge setup changes the experience considerably. You can go anywhere from an affordable stock tank or large plastic bin all the way up to a purpose-built cold plunge tub with a built-in chiller that holds a precise temperature. On the heat side, a portable home sauna, an infrared sauna blanket, or even a very hot bath can serve as your warm phase. A barrel sauna in the backyard or a small steam unit in a bathroom corner can turn your home into a genuinely effective contrast therapy setup without the cost of a spa membership.
A few accessories are worth having regardless of which setup you choose. A waterproof thermometer lets you know you’re actually in the right temperature ranges rather than guessing. Non-slip mats around your cold plunge and sauna areas are a must — your circulation is shifting rapidly during transitions and the last thing you want is to slip. Keep towels, a robe, and warm socks within easy reach after cold exposure so you can rewarm properly. And a simple timer or stopwatch helps keep your intervals consistent, which matters more than people realize for building a structured practice.
Here is a general overview of equipment options by investment level:
- Entry level: Standard shower with hot and cold switching, a bag of ice in the bathtub, and a basic thermometer. Cost is minimal and setup time is under five minutes.
- Mid range: Stock tank cold plunge, infrared sauna blanket or portable pop-up sauna, waterproof timer, and non-slip mats for transitions.
- Premium: Purpose-built cold plunge tub with a chiller unit, a dedicated indoor or outdoor barrel sauna, and optional biometric tracking tools for monitoring heart rate variability during sessions.
Step-by-Step Protocol for Beginners
Getting started with contrast therapy at home is a lot smoother when you have an actual structure to follow rather than winging it. As a beginner, the idea is to start conservatively and give your body real time to adapt to thermal stress before you push the intensity or duration. In those first two to four weeks, you’re not chasing maximum discomfort — you’re teaching your nervous system to regulate itself more effectively. Starting too hard too fast tends to lead to discouragement, and occasionally dizziness or fatigue, so gradual progression isn’t just a cautionary cliché here — it genuinely matters.
A solid beginner protocol looks like this: start with three to five minutes of heat exposure, whether that’s a hot shower, a warm bath around 38 to 40 degrees Celsius, or a sauna. Then move immediately to thirty seconds to one minute of cold exposure, aiming for water between 10 and 15 degrees Celsius. Go back to heat for another three to five minutes, then back to cold. Do two to three full cycles per session, and always finish on cold to take advantage of the vasoconstrictive and energizing effects. Two to three sessions per week is a great starting frequency, and you can add more as your tolerance and enthusiasm grow.
After your last cold exposure, resist the urge to immediately jump into a hot shower. Give yourself ten to fifteen minutes to warm up naturally — this is actually where a lot of the physiological benefit consolidates, as your body works hard to restore its core temperature and in doing so stimulates metabolism and circulation. Wrap up in a warm robe, drink some water or a cup of herbal tea, and just rest quietly. Many people find this post-session window to be one of the best parts of the whole ritual — there’s a deep calm and mental clarity that comes with it that can last for hours.
The following numbered steps summarize a complete beginner session:
- Hydrate well before starting, drinking at least one glass of water.
- Enter the heat phase (hot shower, bath, or sauna) for three to five minutes.
- Transition immediately to cold exposure for thirty to sixty seconds.
- Return to heat for three to five minutes.
- Complete a final cold phase for thirty to sixty seconds.
- Wrap up warmly and allow ten to fifteen minutes of natural rewarming before resuming normal activities.
Safety Considerations and Who Should Approach With Caution
Contrast therapy is well tolerated by most healthy adults, but it does put real demands on your cardiovascular and nervous systems — so some people need to approach it carefully or talk to a doctor first. If you have a diagnosed heart condition, uncontrolled high blood pressure, or a history of stroke, please check with your doctor before trying any kind of temperature therapy. The rapid blood pressure shifts that happen as you move between hot and cold can put extra strain on the cardiovascular system, and that’s not something to take lightly. The same goes for pregnancy — prolonged heat immersion can raise core body temperature to levels that aren’t safe for fetal development.
Raynaud’s disease, which causes exaggerated cold sensitivity in the hands and feet, can be aggravated by cold water immersion and is worth discussing with a medical professional before diving in. People with peripheral neuropathy or reduced sensation in their limbs may have trouble accurately gauging temperature, which creates a real risk of injury without them realizing it. Open wounds, skin infections, or recent surgical sites are all reasons to stay out of immersion water until things are fully healed. Even if you’re in great health, the key skill to develop is knowing the difference between the productive discomfort of cold adaptation and actual warning signs like chest pain, severe dizziness, or numbness that won’t go away.
There are also some commonsense safety habits everyone should follow regardless of their health status. Don’t practice contrast therapy alone during your first several sessions — wait until you know how your own body responds to the thermal stress. Keep a clear, unobstructed path between your heat and cold stations so you’re not stumbling around during transitions when your circulation is mid-shift. Never submerge your head in ice-cold water, especially alone, since this can trigger the mammalian dive reflex and cause an abrupt drop in heart rate. Keep your sessions reasonable in length, especially early on, and drop the competitive mindset about staying in the cold longer than is actually good for you.
Advanced Techniques to Deepen Your Practice
Once you’ve built a solid foundation with basic contrast therapy over several weeks or months, there’s a lot of room to go deeper and get more out of it. Gradually extending your cold phase — working from thirty seconds up toward two or three minutes over many weeks — meaningfully amplifies the norepinephrine response and builds genuine mental resilience. Some experienced practitioners eventually move from cold showers to full cold water immersion in a plunge tub, which delivers a more uniform and intense stimulus across your entire body surface and speeds up adaptation. The important thing is that any progression should feel earned through steady exposure, not forced through sheer stubbornness.
Breathwork is another powerful layer to add to your sessions. Techniques like diaphragmatic breathing or slow, controlled exhales during cold immersion help bring the parasympathetic nervous system online, making it much easier to stay calm and present when the cold gets intense. Some practitioners experiment with deliberate breath holds during the heat phase to train respiratory efficiency. Others use the sauna phase as a window for meditation or body scanning, deepening the mental health dimension of the practice and turning what could be a purely physical routine into something more like a mind-body ritual.
Tracking your progress over time adds both motivation and useful data to your practice. Keeping an eye on your resting heart rate and heart rate variability — using a wearable or just simple pulse checks before and after sessions — can reveal how your autonomic nervous system is adapting over time. Many practitioners see meaningful improvements in heart rate variability over weeks and months, a sign of better stress resilience and recovery capacity. A simple journal where you note session duration, temperatures, and how you felt in terms of energy, mood, and soreness also helps you spot patterns and fine-tune your personal protocol.
Nutrition and hydration matter more than people often realize in an advanced contrast therapy practice. Staying well hydrated before, during, and after sessions helps maintain blood volume and keeps the lightheadedness that can come from heavy sweating during heat phases at bay. Some practitioners time their sessions strategically — morning contrast therapy for energy and mental sharpness, evening sessions for winding down and recovery. After longer sessions, an electrolyte-rich drink or broth can help replace minerals lost through sweat. The practitioners who get the most out of contrast therapy tend to be the ones who treat it as one piece of a larger wellness puzzle rather than a standalone fix.
Building a Sustainable Long-Term Contrast Therapy Habit
Like any wellness practice worth doing, the long-term value of contrast therapy is really all about consistency rather than occasional heroic efforts. The adaptations that make it genuinely transformative — better vascular function, stronger stress tolerance, more efficient inflammation regulation — build up slowly over months and years of regular practice. The mindset that sustains people isn’t treating each session like a feat of self-discipline; it’s approaching it with the same quiet automaticity you bring to brushing your teeth or making your morning coffee. Pairing contrast therapy with something already in your routine, whether that’s your morning workout or your evening wind-down, makes it dramatically easier to stick with.
Community and accountability can make a real difference too. Online groups, local wellness clubs, or even just a friend or family member who’s into contrast therapy can provide encouragement, fresh ideas, and a social dimension that makes any habit more enjoyable and harder to abandon. Sharing your protocols and experiences with others creates a feedback loop of motivation and learning that benefits everyone. A lot of people who start contrast therapy as a solo experiment eventually find themselves becoming the person in their friend group who can’t stop talking about cold plunges — and it turns out that teaching the practice tends to deepen your own understanding and commitment in return.
Perhaps most importantly, staying curious keeps the practice alive over the long run. There’s no single right way to do contrast therapy, and the research is still evolving as scientists uncover new things about thermal physiology. Playing with different temperatures, session structures, timing approaches, and complementary practices keeps the routine fresh and gives you something to explore. Listening to what your body is telling you on any given day, rather than robotically following a fixed script, is the mark of a mature and intuitive relationship with the practice. At its best, contrast therapy isn’t just a recovery tool — it’s a daily ritual that keeps you tuned in to your own physical experience and, over time, genuinely more at home in your body.








What do you think?
It is nice to know your opinion. Leave a comment.