










All About Calendula: How to Grow, Harvest, Dry & Use Calendula Flowers
Introduction to Calendula: The Garden’s Golden Healer
Calendula — botanically known as Calendula officinalis — is one of those plants that just about every herbalist falls in love with sooner or later. Commonly called “pot marigold,” this sunny, cheerful flower has been grown for centuries across Europe, Asia, and the Americas, prized as much for its warm orange and yellow blooms as for its surprisingly useful medicinal and culinary qualities. Whether you’ve been growing herbs for decades or you’re just getting started, calendula is one of the most welcoming and rewarding plants you can add to your garden.
What makes calendula so special is that it pulls double duty — it’s genuinely beautiful and genuinely useful. The flowers range from soft cream and pale yellow all the way to deep tangerine and burnt orange, and they just keep blooming throughout the growing season. Unlike a lot of medicinal herbs that can be fussy about their conditions, calendula is wonderfully forgiving. Even if you’re new to gardening, you’ll almost certainly end up with more flowers than you know what to do with. That’s part of the charm.
Calendula has worn a lot of hats over the centuries. Ancient Egyptians valued it for its rejuvenating properties. Medieval Europeans tossed the petals into soups and stews — which is actually where the “pot” in pot marigold comes from. Ayurvedic and traditional Chinese medicine have long used it for its anti-inflammatory and healing qualities, and modern research keeps finding reasons to back those traditions up. In a lot of ways, getting to know calendula means getting to know a living thread that connects thousands of years of human plant knowledge to the kind of homegrown wellness practices people are rediscovering today.
How to Grow Calendula: From Seed to Bloom
If you’ve ever wanted a guaranteed garden win, growing calendula from seed is it. This plant is a cool-season annual, which means it loves the mild, gentle temperatures of spring and fall but can start looking a little ragged when summer heat really kicks in. In most temperate climates you can direct-sow seeds straight into the garden as soon as the soil is workable in early spring — calendula can handle a light frost that would wipe out more tender plants without missing a beat. If you want a head start, you can also sow seeds indoors about four to six weeks before your last expected frost date.
Soil prep is pretty simple. Calendula likes well-draining soil that’s moderately fertile, with a pH somewhere between 5.5 and 7.0. Here’s something a little counterintuitive: you don’t want the soil too rich, because overly fertile conditions tend to produce lots of leafy growth at the expense of flowers. Before you sow, just loosen the soil to about six inches deep and clear out any large clumps or debris. Plant seeds a quarter to half an inch deep, and once seedlings are a few inches tall, thin them to about nine to twelve inches apart. That spacing gives them enough breathing room to stay healthy and avoid fungal problems.
When it comes to sun and water, calendula is pretty low-maintenance. It does best in full sun — at least six hours a day — though it’ll still bloom in partial shade, just not quite as enthusiastically. Water consistently enough to keep the soil evenly moist, but don’t let it sit waterlogged. Once the plants are established, they’re actually fairly drought-tolerant, which is great if you don’t have time to water every day. One thing that really makes a difference: deadhead regularly. Snipping off spent blooms keeps the plant producing new flowers and can stretch your harvest season well into autumn.
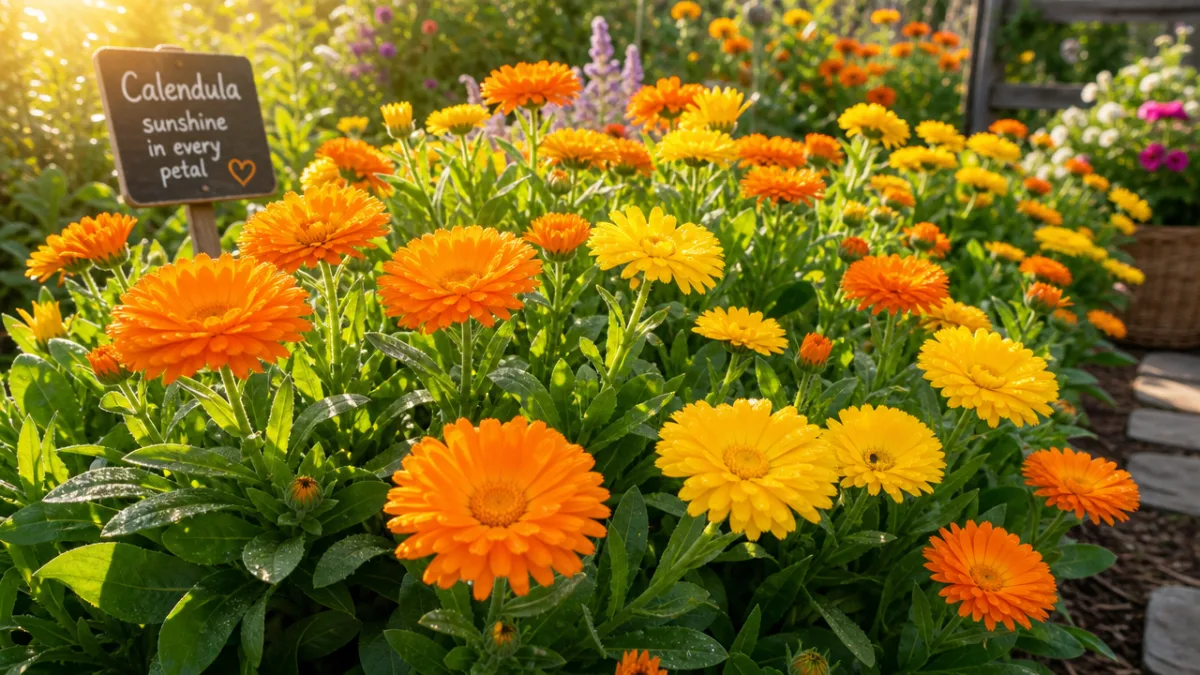
Harvesting Calendula Flowers: Timing and Technique
Harvesting is honestly one of the best parts of growing calendula, and getting the timing right makes a real difference in both quality and how productive your plants stay throughout the season. The sweet spot for picking is in the morning, after the dew has dried off but before the afternoon heat sets in. At that time of day the flowers are fully open, the resinous compounds are at their most concentrated, and the moisture content is low enough that you won’t run into mold problems during drying. You’re looking for flowers that are freshly opened and vibrant — those are the ones with the highest medicinal value.
Choosing the right stage of bloom matters more than you might think. You want flowers that are fully open — petals completely unfurled, the center disc fully exposed — but not past their prime. A flower that’s been sitting on the plant too long will shed petals as soon as you touch it and won’t have much resinous value left. On the other hand, picking buds that haven’t fully opened yet means you’re leaving behind the essential oils and flavonoids that build up during full bloom. It sounds like a narrow window, but after a harvest or two you’ll start recognizing it without even thinking about it.
The actual harvesting technique couldn’t be simpler. Grab the flower head between your fingers and roll it off the stem with a gentle twist, or just snip the stem right below the flower head with clean scissors. One thing to know going in: calendula flowers are sticky. That golden resin coating your fingers is the plant’s oleoresin — the same stuff responsible for its well-known skin-healing properties — so it’s actually a sign you’ve got good material. That said, it does build up on your hands and tools pretty quickly. Light gloves help if you’re doing a big harvest, and it’s worth wiping your snips down regularly so they stay clean.
Drying Calendula Flowers: Preserving the Harvest
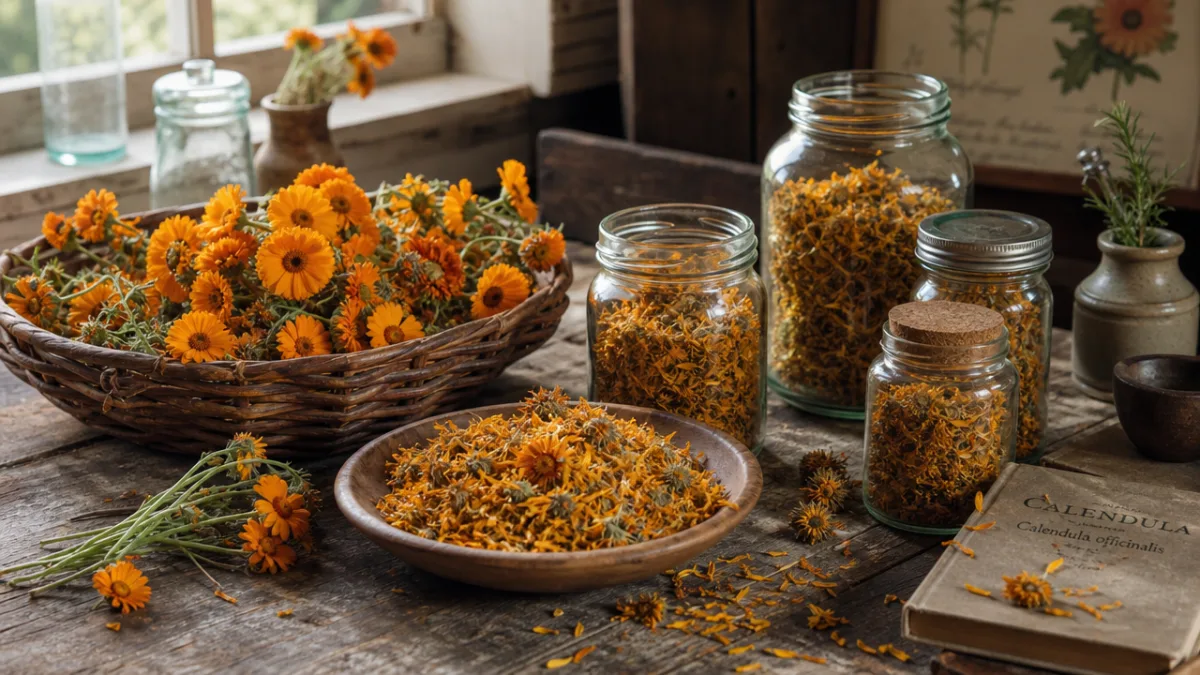
Drying your calendula properly is what stands between a beautiful harvest and a batch of flowers that lose all their goodness before you can use them. When it’s done right, dried calendula holds onto its bright color, that distinctive resinous smell, and all the active compounds — flavonoids, carotenoids, essential oils — that make it worth growing in the first place. The basic principle is to pull out the moisture as fast as you reasonably can without using a lot of heat, since heat is what breaks down those compounds. You’ve got a few good options depending on what you’re working with.
Air drying is the classic method, and honestly it’s hard to beat if you have the right conditions. Spread freshly harvested flower heads in a single layer on drying screens, mesh trays, or even clean window screens propped up on something to let air flow underneath. You want a warm, dry spot away from direct sunlight — sunlight bleaches the petals and can reduce potency. A well-ventilated attic, spare room, or covered porch all work well. Depending on how humid your climate is, the flowers will usually be fully dry within one to three weeks. You’ll know they’re ready when the petals crumble easily and the centers feel completely firm all the way through.
If you’d rather speed things up, a food dehydrator set to its lowest temperature — ideally somewhere between 95°F and 115°F (35°C to 46°C) — can dry calendula flowers in as little as twelve to twenty-four hours. This is especially handy in humid climates where air drying carries a real mold risk. Same rules apply: single layer on the trays, check periodically, and use the crumble test to know when they’re done. Once they’re fully dry, storage matters just as much as the drying itself. Airtight glass jars kept away from light and heat are the way to go. Properly stored, dried calendula stays potent for up to a year, though it’s at its best within the first six to eight months.
- Air Drying: Spread on screens in a warm, ventilated, shaded space; takes one to three weeks depending on humidity.
- Dehydrator Drying: Use the lowest heat setting (95–115°F); most flowers are fully dry within twelve to twenty-four hours.
- Oven Drying: Use only if necessary, with the oven door propped open and the lowest possible temperature; monitor closely to avoid scorching.
- Storage: Use amber or dark glass jars, label with date, and store in a cool, dry, dark location away from moisture.
Medicinal and Therapeutic Uses of Calendula
Calendula’s reputation as a healing herb is genuinely well-earned. Its main strengths lie in its anti-inflammatory, antimicrobial, and wound-healing properties, which is why it’s been one of the go-to herbs for skin health in both folk medicine and modern herbal practice. The compounds behind all of this — flavonoids like quercetin and isorhamnetin, triterpenoid saponins, carotenoids, polysaccharides, and a bit of essential oil — work together to make calendula surprisingly effective for a wide range of skin concerns.
One of the most popular ways to use it is as an infused oil, which then becomes the base for salves, balms, creams, and lotions. Making it is simple: fill a clean, dry jar with dried calendula flowers, cover them completely with a carrier oil like olive oil, jojoba, or sweet almond oil, and let the whole thing infuse for four to six weeks somewhere warm and sunny, giving it a shake every day. After that, strain it and store it in dark glass bottles. You can apply it directly to irritated or dry skin, use it as a base for homemade salves, or blend it into lotions. It’s a particular favorite for soothing eczema, diaper rash, minor burns, and that kind of persistently dry, cracked skin that never quite seems to heal.
Calendula isn’t just for external use, either. A simple tea — about one to two teaspoons of dried flowers steeped in hot water for ten to fifteen minutes — offers gentle anti-inflammatory support for the digestive system and is often used for things like gastritis, irritable bowel syndrome, and gastric ulcers. Herbalists also use it as a lymphatic herb, meaning it supports healthy lymphatic circulation and immune function. As a topical remedy for minor cuts, wounds, and bruises, it’s hard to beat. That said, if you’re pregnant, breastfeeding, or on prescription medications, it’s worth checking in with a qualified healthcare provider before using calendula therapeutically.
Culinary Uses: Bringing Calendula into the Kitchen
Calendula has a long culinary history that most modern cooks have completely forgotten about, which is a shame because it’s genuinely fun to work with. The petals have a mildly bitter, slightly peppery, subtly floral flavor that adds real complexity — plus stunning color — to all kinds of dishes. Back in medieval and Renaissance Europe, calendula petals were a kitchen staple, used to color butter, cheese, and broths. That’s actually what earned it the nickname “poor man’s saffron.” The flavor isn’t the same as saffron, but that deep golden-orange pigment does a similar visual job for a fraction of the price.
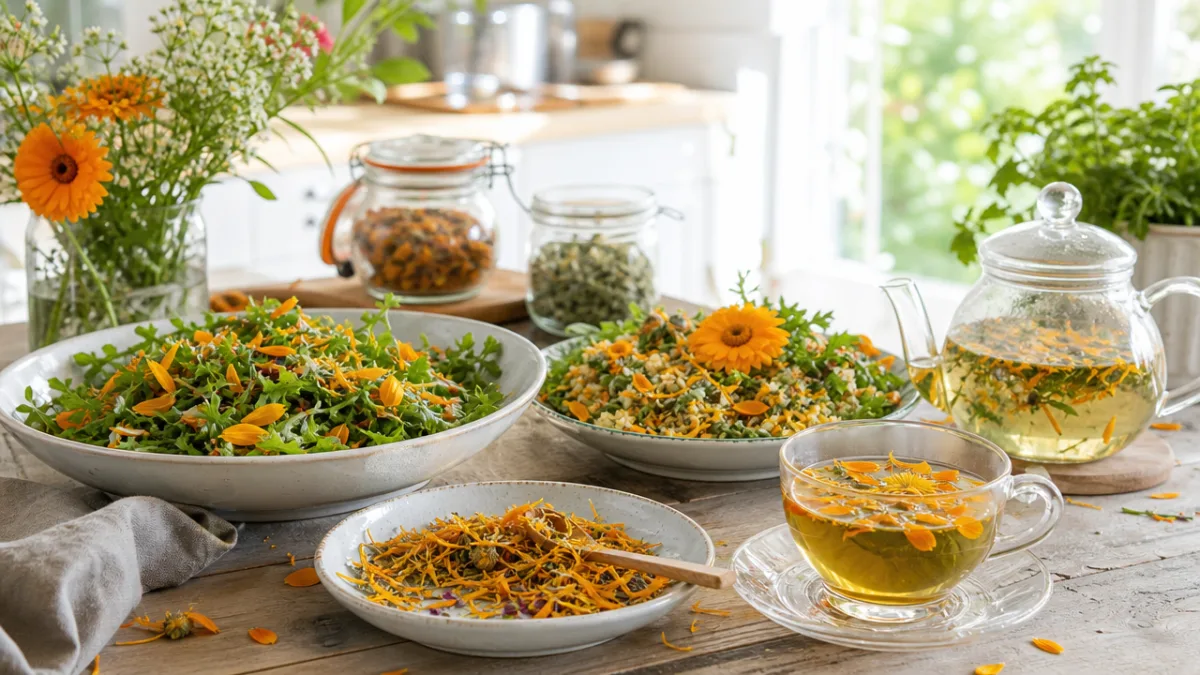
Fresh or dried petals can go just about anywhere: scattered over salads, stirred into rice, folded into baked goods, blended into herb butters or soft cheeses. They make a gorgeous garnish for soups and stews, and you can use them to naturally tint homemade pasta, bread, or polenta. Calendula-infused vinegars and oils add both color and a gentle herbal note to dressings and marinades. One practical tip: pull the petals away from the small green base of the flower head before using them in cooking, since that base tends to be more bitter and a bit tough. And if you can use fresh petals the same day you pick them, you’ll get the brightest color and the most delicate flavor.
Calendula also makes a wonderful addition to herbal teas and floral drinks. The petals blend beautifully with chamomile, lemon balm, and rose petals for a tisane that’s both soothing and pretty to look at. A simple calendula syrup — just petals simmered with sugar and water — can be used to flavor cocktails, lemonade, sparkling water, or desserts. As edible flowers become more popular with home cooks and chefs alike, calendula deserves a lot more attention than it currently gets. It’s a genuinely versatile ingredient that connects the herb garden directly to the kitchen table.
Companion Planting and Garden Benefits of Calendula
Calendula’s value doesn’t stop at what you can harvest from it — it’s also one of the hardest-working companion plants you can have in an organic garden. One of its most notable contributions happens underground: calendula roots release compounds that repel nematodes, the microscopic soil pests that can wreak havoc on the root systems of tomatoes, peppers, and other vegetables. Planting calendula as a border around these crops is a simple, natural way to reduce that risk without reaching for anything chemical.
Above ground, calendula acts as a trap crop for aphids — meaning aphids are drawn to it and tend to cluster there rather than spreading to your more vulnerable plants. It might sound like a bad thing at first, but it’s actually a smart strategy. When aphids congregate on calendula in large numbers, they’re easy to spot and remove by hand, and they also become an easy meal for beneficial predatory insects like ladybugs, lacewings, and parasitic wasps that patrol the garden. On top of that, calendula’s bright, open flowers are excellent at attracting pollinators, especially bees and hoverflies, which improves fruit set across a wide range of crops in the surrounding area.
Calendula pulls its weight for the soil itself as well. It grows quickly, produces a good amount of plant material, and can be cut and composted at the end of the season to return organic matter and nutrients back to the garden. It also works nicely as a living mulch or low ground cover early in the season while taller plants are still getting established. And all the while, it’s producing those cheerful blooms from late spring through autumn, keeping the garden looking alive and beautiful even during the quieter stretches of the growing season. For anyone trying to garden in a more sustainable, ecological way, calendula is one of those plants that genuinely earns its keep.








What do you think?
It is nice to know your opinion. Leave a comment.