










How to Paint Kitchen Cabinets Without Sanding: A Complete Guide to a Flawless Finish
Painting your kitchen cabinets is one of the most transformative home improvement projects you can tackle, and the good news is that you do not need to spend hours sanding every surface to achieve a beautiful, lasting result. Many homeowners are surprised to learn that with the right preparation techniques, high-quality primers, and proper paint selection, you can skip the laborious sanding step entirely and still end up with cabinets that look professionally refinished. This guide will walk you through every stage of the process so you can approach the project with confidence and clarity.
Understanding Why Sanding Is Typically Recommended (And Why You Can Skip It)
Traditionally, sanding kitchen cabinets before painting serves two main purposes: it removes the existing finish or gloss so that primer and paint can bond properly, and it smooths out any imperfections on the surface. The logic is sound, but it also means hours of dusty, physically demanding work that can be discouraging for even enthusiastic DIYers. The fine particles generated by sanding spread throughout your kitchen and home, settling into every nook and cranny, which makes the cleanup process almost as exhausting as the sanding itself.
Modern chemistry has largely solved the adhesion problem that made sanding so necessary in the past. Today’s bonding primers are specially formulated to grip glossy, slick, or previously painted surfaces without requiring the mechanical roughening that sandpaper provides. These primers contain adhesion-promoting agents that chemically bond to existing finishes, creating a stable foundation for your topcoat. When used correctly, they eliminate the need for sanding while delivering results that rival those achieved through traditional methods.
It is important to understand, however, that skipping sanding does not mean skipping preparation altogether. The preparation stage simply shifts its focus from mechanical abrasion to thorough cleaning and degreasing. Kitchen cabinets accumulate grease, cooking oils, dust, and grime over years of use, and this contamination will absolutely prevent paint from adhering properly regardless of which primer you choose. Think of sanding-free painting as a trade of one type of labor for another — swapping elbow grease on sandpaper for careful, meticulous cleaning instead.
Gathering Your Supplies Before You Begin
Having the right materials on hand before you start will make the entire process smoother and help you avoid frustrating interruptions mid-project. The quality of your tools and products matters enormously when you are skipping sanding, because the primer and paint need to do extra work to compensate. Cutting corners on supply quality at this stage is the most common reason DIY cabinet painting projects fail to deliver professional-looking results.
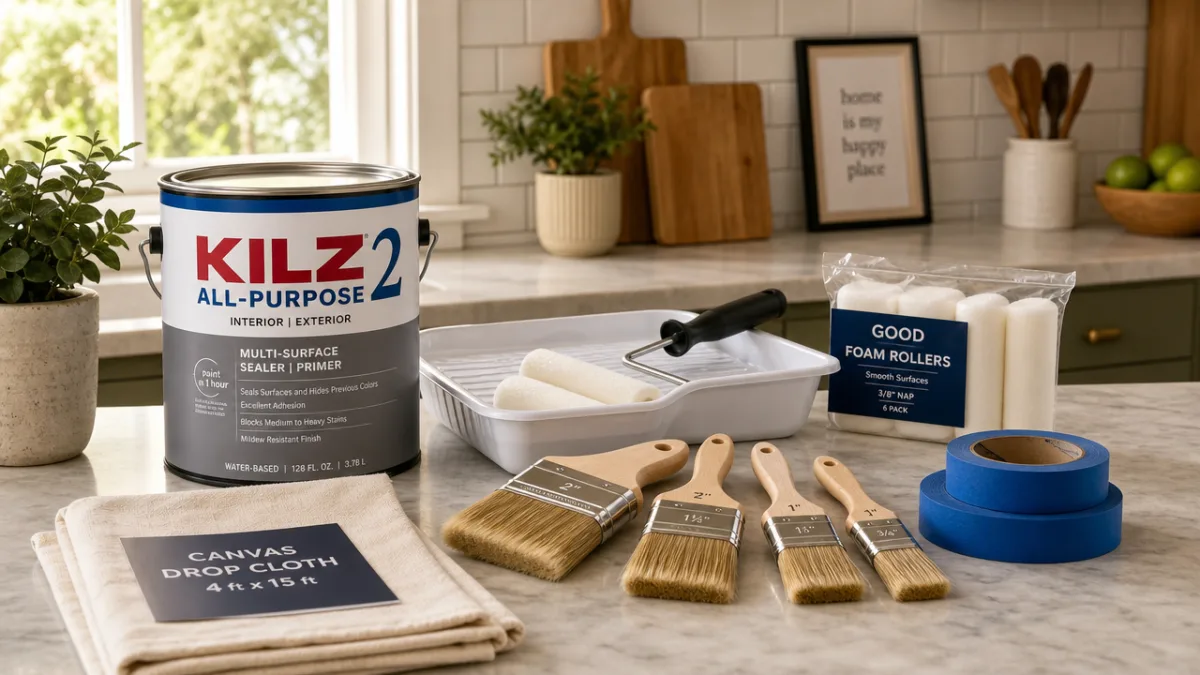
For cleaning and degreasing, you will need a strong degreaser such as trisodium phosphate (TSP) or a TSP substitute, clean rags or microfiber cloths, a bucket of warm water, and rubber gloves. For the painting stage, gather a high-quality bonding primer (oil-based or shellac-based primers tend to outperform water-based options on slick surfaces), a cabinet-specific paint or alkyd enamel, high-density foam rollers for flat surfaces, and quality angled brushes for edges and details. You will also need painter’s tape, plastic sheeting or drop cloths to protect countertops and floors, and a screwdriver for removing hardware.
Optional but highly recommended supplies include a liquid deglosser or liquid sandpaper, which chemically etches the existing finish to improve adhesion without producing dust. A small handheld paint sprayer can dramatically improve the smoothness of your final finish if you are comfortable using one. Cabinet door hinges, new pulls and knobs, and furniture wax or topcoat sealer are also worth considering as finishing touches that will protect your hard work and elevate the overall look of your completed kitchen.
- TSP or TSP-substitute degreaser and clean rags for thorough surface cleaning
- Liquid deglosser as an optional but highly effective sanding alternative
- High-quality shellac-based or oil-based bonding primer for superior adhesion
- Cabinet-specific paint or alkyd enamel for a hard, durable topcoat finish
- High-density foam rollers and quality angled brushes for smooth application
- Painter’s tape, drop cloths, and plastic sheeting for surface protection
- Screwdriver for removing doors, drawers, and all hardware before painting
Preparing Your Cabinets: The Most Critical Step
No amount of high-quality primer or paint can save a project that starts with poorly prepared surfaces, and this is doubly true when you are painting without sanding. The preparation phase is where most of your time and energy should be invested, and it is the stage that separates a paint job that peels and chips within months from one that holds up beautifully for years. Approach this stage with patience and thoroughness, and the rest of the project will flow much more easily.
Begin by removing all cabinet doors, drawer fronts, and hardware. Label each door with a piece of painter’s tape on the inside edge, numbering them to correspond to their location in the kitchen. This seemingly small step will save you enormous frustration when it comes time to rehang everything. Set the doors on sawhorses or a flat work surface covered with drop cloths, and store all screws and hardware in labeled zip-lock bags so nothing gets lost during the project.
Once everything is disassembled, begin cleaning every surface that will be painted. Mix your degreaser according to the package instructions and scrub down all cabinet boxes, doors, and drawer fronts. Pay particular attention to areas near the stove and around handles, where grease buildup tends to be heaviest. After cleaning with degreaser, rinse thoroughly with clean water and allow every surface to dry completely — this may take several hours depending on humidity levels in your home. If you are using a liquid deglosser, apply it after the degreasing step according to the manufacturer’s directions, working in a well-ventilated space and wearing appropriate protective gear.
Inspect all surfaces carefully after cleaning and fill any holes, gouges, or deep scratches with wood filler or spackling compound. Allow the filler to dry completely, then smooth it out with a damp cloth or very fine-grit sanding sponge. This is the one instance where a small amount of localized sanding is acceptable and even necessary — you are not sanding the entire surface for adhesion purposes, but simply leveling out repairs so they blend seamlessly into the surrounding area. Wipe away any dust from this step with a tack cloth before moving on to priming.
Priming for Maximum Adhesion and a Smooth Base
Choosing the right primer is arguably the single most important decision you will make in this entire project. Not all primers are created equal, and the differences between a standard interior primer and a true bonding primer are significant enough to determine whether your paint job succeeds or fails. For cabinets being painted without sanding, you need a primer that specifically states it bonds to glossy or slick surfaces without requiring mechanical preparation — look for terms like “bonding primer,” “adhesion primer,” or “sticks to all surfaces” on the label.
Shellac-based primers such as Zinsser BIN are widely regarded as the gold standard for this type of application. They bond tenaciously to virtually any surface including glossy laminate, previously painted wood, and even slick thermofoil, and they dry remarkably quickly — often in under an hour. Oil-based bonding primers are another excellent option and tend to be more readily available at standard home improvement stores. Water-based bonding primers have improved considerably in recent years and can work well, but they generally require more careful surface preparation to achieve comparable adhesion to their shellac or oil-based counterparts.
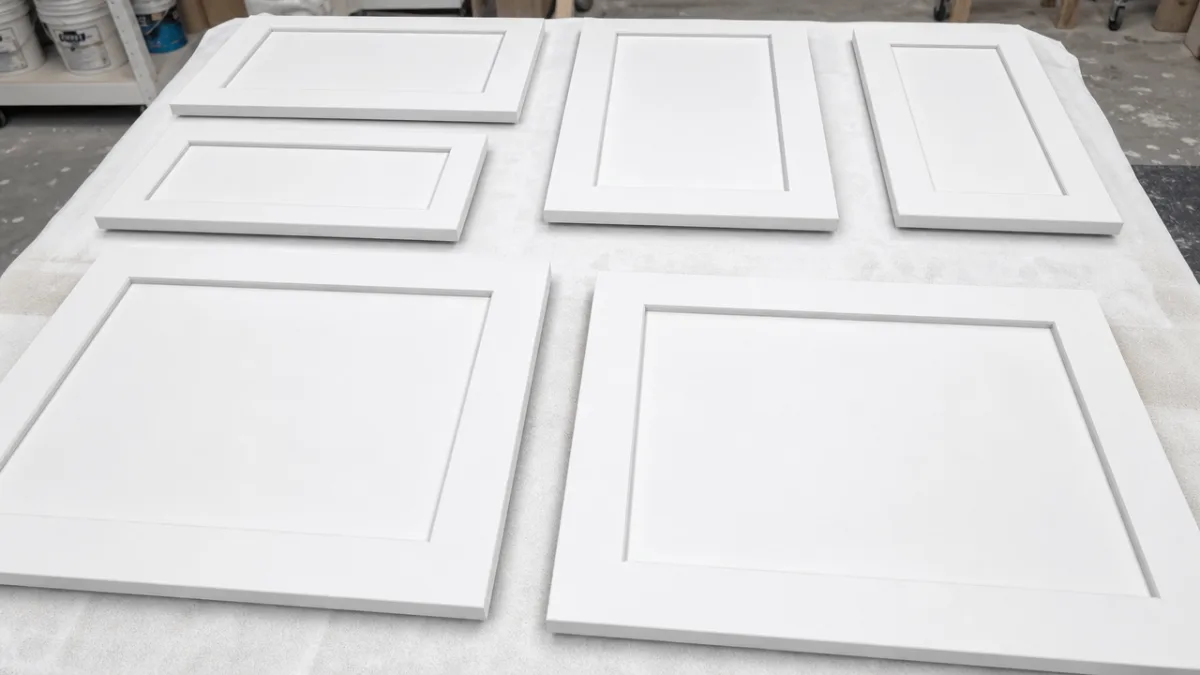
Apply your primer in thin, even coats using a foam roller for flat panels and a brush for edges, raised details, and interior corners. Avoid the temptation to apply thick coats in an effort to cover more quickly — thick coats are more prone to drips, runs, and poor adhesion, and they take much longer to dry properly. Two thin coats of primer will always outperform one heavy coat. Allow the first coat to dry fully according to the manufacturer’s recommended dry time before applying the second, and lightly smooth any roller texture or brush marks between coats with a barely-used fine-grit sanding sponge if desired, wiping clean before recoating.
Pay careful attention to the inside edges of cabinet doors, the back panels of doors, and the interior walls of cabinet boxes — all surfaces that will be visible once the doors are opened. Priming these areas is just as important as priming the front-facing surfaces, and neglecting them will result in an obviously unfinished look that undermines the overall quality of your project. Take your time moving methodically through each component and check your work from multiple angles and lighting conditions to ensure you have not missed any spots.
Applying the Paint: Techniques for a Professional Finish
With properly prepared and primed surfaces, applying the paint itself is actually the most enjoyable part of the process — you get to watch your kitchen transform before your eyes. The type of paint you choose will have a major impact on the final look and durability of your cabinets. For kitchen use specifically, you want a paint that cures to a hard, washable finish that can stand up to moisture, grease, frequent cleaning, and the general abuse that kitchen surfaces endure on a daily basis.
Alkyd or oil-based enamels have long been the professional’s choice for cabinet painting because they level out beautifully as they dry, self-smoothing to eliminate brush strokes and roller texture for an almost factory-like finish. Their main drawbacks are longer dry times, stronger fumes requiring better ventilation, and the need for mineral spirits for cleanup. Waterborne alkyd hybrids, sometimes called water-based alkyd enamels, have become increasingly popular as they combine the excellent leveling and hardness of traditional alkyds with the easier cleanup and lower odor of water-based products. Brands such as Benjamin Moore Advance and Sherwin-Williams Emerald Urethane Trim Enamel are frequently cited by professional painters as top performers for this application.
Apply paint in the same manner as primer — thin, even coats using a foam roller on flat surfaces and a brush for detailed areas. Work from the inside out on cabinet doors, starting with any raised panels and detail work before rolling the larger flat areas. For cabinet boxes, paint the interior first and then work outward to the face frame. Allow each coat to dry to the touch before applying the next, but check the manufacturer’s recommended recoat window — applying a second coat too late on some alkyd products can cause adhesion issues between layers.
Most cabinet projects will require two to three coats of paint for complete, even coverage, particularly when making a dramatic color change such as going from a dark stain to a bright white. Do not try to rush the process by applying heavy coats — patience here pays dividends in the final finish quality. If you notice any drips or sags while the paint is still wet, brush them out immediately. If they have already dried, allow the surface to cure fully and then very carefully remove the imperfection with a razor blade before touching up with a thin coat of paint.
Reassembly, Curing, and Long-Term Care
Once your final coat of paint has been applied, the waiting begins — and this stage requires as much discipline as any other part of the project. Paint that is dry to the touch is not the same as paint that has fully cured, and kitchen cabinets are particularly vulnerable to damage during the curing period. Alkyd and enamel paints can take anywhere from two to four weeks to reach their full hardness, depending on temperature, humidity, and the specific product used. Hanging doors and replacing hardware before the paint has adequate time to harden can result in blocking, where two painted surfaces stick together and pull apart when separated, leaving ugly marks.
When you do rehang your cabinet doors, handle them as gently as possible and use your labeled tape markers to return each door to its correct location. Tighten all hinges carefully and check that doors hang straight and close properly. If you have the opportunity, consider upgrading your hinges and hardware at this point — new pulls, knobs, and soft-close hinges can make freshly painted cabinets look even more like a professional kitchen renovation, often for a surprisingly modest investment.
To protect your new paint finish during the curing period and beyond, avoid cleaning the cabinets aggressively for at least four weeks after painting. When you do need to wipe them down, use a soft damp cloth with mild dish soap and avoid abrasive sponges or harsh chemical cleaners, which can dull or damage the finish. For added protection and longevity, some homeowners apply a clear water-based topcoat or furniture wax over fully cured cabinet paint, though this step is generally not necessary if you have used a high-quality enamel or alkyd paint as your topcoat.
Properly painted kitchen cabinets can last many years before needing a refresh, especially when they are given a little routine care and attention. Wipe up spills promptly, particularly around hinges and along door edges where moisture tends to collect, and touch up any chips or scratches as soon as you notice them to prevent moisture from working its way under the paint film. Keep a small amount of your cabinet paint in a sealed, labeled container for exactly these touch-up occasions — a small chip caught early is a five-minute fix, while one that is ignored can eventually require repainting an entire door.
Common Mistakes to Avoid and Troubleshooting Tips
Even with the best intentions and careful preparation, problems can arise during a cabinet painting project, and knowing how to identify and address them before they become major issues will save you time, money, and frustration. The most common problem encountered by first-time cabinet painters is poor adhesion, where the new paint begins to chip, peel, or rub off shortly after completion. In virtually every case, this traces back to insufficient cleaning or the use of an inappropriate primer — not to the absence of sanding. If you encounter adhesion problems, allow the paint to cure fully, identify and address the root cause, and then reprime and repaint the affected areas.
Brush strokes and roller texture in the dried paint finish are another frequent complaint, particularly for those accustomed to the factory-smooth finish of original factory-finished cabinets. To minimize texture, use a high-density foam roller rather than a standard nap roller, thin your paint very slightly if the manufacturer’s instructions permit, and choose a self-leveling paint formula. Applying paint in a warm room — ideally between 65 and 75 degrees Fahrenheit — also helps the paint level out more smoothly before it begins to set. If texture persists between coats after the paint has dried, a very light pass with a fine-grit sanding sponge followed by a tack cloth wipe-down can smooth things considerably before the final coat.
Yellowing is a concern primarily with oil-based and alkyd paints used on white or very light-colored cabinets, as these formulas can develop a slight yellow cast over time, particularly in low-light areas or on doors that are rarely opened and exposed to light. If yellowing is a concern, opt for a waterborne alkyd or a high-quality water-based enamel, which are far less prone to this issue. Conversely, do not let fear of yellowing push you toward a paint that sacrifices durability for color stability — a slightly yellowed but tough finish is far preferable to a bright white finish that chips and scratches easily.
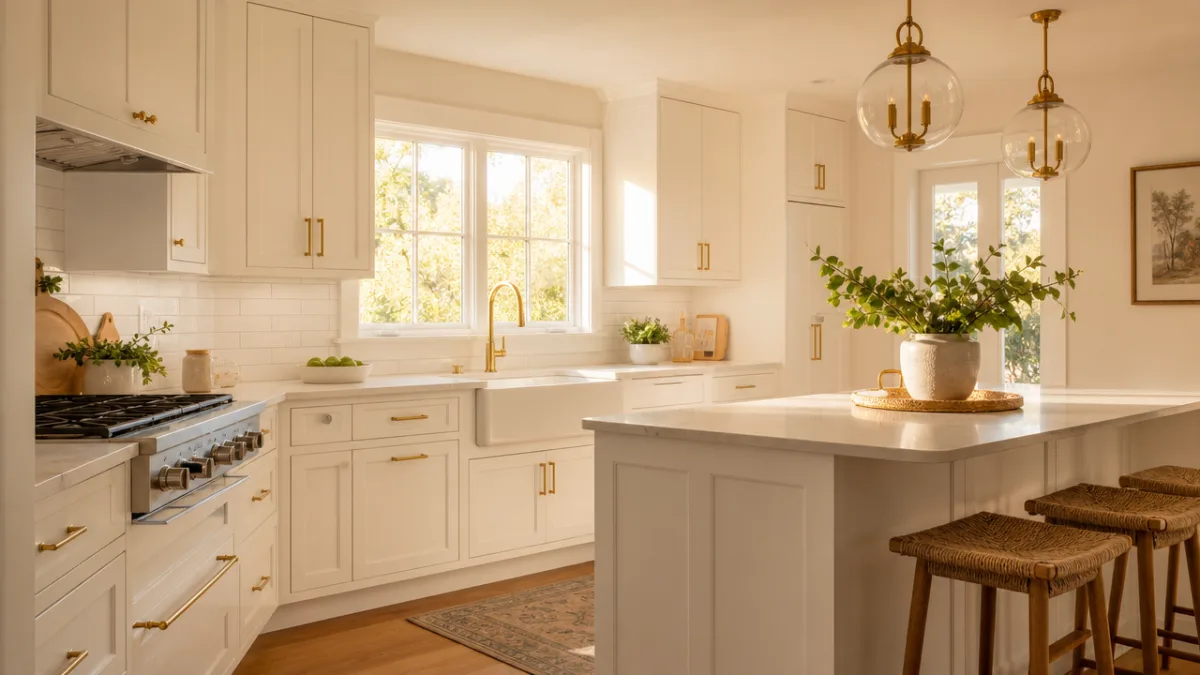
Finally, be realistic about the scope and timeline of the project before you begin. Painting kitchen cabinets without sanding is genuinely easier than the traditional sanding-required method, but it is still a multi-day project that will temporarily disrupt your kitchen. Plan to be without your kitchen doors and drawers for at least three to five days at minimum, and schedule the project during a time when your household can tolerate some inconvenience. The result — a kitchen that looks completely transformed for a fraction of the cost of new cabinets — is absolutely worth the temporary disruption and the careful effort the project demands.
- Always clean and degrease cabinets thoroughly before priming, regardless of which primer you choose to use.
- Use a true bonding primer specifically formulated for glossy or previously painted surfaces.
- Apply multiple thin coats rather than fewer thick coats for better adhesion and a smoother finish.
- Allow adequate dry time between coats and resist the urge to rush or force-dry with heat guns.
- Give the fully painted cabinets at least two to four weeks to cure before cleaning or handling them roughly.
- Touch up chips and scratches promptly to prevent moisture from undermining the paint film.








What do you think?
It is nice to know your opinion. Leave a comment.