










DIY Waterproof Garden Labels for the Homesteading Vegetable Garden
There is something deeply satisfying about walking through a well-organized vegetable garden where every plant is clearly identified, every row is purposefully laid out, and every label has survived the season’s rain, mud, and blazing summer sun. For homesteaders who pour their hearts into growing their own food, a missing or faded label can mean the difference between knowing you planted Cherokee Purple tomatoes and wondering why those plants look different from the rest. Waterproof garden labels are not a luxury — they are a necessity for any serious kitchen gardener.
Why Waterproof Labels Matter in the Homestead Garden
Anyone who has spent a rainy spring afternoon lovingly writing out plant names on wooden popsicle sticks or paper tags, only to find them completely blank and warped a week later, understands the frustration firsthand. Standard labels — whether store-bought or handmade — are notoriously short-lived in outdoor garden conditions. Rain dissolves ink, sunlight bleaches marker, and soil moisture causes wood and cardboard to disintegrate within weeks. For a homestead garden that may run from early spring through late fall, durable labeling is absolutely essential.
Beyond simple convenience, proper labeling supports better garden record-keeping. When you grow a dozen different tomato varieties, three kinds of basil, and multiple heirloom squash, knowing exactly what is planted where allows you to track which varieties performed best, which were most resistant to disease, and which ones your family loved most at the table. Waterproof labels that last the entire growing season make it possible to correlate your harvest notes with your planting records without guessing or backtracking through memory.
There is also a practical safety dimension. Many homesteaders grow medicinal herbs alongside vegetables, and misidentifying a plant can have real consequences. Clear, permanent, waterproof labels that remain legible all season long give you confidence every time you harvest. They also help other family members — children learning to garden, a spouse helping with harvest — navigate the beds safely and correctly without needing to ask which plant is which every time they step outside.
Materials You Will Need to Get Started
The beauty of DIY waterproof garden labels is that they can be made from a wide variety of common, inexpensive, and often repurposed materials. The key is choosing a base material that resists moisture and a marking method that will not fade, smear, or wash away over weeks and months of outdoor exposure. Once you understand the principles behind waterproof labeling, you can adapt these techniques to whatever materials you have on hand around your homestead.
For the label base, some of the most popular and effective options include aluminum from recycled cans, plastic cut from old yogurt containers or milk jugs, wooden craft sticks sealed with weatherproof coating, slate pieces from a garden supply store or natural landscape, and thick vinyl cut from old blinds. Each material has its own strengths — aluminum is extremely durable and rust-resistant, while vinyl blind strips are flexible, easy to cut, and nearly indestructible over multiple seasons.
For the writing or marking element, the choice matters just as much as the base. Oil-based paint pens, permanent outdoor markers rated for UV resistance, metal engraving tools for aluminum, and even simple graphite pencils on certain surfaces can all create lasting marks. A regular Sharpie, despite its popularity, tends to fade outdoors within a single season. The following list covers the core supplies you will want to gather before you begin:
- Recycled aluminum cans or aluminum flashing tape for metal labels
- Old vinyl mini blinds, cut into 6–10 inch strips
- Oil-based or UV-resistant paint markers in black or white
- Metal embossing stylus or ballpoint pen for impressing aluminum
- Scissors, tin snips, or a utility knife for cutting materials
- Outdoor-rated clear sealant spray (optional, for extra protection)
- Wooden skewers, metal tent stakes, or wire for mounting labels in soil
- Sandpaper for smoothing edges on cut metal or plastic
Having all your materials organized before you sit down to a labeling session will make the process far more efficient and enjoyable. Many homesteaders dedicate a winter afternoon or an early spring rainy day to making a full season’s supply of labels at once, assembling them in batches by material type and storing them until planting time arrives. This kind of preparation is the hallmark of organized, sustainable homestead management.
Step-by-Step Methods for Making Waterproof Labels
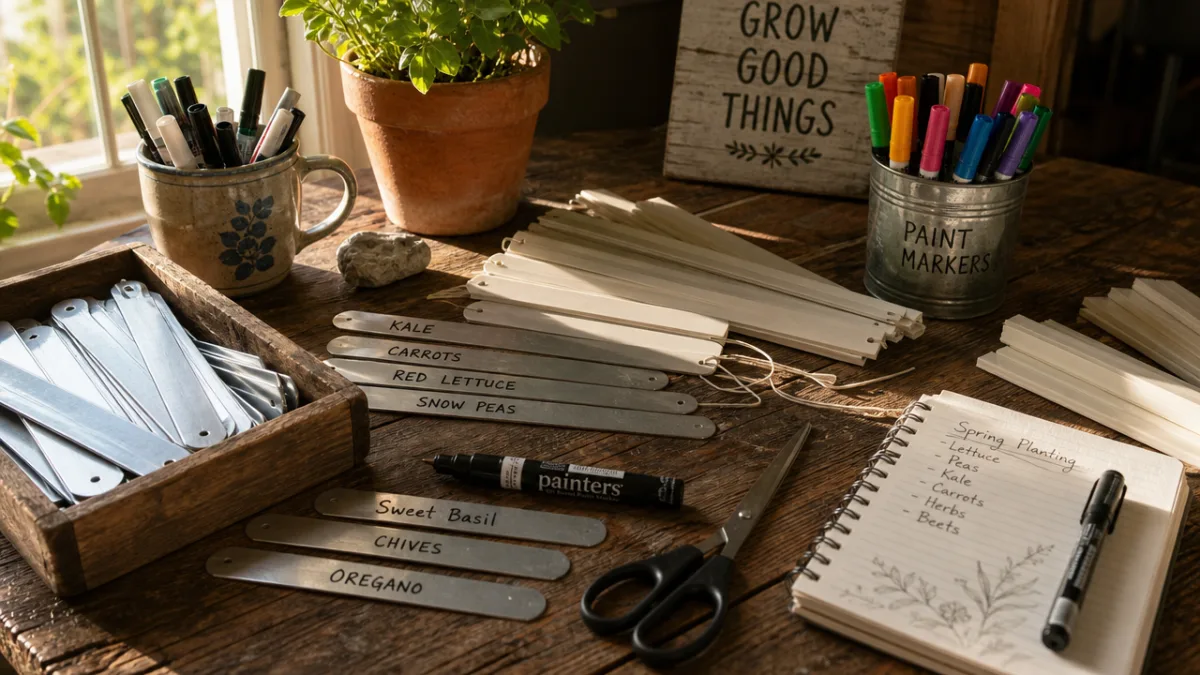
The vinyl blind strip method is one of the most popular among homesteaders precisely because old mini blinds are so readily available — thrift stores, garage sales, and curbside discards are constant sources of free material. Begin by cutting the blind slats into strips approximately six to eight inches long using scissors or a utility knife. Cut one end at a diagonal to create a point that can be pushed easily into garden soil. Lightly sand any sharp edges so they are comfortable to handle and won’t catch on plant leaves or gardening gloves.
Once your strips are prepared, write on them with an oil-based paint marker or a permanent outdoor marker formulated for plastic surfaces. Press firmly and allow the ink to dry completely — at least 30 minutes — before handling. For extra protection and longevity, apply a single coat of outdoor-rated clear acrylic sealant spray over the finished labels once the ink has fully cured. This simple additional step can extend the label’s readable life from one season to two or even three seasons, making the investment of time even more worthwhile.
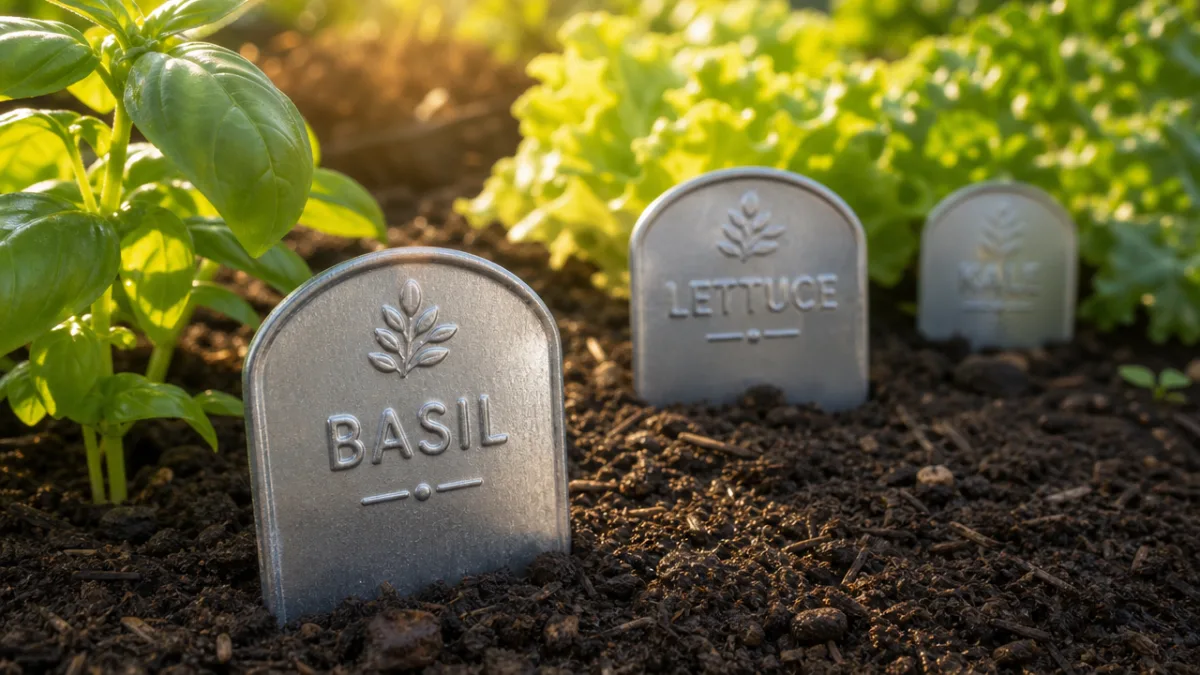
For the aluminum can method, which produces genuinely beautiful, almost artisan-looking labels, carefully cut open a clean aluminum can with scissors, flatten the metal sheet, and cut it into rectangles roughly two inches wide and four to five inches long. Use a ballpoint pen or embossing stylus to press your plant name into the metal — the impressed letters will remain permanently readable even if the surface oxidizes or gets coated in soil. Attach each label to a piece of wire bent into a stake shape, and you have labels that could genuinely last decades with minimal maintenance.
Slate tiles, available cheaply at craft stores or salvaged from old garden borders, offer a third beautiful option. Simply write on the smooth face of each tile with a paint marker or chalk-based outdoor paint pen. Slate has a naturally elegant look that suits both formal kitchen gardens and rustic homestead plots. Unlike most other materials, slate labels can be erased and reused season after season simply by scrubbing with a damp cloth and a little baking soda, making them an excellent long-term, zero-waste solution for dedicated garden areas.
Tips for Organizing and Using Your Labels Effectively
Making great waterproof labels is only half the equation — using them strategically throughout your garden is what truly brings value to the effort. Start by creating a consistent labeling system before the growing season begins. Decide what information each label will carry: at minimum, the plant’s common name and variety. Many experienced homesteaders also include the seed source, planting date, and expected days to maturity directly on the label, giving them a complete reference point right at the plant.
Consider color coding your labels by plant family or by garden bed to make navigating your space even faster and more intuitive. For example, all tomato family plants might get labels written in red marker, while brassicas use blue and root vegetables use green. This system works especially well in large gardens where you manage dozens of different varieties and want to quickly find specific plants or assess the layout of a bed at a glance without bending down to read every individual label.
Placement of labels within each bed also deserves thought. In a row garden, place labels at the head of each row where they are easy to spot. In raised beds with square-foot planting, place a label at the corner of each planted section. For container gardens, labels inserted at the front edge of each pot make identification easy without disturbing roots. The following tips will help your labeling system stay organized through the chaos of a busy growing season:
- Make extra labels for each variety — one for the garden and one for your indoor seed-starting setup to track germination.
- Photograph your labeled beds at the start of the season as a backup record.
- Keep a simple garden map in a notebook or binder that corresponds to your physical labels.
- Replace any label that becomes unreadable immediately, rather than letting the gap persist.
- Store unused labels flat and dry at the end of each season for reuse the following year.
Developing a labeling habit is a form of garden discipline that pays dividends every single season. Homesteaders who invest in a consistent, thorough labeling system report dramatically better harvest records, more confident seed-saving practices, and a greater ability to improve their garden year over year because they have reliable data to work from. Good labels are, in a very real sense, the foundation of good garden memory.
Making Labels That Survive Every Season
Longevity is the ultimate test of any DIY garden label, and achieving it requires understanding what forces work against your labels throughout the year. UV radiation from the sun is one of the most destructive forces — it breaks down many inks and can degrade certain plastics over time. Heat causes materials to expand and contract, loosening adhesives and warping label bases. Frost and freeze-thaw cycles can crack materials that seemed perfectly solid in summer. Rain, irrigation, and soil moisture are constant, relentless adversaries to any labeling material that hasn’t been properly sealed or selected for moisture resistance.
To build labels that genuinely last multiple seasons, think in layers of protection. Start with a moisture-resistant base material. Add a UV-stable writing medium. Then seal with a UV-protective clear coat. Finally, choose a mounting method that keeps the label stable through wind, soil movement, and busy gardening activity. Each layer of protection compounds the effectiveness of the others, and the result is a label that can remain clearly readable through two, three, or even more growing seasons without replacement.
Storage between seasons is another often overlooked component of label longevity. Labels left in the ground over winter are exposed to freeze-thaw damage, soil acidity, and moisture for months when they provide no benefit. At the end of each growing season, pull your labels from the ground, clean them gently with a damp cloth, allow them to dry completely, and store them flat in a labeled box or envelope inside your seed storage area. Group them by plant family or bed assignment so they are organized and ready to deploy again the moment spring planting begins.
Sustainable and Zero-Waste Approaches to Garden Labeling
For homesteaders committed to sustainable living, the labeling conversation inevitably turns toward materials that minimize waste, reduce plastic consumption, and ideally return to the earth at the end of their useful life. Fortunately, there are excellent waterproof and near-waterproof options that align beautifully with a zero-waste homestead philosophy, proving that durability and sustainability are not mutually exclusive goals.
Flat river stones collected from a nearby creek or purchased in bulk from a landscape supply company make extraordinarily charming and completely sustainable garden labels. Write on smooth-faced stones with an oil-based paint pen, seal with a thin coat of outdoor clear sealant, and you have labels that cost almost nothing and will never degrade or end up in a landfill. At the end of the season, wipe them clean and store them in a basket near your garden tools. Stones have been used as markers for thousands of years and remain as effective today as ever.
Dried and sealed bamboo stakes, reclaimed wood pieces sealed with beeswax or linseed oil, and copper pipe offcuts are other natural or reclaimed materials that offer durability without contributing to plastic waste. Copper, in particular, develops a beautiful patina over time and lasts virtually indefinitely outdoors. Write on copper with a permanent paint pen or use metal stamps to press letters into the surface for a truly permanent result. For homesteaders who also keep bees or work with metals, copper scraps are often already available on the property, making this an almost entirely free labeling solution.
The commitment to sustainable labeling also extends to the inks and sealants you choose. Many conventional clear coat sprays contain volatile organic compounds that off-gas into your garden environment. Look instead for water-based acrylic sealants labeled as low-VOC or non-toxic. These products have improved enormously in quality over the past decade and are now fully capable of protecting outdoor labels through a full growing season. When your labels do eventually reach the end of their useful life — even the most durable materials eventually give out — choosing compostable or recyclable base materials ensures they leave no lasting footprint on your land or your conscience.
Inspiring Your Whole Homestead Labeling System
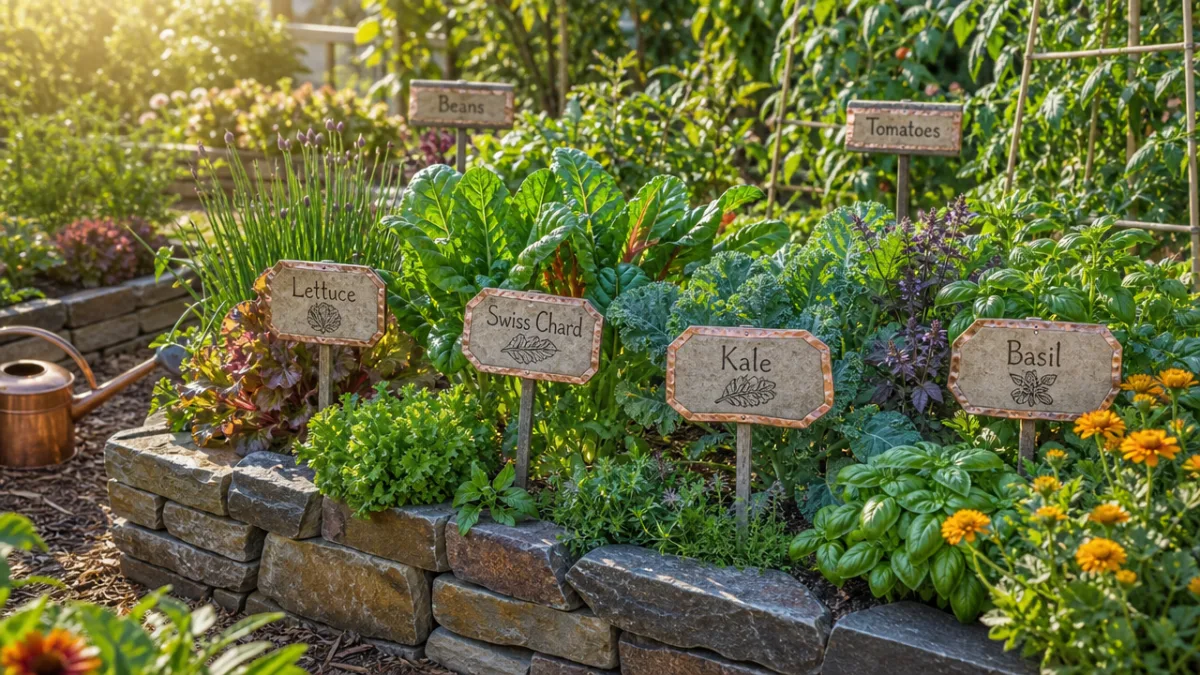
Once you have mastered waterproof vegetable garden labels, the same techniques and principles can be applied throughout your entire homestead operation. The herb spiral, the fruit tree guild, the berry patch, the seed library, the tool shed, the root cellar storage bins — every area of a well-run homestead benefits from clear, durable, legible identification. Developing a consistent labeling aesthetic and methodology creates a sense of organization, intention, and pride that makes your homestead more functional and more beautiful at the same time.
Many homesteaders find that creating beautiful, handmade labels becomes a craft practice they genuinely enjoy, especially during the quieter winter months when there is less physical work to be done outdoors. Gathering around a table to stamp, emboss, paint, and assemble labels for the coming season connects the family to the garden before the first seed is even sown. Children can participate meaningfully in making labels for plants they are responsible for growing, giving them ownership and investment in the garden’s success from the very beginning of the season.
Consider also the role that well-made labels play when you share your homestead with visitors, apprentices, or community members participating in work exchanges. A clearly labeled garden communicates competence, care, and hospitality. Visitors know which plants they may pick, which are still maturing, and which are for seed-saving only. Apprentices can navigate the garden and work independently without constant supervision. Labels, in this sense, are not merely organizational tools — they are a form of communication that extends your intentionality as a gardener to everyone who enters your growing space.
Ultimately, the time and creativity you invest in making waterproof, durable, beautiful garden labels is an investment in your garden’s long-term productivity and in your own enjoyment of the space you have worked so hard to cultivate. Every season, those labels stand as small, faithful witnesses to the work you have done — marking the spot where a seed went into the ground, recording the variety name you selected with care, and quietly tracking the passage of a growing season from the hopeful planting of spring through the abundant harvest of autumn. On a homestead built on intention and love for the land, even the humblest label deserves to be made well.








What do you think?
It is nice to know your opinion. Leave a comment.