










DIY Tie Closure Pillow Case: A Complete Guide to Handmade Elegance
Introduction to Tie Closure Pillow Cases
There is something deeply satisfying about creating soft furnishings for your home entirely by hand. A tie closure pillow case is one of those beginner-friendly sewing projects that delivers a result far more polished and charming than its simplicity might suggest. Unlike a standard envelope-style pillowcase, the tie closure adds a decorative touch that makes the pillow feel intentional and artisan-crafted, elevating even the simplest bedroom or living room aesthetic.
The beauty of this particular project lies in its versatility. Whether you are working with crisp white cotton for a clean Scandinavian look, a bold linen print for a bohemian feel, or a soft floral for a cottage-inspired bedroom, the tie closure adapts effortlessly to any fabric choice. The method itself remains the same regardless of the material, which means once you learn the technique, you can recreate it endlessly with whatever fabric catches your eye at the store or sits waiting in your stash.
This guide is written for sewists at every level. If you have never touched a sewing machine before, the instructions here are written with enough detail to walk you through each step clearly. If you are an experienced maker looking for a reliable pattern to add to your repertoire, you will find practical tips here that make the process faster and more refined. By the end, you will have a beautiful, functional pillow case with elegant fabric ties that you made entirely yourself.
Materials and Tools You Will Need
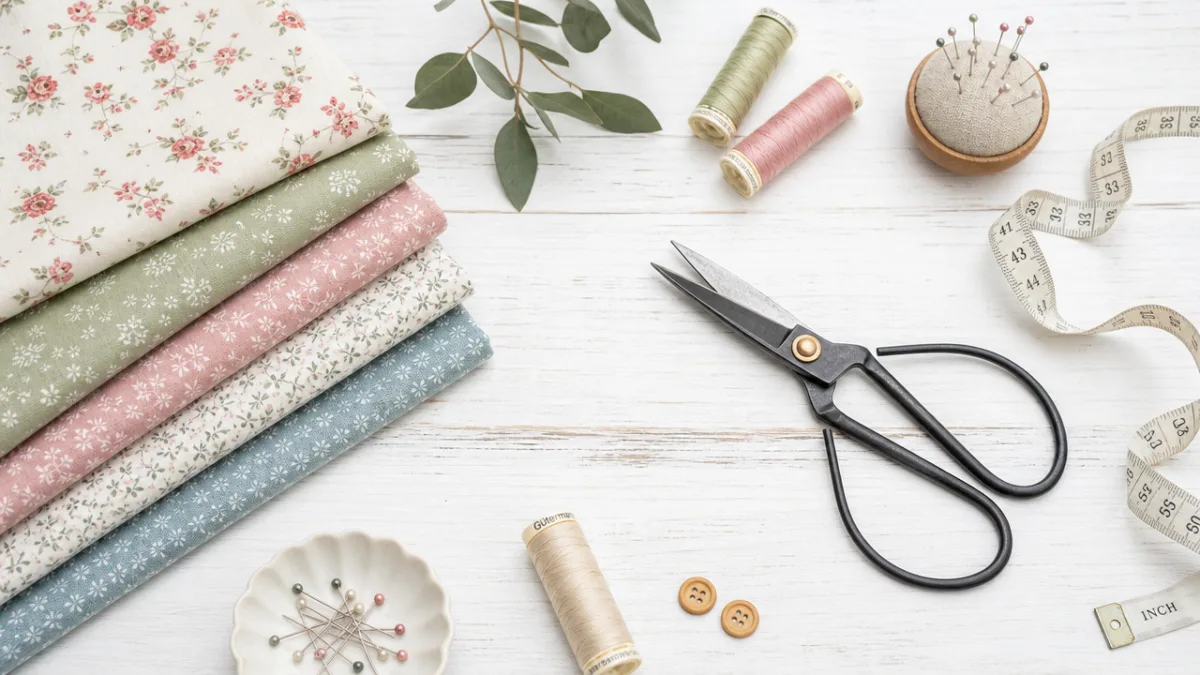
Before you begin any sewing project, gathering your materials ahead of time makes the entire process smoother and more enjoyable. For a standard 18-by-18-inch pillow insert, you will need approximately three-quarters of a yard of your chosen fabric. If you prefer a different size, simply measure your pillow insert and add a seam allowance of half an inch on all sides, then account for the flap overlap at the opening. Pre-washing your fabric before cutting is always a good idea to prevent shrinkage after the finished case goes through the laundry.
In terms of tools, a basic sewing kit will serve you well here. You will need a sewing machine, though the project can technically be completed by hand with a running stitch if you are patient. Sharp fabric scissors or a rotary cutter with a self-healing mat will give you cleaner edges. A fabric marker or tailor’s chalk helps you mark measurements accurately, while a ruler or quilting square keeps your lines straight. Pins or sewing clips hold everything in place as you work.
The ties themselves are a lovely detail that can be made from the same fabric as the pillow case for a coordinated look, or from a contrasting fabric to create an intentional design statement. You will need four strips of fabric for the ties, each measuring approximately two inches wide and twelve to sixteen inches long, depending on how long and generous you want the bows to appear. Some makers also like to use ribbon, twill tape, or even a strip of lace as an alternative to fabric ties, which can add a different texture and personality to the finished piece.
- Fabric: Three-quarters of a yard for an 18×18-inch pillow, pre-washed and pressed
- Thread: Matching or coordinating thread in a quality that suits your fabric weight
- Sewing machine or hand-sewing needle
- Sharp scissors or rotary cutter and cutting mat
- Fabric marker or tailor’s chalk
- Ruler, quilting square, or measuring tape
- Pins or sewing clips
- Iron and ironing board
- Four fabric strips for ties, approximately 2×14 inches each
Cutting and Preparing Your Fabric
Accurate cutting is the foundation of any well-finished sewing project, and pillow cases are no exception. Start by pressing your fabric thoroughly so that it lies completely flat on your cutting surface. Any wrinkles left in the fabric will affect your measurements and can cause the finished pillow case to look uneven or puckered along the seams. Taking the extra few minutes to iron everything smooth before you cut will save you frustration later in the process.
For an 18-by-18-inch pillow insert, cut your main fabric panel to measure 19 inches wide by 38 inches long. This single rectangle will form the entire body of the pillow case when folded, which is one of the elegantly efficient aspects of this particular construction method. The extra inch on the width accounts for your seam allowances on either side, and the extra two inches in the overall length give you room for the seam allowances at the opening end as well as a small turned hem.
Next, cut your tie strips. Each strip should measure approximately two inches wide and fourteen inches long. You will have four strips in total, two for each side of the pillow opening. If you want longer, more generous bows, cut them to sixteen inches instead. Once cut, fold each strip in half lengthwise with right sides together and sew along the long edge and one short end using a quarter-inch seam allowance. Trim the corners, turn each tie right side out using a turning tool or the blunt end of a pencil, and press them flat. These small fabric tubes will become your decorative ties.
Step-by-Step Sewing Instructions
With all your pieces cut and pressed, you are ready to begin constructing the pillow case. Start by folding the long fabric rectangle in half crosswise with right sides together, so that the two short ends meet. Before you sew the sides, you need to attach the ties. Open the fabric back out and lay it flat with the right side facing up. Mark the tie placement on one short end of the fabric. The ties should sit approximately three to four inches in from each side edge, giving the finished bows a balanced placement on the completed pillow.
To attach the ties, fold each one in half so the raw ends meet, then pin them to the right side of the fabric at the marked placement points, with the raw ends pointing inward toward the center of the fabric and the folded loop pointing outward toward the edge. This technique, sometimes called basting in place, ensures that when the fabric is eventually turned right side out, the ties will emerge neatly at the opening edge. Sew across the raw ends of each tie to secure them within the seam allowance. Repeat this step for the ties on the opposite short end of the fabric, making sure their placement aligns precisely with the first set of ties so the bows will match up when the pillow is closed.
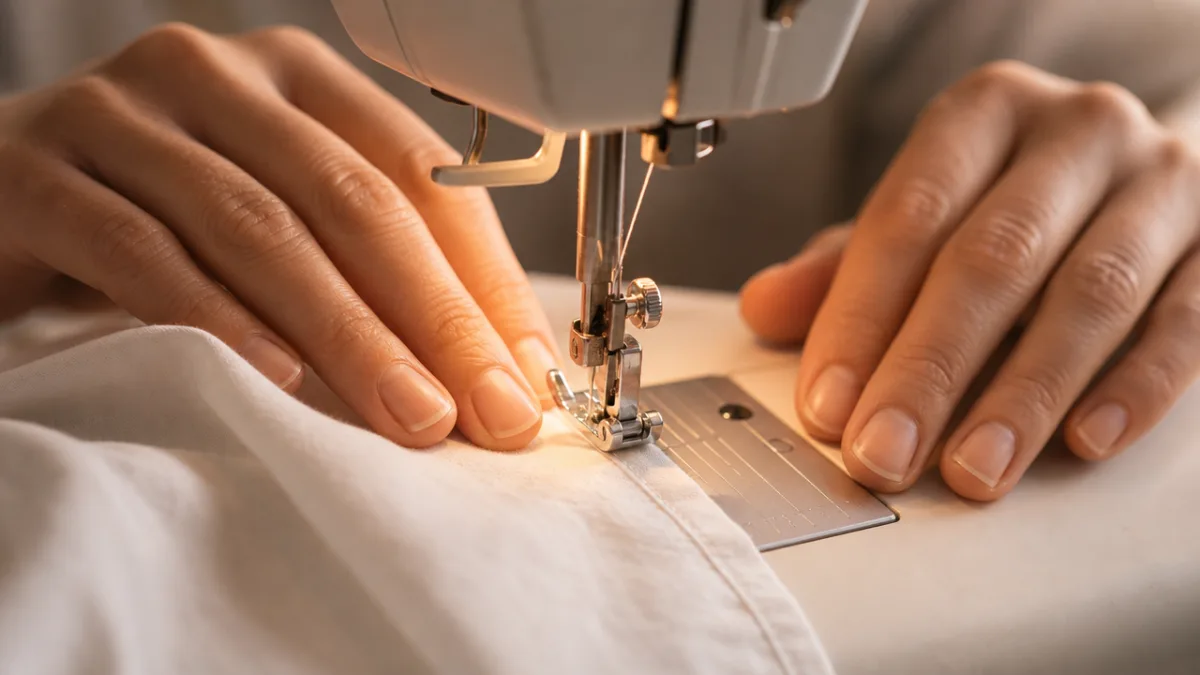
Now fold the rectangle back in half with right sides together, matching all edges carefully. Sew along both long side seams using a half-inch seam allowance, backstitching at the beginning and end of each seam for security. Before sewing the open short end closed, fold and press a half-inch hem to the wrong side, then fold another half-inch and press again to create a clean double-fold hem. Stitch this hem in place close to the folded edge. Do the same on the opposite opening end. The double-fold hem gives the opening a neat, professional finish and neatly encases the raw edge so it will not fray with washing.
- Press the fabric completely flat before beginning any cutting or marking.
- Cut the main panel to 19 inches wide by 38 inches long for an 18×18-inch pillow.
- Cut four tie strips, each measuring 2 inches wide by 14 inches long.
- Sew, turn, and press all four tie strips so they are right-side out and flat.
- Mark tie placement on both short ends of the main panel, about 3 to 4 inches from each edge.
- Baste the ties in place on the right side of the fabric at the marked points.
- Fold the panel in half with right sides together and sew both long side seams.
- Hem both short open ends with a double-fold half-inch hem.
- Turn the pillow case right side out, press thoroughly, and insert your pillow.
- Tie the opposing fabric strips into bows to close the opening.
Finishing Touches and Professional Presentation
Once you have sewn the side seams and hemmed both open ends, the most exciting moment arrives: turning the pillow case right side out. Reach inside and gently pull the fabric through, using your fingers to carefully push out all four corners so they are sharp and well-defined rather than rounded or collapsed. A blunt knitting needle, chopstick, or dedicated point-turning tool can be very helpful here for getting crisp corners without poking through the fabric. Once turned, press the entire pillow case thoroughly with a hot iron, paying special attention to the seams and the hemmed opening edges.
Insert your pillow form through the opening, then draw the corresponding ties together and form them into a bow. The satisfaction of seeing the ties come together is part of what makes this style of pillow case so appealing. A well-tied bow sits flat against the pillow edge and frames the opening beautifully. If your ties are twisting or refusing to lie flat, a quick press with the iron after tying can help train them into a neater shape. Take a moment to fluff and adjust the pillow inside the case so that the insert fills all four corners evenly and the pillow looks full and well-formed.
For the most polished presentation, consider adding a few optional finishing details. A row of topstitching around the perimeter of the pillow case, sewn about an eighth of an inch from the edge, gives the finished piece a structured, intentional look and helps the edges stay crisp after washing. If your fabric frays easily, finishing the raw interior seam allowances with a zigzag stitch or a serger before turning the case right side out will extend the life of the pillow case significantly. These small extra steps take only a few additional minutes but make the difference between a project that looks handmade in the best possible way and one that simply looks homemade.
Design Variations and Creative Customizations
One of the most delightful aspects of making your own pillow cases is the limitless opportunity for customization. The tie closure design is particularly adaptable because the ties themselves can become a significant design element. Consider using a contrasting fabric for the ties, pulling from a complementary color in your room’s palette to create a curated, layered look. A deep navy pillow with crisp white linen ties, for example, has a nautical freshness that works beautifully in coastal or casual spaces. A dusty pink linen case with sage green ties brings an earthy, botanical quality to a bedroom.
You can also experiment with the number and placement of ties. Some makers prefer three sets of ties along the opening edge rather than two, which can be particularly practical for larger pillow inserts such as standard or king-sized bed pillows. Others choose to place the opening along the side of the pillow rather than the end, which changes the visual orientation of the bow entirely and creates a different look when the pillow is displayed. You might also explore asymmetric tie placement for a more contemporary, fashion-forward feel that departs from the traditional centered bow.
Embellishment offers another avenue for creative expression. Hand embroidery stitched along the hemmed opening edge, such as a simple running stitch in a contrasting thread color, adds a handcrafted texture that elevates the pillow into a small work of art. Fabric paint, block printing, or even a stenciled monogram can personalize the case as a thoughtful handmade gift. If you are making several pillow cases for the same room, varying the fabric while keeping the tie color consistent creates a cohesive collected look that feels intentional without being overly matchy. The possibilities genuinely are endless once you have the basic construction mastered.
- Contrasting ties: Use a fabric in a complementary color or pattern for visual interest
- Ribbon or lace: Swap fabric ties for store-bought ribbon or delicate lace trim
- Three-tie variation: Add a third set of ties in the center for larger pillows or a fuller closure
- Side-opening variation: Place the opening along the long side of the pillow for a different aesthetic
- Embroidery details: Add hand or machine embroidery along the hem for a decorative border
- Monogramming: Personalize with an embroidered or printed initial for gift-giving
- Patchwork panel: Piece together several coordinating fabrics before cutting for a quilted look

Care, Maintenance, and Longevity Tips
A well-made tie closure pillow case, sewn from quality fabric with secure seams, can last for years with proper care. The most important maintenance step is washing the pillow case before first use if you did not pre-wash the fabric before cutting. This removes any manufacturer’s sizing or residual dye and ensures the fabric is soft and fully shrunk before you place it on a pillow. From that point forward, most cotton and linen pillow cases can be washed in cool or warm water on a gentle cycle without issue.
The ties deserve particular attention during washing and drying. Loosely tie the bows before placing the pillow case in the wash to prevent the strips from tangling with other items in the load or wrapping tightly around the drum of the machine. Some makers prefer to hand wash pillow cases with fabric ties to extend their life and keep the ties looking fresh and unwrinkled. If you choose to machine dry the case, remove it while it is still slightly damp and press the ties with an iron to restore their smooth, flat appearance, as tumble drying can leave the ties looking rumpled.
With regular use and washing, the seams of any sewn item will eventually experience some wear. Inspecting your pillow cases periodically for any loosening seams or fraying edges allows you to catch small repairs before they become larger problems. A few reinforcing stitches sewn by hand or machine over a weakening seam takes only a moment and will add considerable life to the piece. Storing spare pillow cases folded neatly in a linen closet away from direct sunlight prevents fading and keeps them fresh and ready to use whenever you want to refresh your space with a new look.
Why Handmade Pillow Cases Make the Perfect Gift
In an era of fast furniture and mass-produced home goods, a handmade pillow case carries a warmth and intentionality that no store-bought item can replicate. When you give someone a pillow case that you sewed yourself, you are giving them something that required your time, attention, and care. That investment is visible in every straight seam, every neatly pressed hem, and every carefully tied bow. Recipients often sense this effort immediately and cherish handmade gifts in a way that differs entirely from how they might feel about something pulled off a retail shelf.
Tie closure pillow cases are particularly well-suited for gift-giving because they are so easily personalized. Choosing a fabric that reflects the recipient’s taste, favorite color, or home aesthetic transforms the pillow case from a generic household item into something thoughtfully curated just for them. A set of two matching cases wrapped in tissue paper and tied with a ribbon makes a beautifully presented housewarming gift. A single decorative pillow case in a whimsical print is a lovely birthday present for a friend who loves to nest and decorate. For weddings or baby showers, selecting fabric in colors that match the couple’s decor or the nursery palette shows a level of personal investment that genuinely moves people.
Beyond individual gifting, handmade pillow cases have become a popular small business item at craft fairs, on handmade marketplaces, and through social media shops. If you find yourself making them regularly and enjoying the process, there is a real and appreciative market for quality sewn goods. Pricing handmade items fairly to account for both materials and labor is important, and buyers who specifically seek out handmade goods understand and expect to pay a premium for the craft and care involved. Whether you make them for yourself, for loved ones, or as part of a small creative business, tie closure pillow cases are a project that rewards you richly every single time you complete one.








What do you think?
It is nice to know your opinion. Leave a comment.