










Transforming Popsicle Sticks Into Wall Decor: A Complete Creative Guide
The Unexpected Magic of Popsicle Stick Crafting
There’s something about a popsicle stick that just takes you back, isn’t there? These little flat pieces of wood have spent decades doing one job — holding up frozen treats on hot summer days — but it turns out they’ve been quietly hiding a second career in home decor all along. Get enough of them together and approach them with even a little creativity, and you’ve got one of the most surprisingly beautiful materials for making wall art that actually looks good in a grown-up home.
Part of what makes craft sticks so great to work with is how ridiculously affordable they are. A big bag from the dollar store or any craft shop costs just a few dollars and gives you hundreds of pieces to play with. That low price tag takes all the pressure off — if something doesn’t work out, you just start over. No big deal. And honestly, that freedom to experiment without worrying about wasting money is often where the best ideas come from.
There’s also something about the material itself that synthetic alternatives just can’t match. Real wood has a natural warmth to it — the light grain catches light in a lovely way, and craft sticks take paint, stain, wood glue, and ink like a dream. Whether you’re going for a geometric mosaic, a rustic wall hanging, or something that looks almost sculptural, popsicle sticks bring a texture and tactile quality to the finished piece that people genuinely don’t expect when they hear “craft stick project.”
Gathering Your Supplies and Setting Up Your Workspace
Before you dive in, it’s worth taking a little time to get your supplies together and set up a workspace that actually makes sense. It’ll save you a lot of headaches later. Start by buying more craft sticks than you think you’ll need — standard size covers most projects, but jumbo and mini sticks are also easy to find and can add some nice variety to your designs. Breakage happens, trimming happens, and running out mid-project is genuinely frustrating.
Choosing the right adhesive matters more than people expect. PVA glue (the white craft or wood glue you’ve probably had in a drawer for years) is the go-to for most popsicle stick work because it dries clear, bonds wood well, and gives you a few minutes to adjust things before it sets. Hot glue is faster and works great for anything three-dimensional, but it can leave stringy little webs if you’re not careful. For serious flat panels, a combination of both works really well — hot glue to get things in place quickly, wood glue for a strong final bond.
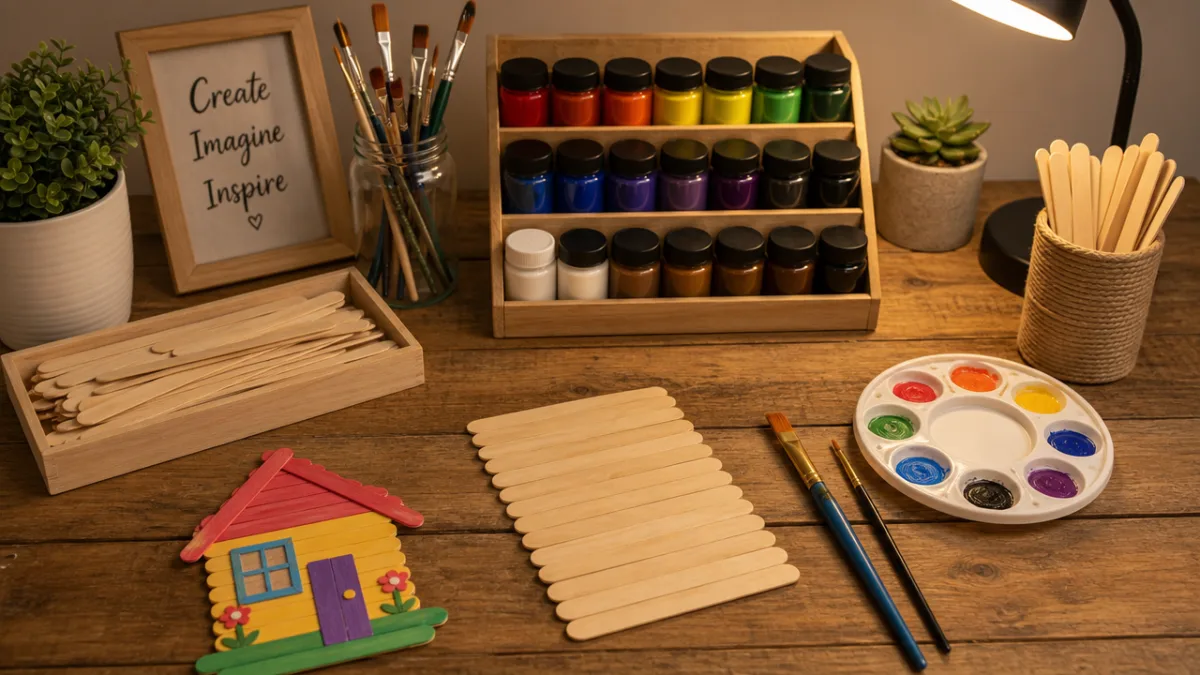
Set yourself up on a flat, protected surface. A sheet of wax paper or a silicone mat underneath your project keeps you from accidentally gluing everything to your table, and dried glue peels off both surfaces easily. Keep a ruler, pencil, craft knife, and small cutting mat within reach for trimming sticks to size. If you’re painting your sticks first, sort them by color before you start. Having everything close at hand means you can stay in the flow once you actually get going — there’s nothing worse than losing momentum because you’re hunting for scissors.
Classic Geometric Patterns and Mosaic Designs
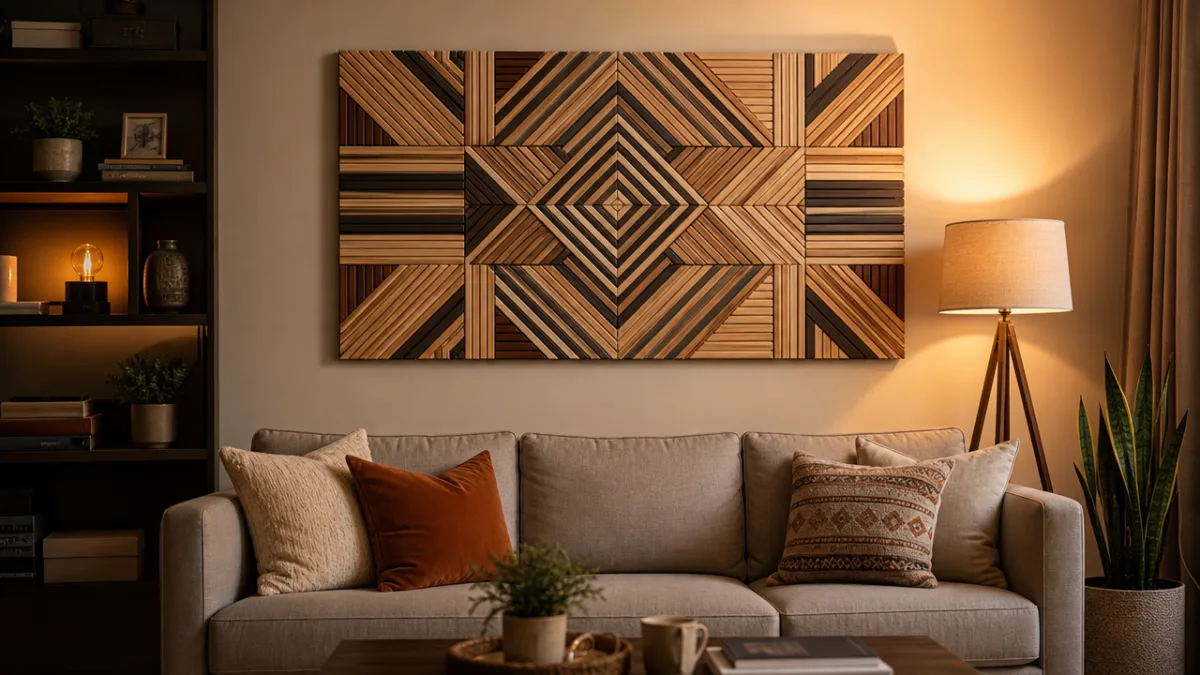
If you want wall art that makes people stop and look twice, geometric patterns are a fantastic place to start. Craft sticks are basically made for angular designs — chevrons, herringbone arrangements, pinwheels, sunbursts, you name it. The straight lines and consistent width of each stick do a lot of the work for you. It helps to sketch your design on paper before you start, then transfer it onto a backing board (thin plywood, foam board, or even stiff cardboard depending on how substantial you want the final piece to be).
Herringbone is probably the most popular pattern for a reason: it looks way more complicated than it actually is. You cut your sticks to a consistent length, lay them at forty-five degree angles in alternating directions, and suddenly you’ve got this woven optical illusion that looks like it took serious skill. Once everything is glued and dried, you can leave the natural wood tone for a warm, Scandinavian kind of feel — or paint the whole thing one bold color to let the texture really shine rather than the material itself.
Sunburst and starburst designs are a step up in drama and they look absolutely stunning above a bed, sofa, or fireplace. Sticks radiate out from a central point, often in varying lengths to create a sense of movement. Some people layer multiple rounds of sticks at different angles to build up real three-dimensional depth that casts interesting shadows as the light changes throughout the day. The end result looks like the kind of decorative wall piece you’d see at a boutique retailer with a hefty price tag — except you made it for the cost of a bag of craft sticks and an afternoon of patient work.
Painting Techniques to Elevate Your Popsicle Stick Art
Color is honestly what takes a popsicle stick project from “cute craft” to “wait, did you make that?” territory. The way you approach painting sets the whole mood of the piece, so it’s worth thinking it through before you open the first jar. Acrylic paints are the clear favorite for wood crafts — they’re water-based so cleanup is easy, they come in every color you could want, they dry fast, and they stick to wood without any primer. They also mix together freely, which means you can dial in a custom shade that matches your room perfectly.
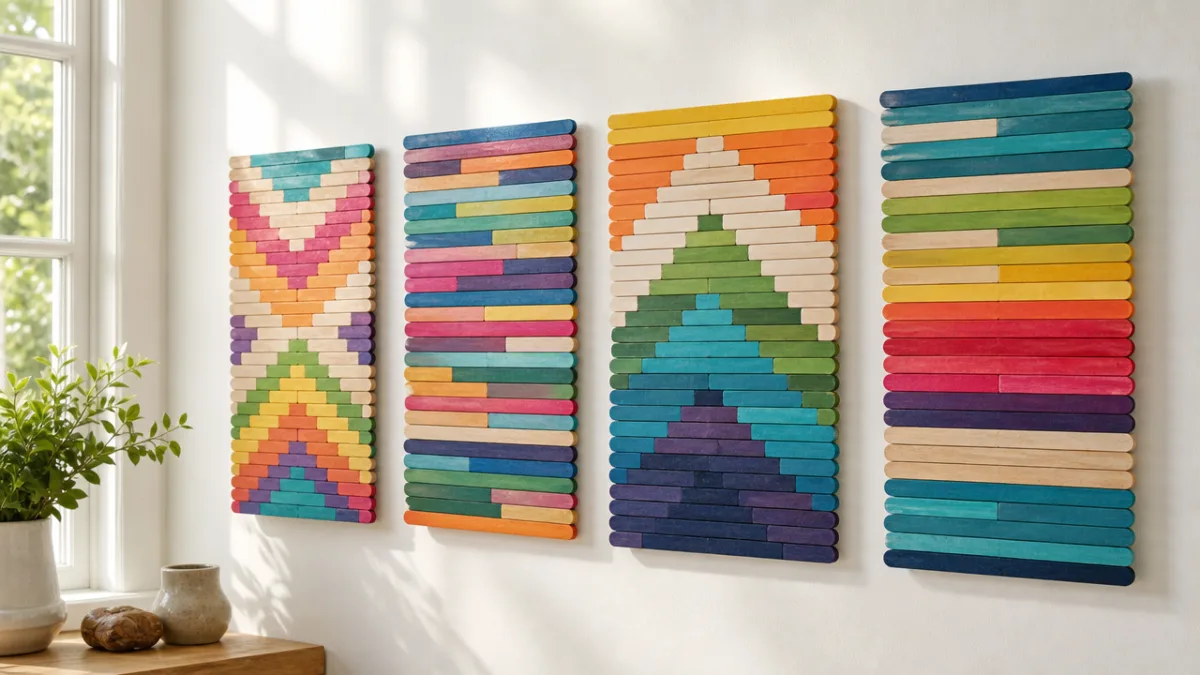
One of the best tricks for a clean, polished finish is painting your sticks before you assemble them rather than after. This way you can get even coverage on every surface without trying to reach into the tight gaps between glued pieces, and you have way more control over color gradients. Ombre layouts — where sticks gradually shift from one color to another across the piece — are genuinely breathtaking when done well, and the process is simpler than it looks. Lay your sticks out in order, mix your shades from light to dark in small batches, and work through the sequence methodically.
If you want to go beyond flat color, there are some really lovely effects worth trying. Dry brushing a lighter tone over a darker base coat lets the wood grain show through and gives everything an aged, driftwood kind of look that’s perfect for coastal or farmhouse interiors. Metallic paints in gold, copper, or silver over geometric designs look genuinely luxurious and photograph beautifully. Watercolor-style washes applied over assembled pieces pool naturally in the joints between sticks, which actually emphasizes your geometry in a soft, organic way that machine-made decor could never pull off.
- Acrylic paint for bold, opaque coverage and fast drying times
- Chalk paint for a matte, vintage finish that requires no priming
- Metallic craft paint for glamorous geometric or sunburst designs
- Watercolor washes for soft, artistic effects on assembled panels
- Wood stain for a natural, warm finish that highlights grain
- Spray paint for perfectly even coverage on large assembled pieces
Three-Dimensional Structures and Sculptural Wall Installations
Once you’re comfortable with flat panels, venturing into three-dimensional territory opens up a whole new world of possibilities. Log-cabin style constructions — where sticks are layered perpendicular to each other in alternating rows — have a chunky, architectural quality that looks fantastic painted in one bold color or left as natural wood. These pieces do get heavier than flat panels, though, so you’ll want to think about mounting hardware that can actually handle the weight: picture wire, sawtooth hangers, or adhesive strips rated for the right load.
Shadow box style frames made entirely from craft sticks are a great structural project to tackle early on. They can house pressed flowers, small photos, decorative paper, or tiny dioramas, and building one teaches you the corner joints and layering techniques that open the door to bigger, more complex constructions down the road. Once you’ve mastered a basic stable frame, you can scale everything up — oversized statement frames for mirrors or canvases that completely anchor the look of a room are well within reach.
Honeycomb and hexagonal wall installations are having a real moment in contemporary interior design, and popsicle sticks are genuinely perfect for building them. Construct individual hexagonal cells from cut sticks, group them together in organic clusters across a wall, and you’ve got a modern art installation that can also function as shelving for small plants, candles, or little trinkets. The best part of this approach is that it’s totally modular — start with three or four hexagons and add more whenever you feel like it, expanding the whole thing over time as budget and inspiration allow.
Finishing, Sealing, and Hanging Your Masterpiece
The finishing stage is honestly where a good piece becomes a great one, and where all that careful work gets protected for the long haul. Once the glue has fully cured — give PVA wood glue a full twenty-four hours, and hot glue at least four to six hours — go over the whole piece and look for anything loose, any rough edges, or glue strings that need to be dealt with. A fine-grit sanding sponge smooths rough spots without messing up your paint, and a toothpick dipped in glue can tuck back any piece that feels even slightly wobbly before you seal everything in.
Sealing is a step a lot of beginners skip and really shouldn’t. If your piece is going up in a living space where dust, humidity, and the occasional accidental bump are just facts of life, a clear matte or satin acrylic sealer in two or three light coats will protect your paint from chipping, unify the sheen across the whole surface, and make it so much easier to dust later. Spray sealers are faster and give a more even result than brush-on versions, though either works. Let each coat dry completely before adding the next, and do this somewhere well-ventilated — most spray sealers are flammable until fully dry.
When it comes to hanging, match your hardware to the actual weight of your piece. Lightweight flat panels do fine with adhesive picture-hanging strips, which leave no nail holes and come off cleanly — great for renters or anyone who rearranges things often. Heavier three-dimensional work really should go into wall studs with screws, using a sawtooth hanger or D-ring hardware attached securely to a solid backing board. Use a level so things hang straight, and step back from across the room to check the placement before you fully commit.
- Inspect the fully dried piece for loose sticks or excess glue and address any issues before sealing
- Sand any rough or uneven edges gently with a fine-grit sanding sponge
- Apply two to three light coats of clear acrylic sealer, allowing full drying time between each coat
- Attach appropriate hanging hardware to the back of the piece based on its weight and backing material
- Use a level and measuring tape to mark the ideal hanging position on your wall
- Hang the piece, step back to assess the final result, and make any minor adjustments needed
Inspiring Design Ideas to Spark Your Creativity
If you’re not sure where to start, sometimes just browsing ideas is enough to figure out which direction actually excites you. Monochromatic designs — where everything is painted in shades of the same color family — are a reliably beautiful choice that works with pretty much any interior style. A wall panel built from sticks in ten or twelve shades of blue, going from barely-there sky blue all the way to deep navy, creates this painterly, abstract effect that feels both modern and genuinely personal. It’s also wonderfully forgiving for beginners, because slight inconsistencies in alignment just read as texture rather than mistakes.
Nature-inspired ideas are another deep well worth drawing from. Tree silhouettes assembled from sticks in varying lengths and stained in warm browns and ambers make a dramatic focal point that brings an outdoor feeling inside. Feather shapes built from sticks arranged in graceful curves — painted in earth tones or jewel colors — look beautiful as a series of three or five hung in a row. Even simple leaf shapes, made by radiating sticks outward from a central stem and painting them in fall colors or tropical greens, can turn a plain wall into something lush and alive without a single actual plant involved.
For anyone drawn to words and letters, popsicle sticks can spell things out in a way that’s surprisingly elegant. Your family name, a meaningful word, or a favorite quote rendered in bold block letters built entirely from craft sticks works especially well in an entry hallway, above a child’s bed, or in a home office where you want something personal on the wall. Plan your letters on graph paper first, cut your sticks to the lengths each letterform needs, and assemble each character individually before arranging them on the wall. What you end up with is a completely handmade, one-of-a-kind sign that means something — and that’s something no store-bought version can ever really compete with.








What do you think?
It is nice to know your opinion. Leave a comment.