










How to Make a Stunning Family Sign from a Cabinet Door
Introduction: Turning Everyday Items into Meaningful Home Décor
There’s something really satisfying about taking an old, forgotten object and turning it into something meaningful for your home. Cabinet doors are a perfect example — they get pulled off during kitchen renovations and often end up in the trash, but honestly, they make a fantastic canvas for a custom family sign. The wood is solid, the surface is flat, and those decorative edges give you character you just can’t get from a plain board. Whether you’ve been crafting for years or you’re just getting started with DIY projects, this one is totally doable and genuinely rewarding.
What I love most about this project is how flexible it is. You can match the paint colors to your existing décor, pick a font that fits your family’s vibe, or add little details that nod to your heritage or interests. A handmade sign like this has a warmth and personality that you just can’t buy off a shelf — people notice it when they walk in, and there’s always a story behind it.
There’s also a nice environmental angle here. Instead of sending a perfectly good piece of wood to a landfill, you’re giving it a whole new purpose. If you don’t have a cabinet door lying around, don’t worry — salvage stores, Habitat for Humanity ReStores, and online marketplaces like Facebook Marketplace are great places to find them cheap, often from homeowners who just finished a renovation and have no idea what to do with the old doors.
Gathering Your Materials and Choosing the Right Cabinet Door
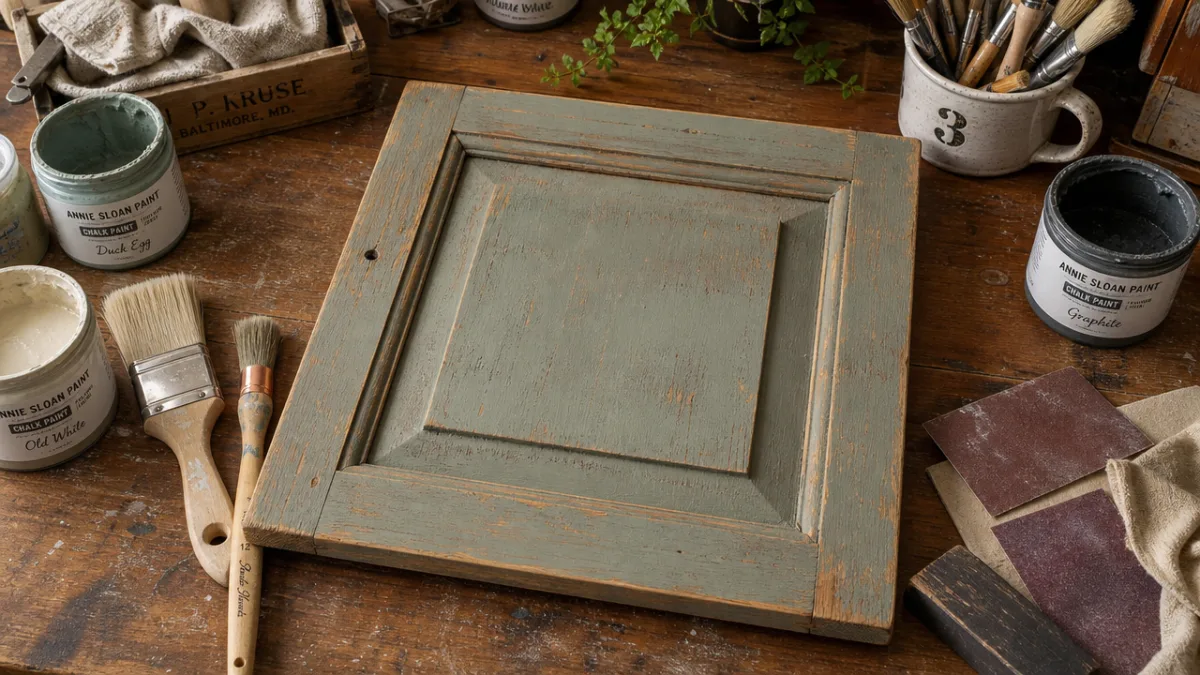
Before you dive in, it’s worth taking a few minutes to gather everything you need so you’re not stopping mid-project to run to the store. The door itself is obviously the star of the show, so choose one with some personality — raised center panels, routed edges, or decorative molding around the frame all add visual interest that a plain flat surface just can’t compete with. Solid wood doors paint and stain more easily than MDF ones, though MDF can absolutely work if that’s what you’ve got.
Once you’ve got your door sorted, here’s what else you’ll want to have on hand:
- Sandpaper in multiple grits (80, 120, and 220 are most useful)
- Wood primer or a bonding primer for previously painted surfaces
- Chalk paint or acrylic craft paint in your chosen colors
- Paintbrushes in varying sizes for background and detail work
- Letter stencils or vinyl lettering in your desired font and size
- A pencil and ruler for planning your layout
- Painter’s tape to secure stencils and create clean edges
- Clear sealer or polycrylic finish to protect the completed sign
- Sawtooth hangers or D-ring hooks for mounting
- Optional: distressing tools, wax, or additional embellishments
It’s also worth thinking about size before you commit to a door. One that’s too small might not fit your family name in a readable font, and one that’s huge could easily overwhelm whatever wall you had in mind. Measure the space first and compare it to your door’s dimensions. Most standard upper cabinet doors run about 12 to 18 inches wide and 24 to 30 inches tall, which gives you plenty of room to work with while still being easy to handle on a table or workbench.
Preparing the Surface for Painting
Surface prep is honestly the step most people want to skip, but it’s also the thing that separates a sign that looks polished from one that looks a bit rough around the edges. If your door has a glossy factory finish or old paint on it, you’ll need to sand it down before anything else. Start with a coarser grit — 80 or 100 works well — to scuff up the existing finish so your new paint has something to grip. Always sand with the grain to avoid scratches that could show through later.
After that first pass, wipe everything down with a tack cloth or damp rag to get rid of all the dust. Even a little bit of leftover grit will get trapped in your paint and create a bumpy texture you really don’t want. Once the door is clean and dry, lay down a coat of primer. If the door was originally finished with an oil-based paint or varnish, go with a shellac-based primer — it’s great at blocking stains and gives water-based paints a solid surface to stick to without peeling.
Let the primer dry completely, then do one more light pass with 220-grit sandpaper to smooth out any brush marks. It sounds fussy, but it makes a real difference in the final look. That said, if you’re going for a more rustic or farmhouse feel, you can skip this step and let a bit of texture come through — it actually adds to the charm. Either way, once you’re happy with the prep, you’re ready to lay down your base coat.
Designing and Applying Your Family Sign Lettering
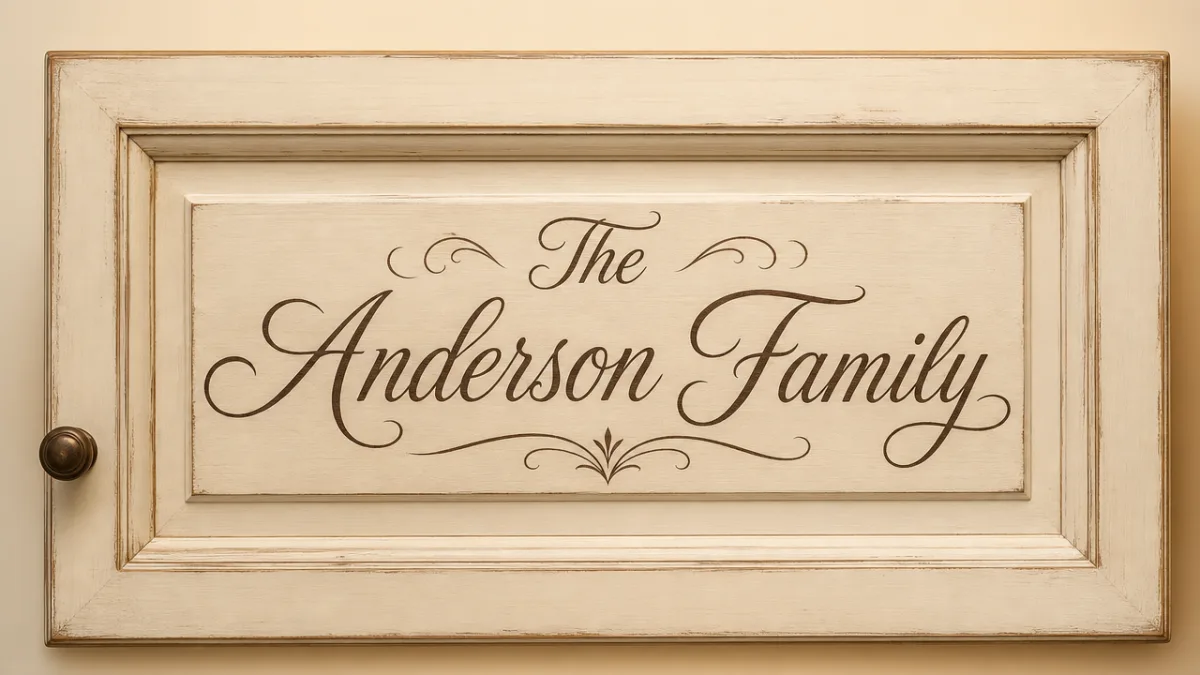
The lettering is really the heart of the whole thing, so it’s worth taking a few minutes to sketch out your layout before you touch a brush to the door. Jot down what you want the sign to say — most family signs center on the last name, often paired with something like “The [Last Name] Family,” “Est. [Year],” or a short phrase that means something to your household. Think about which words should be the biggest, which ones can be smaller, and how everything will sit together on the surface so it feels balanced rather than cramped.
There are a few different ways to get your lettering onto the sign. Vinyl lettering — either bought from a craft store or cut with a Cricut or Silhouette — gives you the cleanest, most professional-looking result. You just peel it, stick it, press it down firmly with a squeegee or old credit card, and you’re done. You can leave the vinyl as-is for a modern look or paint over it for something that reads more like a hand-painted sign. Stencils are a great alternative too and come in tons of fonts and sizes at most craft retailers.
If you feel confident with a brush, freehand lettering is also an option and gives you a completely one-of-a-kind piece. The trick is to sketch your letters lightly in pencil first so you have a guide to follow. Chalk-style lettering has become really popular for family signs because it has that vintage signage quality and looks gorgeous against distressed or natural wood finishes. Whatever method you choose, just take your time — patience and a steady hand will get you there.
Adding Decorative Details and Finishing Touches
Once your lettering is dry, you have a real opportunity to take the sign up a notch with some finishing details. You don’t have to go elaborate — a couple of thin lines above and below the main text, small flourishes at the corners of the raised panel, or simple botanical touches like laurel branches or leaves can make a huge difference. These little additions tie everything together and give the sign that “finished” feeling rather than looking like the text was just slapped on a painted door.
Distressing is another technique worth trying if you’re going for a vintage or farmhouse look. Once your paint is fully dry, take a fine-grit sandpaper or even a damp cloth and gently rub along the edges, around the molding, and anywhere a genuinely aged piece would show some wear. It reveals the wood or a contrasting undercoat beneath, and the effect is really lovely — like the sign has been around for decades. Dark wax is another great option here: brush it on, buff most of it away, and let it settle into the crevices for a beautifully aged, layered look.
Color contrast is something to think about too. Painting the raised center panel a different shade from the outer frame naturally draws the eye right to your lettering. Deep navy, hunter green, or charcoal backgrounds with white or cream lettering make for a really bold, striking sign. If you prefer something softer, whites, grays, and natural wood tones feel elegant without demanding attention. The main thing is that whatever you choose feels like you — and looks good in the room where it’s going to live.
Sealing Your Sign and Preparing It for Display
After putting all that work into your sign, you really do want to seal it properly. Without a topcoat, paint chips and scratches faster than you’d expect, especially in busier areas of the house. For a matte or chalky finish, clear furniture wax is a great choice — rub it on with a soft cloth, give it a few minutes, then buff it smooth. It adds just enough sheen to protect the paint without changing the look you worked hard to create.
If you want something more heavy-duty — especially for an entryway, kitchen, or anywhere that gets a lot of humidity or people touching the walls — go with a water-based polycrylic sealer. Apply it in thin, even coats with a soft brush, letting each one dry fully before adding the next. Two or three coats will give you really solid protection. One big advantage of polycrylic over oil-based polyurethane is that it dries clear and stays clear — it won’t yellow over time, which matters a lot if your sign has white or light-colored paint on it.
Once everything is cured, flip the sign over and attach your hanging hardware. Sawtooth hangers are quick and easy for lighter signs, while D-ring hangers give you more stability if the door is on the heavier side. Get them positioned symmetrically on the back and use screws that are the right length for your wood thickness. Before you commit to putting holes in the wall, hold the sign up in its spot and take a step back — having someone else help you eyeball the placement saves a lot of guesswork.
Displaying Your Family Sign and Inspiring Others
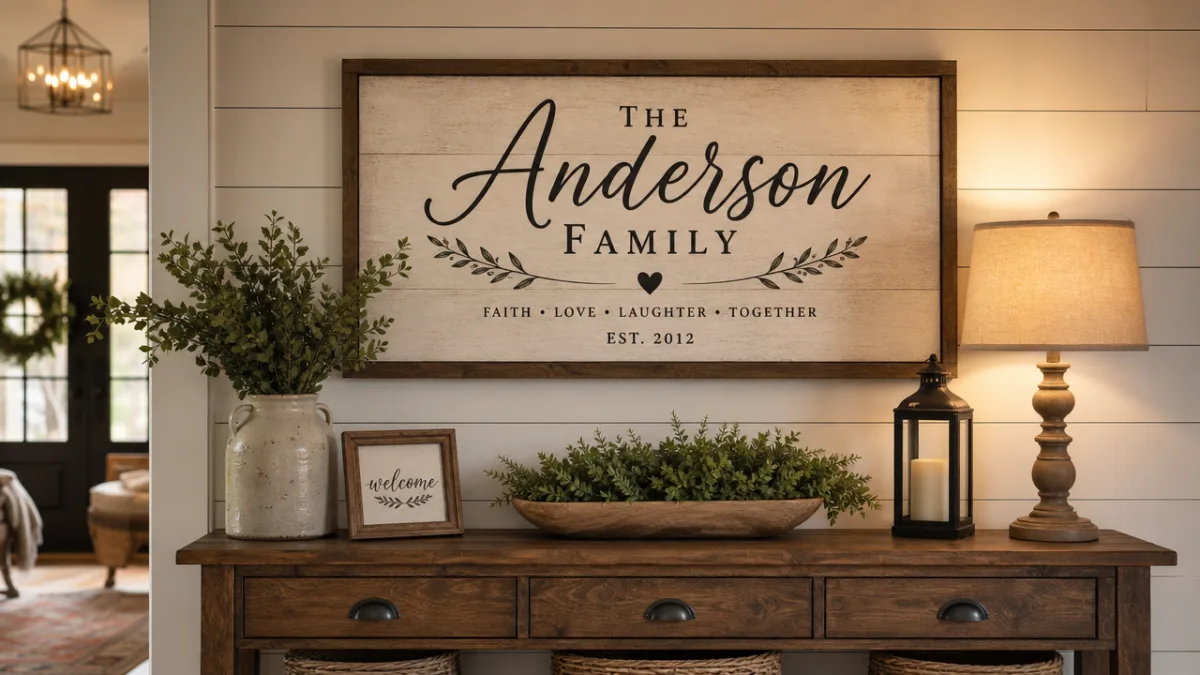
Where you hang the sign matters more than you might think. An entry hallway is a classic choice because it’s the very first thing people see when they walk through your door — it sets the whole tone. A small wreath, a couple of framed photos, or some coordinating wall accents on either side can turn it into a little vignette that feels warm and intentional. It also works beautifully as the anchor piece of a gallery wall in a living room or dining area, surrounded by artwork, mirrors, and things that mean something to your family.
If you share your finished project on social media or Pinterest, don’t undersell it. Beyond the well-deserved sense of pride, you might genuinely inspire someone else to try the project. When you post, mention what materials you used, anything that tripped you up along the way, and any tips you’d pass on to someone just starting out. The DIY community online is wonderfully encouraging, and your version of this project might spark ideas you never even considered yourself.
This project also makes a truly special gift. A custom family sign made for a newly married couple, a family celebrating a big anniversary, or friends who just moved into a new home carries so much more meaning than anything you could pick up at a store. If you’re making it for someone else, just get the basics — their last name, the year they want to mark, any details that feel personal to them — and build the design around that. The time and care you put in will be obvious the moment they see it, and it’s the kind of gift that ends up on the wall and stays there for years.








What do you think?
It is nice to know your opinion. Leave a comment.