










Surfboard Name Craft for Kids: The Ultimate Summer Activity Guide
Why Surfboard Name Crafts Are the Perfect Summer Project
When summer arrives and kids are buzzing with energy, finding an activity that combines creativity, personalization, and hands-on fun can feel like striking gold. Surfboard name crafts check every single box. These projects invite children to decorate a surfboard-shaped canvas with their own name, turning a simple piece of cardstock or foam into a vibrant, personalized piece of art they’ll be proud to display all season long. The beach-inspired theme instantly puts young crafters in a sunny, adventurous mood that makes the entire process feel exciting rather than routine.
What makes this particular craft stand out from the hundreds of summer activity options available is its beautiful combination of literacy and artistic expression. As children trace, cut, paint, or glue the letters of their own names onto their surfboard shapes, they are reinforcing letter recognition and spelling in a way that feels entirely playful. For younger kids just learning to identify the letters in their name, this tangible, colorful connection to those letters creates a powerful memory anchor. For older children, it becomes an opportunity to explore typography, color theory, and personal branding in the most approachable possible way.
Beyond the educational benefits, surfboard name crafts create a lasting keepsake that families return to year after year. Parents often report that their children insist on hanging their finished surfboards in their bedrooms, on the refrigerator, or even in the backyard during summer parties. The pride a child feels when they look at something they made themselves — something that literally bears their name — is a confidence-building experience that no worksheet or screen activity can replicate. This is crafting at its most meaningful, and it happens to be an absolute blast from start to finish.
Gathering Your Materials: Everything You Need Before You Start
Preparation is the secret ingredient in any successful kids’ craft session, and the surfboard name craft is no exception. Before you lay down a single drop of paint or cut a single piece of foam, taking fifteen to twenty minutes to gather and organize all your materials will save you enormous frustration once the creative energy is flowing. The last thing you want is to pause mid-project to search for scissors or discover you’ve run out of a particular color of paint. Lay everything out on a protected table surface — a plastic tablecloth or old newspapers work wonderfully — and you’ll be ready to dive straight into the fun.
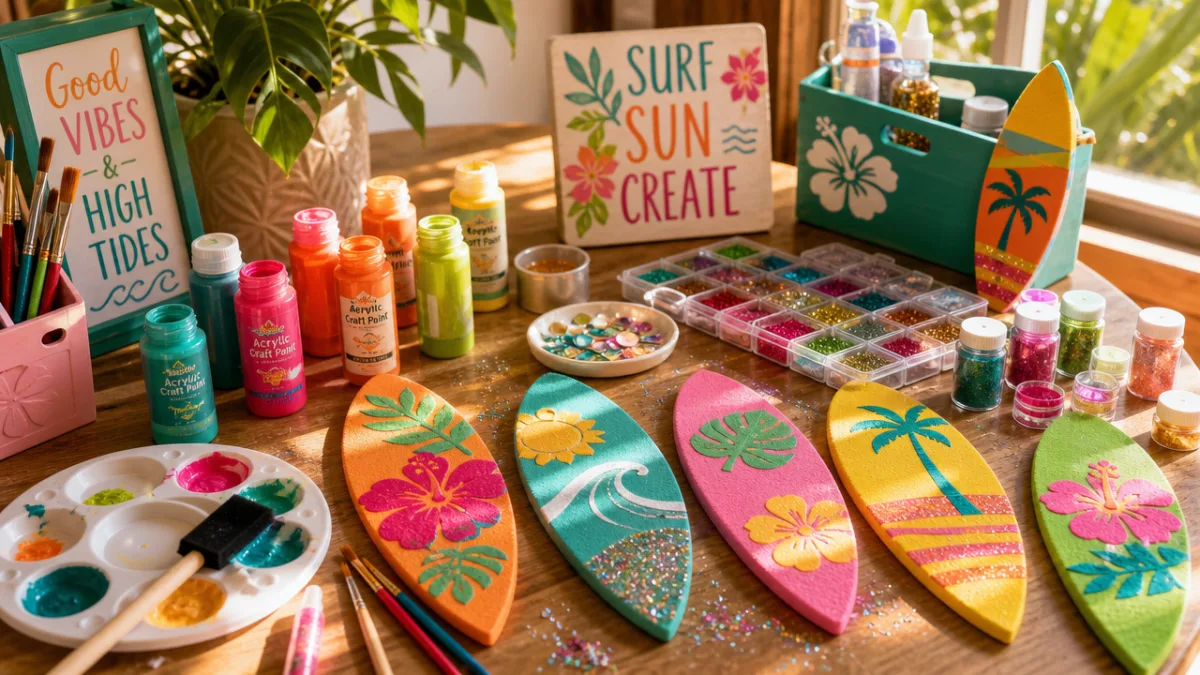
The core materials for this project are wonderfully accessible and budget-friendly. Most families will find they already have several items on hand, and the rest can be found at any dollar store or craft supply shop. Here is a comprehensive list of what you will need to bring this project to life:
- Thick cardstock, foam sheets, or craft foam boards in white or light colors (one per child)
- Surfboard template or stencil (printable versions are widely available online)
- Scissors or a craft knife for adult use
- Acrylic or washable tempera paints in bright tropical colors — think turquoise, coral, yellow, and lime green
- Paintbrushes in a variety of sizes for detail work and broad strokes
- Alphabet stencils, letter stamps, or foam letter stickers
- Markers in both fine-tip and broad-tip styles
- Decorative elements such as glitter glue, sequins, googly eyes, ribbon, and stickers
- Mod Podge or clear craft sealant for finishing and protecting the artwork
- A hole punch and twine or yarn for hanging the finished piece
Optional but highly recommended additions include washi tape for creating geometric stripe patterns, foam stickers shaped like starfish and seashells, and watercolor paints for children who prefer a softer, more blended aesthetic. If you are organizing this craft for a group — at a birthday party, summer camp, or classroom setting — consider pre-cutting the surfboard shapes ahead of time so that younger participants can jump straight to the decorating stage. Color-coded supply stations with individual paint palettes also help keep the workflow smooth and prevent supply squabbles among enthusiastic young artists.
Step-by-Step Instructions for Creating Your Surfboard Masterpiece
Now comes the heart of the activity: the actual making. Walk through these steps at a relaxed pace and resist the urge to rush children through any particular stage. The process itself is where much of the developmental value lives — in the decisions, the experimentation, the small frustrations, and the triumphant moments when a color combination turns out even better than imagined. Allow at least ninety minutes for the full project, with additional drying time built in between painting stages. Having a second activity ready for while paint dries keeps energy levels positive and productive.
Begin by tracing or printing the surfboard template onto your chosen material and carefully cutting it out. Adults should handle sharp scissors or craft knives for younger children, while older kids aged eight and up can often manage safety scissors on cardstock themselves. Once each child has their surfboard blank, invite them to lightly sketch their design in pencil before committing to paint. Encourage them to think about where they want their name to appear — centered across the middle is the classic choice, but names along the top, bottom, or even diagonally can create exciting visual effects. Rough planning at this stage prevents disappointment later.
The painting sequence matters more than most beginners realize. Follow these steps for the smoothest, most vibrant results:
- Apply a solid base coat in one or two background colors and allow it to dry completely — approximately twenty to thirty minutes with acrylic paint.
- Once dry, add large decorative elements like waves, sunbursts, tropical flowers, or geometric stripes using contrasting colors.
- Let the decorative layer dry, then carefully add the name using stencils, stamps, or freehand painting with a fine brush.
- Allow the name layer to dry thoroughly before adding any embellishments like glitter, sequins, or foam stickers.
- Once all elements are completely dry, apply a thin, even coat of Mod Podge or clear sealant to protect the finished design.
- After the sealant dries, use a hole punch near the top and thread ribbon or twine through for hanging.
For children who feel intimidated by freehand painting their name, alphabet stencils and foam letter stamps are genuine lifesavers. Hold the stencil firmly against the surface or apply a small piece of tape to prevent shifting, then dab paint through it with a sponge brush for crisp, clean letter outlines. An even simpler approach for very young children is to use pre-made foam letter stickers, which adhere directly to the painted surface with no drying time required. Whichever method you choose, remind children that imperfection is part of handmade charm — the slight wobble in a painted letter tells the story of a real child’s hand, and that is something to celebrate rather than correct.
Creative Design Ideas and Themes to Inspire Young Artists
One of the greatest gifts you can give a child during any craft project is an abundance of ideas paired with absolute freedom to ignore every single one of them. Inspiration prompts light the creative spark without restricting where it travels. For the surfboard name craft, there is an almost unlimited range of themes to explore, from realistic ocean scenes to fantastical tropical landscapes, from bold graphic patterns to soft watercolor washes. Sharing a few specific ideas at the outset helps hesitant children find a starting point, while enthusiastic children often run gleefully in their own unexpected direction the moment they hear the first suggestion.
Consider these popular and visually stunning design themes to share with young crafters:
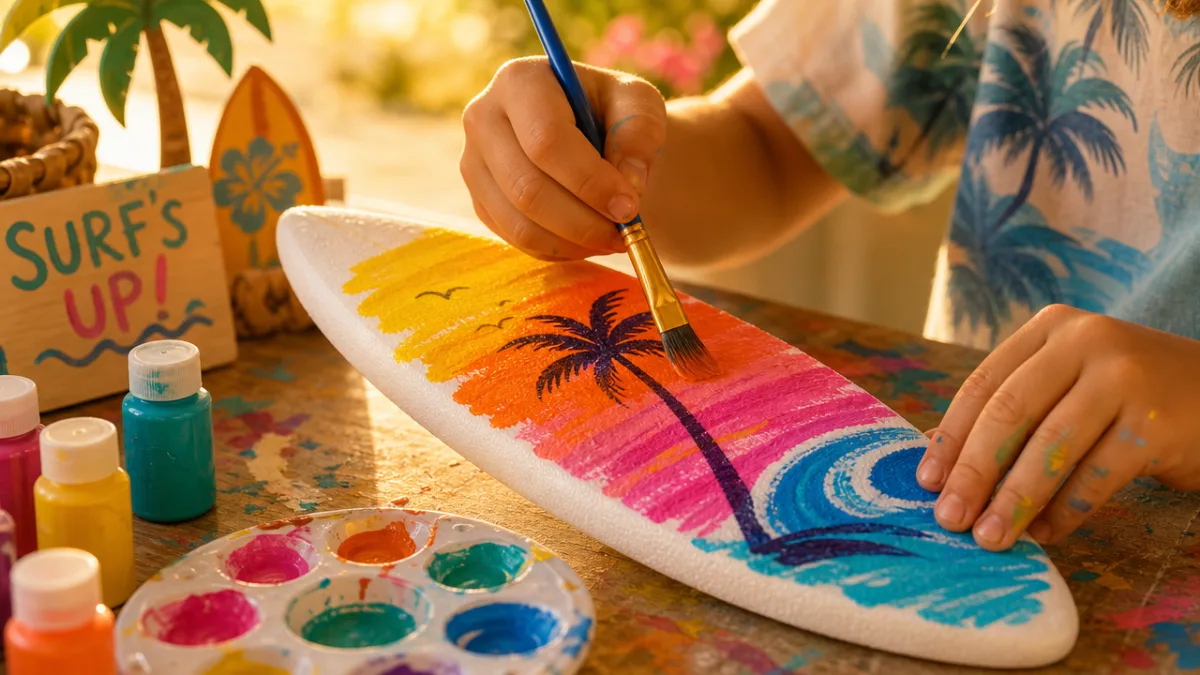
- Tropical Sunset: Gradient background blending orange, pink, and purple with silhouetted palm trees and a rising or setting sun behind the name letters.
- Ocean Waves: Bold, graphic waves in shades of turquoise and navy sweeping across the board, with the name riding the crest of the tallest wave.
- Rainbow Tie-Dye: Swirling, overlapping circles of rainbow colors that blend together beautifully and make names pop in white or black lettering.
- Tropical Wildlife: Colorful fish, sea turtles, dolphins, or flamingos swimming and playing around the name in the center.
- Geometric Surf Style: Bold stripes, triangles, and chevrons in high-contrast colors inspired by classic surf brand aesthetics.
- Under the Sea: Deep blue and teal background with coral, sea anemones, starfish, and bubbles surrounding the name.
- Floral Hawaiian: Large hibiscus flowers, monstera leaves, and plumeria blossoms arranged in a lei-like pattern around the letters.
For children who feel genuinely overwhelmed by a blank canvas, try a guided approach where you paint a simple base design together and then hand the surfboard over for personalization. Many children find it much easier to add details and embellishments to an already-started piece than to face a completely empty surface. You might also try the “mood board” approach: browse images of real surfboard designs together before starting and ask the child to pick two or three elements they love. This focused visual research usually produces remarkably intentional and beautiful results, and the child feels like a real artist who has done their research before beginning work.
Adapting the Craft for Different Ages and Skill Levels
One of the most valuable qualities of the surfboard name craft is how beautifully it scales across a wide range of ages and developmental stages. A two-year-old and a ten-year-old can sit at the same table working on the same core project and both come away with something that genuinely reflects their current abilities and aesthetic sensibilities. The key is knowing which elements to simplify, which to elaborate, and which to leave entirely in the child’s hands. With a little thoughtful adjustment at the outset, this activity becomes a multigenerational experience that engages everyone from toddlers to tweens — and sometimes the adults helping them.
For toddlers and preschool-aged children between two and four years old, keep the process maximally open-ended and sensory. Pre-cut the surfboard shape and apply a white gesso base coat ahead of time. Offer large foam brushes and just two or three colors of washable tempera paint to avoid overwhelming small decision-makers. Forget the name-spelling component for very young children — instead, invite them to simply paint freely, then add their name yourself afterward in a large, clear font using a permanent marker or paint pen. The result is still wonderfully personal, and the child has genuine ownership over the design through their own paint marks.
Children in the five-to-seven age range are ready for the full name-spelling component, ideally with the support of letter stencils, stamps, or pre-traced guides. This group benefits enormously from a demonstration step where an adult or older child shows the complete process from start to finish before everyone begins. Watching the sequence play out concretely before attempting it reduces anxiety and sets clear expectations. Children this age also love incorporating stickers, foam shapes, and glitter glue into the design — allow extra time for these embellishment stages because they will be thorough and wonderfully meticulous about it.
For the eight-to-twelve age group, raise the sophistication bar significantly. Encourage freehand lettering experiments, introduce the concept of color theory and complementary colors, and suggest techniques like blending, dry-brushing, or sponge painting for textural interest. Older children in this range often thrive when given a specific technical challenge — try suggesting they paint their name in a style inspired by a particular era of surf culture, or ask them to create a design that uses only three colors but makes maximum visual impact. These constraints, far from limiting creativity, tend to produce the most focused and impressive results of all.
Extending the Fun: Displaying, Sharing, and Building on the Project
The moment a child holds their finished surfboard name craft and declares it done is not the end of the experience — it is actually the perfect launchpad for an entire cascade of related activities, conversations, and creative extensions. Smart parents and educators know that a successful craft project is worth mining for every last drop of learning and connection it can offer. Taking a few moments to acknowledge the completed work meaningfully, involve the child in displaying it, and offer pathways for building on the skills they just practiced can transform a single afternoon’s activity into a week-long creative journey.
Start with a proper presentation moment. Clear a space on the kitchen counter or dining room table, set the surfboard in a place of honor, and invite the child to give a little “gallery talk” about their design choices. Ask open-ended questions: Why did you choose those colors? What does that pattern remind you of? What’s your favorite part? This reflective conversation not only reinforces language development and critical thinking but communicates to the child that their creative work deserves to be taken seriously — a message that builds lasting creative confidence. For group settings like camps or classrooms, a gallery walk where all participants display their boards simultaneously creates a joyful community celebration of individual expression.
Beyond display, there are numerous wonderful ways to extend and build on the surfboard name craft experience throughout the rest of the summer. Consider these follow-up activities and ideas:
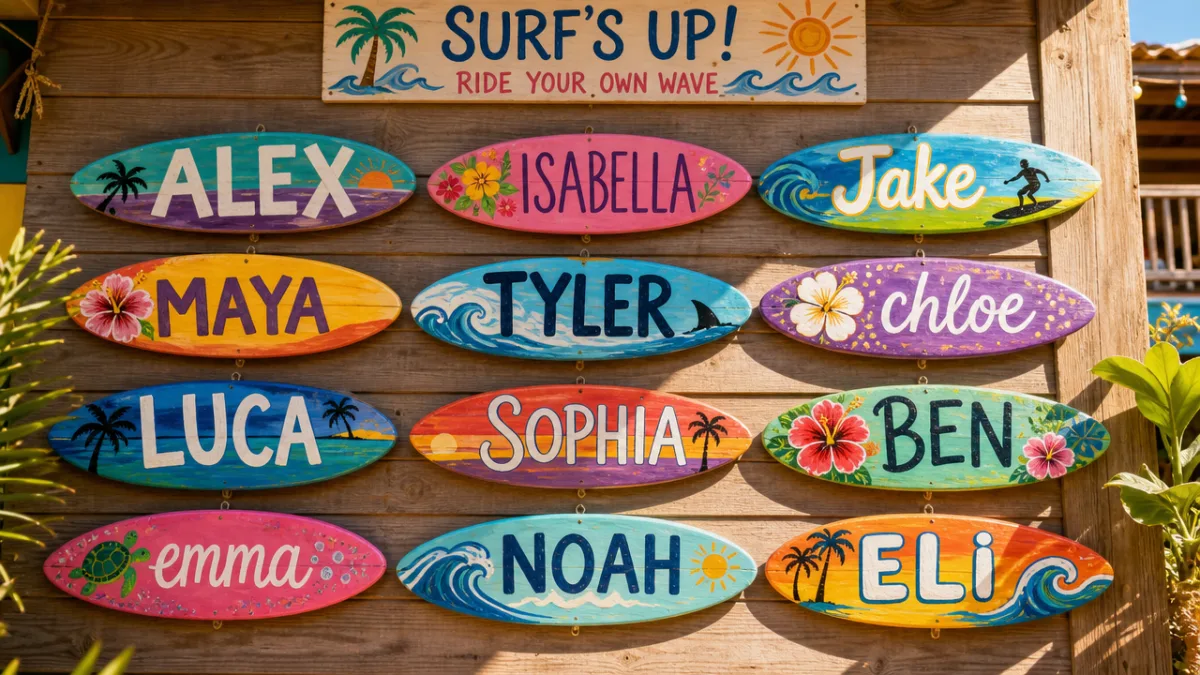
- Create a whole fleet of mini surfboards — one for each family member — and display them together as a wall installation.
- Use the same surfboard template to make greeting cards, gift tags, or party invitations for a beach-themed birthday celebration.
- Expand the ocean theme by crafting complementary pieces: painted seashells, paper fish, or a large collaborative underwater mural to surround the surfboards.
- Photograph the finished surfboard and use it as a custom phone wallpaper or screen saver so the child can carry their artwork everywhere.
- Turn the surfboard into a functional item by laminating it and using it as a placemat, bookmark, or name tag for the child’s summer camp belongings.
- Set up a “surf shop” dramatic play station where children can display and “sell” their boards, complete with handwritten price tags and surf-inspired signage.
The surfboard name craft is also a beautiful gateway into a broader exploration of surf culture, ocean science, and coastal geography. Children who become enchanted by the aesthetic of their finished boards often show new curiosity about real surfing — its history, its athletes, its global community of practitioners, and the ocean environments that make it possible. Even a simple follow-up conversation about how waves form, which ocean beaches are known for surfing, or what surfers do to protect the marine environments they love, turns a craft afternoon into a rich interdisciplinary learning moment. Summer is full of golden opportunities like these, and the surfboard name craft is one of the most reliably wonderful ways to create them.








What do you think?
It is nice to know your opinion. Leave a comment.