










45 Cool DIY Bar Plans for Your Home: The Ultimate Guide to Building Your Own Entertainment Space
Why Every Home Deserves a DIY Bar
There’s something genuinely special about having your own bar at home. Whether you love hosting friends on weekends, enjoy experimenting with cocktail recipes, or just want a cozy corner to decompress after work, a home bar turns an ordinary room into something that feels distinctly yours. And it’s not just about looks — it’s about having a place where good conversations happen and people actually want to hang out.
Going the DIY route has a huge advantage over buying pre-made furniture: you’re in complete control. The dimensions, the layout, the materials, the finishes — all of it can be built around your actual space and your actual taste. Got a sprawling basement? Go big. Working with a tight corner in the living room? There’s a plan for that too. A custom-built bar fits your home in a way that off-the-shelf pieces just can’t.
Cost is another big reason to build your own. Professional bars and custom cabinetry can run into the thousands, but plenty of stunning home bar builds come together for a fraction of that with some solid planning and a free weekend. And honestly, beyond the money saved, there’s something deeply satisfying about pouring a drink at a bar you built with your own hands — one that your guests will compliment and you’ll enjoy for years.
Choosing the Right Style and Design for Your Space
Before you buy a single board or pick up a tool, take some time to figure out the look and feel you’re going for. Think about the existing style of your home, how much space you’re working with, and how you actually plan to use the bar day to day. The good news is there’s no shortage of directions you can go — sleek and modern, warm and rustic, industrial, mid-century, farmhouse casual. Browsing through bar plans is a great way to figure out what clicks for you both visually and practically.
Tight on space? A wall-mounted fold-down bar or a slim console design can be a great answer — it tucks away when you don’t need it and keeps the room from feeling cramped. If you’ve got a dedicated basement or bonus room to work with, you can really go all out: full-length bar tops, a row of bar stools, pendant lighting, under-counter fridges, built-in wine racks. The range of what’s possible is pretty remarkable once you start looking.
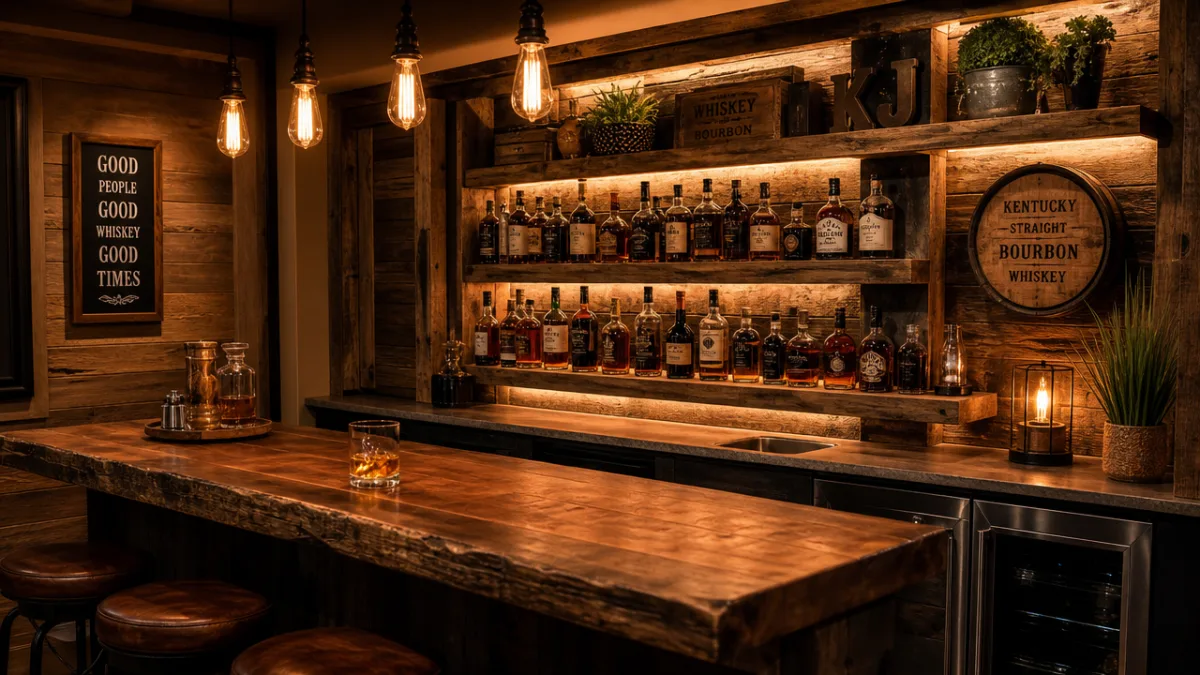
Materials are where you really define the personality of your bar. Reclaimed wood brings warmth and character that pairs beautifully with Edison bulbs and metal accents. Painted MDF or plywood reads cleaner and more contemporary. Concrete countertops make a bold modern statement, while butcher block feels cozy and approachable. Don’t be afraid to mix — a dark-stained wood base with a marble-look countertop, for instance, creates something that feels layered and intentional rather than straight off a showroom floor.
Essential Features to Include in Your Home Bar Build
A good-looking bar that’s a pain to actually use is a missed opportunity. Before you lock in your plans, it’s worth thinking through which features will make your bar genuinely enjoyable — not just on the day you finish it, but every time you use it. The best home bars strike a balance between looking great and working smoothly, and getting there really just takes a bit of upfront thought.
Here are some essential features to consider incorporating into your bar build:
- Bar sink: Even a small undermount or drop-in sink makes a huge difference for rinsing glasses, dumping ice, and cleaning up. It’s one of those additions that sounds minor until you actually have it — then you can’t imagine going without it.
- Under-counter refrigerator or wine cooler: Keeping drinks cold right at the bar means fewer trips to the kitchen and a much smoother hosting experience. Slim-profile units designed specifically for bar use fit neatly into most builds.
- Open shelving for spirits: Display your bottles on open shelves with a mirror backing and some LED strips behind them, and you’ve instantly got a setup that looks like it belongs in a real bar.
- Wine rack storage: Whether it’s built into the lower cabinetry or mounted on the wall nearby, dedicated wine storage shows thoughtful design and keeps your bottles protected from light and jostling.
- Sufficient counter space: This is where you’re actually doing the work — mixing drinks, laying out tools, setting glasses. Give yourself enough room to operate comfortably.
- Glassware storage: Overhead hanging racks for stemware or glass-front cabinet doors both look great and keep your glassware organized and accessible — that polished, professional bar feel comes largely from details like this.
- Lighting: Layered lighting really makes a bar come alive. Under-shelf LED strips, a pendant or two over the counter, a backlit shelf — together they set the mood and make the whole space feel intentional.
Storage deserves extra attention at the planning stage, because most people genuinely underestimate how much stuff accumulates — bottles, mixers, tools, glassware. Building in more storage than you think you need is almost always something you’ll thank yourself for later. Think deep lower cabinets for bulky supplies, narrow pullout drawers for bar tools like jiggers and strainers, and dedicated spots for each type of glass you own. A well-organized bar is a pleasure to use and makes hosting feel completely effortless.
Step-by-Step Overview of the Building Process
Once you’ve landed on a design and put together your materials list, you’re ready to start building. Most home bar projects follow a pretty logical sequence that even first-time woodworkers can handle with a bit of patience and attention to detail. The most important thing at the start? Accurate measurements and a solid plan. Errors made on paper are free to fix — errors made in wood cost you time and money. Measure twice, cut once really does apply here.
The typical construction sequence for a freestanding or built-in home bar follows these general stages:
- Planning and measuring: Sketch your design to scale, noting all dimensions, where plumbing will go if you’re adding a sink, and where electrical outlets need to be for lighting and appliances.
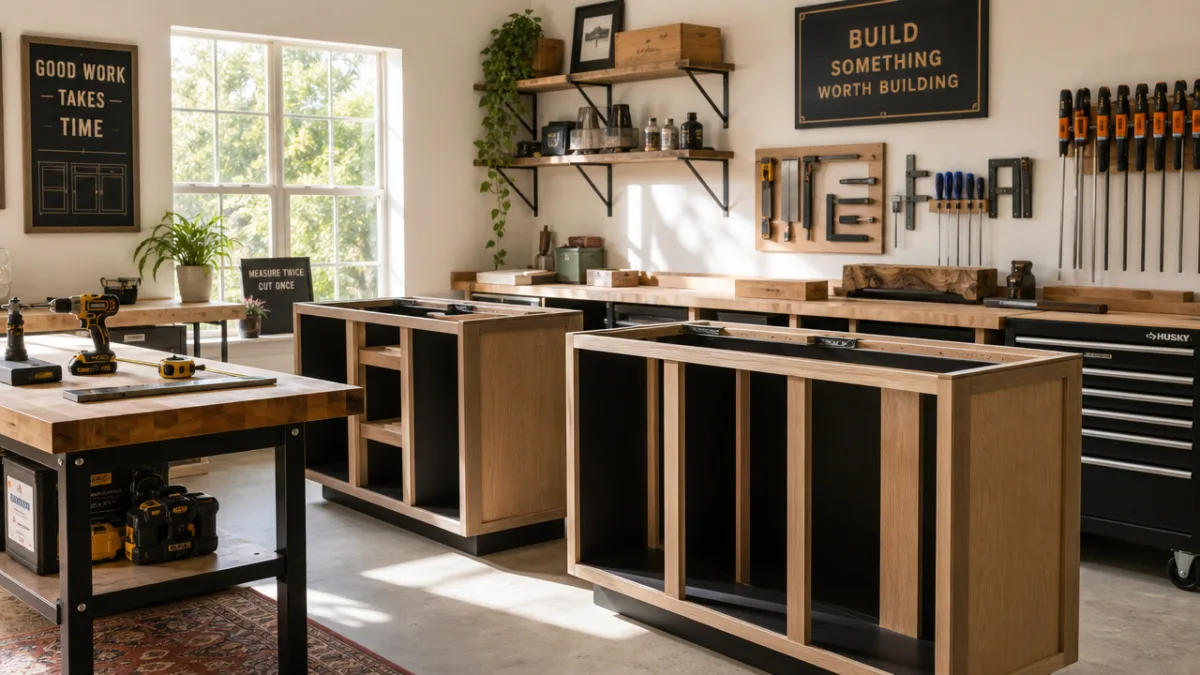
- Framing the base structure: Build a solid base frame from 2×4 lumber — this is what carries the weight of the countertop, sink, and any appliances underneath, so don’t rush it.
- Building the face frame and cabinet boxes: Construct and attach the front face frame and any cabinet enclosures. Get everything level and square before securing anything permanently.
- Installing the back bar shelving: Build and mount the display shelving that will sit behind the bar — this becomes the visual centerpiece of the whole setup, so take your time with it.
- Adding the countertop: Cut, fit, and secure your countertop material, making any necessary cutouts for a sink or fixtures at this stage.
- Plumbing and electrical rough-in: If you’re adding a sink or refrigerator, now’s when you run water lines and drainage and confirm you have the right electrical circuits in place.
- Finishing and painting: Sand everything smooth and apply primer, paint, stain, or sealer as suits your materials and the look you’re going for.
- Installing hardware and accessories: Drawer pulls, door hinges, towel hooks, lighting fixtures — these finishing touches are what tie the whole thing together.
Don’t let that list intimidate you. Many of those steps go faster than you’d expect, and each one you check off brings you visibly closer to the finished bar. First-time builders are often genuinely surprised by how manageable the whole process feels once it’s broken into stages like this. Between YouTube build videos, detailed plan sets, and the incredibly helpful community of DIY bar builders online, you’ve got more support available than ever before.
Budget-Friendly DIY Bar Ideas That Look Expensive
Here’s a misconception worth busting right away: a high-end-looking home bar does not require a high-end budget. Some of the most impressive DIY bar builds out there were done on surprisingly modest budgets, using smart material choices, a bit of creative repurposing, and selective spending on the things that actually catch the eye. The trick is knowing where you can cut costs without it showing, and where spending a little more genuinely pays off.
Repurposed and upcycled materials are your best friend here. Old wooden pallets, sanded and stained, can form the base of a rustic bar that looks like it was designed that way on purpose. Reclaimed barn wood adds incredible texture and warmth for far less than new lumber would cost. Vintage cabinets from a thrift store or salvage yard, freshened up with new paint and hardware and topped with an affordable countertop, can look completely curated. Even an old dresser or sideboard can become a charming bar cabinet with minimal effort.
Clever material substitutions can also save you a lot without giving anything away visually. Marble contact paper over plywood or a porcelain tile surface can mimic the look of real marble at a tiny fraction of the cost. IKEA cabinet bases dressed up with custom face frames and stylish hardware can pass convincingly for built-ins. Peel-and-stick backsplash tiles behind the shelving add color and texture for next to nothing. With choices like these, it’s entirely realistic to build a beautiful, complete home bar for under five hundred dollars.
Inspiring DIY Bar Concepts to Spark Your Creativity
One of the best things about the DIY bar world is just how much variety there is. From full basement build-outs that rival actual bars to a clever nook tucked into an awkward corner, what creative homebuilders have managed to pull off is genuinely exciting to look through. Browsing a wide collection of plans — like the 45 featured here — doesn’t just give you ideas; it shows you how real people have solved real structural problems in real homes.
Some of the most popular and achievable concepts include the pallet bar, where reclaimed shipping pallets are stacked and secured into the bar structure; the pipe and wood bar, which pairs black iron pipe fittings with butcher block or reclaimed wood for an industrial-chic vibe; the barrel bar, which uses actual wine or whiskey barrels as the main structural element; and the under-staircase bar, which turns that otherwise wasted space beneath the stairs into a fully functional bar nook. Every one of these can be adapted to fit your space and your personal style.
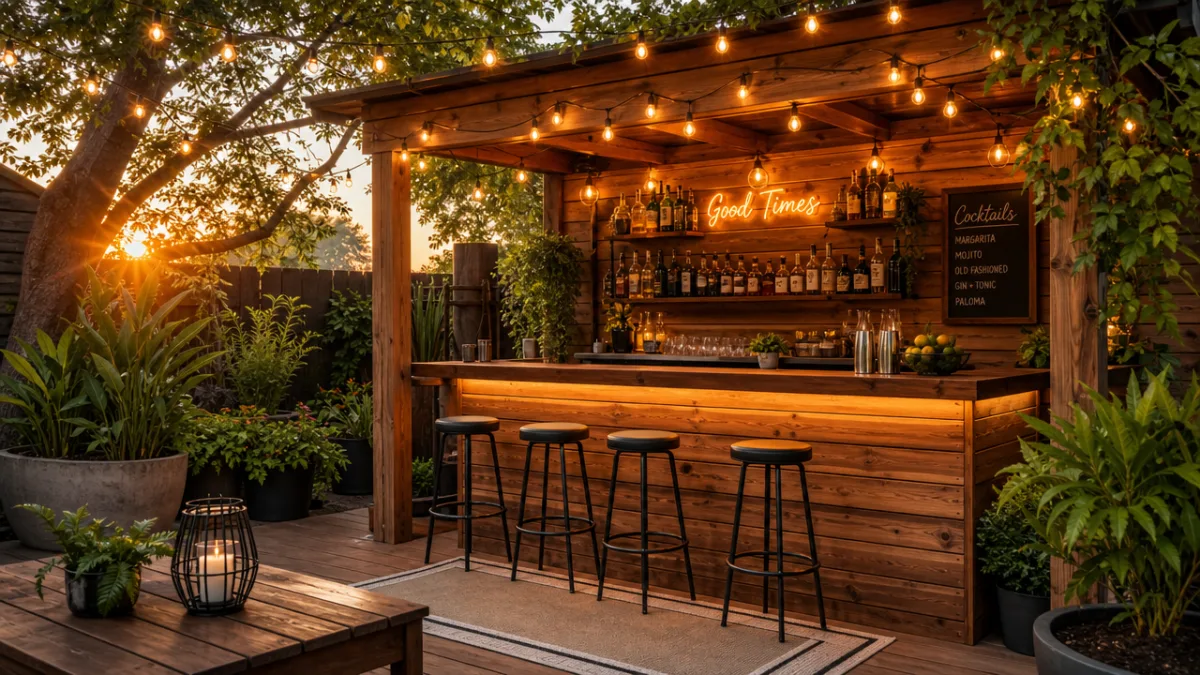
Outdoor bars are also hugely popular and well worth considering. A covered patio or deck bar opens up your entertaining space and gives your backyard a genuinely resort-like feel. You’ll want weather-resistant materials — cedar, teak, or pressure-treated lumber — along with exterior-grade finishes and hardware, but the results are absolutely worth it. Add string lights, comfortable seating, and a grill nearby, and you’ve built an outdoor entertaining setup that people will want to come back to all season.
Tips for a Successful DIY Bar Project
Going into your bar build with the right mindset makes a real difference — both in how much you enjoy the process and how happy you are with the result. The most successful DIY bar builders tend to share a few things in common: they plan carefully before starting, they’re willing to ask for help or advice, and they stay flexible when things don’t go exactly as expected. And they all know that the goal isn’t a flawless build — it’s a bar you built yourself that you genuinely love.
Before you commit to a single design, spend some time studying multiple sets of plans. Pay attention to how different builders handle things like corner joints, countertop overhangs, and shelving support — you’ll pick up a lot just by comparing approaches. Figure out which tools you’ll need at each stage and rent or borrow anything you don’t already have rather than buying tools you might only use once. Watch video tutorials all the way through before you start so you know what’s coming and won’t get caught off guard mid-build.
Most importantly, enjoy it. Building a home bar is one of those projects where the end result — a real, functional space that you and the people you love will actually use — makes every hour of effort completely worth it. Take photos along the way, celebrate each stage as you finish it, and feel free to put your own spin on whatever plans you’re working from. The best home bars are the ones that feel personal. So pick your plans, grab your materials, and go build something you’re proud of.








What do you think?
It is nice to know your opinion. Leave a comment.