










Build a Stunning Sofa Table for Under $30: The Complete DIY Guide
Why a Sofa Table Transforms Your Living Space
A sofa table is one of those pieces of furniture that quietly does everything right. Positioned behind your couch or along a hallway wall, it provides surface space for lamps, books, decorative items, and everyday essentials without consuming valuable floor space. It creates a visual boundary that defines a room’s layout, gives your sofa a finished, intentional look from behind, and adds that layered, styled quality you see in interior design magazines. Yet despite how much work this single piece of furniture does, retail versions can cost anywhere from $150 to well over $500.
That price gap is exactly what makes the DIY sofa table such an appealing project for homeowners and renters who want beautiful spaces without the designer price tag. Building your own means you get to choose the exact dimensions that fit your space, the finish that matches your existing furniture, and the style that reflects your taste — whether that’s rustic farmhouse, sleek modern, or somewhere in between. You’re not compromising on color or scale because the store only had one option in stock.
Beyond the aesthetics, there is something genuinely satisfying about sitting down at the end of a project and looking at a real, functional piece of furniture that you built yourself. This particular sofa table build comes in at under $30 using common lumber and basic hardware, making it one of the most cost-effective home improvement projects you can take on over a weekend. Whether you’re a seasoned woodworker or picking up a saw for the first time, the following guide will walk you through every step from planning to the final coat of finish.
Materials, Tools, and What You’ll Spend
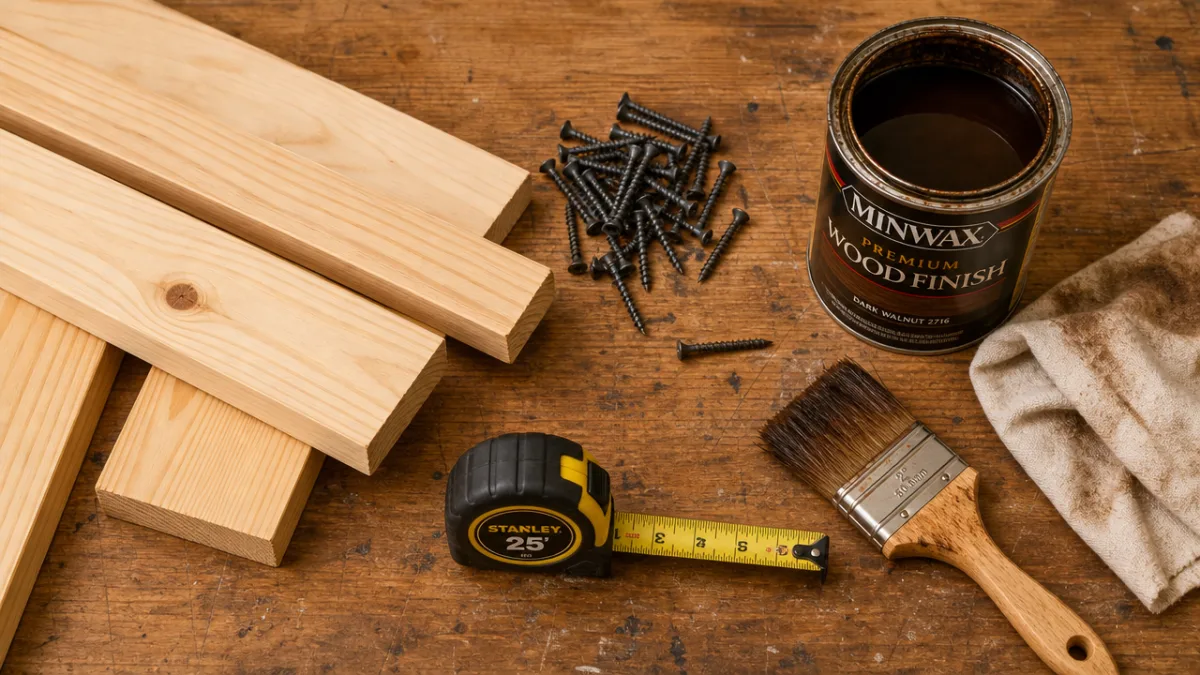
One of the reasons this project stays so far under budget is that it uses dimensional lumber — the standard pine boards you’ll find in the lumber aisle of any home improvement store. You’ll need two 1x4x8 boards, one 1x2x8 board, and two or three 2x4x8 studs depending on your desired leg height. These are inexpensive, widely available, and easy to work with even if you don’t own a full workshop. At current lumber prices, your total material cost should land somewhere between $20 and $30, with room to spare for sandpaper and wood filler if needed.
For hardware and finishing supplies, keep things equally simple. A box of 2-inch pocket hole screws or wood screws, a small bottle of wood glue, and a can of stain or paint is all you need. If you plan to stain, pick up a can of polyurethane or a wipe-on finish to protect the surface. A single quart of each is more than enough and keeps you within budget. If you already have any of these supplies in your garage, your out-of-pocket cost drops even further.
As for tools, the list is refreshingly short. A miter saw or circular saw will make your cuts clean and square, but a hand saw works in a pinch. You’ll also need a drill, a tape measure, clamps, and sandpaper in a few grits — 80, 120, and 220 are ideal. A pocket hole jig is incredibly helpful for joining boards cleanly and is available at most hardware stores for under $20 if you don’t own one. Many people find that this single project justifies the jig purchase because they end up using it on every future build.
- Two 1x4x8 pine boards (tabletop and shelf)
- One 1x2x8 pine board (apron and trim details)
- Two or three 2x4x8 studs (legs, cut to height)
- 2-inch pocket hole screws or wood screws
- Wood glue
- Sandpaper: 80, 120, and 220 grit
- Stain or paint of your choice
- Polyurethane or wipe-on finish
Cutting and Planning Your Dimensions
Before you make a single cut, spend a few minutes measuring the space where your sofa table will live. The typical sofa table runs between 48 and 60 inches long, 10 to 14 inches deep, and stands roughly the same height as the back of your sofa — usually between 28 and 32 inches tall. These aren’t rigid rules, and part of the beauty of building your own is that you can customize freely. A narrow hallway might call for a depth of just 10 inches, while a wide open living room can handle something more substantial.
Once you have your target dimensions, write out a cut list before touching your saw. This step is often skipped by beginners and almost always regretted. A clear cut list tells you exactly how many pieces to cut from each board, helps you arrange cuts to minimize waste, and acts as a reference when you’re mid-build and can’t remember whether that piece was supposed to be 52 inches or 54. Take your time here and double-check every measurement against both your cut list and your actual board lengths before committing to a cut.
For a standard 48-inch table at 30 inches tall with a lower shelf, a typical cut list includes two tabletop boards at 48 inches, two apron pieces at 44 inches (to account for the leg thickness), two short apron pieces at the depth measurement minus the leg thickness, four legs at 29 inches (the remaining inch sits below the tabletop), and two shelf boards at 44 inches. This configuration gives you a solid, well-proportioned table that uses material efficiently and leaves minimal offcuts. Mark every piece with a pencil before cutting so there’s no confusion at the saw.
When making your cuts, always use a square or miter stop to ensure clean 90-degree ends. Angled or slightly off-square cuts will cause gaps and wobble in the finished table that are difficult to fix later. If you’re using a circular saw, clamp a straightedge guide to the board to keep your cuts true. Take your time and let the saw do the work — rushing cuts is the most common source of mistakes in a project like this, and a miscut board means a trip back to the lumber store.
Assembly: Putting It All Together
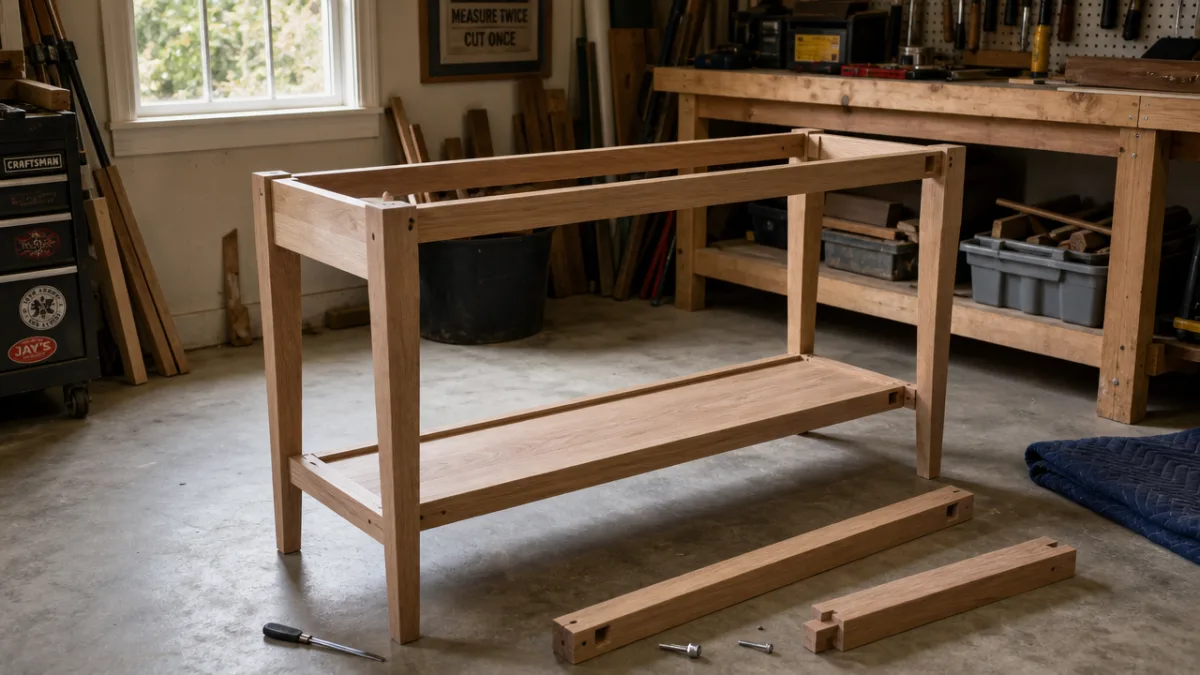
Start assembly by building the two leg frames first — each frame consists of two legs joined by an apron piece at the top and, if you’re including a lower shelf, a stretcher near the bottom. Apply wood glue to each joint and clamp the pieces together while you drive your screws. Pocket hole screws are ideal here because they pull joints tight and hide inside the wood, leaving a cleaner finished surface. If you’re using standard screws, pre-drill pilot holes to prevent the pine from splitting, especially near the ends of boards.
Once both leg frames have dried for at least 20 to 30 minutes, connect them with the long apron boards along the front and back. Again, glue and clamp before screwing. This step determines whether your table is square and true, so take a moment to measure the diagonals — both diagonal measurements should be equal if your frame is perfectly square. If they’re off, apply gentle pressure to the longer diagonal corner while the glue is still wet to nudge it into alignment. A square frame is the foundation everything else depends on.
With the base complete, attach the tabletop by placing the boards face-down on a flat surface, butting them tight together, and securing them to the apron from below using screws driven up through pocket holes or by adding figure-eight fasteners. Using two tabletop boards side by side rather than a single wide board helps prevent warping over time and is actually a technique used in professional furniture making. Leave a very slight gap between the boards — about the thickness of a business card — to allow for seasonal wood movement if you live in a climate with significant humidity swings.
If your design includes a lower shelf, cut two shelf boards to length and attach them in the same manner as the tabletop, driving screws up from below through the stretchers. For a finished, intentional look, place the shelf boards a few inches above the floor rather than flush at the bottom — this creates visual breathing room and makes it easier to vacuum or sweep underneath. Sand the entire assembled table with 120-grit paper to smooth any rough spots and knock down sharp edges, then follow with 220-grit for a silky final surface ready for finish.
Finishing: Stain, Paint, and Protecting Your Work
The finish you choose defines the personality of the piece, and the good news is that pine accepts stain, paint, and clear finishes beautifully when properly prepared. If you’re going for a warm, natural wood look, a medium walnut or dark walnut stain brings out the grain and gives inexpensive pine a much richer, more expensive appearance. Apply stain with a foam brush or rag, working in the direction of the grain, let it penetrate for a few minutes, then wipe away the excess. Repeat for a deeper color. Always test on a scrap piece first because stain behaves differently on every board.
For a farmhouse or painted look, prime the wood first with a shellac-based or water-based primer to seal the grain and prevent bleed-through. Pine has a tendency to show tannin bleed and uneven absorption under paint, and a good primer prevents those issues entirely. Once the primer is dry, apply two coats of your chosen paint color, sanding lightly between coats with 220-grit paper for a smooth, professional result. Chalk paint is a popular choice for this style of furniture because it requires minimal prep and creates a soft, matte finish that can be lightly distressed for a vintage look.
Regardless of whether you stain or paint, seal the surface with at least two coats of a protective finish. For a stained piece, a water-based polyurethane in satin or matte sheen protects beautifully without yellowing over time. For a painted piece, a furniture-specific topcoat or a matte wax provides durability. Apply thin coats, sanding lightly between them, and allow full cure time before placing items on the surface. Rushing the cure is the number one reason DIY furniture finishes get scratched or damaged in the first weeks of use.
- Sand bare wood starting with 120-grit, finishing with 220-grit
- Wipe away all dust with a tack cloth
- Apply primer if painting, or wood conditioner if staining pine
- Apply stain or first coat of paint, let dry fully
- Sand lightly with 220-grit between coats
- Apply second coat of stain or paint
- Apply two or more coats of protective topcoat
- Allow full cure time before use (typically 24 to 48 hours)
Styling Your New Sofa Table
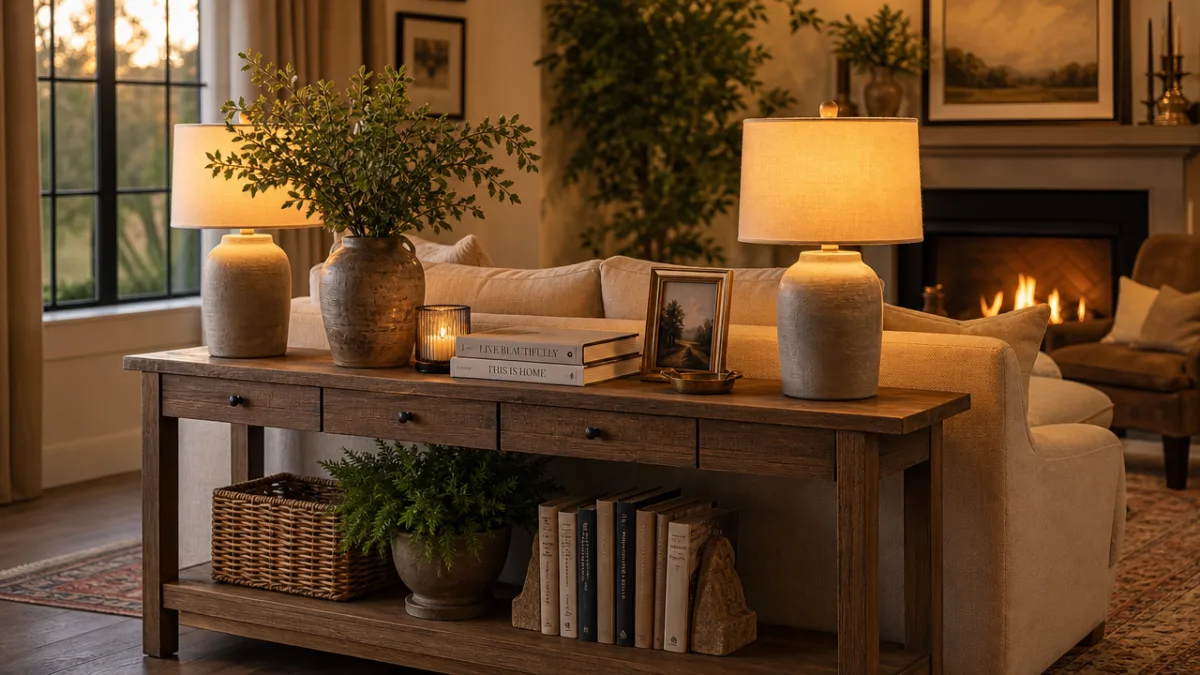
A well-styled sofa table does as much work as any piece of furniture in the room. The classic approach is to anchor each end of the table with a lamp — matching lamps create symmetry and balance, while mismatched lamps in a complementary color story create an eclectic, curated feel. Place something of varying height in the center, such as a vase of stems, a stack of books topped with a small object, or a piece of art leaning against the wall behind the table. Varying heights keep the eye moving and create visual interest without clutter.
Don’t overlook the lower shelf if your design includes one. This space is perfect for baskets that hold blankets or magazines, a row of books with their spines facing out, small plants, or decorative objects that you want to feature but not at table height. Odd numbers work better than even numbers when grouping items — three objects almost always look more intentional and interesting than two or four. If you find yourself placing things symmetrically on the lower shelf, try breaking it up with one additional piece to introduce asymmetry and life.
Lighting is an often overlooked element when it comes to sofa tables. If your table sits behind a sofa in the middle of a room rather than against a wall, you may not have an outlet nearby for table lamps. Battery-operated lamps and LED candle lanterns are excellent solutions and are now sophisticated enough that they’re indistinguishable from corded versions. Alternatively, a decorative plug-in pendant hung from the ceiling above the table creates a dramatic, intentional focal point that anchors the whole seating area and gives the space a purposeful, designed quality.
Finally, consider the wall space above your sofa table as an extension of the styling surface. A large mirror doubles the light in the room and makes the space feel larger. A gallery wall of prints or photographs creates personality and warmth. A single oversized piece of art makes a bold statement with minimal effort. The sofa table and the wall above it work together as a unit, and treating them as a cohesive vignette rather than separate decisions will elevate the finished result from simply functional to genuinely beautiful. For a room that flows well, repeat one or two colors or materials from the table itself in the objects and art displayed above it.
Customizations, Variations, and Next-Level Ideas
Once you’ve completed one sofa table build, you’ll immediately start seeing ways to adapt the design. One of the most popular variations is adding hairpin legs in place of the wooden 2×4 legs. Hairpin legs are available online for as little as $30 to $40 for a set of four and instantly transform the piece from rustic farmhouse to mid-century modern. They attach with just a few screws into the underside of the tabletop, making them an easy swap even after the fact if you decide to change the style of your room down the road.
Another popular upgrade is to add a lower shelf with a crisscross or X-pattern stretcher instead of a flat shelf board. This adds a decorative element to the base and is a signature detail of many high-end furniture pieces. Cut four pieces of 1×2 to the diagonal length and notch the center of each to create a lap joint, then attach them in place of the standard shelf. This takes a bit more precision but is well within reach of anyone who successfully completed the basic build, and it makes the finished table look considerably more refined and intentional.
If you want to add storage to your sofa table, consider building a small drawer into the apron on one or both ends. A simple drawer doesn’t require any fancy joinery — a box of four boards assembled with pocket holes and a piece of plywood for the bottom, fitted into a pair of inexpensive drawer slides, is all it takes. This addition is particularly practical in a hallway or entryway setting where the table might hold keys, mail, or small accessories that you want accessible but not visually cluttered on the surface.
Finally, consider expanding this same basic technique to other pieces in your home. The same joinery methods, the same materials, and the same finishing techniques that built this sofa table can build a console table for your entryway, a bedside table for your bedroom, a desk for a home office, or even a kitchen island. Each project builds on the skills of the last, and before long you’ll find that you’re looking at every piece of furniture in your home through the lens of whether you could make it yourself — almost always for a fraction of what it would cost to buy it. That shift in perspective is one of the most valuable things a project like this one gives you, right alongside the table itself.








What do you think?
It is nice to know your opinion. Leave a comment.