










How to Maintain Garden Edging Stones: A Complete Guide
Why Garden Edging Stones Matter for Your Landscape
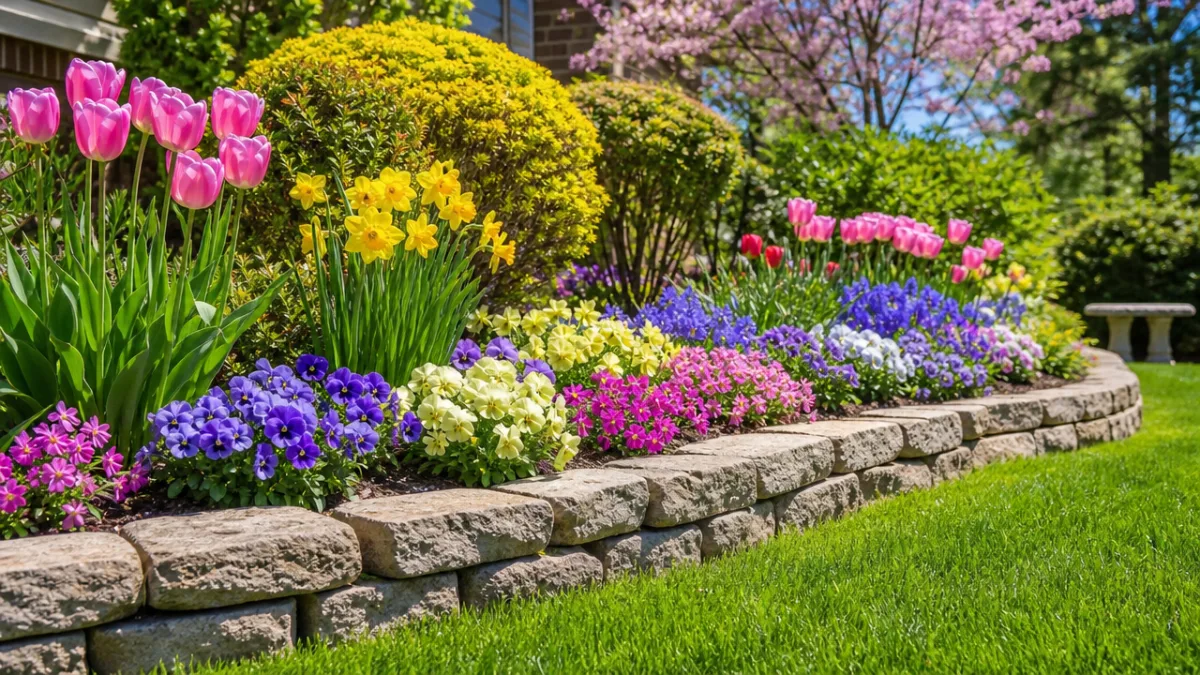
Garden edging stones might just be one of the hardest-working features in your whole yard. They draw a clear line between your lawn, flower beds, and pathways, giving everything that tidy, purposeful look that makes a garden feel genuinely cared for. Without them, grass quietly sneaks into your flower beds, mulch ends up scattered across the path after a good rain, and the whole yard starts to feel a little chaotic — no matter how lovely the plants themselves are.
There’s also a very practical side to good edging that doesn’t get talked about enough: it genuinely saves you time. When your edging system is doing its job well, you’re spending a lot less of your weekend pulling grass out of the roses or raking mulch back into the beds after every storm. Seasoned gardeners often say quality edging stones are one of the best investments they’ve made in their yard, and once you’ve experienced a season without constantly re-fighting the same battles, it’s hard to argue with that.
The good news is there are more material options than ever — natural fieldstone, cut limestone, concrete pavers, reclaimed brick, decorative ceramic, and plenty more. Each one has its own personality and its own quirks when it comes to upkeep. Knowing what you’re working with is really the starting point for any solid maintenance routine, so before you reach for a brush or a sealer, take a moment to identify exactly what kind of stone you have.
Inspecting and Assessing the Condition of Your Edging Stones
Before you get into any cleaning or repairs, it’s worth doing a proper walk-through of your edging — and doing it at least twice a year. Early spring before things start growing and late autumn after the leaves are down are both ideal times. Take it slowly, and crouch down to get a low-angle view of the stones. It sounds a little silly, but you’d be surprised how many shifts and tilts are completely invisible from standing height. Catching them early means a quick fix rather than a much bigger job come spring.
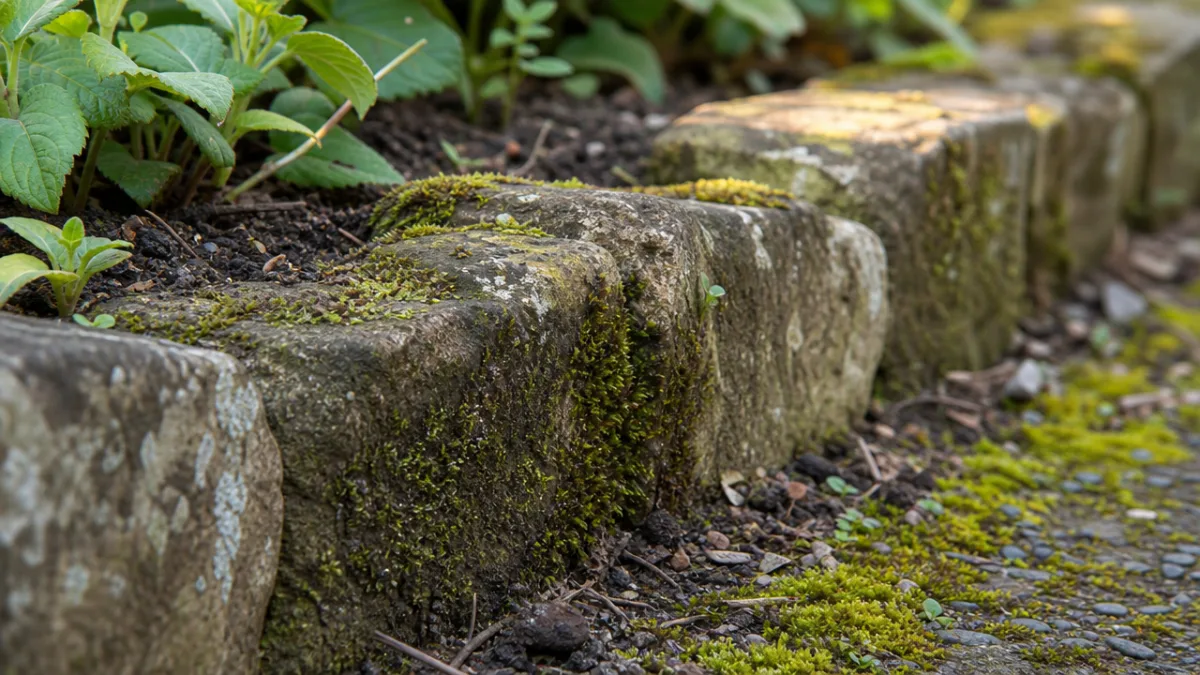
As you go, keep an eye out for a few specific things. Stones that have shifted or gone out of alignment are the most common problem — usually caused by freeze-thaw cycles, tree roots pushing through, or just the ground settling gradually over time. Cracking is worth watching for too, especially in softer materials like sandstone or certain pavers that can soak up water and then crack when it freezes. And if you’re seeing a lot of moss or algae on the surface, that’s more than a cosmetic issue — it holds moisture against the stone and can speed up deterioration, plus it gets slippery fast.
Don’t forget to look closely at the gaps between stones. When those joints open up, grass and weeds move right in, and they’re much harder to deal with there than when they’re just growing alongside the edging. Take a few photos on your phone as you go — it’s an easy way to keep track of where the problem spots are and whether things are getting better or worse over time.
Cleaning Your Garden Edging Stones Properly
Cleaning your edging stones regularly is probably the single most important thing you can do to keep them looking good, and for most routine jobs you really don’t need any special equipment. Start dry — use a stiff-bristled brush or a handheld broom to sweep off loose debris like leaves, dried soil, grass clippings, and any mulch that’s wandered onto the stones. Always do this before you add any water, because wetting everything first just turns it into mud that smears around and can leave staining behind when it dries.
Once the surface is cleared, a simple mix of warm water and a small squirt of dish soap (or a dedicated stone cleaner) handles most everyday dirt and grime pretty well. Work in sections with your stiff brush and rinse as you go with the garden hose. For tougher staining, a diluted white vinegar solution is effective on many stone types and won’t introduce anything harsh into your garden soil — just steer clear of it on limestone or marble-based stones, where the acid will actually etch the surface and cause real damage.
Moss, algae, and lichen need a bit more attention. Products with hydrogen peroxide or sodium hypochlorite can do the job, but always test on a hidden spot first to make sure they won’t discolor your particular stone. Pressure washing is another option that gets great results quickly, but use it carefully. Too much pressure can erode softer stones, blow mortar out of the joints, and drive water into cracks that will only get worse when it freezes. If you’re using a pressure washer, keep the nozzle at least twelve inches away and use a wide fan tip — not a narrow jet.
Repairing and Resetting Displaced Edging Stones
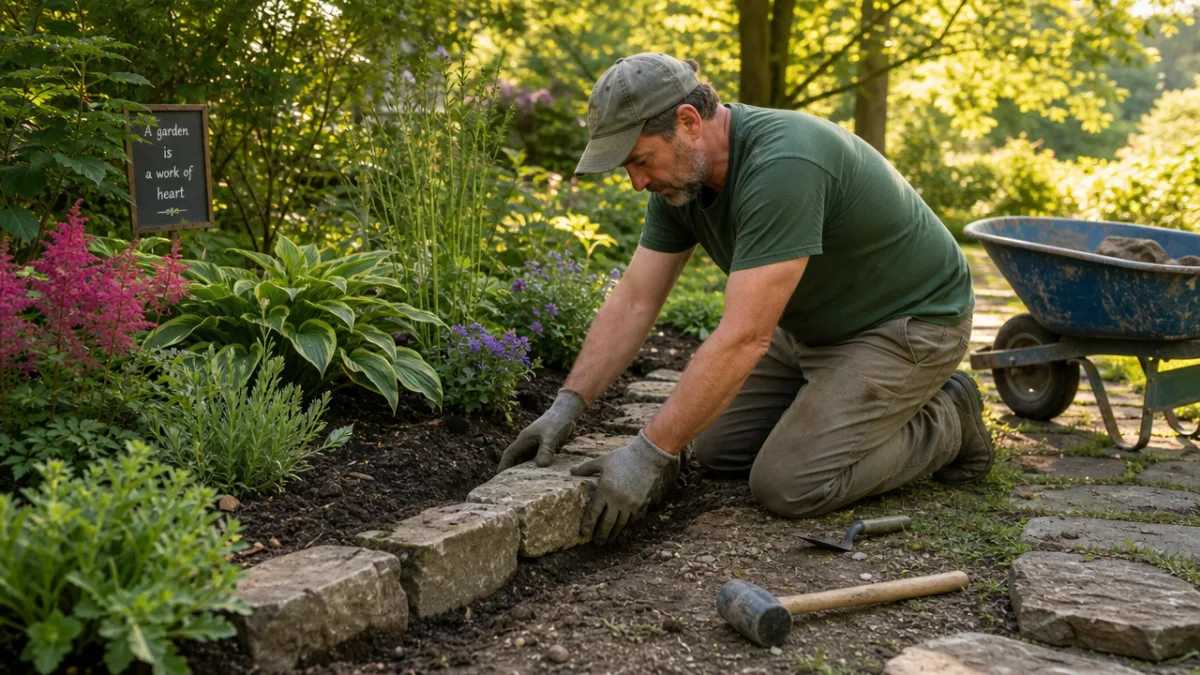
Resetting stones that have shifted, sunk, or heaved is one of those maintenance jobs that feels incredibly satisfying because the results are so immediate. Before you start, pull together what you’ll need: a rubber mallet, a flat pry bar or garden spade, a level, some coarse sand or stone dust, and a brush for cleaning up the base. A wheelbarrow or bucket nearby is handy too, for moving excess soil around or adding sand to get the height just right.
Start by carefully lifting out the displaced stone, using your spade or bar gently so you don’t disturb the stones around it that are still sitting nicely. Take a look at what’s underneath. A well-installed edging stone should be resting on a compacted layer of coarse sand or crusher run, which gives it a stable base that drains freely. If that layer has eroded, washed away, or been pushed aside by roots, add fresh material and compact it down before you put the stone back. It’s tempting to just nudge it back into place, but skip that step and it’ll almost certainly shift again within a season or two.
Once the base is sorted, lower the stone back in and check it with the level in multiple directions before tapping it firmly into place with the rubber mallet. Match it up carefully with the neighboring stones — height and alignment both matter. When everything looks right, fill the joints with polymeric sand, which sets up when you wet it and is much better at resisting weeds than ordinary sand. Pack it in well, sweep off the excess, then give the whole area a gentle mist of water to activate it.
Preventing Weed and Grass Intrusion Along Edging Stones
Even beautifully installed and freshly cleaned edging stones won’t look their best for long if grass and weeds keep pushing through the joints and creeping over the edges. Staying on top of this is an ongoing effort rather than a one-and-done fix — but with the right approach, you can cut down the amount of hand-weeding you’re doing dramatically. The most effective thing you can do is run a clean edge cut along the lawn side of your stones every month or so during the growing season, using a half-moon edging tool or a rotary edger.
On the garden bed side, a good layer of mulch — two to three inches deep — does a lot of the work for you by blocking the light that weed seeds need to germinate. Top it up at the start of the season and again in midsummer if it’s broken down. One thing to watch: keep the mulch pulled slightly away from plant crowns so it doesn’t cause rot, and try not to pile it up directly against the edging stones either, since keeping them constantly damp tends to encourage biological growth and staining.
If grass keeps finding its way through everything you throw at it, a pre-emergent herbicide in early spring can add another layer of protection without bothering your established perennials. Another option a lot of gardeners swear by is a flexible plastic or rubber root barrier installed a few inches deep along the lawn side of the edging — it physically stops grass rhizomes from tunneling underneath and popping up in the beds. Combine that with regular surface edging and you’ve got a pretty solid two-layer system that keeps things looking clean without a ton of ongoing intervention.
Seasonal Maintenance: Preparing Your Edging Stones for Winter and Spring
A bit of focused attention in autumn can make a real difference to how your edging looks — and how much work you’re facing — when spring rolls around. Start with a thorough cleaning to get rid of decomposing leaves sitting on the stones, which hold moisture and can leave tannin stains over winter. For porous natural stones like sandstone, flagstone, or unglazed brick, this is also a good time to apply a stone sealer. It repels water and reduces the risk of freeze-thaw damage by limiting how much moisture the stone takes on before the cold sets in.
Do a final check for any loose or wobbly stones and reset them while the weather is still mild. Working on edging in soft autumn ground is so much more pleasant than wrestling with frozen soil in early spring. Top up any joints where polymeric sand has washed out or broken down, and pay extra attention to spots under trees or near downspouts where rain tends to concentrate. If you can direct water away from the edging through thoughtful grading, that’s one of the best things you can do for the long-term stability of the whole installation.
Come spring, start the season with a fresh inspection and clean before everything starts growing and makes access more awkward. This is also when you’d apply sealer if you didn’t get to it in autumn, re-cut your lawn edges after winter softened the lines, and refresh the mulch on either side of the edging. Stick to that spring-and-autumn rhythm with a bit of light attention in between, and your edging stones will keep looking sharp for a decade or more.
Choosing the Right Products and Tools for Long-Term Success
Having the right tools really does make this whole process easier and more enjoyable. A sharp half-moon edging iron is worth every penny for creating a clean vertical cut along the lawn side of your stones — a regular spade just can’t match that precision. Pair it with a long-handled rotary edger for the longer straight or gently curved runs, and keep the half-moon for tight corners and awkward spots the rotary can’t reach.
For cleaning, it’s helpful to have a few brushes in different stiffness levels so you can match the tool to the job. Softer stones like sandstone do better with a medium-bristle brush, while dense granite or concrete pavers can handle a stiffer wire or polypropylene brush without any trouble. A dedicated bucket for your cleaning solution, a garden hose with an adjustable nozzle, and a kneeling pad to save your knees during the close-up work round out a kit that will make you far more likely to keep on top of maintenance regularly rather than letting it pile up into a big seasonal undertaking.
Stone sealers are worth thinking about carefully. The two main types are penetrating sealers, which soak into the stone and protect from within without changing how it looks, and topical sealers, which sit on the surface and can give either a natural or a wet-look finish. For most edging work, a penetrating sealer is the better choice — there’s no surface film to peel, flake, or go slippery in wet weather. Whatever you choose, test it on a hidden spot first, follow the manufacturer’s directions, and plan to reapply every one to three years depending on your stone type and how much weather and foot traffic it deals with.
- Half-moon edging iron for precise vertical cuts along stone borders
- Rotary edger for efficient maintenance of long straight or gently curved sections
- Stiff-bristled scrubbing brush sized for your stone surface area
- Rubber mallet and flat pry bar for resetting displaced stones
- Coarse sand or crusher run for rebuilding base layers beneath shifted stones
- Polymeric jointing sand to fill gaps between stones and resist weed growth
- Penetrating stone sealer appropriate for your specific stone material
- Pre-emergent herbicide for early spring weed prevention along edging borders
Once you’ve got the right tools together and a seasonal routine you can actually stick to, maintaining your edging stops feeling like a chore and starts feeling like one of the more rewarding parts of looking after your garden. The time you put into keeping everything clean, stable, and well-defined pays back in a way that’s hard to put a number on — because a crisp, well-kept stone edge running between a lush bed and a tidy lawn is one of those details that makes the whole garden feel like it was designed with care.








What do you think?
It is nice to know your opinion. Leave a comment.